

This was a fun one for me! I thought I had done just about as much as I could with this honey bun…and yet, I still wanted to try one more thing! I had noticed a few double hourglass quilts online and really wanted to try my hand at making the block. However, the tutorials I found were difficult at best. So here is a quick explanation of what I did to make my blocks…
Start by dividing your strips into light and dark sets. These need to be at least 14″ long. Select one light and one dark strip then sew them together… Next take your large square ruler…see that diagonal line that runs from corner to corner?? That is a 45 degree angle line Now turn your ruler so that the 45degree line is at the bottom of your fabric and the corner is at the bottom edge of your fabric….
 Cut your fabric along the outer edge of the ruler to start your first triangle.
 Now slide your ruler up so the 45 degree angle is at the top of your fabric…
 Now, cut that angle. You should have a triangle that looks like this:
 Now you will want to continue sliding your ruler up and down and cutting triangles until you have four.
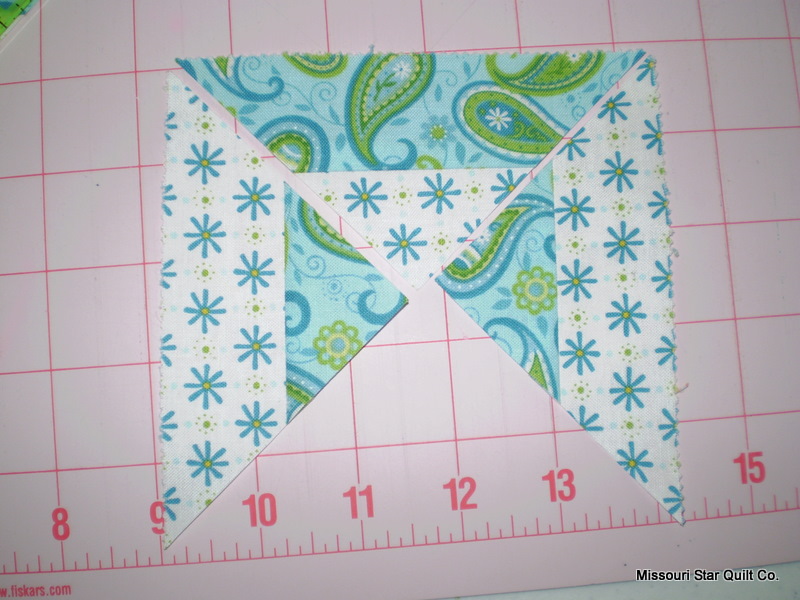
 You should have two matching sets of two that match each other…lay them out opposite each other,
  then pin like crazy,
and sew them together in traditional hourglass style…
 Here is your complete block…(I know the fabric doesn’t match) 🙂 (I didn’t quite have enough to do this last block! So, I had to improvise!)
Now for the table runner part:

I took my blocks and laid them out in a three by six pattern. I added a couple of extra strips in between the two end rows and the middle . Then added a red border as a frame! It was machine quilted but, I think it would look great with a stitch in the ditch or cross hatch design too! 

Have fun trying something new today! Enjoy!