Introducing: Quilts By Me!

If you’re anything like us here at MSQC, every time you make a quilt or do a sewing project, you want to share it with the world (and you should!!!).  You might post it on Facebook, Instagram, Twitter, Flickr, etc, but it doesn’t really have a home of its own… until now!  We are so excited to introduce you to Quiltsby.me!

QBM-Pinterestimage

Quilts By Me is a Show & Tell for your quilts and sewing projects! As a community of quilters, we all have a desire to create. We start with a few fabrics that we have carefully selected and we transform them into something that has a life and a story of its own! It’s an incredible transformation and once we’ve experienced it, we want to share it with our fellow quilters, who are creating and experiencing similar transformations.  I can’t even say how many times I’ve been moved or inspired by another quilter’s projects or stories.  With Quilts By Me, you’ll have a home for your creations as well as a place to become inspired by others!  We wanted to create a home for this amazing community and we hope you feel welcome here!

quiltsbyme screenshot

It’s a user friendly website and a great way to have a collection of all your creations in one spot. You can browse, ❤ your favorite projects created by other users, follow your friends or people whose work you enjoy, search by precut/style/project type… basically it’s amazing!  Once you play around a little bit with it, we know you’ll just love it!

Here’s what you need to know to get started.

First, if you already have an account with missouriquiltco.com, you do not have to SIGN UP.  You can simply choose the LOG IN option.

quiltsbyme homepage

It will give you the option to “LOGIN WITH MISSOURI STAR QUILT CO.”  Click there, then type in the same information you use to log in to missouriquiltco.com when making purchases.quiltsbyme login

When you log in for the first time, you can set up your account.  Add a profile picture, fill out your info, etc.  When choosing your username, keep in mind that it is your username, not your real name, that shows whenever you share a new project or someone looks at your profile.

Now you’re ready to browse or create a project!  You can share the quilt’s story, include which precuts you used, add a few tags (keywords like the color, pattern, etc), tell which fabric collection and tutorial you used, add photos, etc.

As you participate, you will have the opportunity to earn badges that will be displayed on your profile page!  These are so fun!

quiltsbyme badges screenshot

If you have questions along the way, scroll to the bottom of the site and click on Contact Us. Someone will reply as soon as they can to assist you.

We hope you love Quiltsby.me and find it to be a home for your quilts and a great way to connect with the quilting community, build each other up and be inspired.  Enjoy!

An English Affair

I am in love with Downton Abbey and was so excited when the I heard we were going to be getting the fabric in the shop. A customer service gal and I squealed like little girls and talked about Downton throughout the day! There is fabric from most of the main female characters: Mary, Edith, Sybil and the Dowager Countess. What do I make with this fabric is always the big question?!Downton Abbey Ladies

After a bit of consideration I had an epiphany, a Union Jack, what else!

DA-British-Flag

MSQC has a really cute pattern for a Union Jack quilt, but I wanted the whole thing to be one giant flag. I found a website that told me how to draw a Union Jack and so I took their instructions and have edited them for a 40″x80″ quilt. And BONUS, it’s a quilt with no weird angle cutting!

Set your tea and biscuits aside, cause I’m going to tell you how I did it!

Here’s what you’ll need:

3 different shades of fabric for the quilt top: a light, medium and dark. This is what I used,

fby10322Light = 1.5 yards

fby10294Medium = 1.5 yards

fby10291 Dark = 2 yards*

*(This also includes enough to bind the quilt)

Backing:

The backing amount is a bit tricky. 2.5 yards is just enough to cover the back, but talk to your quilter before hand to see how much you’ll need for leaders cause you might need to get 5 yards and back stitch.

Step 1: Cut everything

Start with the dark fabric –

Cut 4 rectangles at 13.5″ x 33.25″. The rest will be for binding later.

Medium fabric –

Cut one (1) strip at 8″ x 40″ and two (2) at 8″ x 35″. Next cut four (4) strips at 2.75″ x 36.5″.

Light fabric –

Cut four (4) strips at 2.75″ x 35 and four (4) strips at 2.75″ x 13.5″. Now cut four (4) strips at 8″ x 36.5″.

Step 2: Start Sewing

Break out the pins because they will be your best friends!

Take one of the medium strips that is 2.75 x 36.5″ and pin it on top of the light fabric that measures 8 x 36.5″ so that one side has a 1.25″ border and the other  is 4″ border. Sew them together, right on top of each other. Repeat this 3 more times.

Next, you want to pin and sew your new strips to your dark rectangles. Use the link here, to eyeball where the strips should line up. Pin and sew. Trim off the overhang and repeat 3 more times.

Congrats you’ve just created the Cross of St. Patrick!! Now let’s create the Cross of St. George!

Double check yourself that you have each rectangle facing the right way, two of them should have the large light strip up and two has it down, and sew on the light strip of 2.75 x 13.5″. (Don’t be afraid to pick if it’s the wrong way, I did!)

Proceed to sew the light strip measuring 2.75 x 35″ to the top of two and the bottom of two.

This is what your pieces should look like right now:

Union Jack

Add the medium fabric of 8 x 35″ in between two of the rectangles (horizontal). Double check that your rectangles are going the right way with the link above. Repeat for the other side.

Now all you have to do is add the vertical bar of medium fabric, 8 x 40″, to connect the two sides.

Voila! A Union Jack with no angle cutting! Beat that govna!

Step 3: Put the kettle on and enjoy a cup of tea!

Don’t be afraid of the imperfections, mine has them all over the place but that makes me love it even more!

DA-Precuts

Don’t forget to check out our line of precuts! Downton Abbey Precuts

DA---Flag

Cheers!

Kate

Happenings…and a fun-cheery Wacky Web Quilt Show and tell!

Okay, things are crazy!  C R A Z Y!  And I mean that!!  We are busy and growing and ‘Oh-so blessed, but I am tired!  I know, I know, it comes with the territory.  I can’t complain, even though sometimes I find myself wanting to!  LOL!  (you know what I mean?)

But things are so good!  SO GOOD!  You wanna know a little secret?  I can’t believe I am telling this here, cause I have neither confirmed nor denied this to several inquiring people….We bought a new (to us) building!  No, really….we are going to start the remodeling-building-repairs process ALL OVER AGAIN.  And get this: I want the whole place to be done and ready for  move in within 2 months!  HILARIOUS, right!  Did I mention, (or do you even remember, that i live 2.5 hours away from the shop right now?)  My husband is planning on getting this all done in his spare time, on the weekends.  (with the help of dad and brothers of course!!)

The great thing about this, is the new shop’s location!  It is right on the main street of our little town, and is a bigger retail space.  We are gonna have way more parking!!  (so you can bring your buses, and stay a while!)  I am so excited about the window display’s and the awning.  Yes, I said awning!  I have big (pink) plans for the awning!!  I can’t wait to show you, and share the process from the beginning with you!

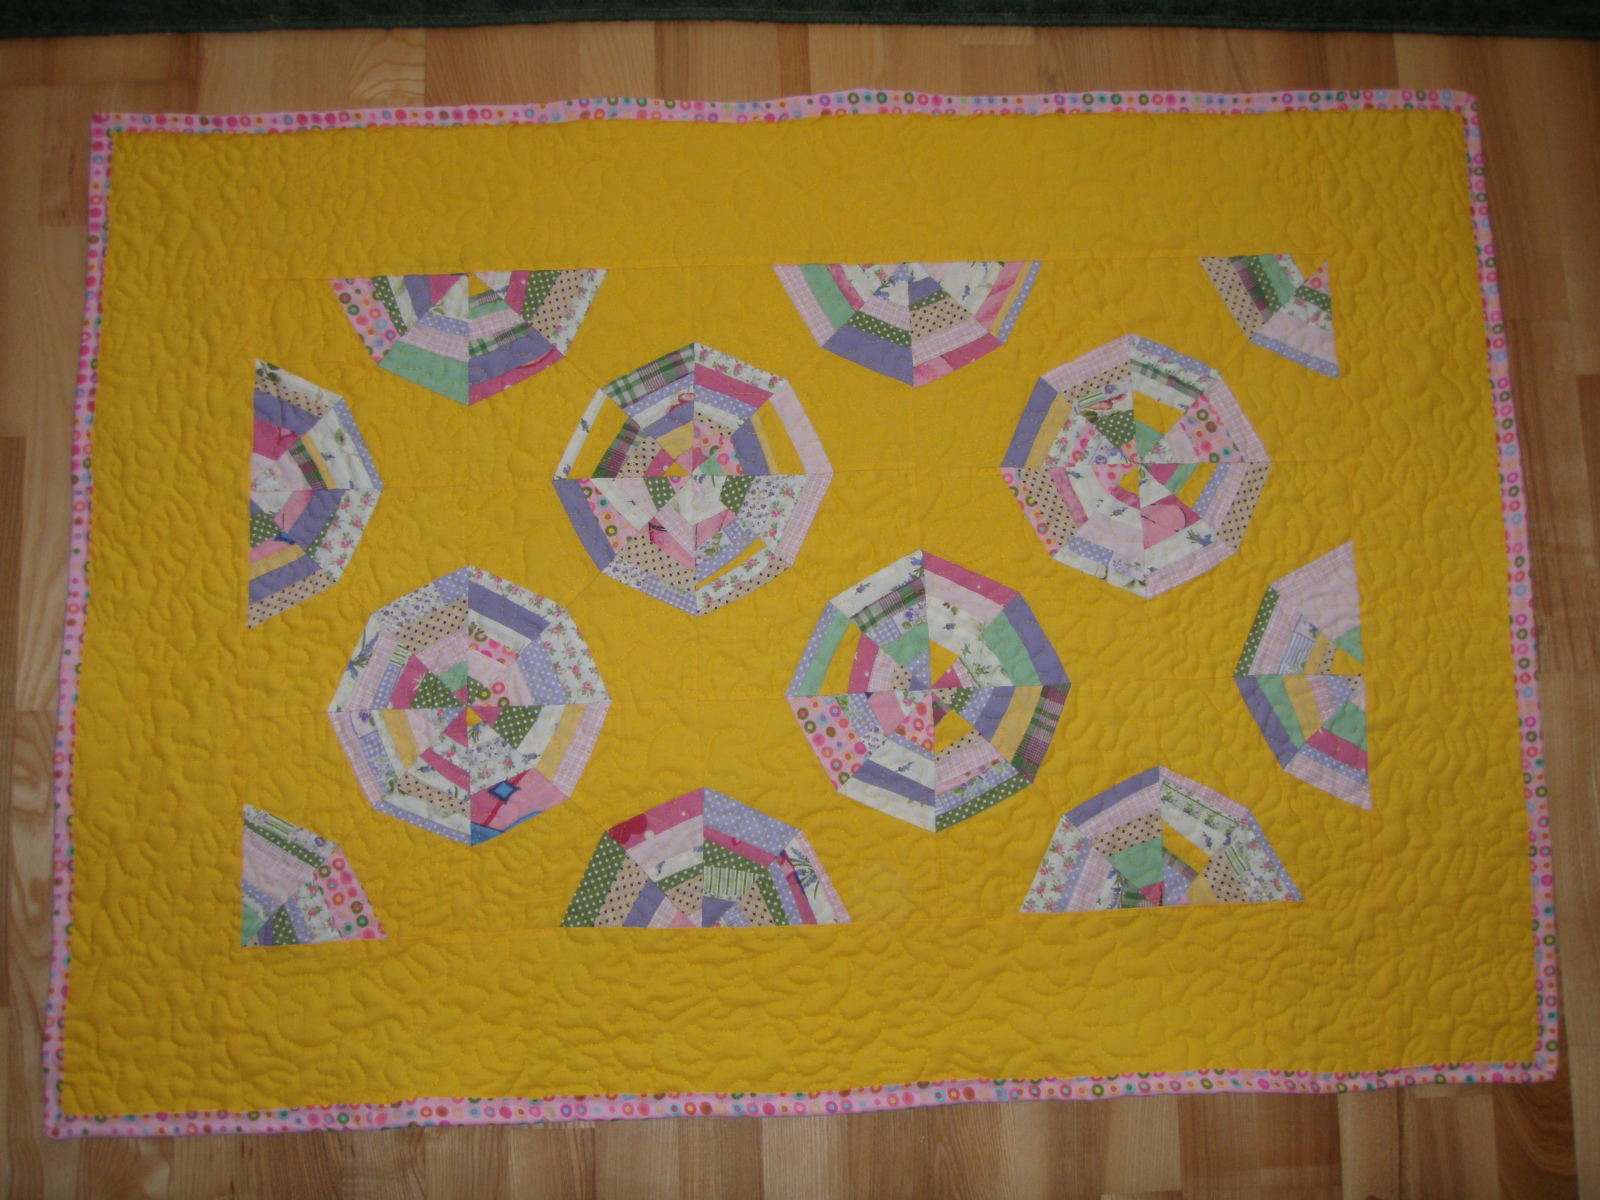
Okay-Okay, but enough about that.  I got the sweetest email from a girl named Kata.  She is a beginning quilter and was so excited to make a wacky-web quilt!  She bought the kit, which is still out of stock. (we are waiting, not so patiently for the papers to come back in!  Thank you, for being patient with that, we way under estimated the market for those.)  Anyway, she sent me this picture of  a baby quilt and a pillow she made!  I literally gasped!  I LOVED it!!

Please enjoy, and leave her some love!!

Love this Spiderweb! The yellow, is so happy and bright!

And check out this pillow out!  AHHHH-Mazing!

So adorable! I would love to have this in a chair in my house!

I hope you all have a great weekend!  I have plans to sew a bit, and clean a LOT!  LOL, the story of my life!!

~Sarah

Show and Tell!!

I have had so many great emails lately from you quilters, showing off your quilts!  You all have been busy!

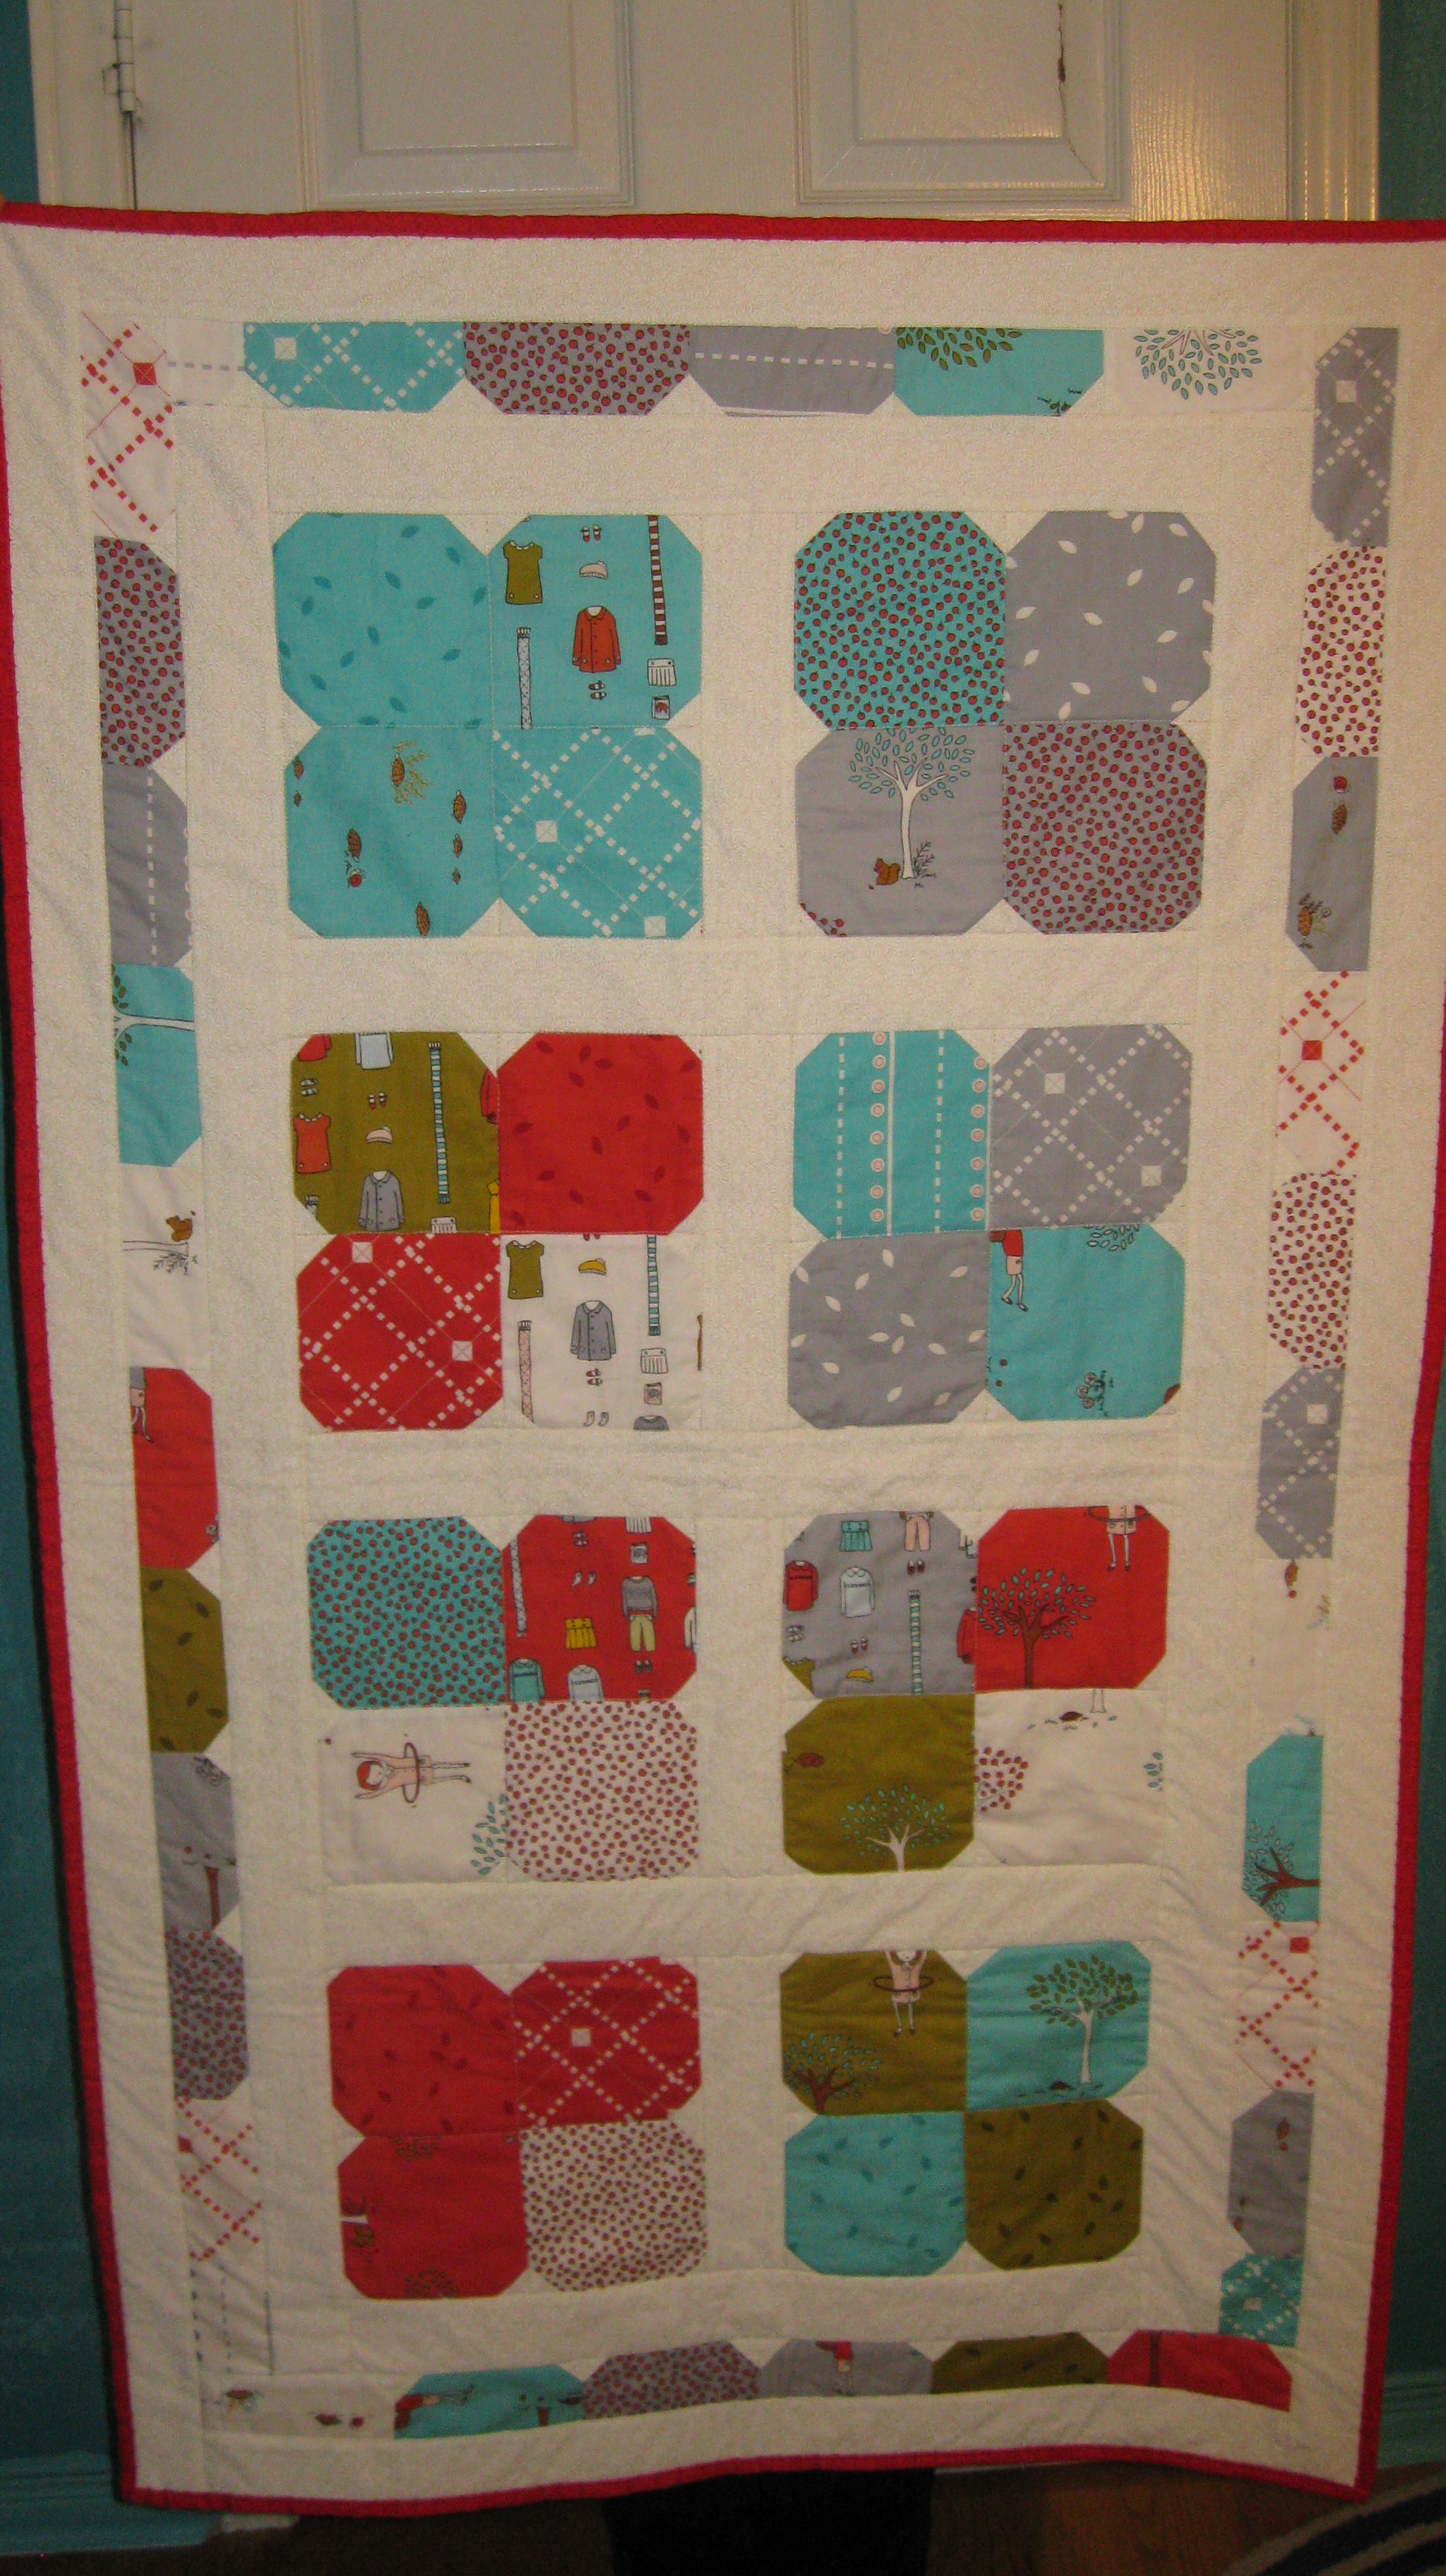
First up, is this adorable quilt made by Laurette using Little Apples fabric!!  Adorable!

Cute!

Next up is this super cute one from Suzanne!  She followed a tutorial and made it her own!!  (love that!) Aren’t those little sail boats adorable???

Sail Boats are so much fun!

Next is a dress from one of our local customers, Susan.  She came into the shop on Saturday to show off this adorable dress she is making for her granddaughter!!  (you might have seen me post it on facebook)  Seriously, isn’t it just darling!?  She used HomeTown fabric, by Sweetwater and a flower from basic grey!  (the Pattern number is 6309, Wrights, NEWLOOK, Kids, Bin 103, The pattern includes, a no sleeves, short sleeves, and long, and also a pattern for a matching coat to go with the dress)  Susan did such a great job, lining the whole thing.  It’s just beautiful!  And we can all agree that dresses aren’t the easiest thing to make!  LOL, I will stick with quilts!  🙂

Perfect for an Easter dress!! Love it.

Robin sent me this super cute quilt she made out of  Fiona’s Fancy, by Lila Tueller.  Love it!  She used the double slice tutorial, and I think it turned out great!!  She said that when she makes baby quilts she likes to be sure it’s not too ‘baby-ish’ so it will grow along with them!  It is almost a twin size, so they will be able to use that quilt for a very long time!!  What a great idea!!

Perfect fabric for any age girl! Fiona’s Fancy is just darling!

Last, but certainly NOT least is this quilt, that Barbara made.  She said she made it in two days, using the ‘Stack and Whack‘ tutorial.  This one is a real stunner.  I love that it is only two fabrics and makes such a statement!

Pop-pop-pop! The colors are so fun together!!

Thank you all, so much for taking the time to email your photos of the quilts you made!  It sure means a lot to us.  We love to see what you are making and hear your stories of quilting success!!

Have a great day!!

~Sarah


Show and Tell! From our amazingly talented quilter-friends!

Ahhhh-MAZING!  I have so many fun, quilts to show you!  I have been bombarded by emails showing off your great work!  I am having trouble narrowing down which ones to show now and which ones to save!  🙂  What a great problem to have, huh!  (if you don’t see your quilt up yet, just wait! It’s coming!)


This first one is made with a Hoopla Layer cake and Jelly roll!  One of TEN, Rita from Kansas is making for her grand-kids!!

Cute, huh! She made it after taking Mom’s online class!

Next up is her Giddy quilt!

Isn’t it darling! {not sure why this picture one is so small!}

Next up is a beauty from Teresa…

Breathtaking….right?!? I just love it!

Here are two beauties from Carol N.

She made these both from tutorials of ours!!  What great work Carol!

Pretty, pretty!!

She used Arnold’s Attic and the tumbler template for this one!

For this quilt she used the ‘Simpler Time’ line by Holly Taylor!  I love how it turned out!  (and this tutorial)

Now, I feel like I may be in a ‘Beautiful-Quilt Coma’  ahhh, such a perfect thing for a Monday!  I feel so much better already, don’t you!?

Thanks to all the quilters for sharing their beautiful work with us!!  We are so grateful for the visual feast!  (wow, am I looking forward to Thanksgiving, or what??)

Don’t worry!  I have a TON more to show!

Have a happy day!

~Sarah