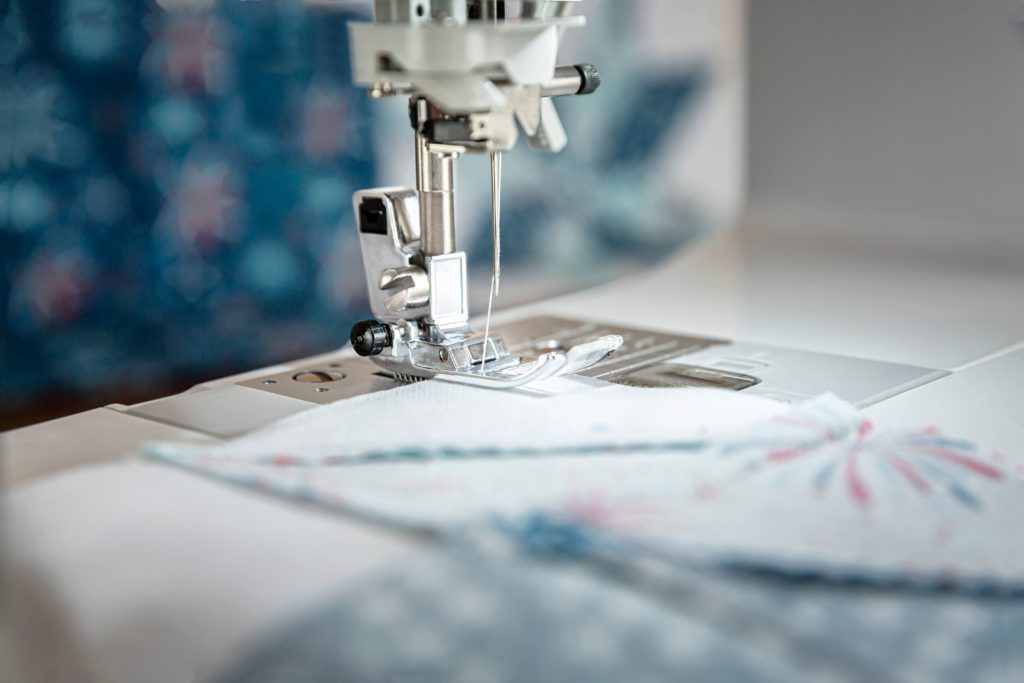
If you’re interested in learning about the basics of quilting, then you’re in the right place!
Getting started with something new is usually the hardest part. Quilting can be a laborious process — it requires many steps that can seem really overwhelming when you’re new to it all! Many beginner quilters can get stuck when thinking about piecing together their first blocks, but we’re here to help! Today we’re going to be talking about the steps before you start piecing. A good foundation is the key to success, so before you dive in and start stitching up your first creation, let’s learn about the very first steps in your quilting journey!
Jenny Doan always says “finished is better than perfect” and we can’t agree more! No one will notice if you lost a point or if you had to add back fabric with an extra seam after a cutting mistake or if you had to rip out the stitches in your block one too many times with your handy seam ripper (we’ll learn more about this tool soon!). Finishing a quilt or project is a huge accomplishment and you should never let your fear of imperfection get in the way of creating! So, let’s start with the basics and build our foundation and you’ll be sewing confidently in no time!
Fabrics
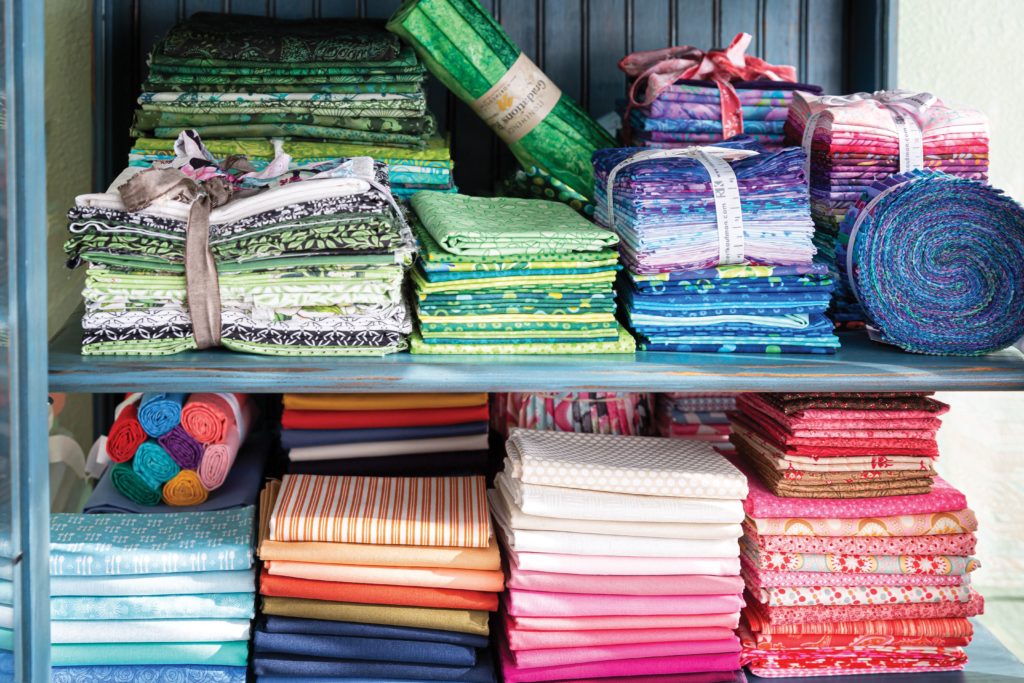
When it comes to buying fabric for your first quilt, pre-cuts are a good place to start! They come ready to go in various sizes in bundles of fabrics that coordinate with one another. If you haven’t had the chance, you can learn more about pre-cuts in our previous Building Blocks blog post. If you aren’t ready to take the leap into buying pre-cuts yet or you have other fabrics in mind for your project, have no worries! Virtually any fabric can be used for a quilting project.
The Memory quilt, for example, utilizes old neckties and shirts to create a quilt to honor a dear one’s existence. These materials are not designed for quilting projects, but with a little creative energy and ingenuity they come together to make a fantastic project that makes a truly powerful gift to honor the memory of a loved one. Old denim jeans, fabric scraps, recycled materials, t-shirts, and more can be materials used in your projects! So the next time you open your closet, keep in mind what you can repurpose to add a unique and modern touch to your quilting project.
You have many options for materials to use in your projects, but keep in mind that some materials are trickier to use than others. If you are just entering the world of sewing, we recommend choosing a material that is 100% cotton!
Cutting & Measuring
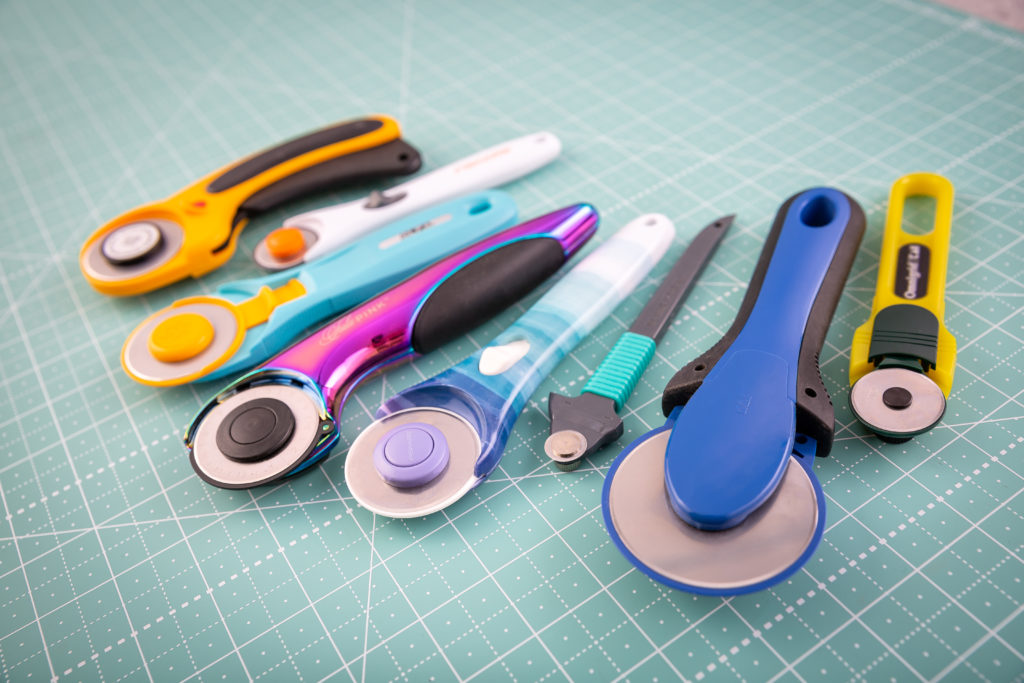
Now that you are getting comfortable with choosing fabric and learning about all the choices you have, let’s talk cutting that fabric! The old adage “measure twice, cut once” has never been so pertinent. In many projects, the fabric measurements are very important to get right, so that the rest of the work goes by smoothly! Quilting can be a precise art form, so it’s best to get used to measuring out your fabrics and cutting as accurately as possible in order to get the best results. There are a few handy tools that can aid in making this process the easiest it can be!
You’ll need a rotary cutter, a cutting mat, and a ruler. Scissors are very helpful in the sewing process, but when cutting up fabric as accurately and quickly as possible, rotary cutters are our go to — especially when paired with a gridded cutting mat. These mats come blocked out in one inch squares to assist in your fabric measuring and cutting! By learning how to sandwich your fabric between your mat and ruler and using the marked, premeasured guides on those tools, you can soon become comfortable with using your rotary cutter and making as accurate cuts as you can! It takes practice, so don’t be discouraged if you make mistakes along the way. No one is a master in the beginning!
Pressing
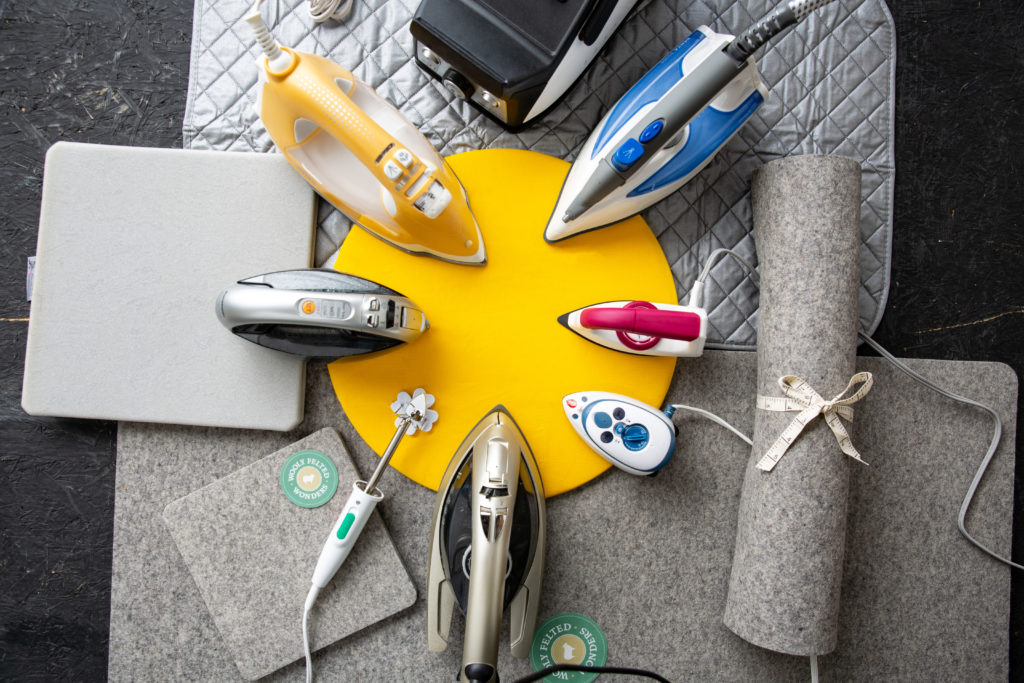
The last item that we suggest getting familiar with that will help in the quilting process is something that you likely already have in your house – an iron! Irons are an integral part of the entire quilting process — they are with us almost every step of the way! You may already be comfortable with the iron you have at home and if you are not, don’t fret! They usually are pretty quick to learn and may just take a little studying and practice to find the settings that work best for you. Ironing makes many steps of the quilting process easier and soon you’ll figure out how much or how little ironing you like to do during your quilting process! Everyone is a little different — some people utilize the steam feature on their iron often, some people iron every little piece, and some iron rarely. It’s all personal and a part of the learning process!
Remember to always iron on a safe surface — an ironing board is great if you have one, but if you want a space closer to your sewing area, you can always purchase an ironing mat or even make your own! You’ll be ready to press in no time and create beautiful smooth fabric that’s ready for the next step, piecing!
In our next segment, we will be talking all about piecing. Take this time to familiarize yourself with your quilting tools and measuring and cutting fabric. Remember, these basic steps, although simple, will make all the difference when creating your first quilt project. We can’t wait to see what you create!


 I was browsing the web recently and found a
 Now you can turn your squares…and there you have it…the disappearing nine patch! Be creative…you can do this any way you want to. There are several different ways to lay this out. I will be trying different patterns and will post them when they are ready! So here’s the layout we finally decided on for this quilt….
 I am adding borders and will show you a picture of that when I am done, and before I quilt it!!
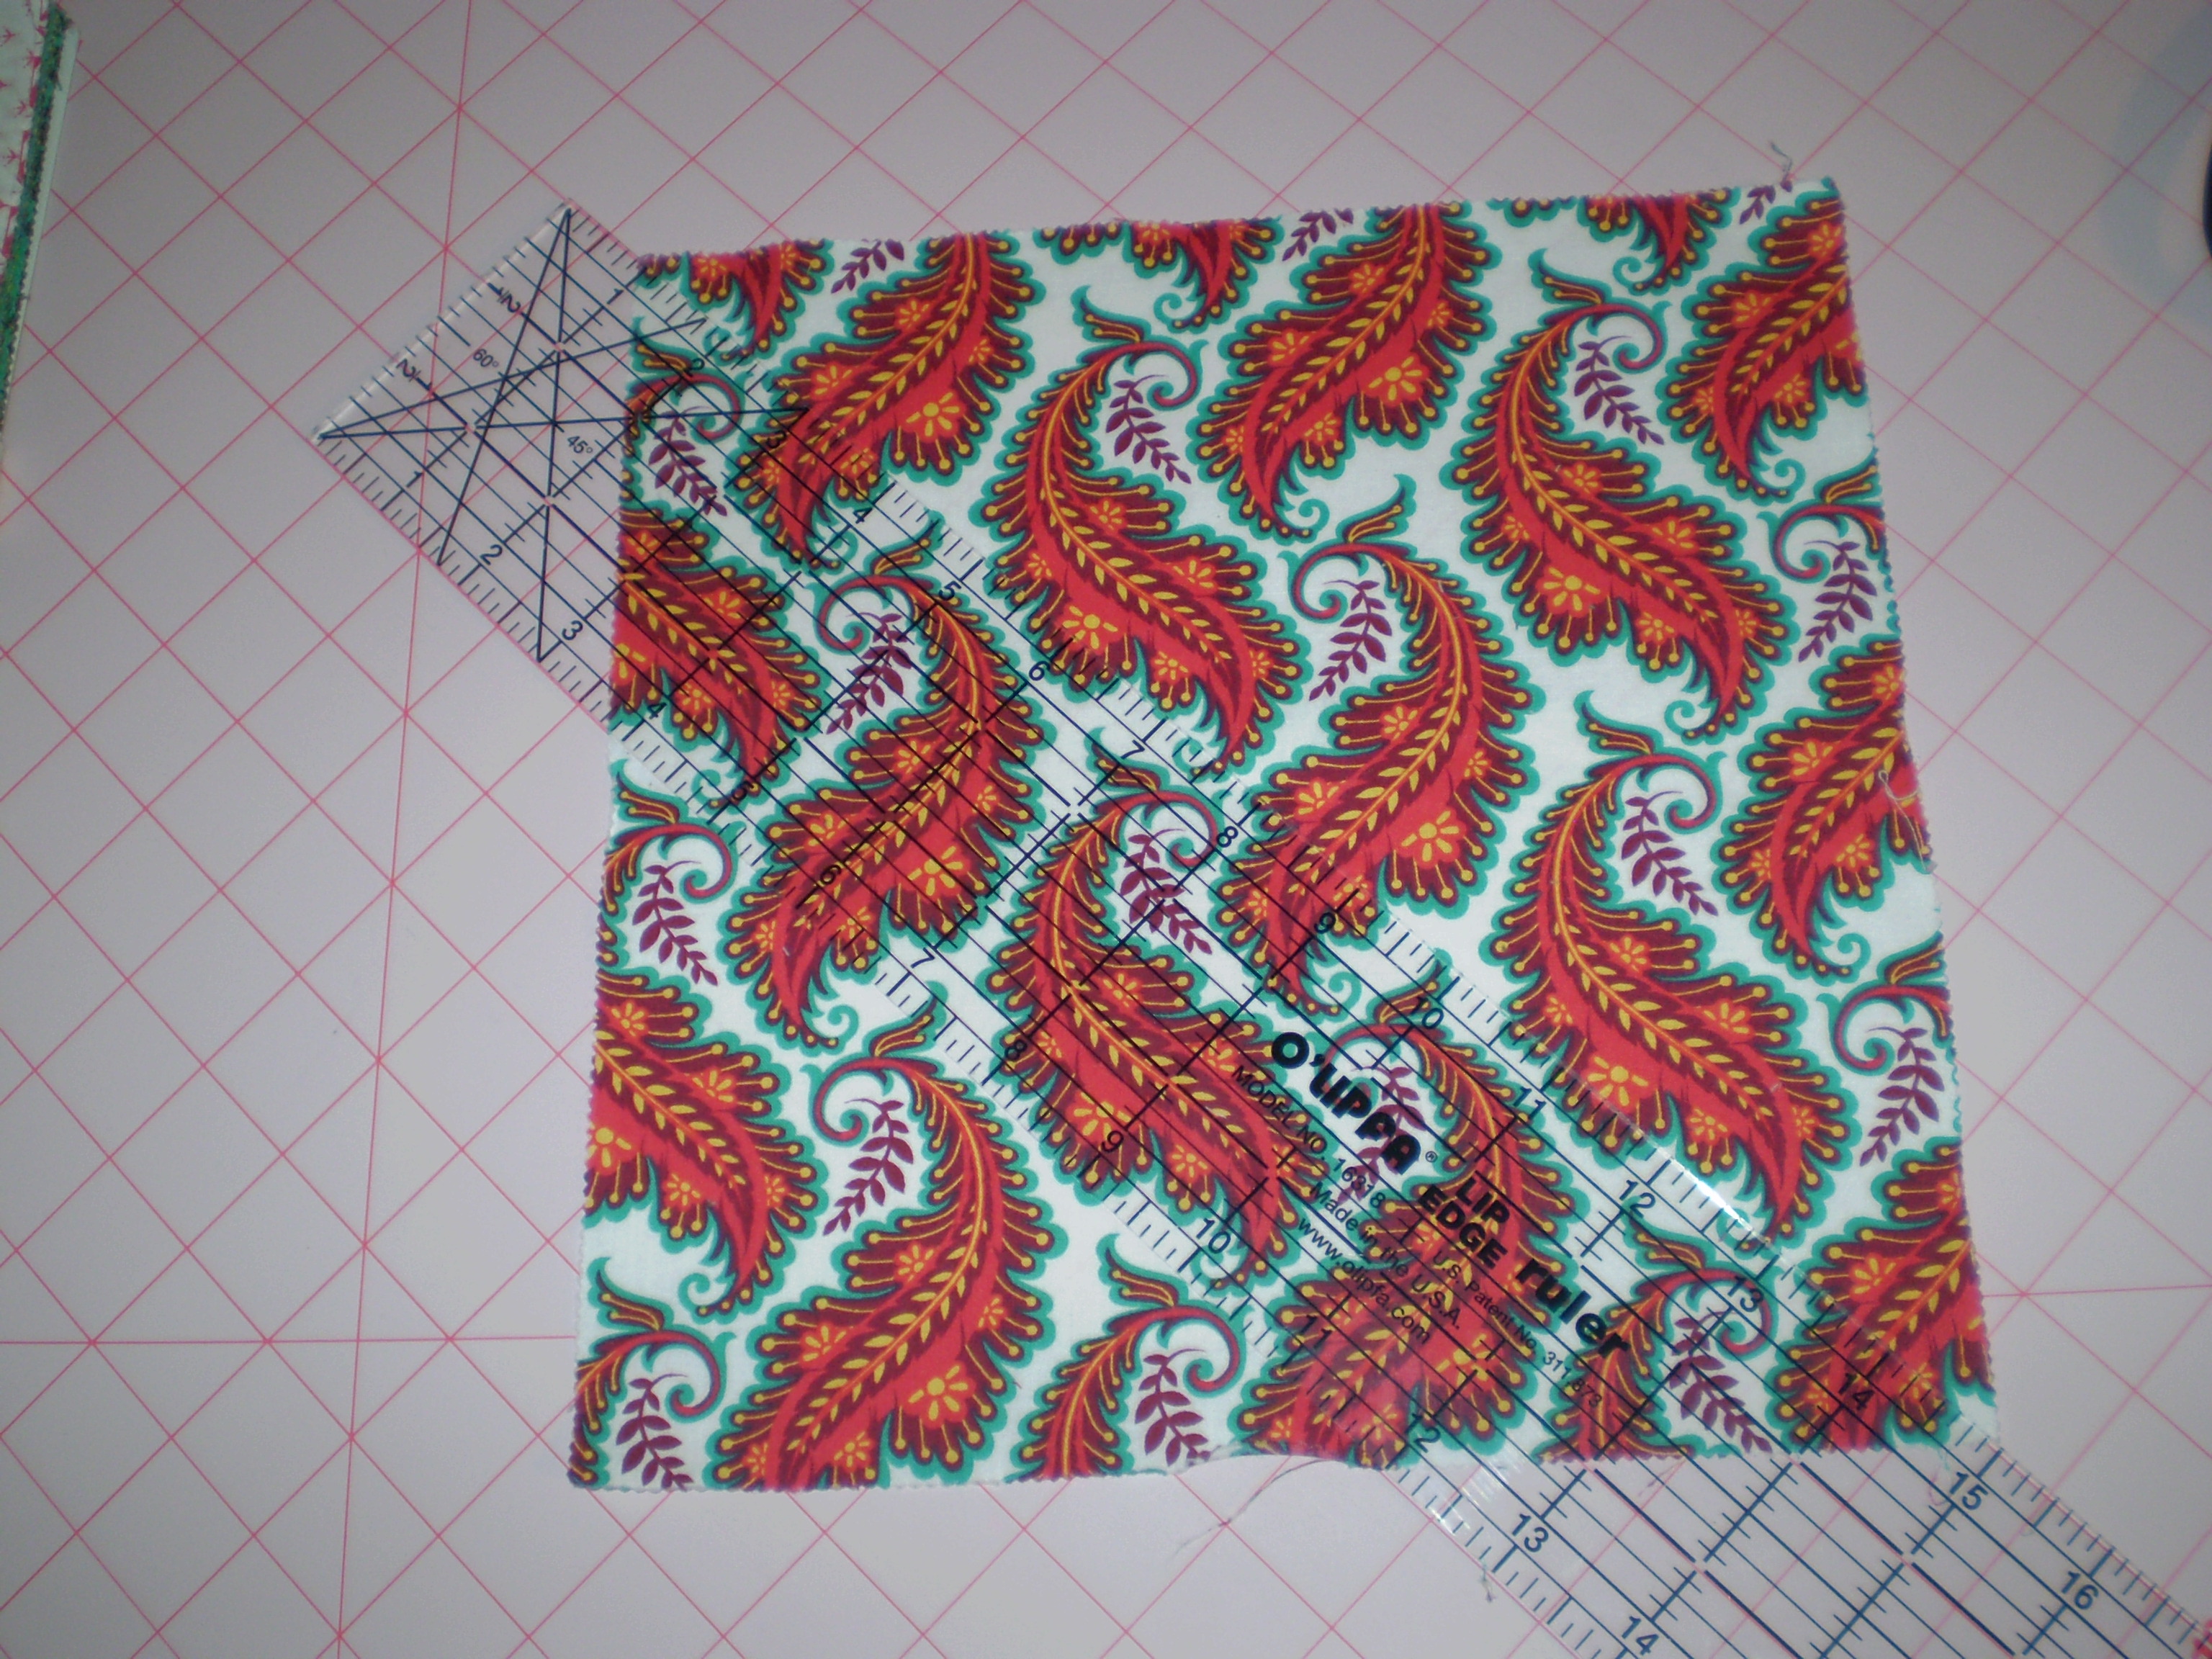
 I fell in love! It is so bright and happy! I love the color! So I bought a few…(three) layer cakes! and started to dream.
  The possibilities were endless really…I finally settled on an easy one…Cut one layer cake into hourglass blocks. and the second layer cake into four patch, the third may become the border…we shall see!
 Then you mix up your fabric…(this, for me, is very time consuming:) Then you sew two sides together,
  press toward the dark fabric, and then join the two triangles and you’ll have a nice hourglass square…
 Now onto the four patch…
 Cut each of your squares in half horizontally and vertically…you will then have four 5″ squares. Mix them up and sew them back together! always pressing toward the dark and lining up your seams.
 It’s really a fabulous (Easy) pattern…I’m still in love! I added a 3″ strip of white for the inner border….
 Now I am debating what to do for the outer border…piano key? a scalloped edge? turquoise? lime green? yellow? red? This may take a while!!!