Last Minute Game Day Projects

Are you watching the Big Game soon? Chances are, you or someone you love is! Whether you love the game or not, you can’t deny that it’s a great chance to get together and be surrounded by friends and good snacks! 

In the Doan family, we take any chance we can get to get together and throw a party. We love a good theme and going all out! In that spirit, here are a few projects that you can whip up in no time and make extra special, with the addition of some fabric representing your favorite sports teams.

Easy One-Size, One-Yard Apron

The Easy One-Size, One-Yard Apron by the Missouri Star Quilt Company.

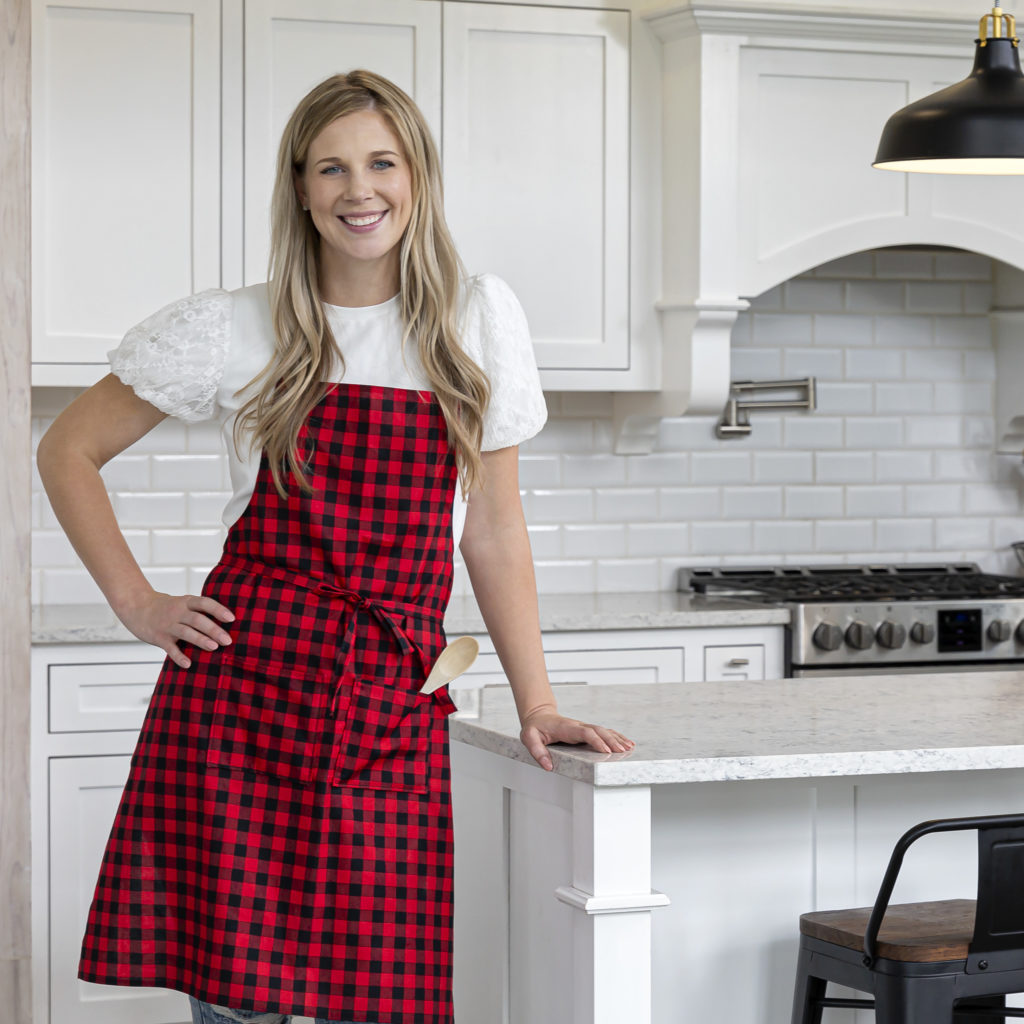
Turn this apron into your favorite Game Day kitchen adornment with just a switch up of the fabric! Choose some solids or print fabrics in the colors of your sport team or choose some sports logo fabric for your apron and boldly show off your love of your team! All you need is one yard of fabric to get started. Sew up this project with Misty here!

Quilt Block Pot Holder

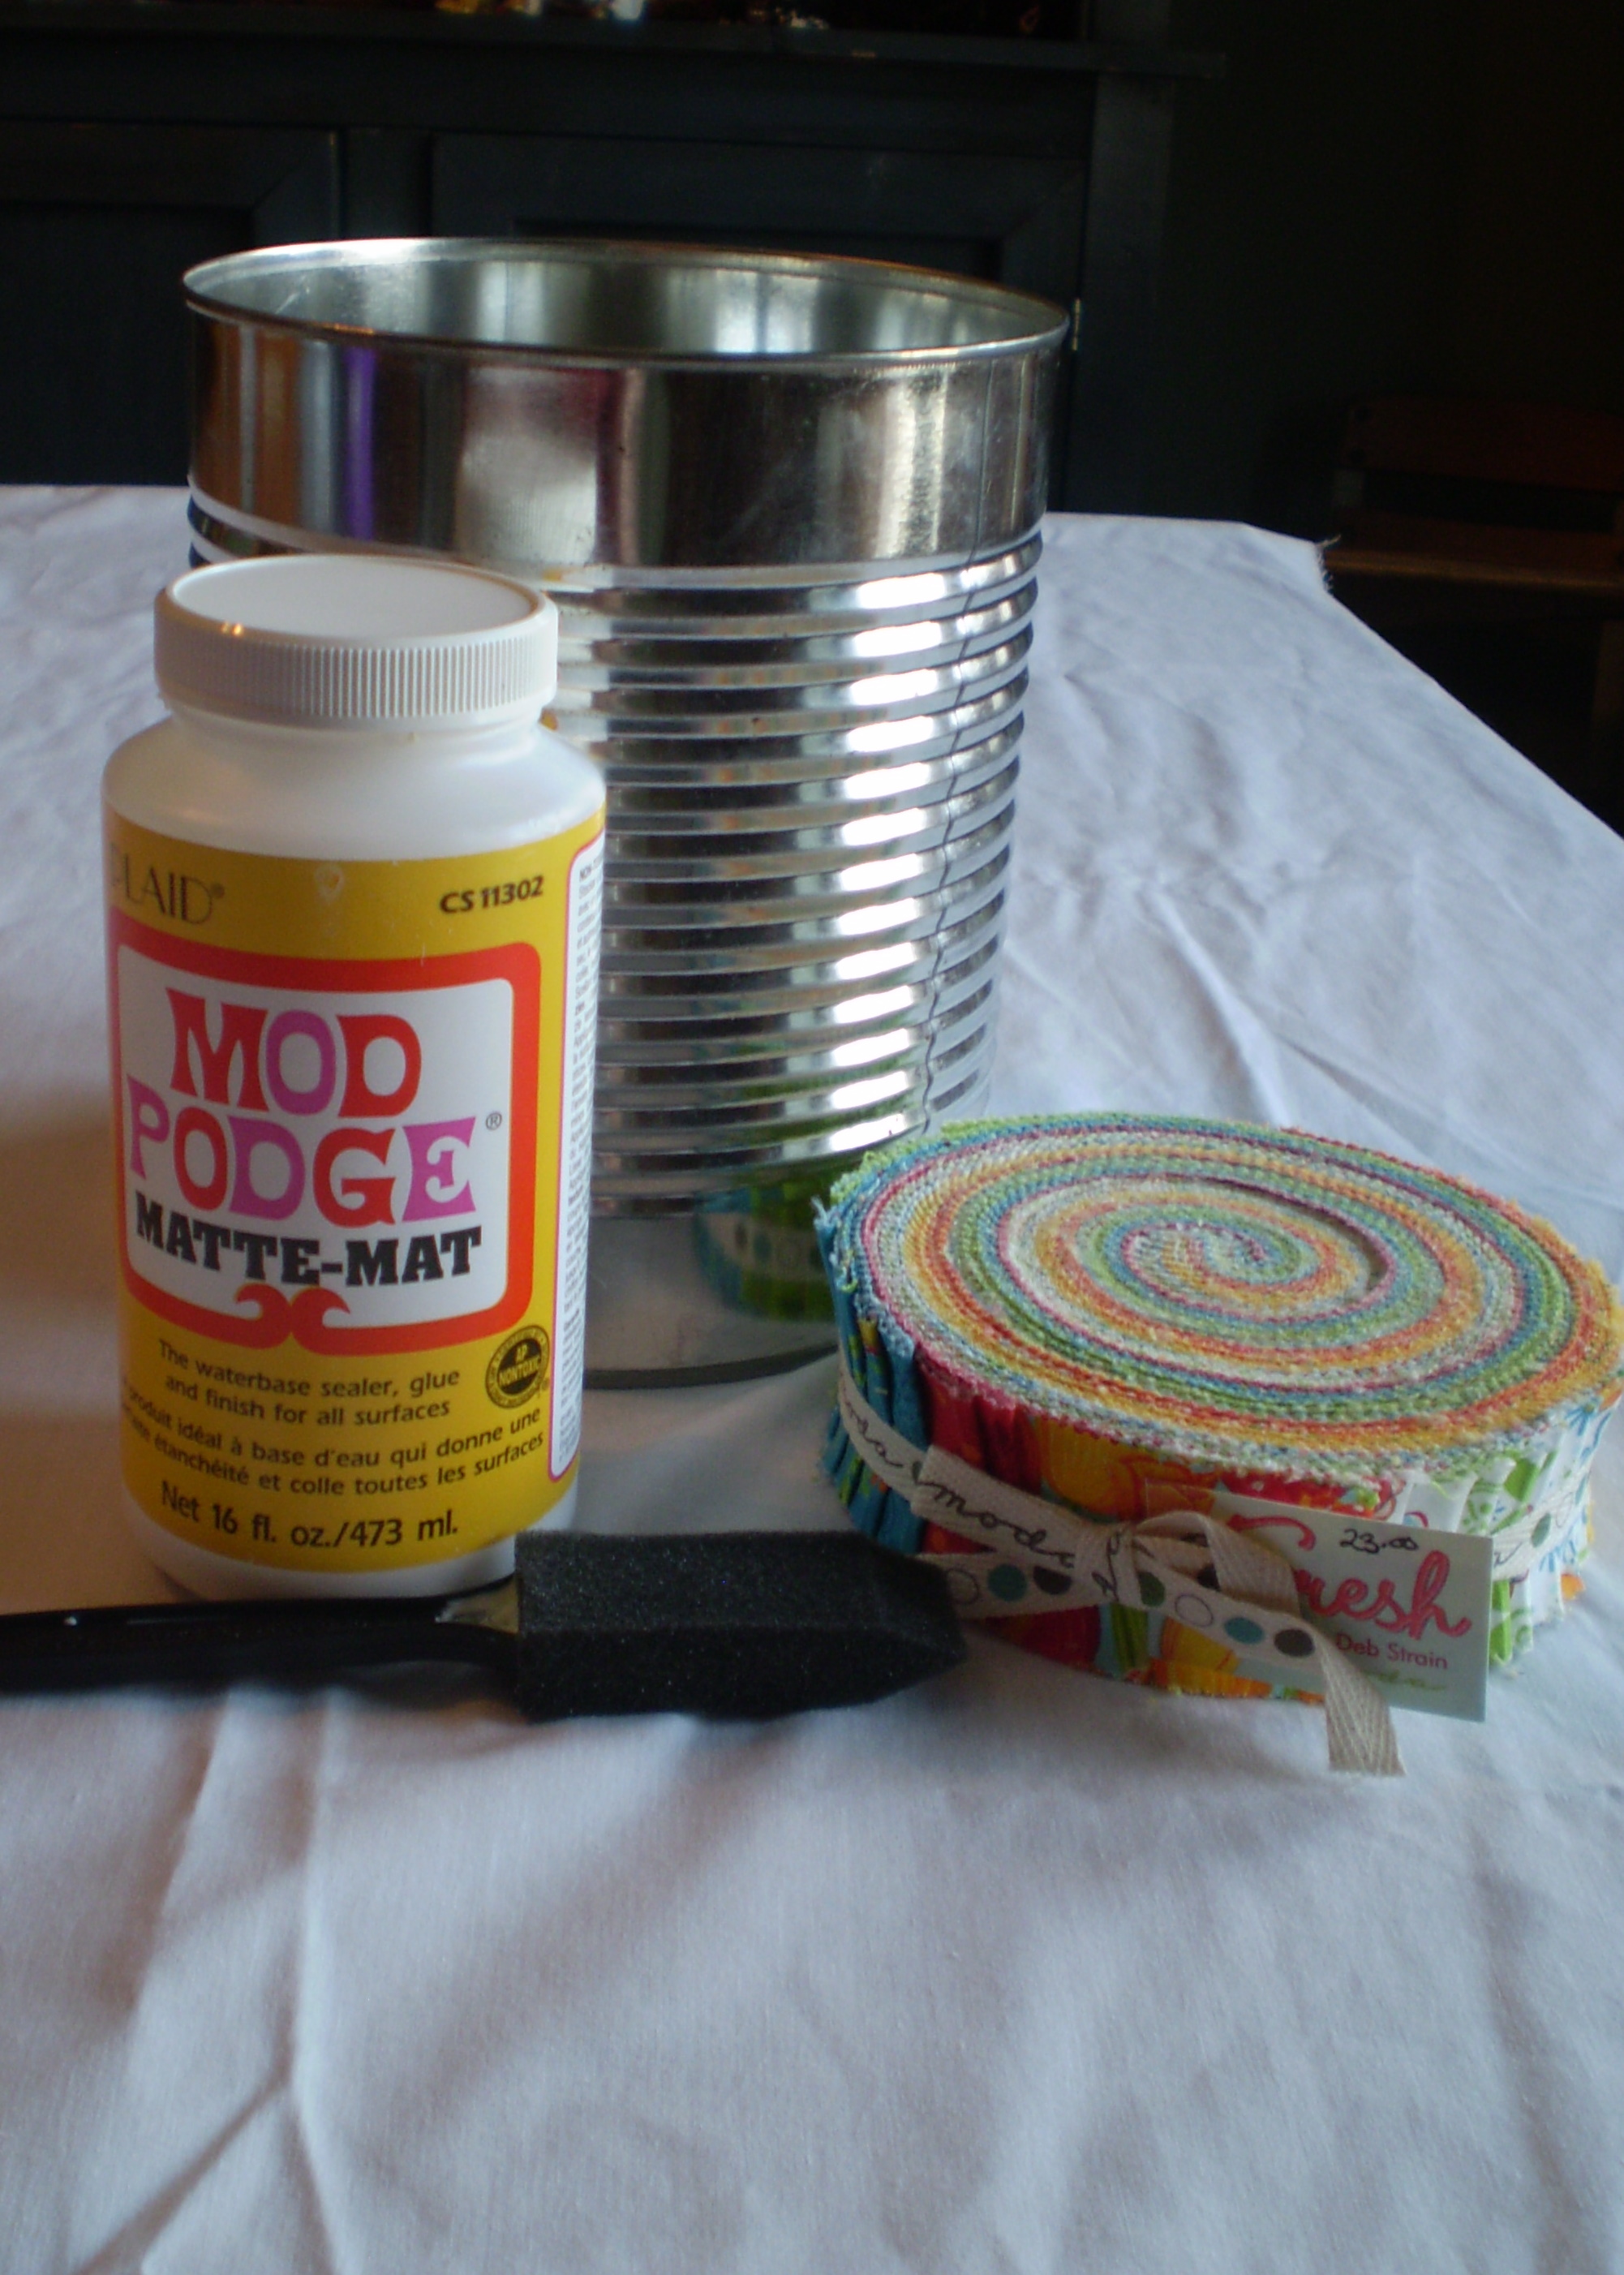
You can never have too many pot holders around the kitchen—and you surely can’t go wrong with a potholder made out of your favorite team’s fabric! In this easy tutorial, you simply take a block you already have (or stitch up a new one quickly), layer some insul-bright, add a piece for backing, and stitch them all together! Sew up this project and find the material list here!

Casserole Carrier

Casserole Carrier project by June Tailor.

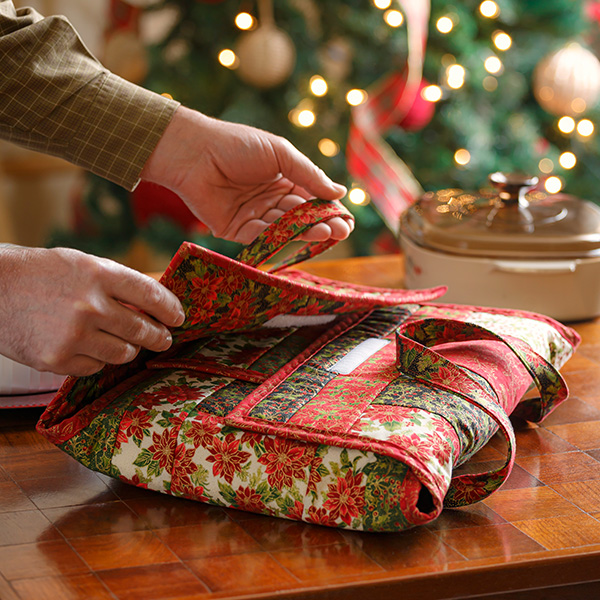
Carry your hot dips and snacks to the party in style in a casserole carrier! Grab some fabric celebrating your team and stitch up your new favorite potluck buddy. Learn how to make one for yourself or gift one to your #1 football lovin’ cook here!

Blipper Quilt

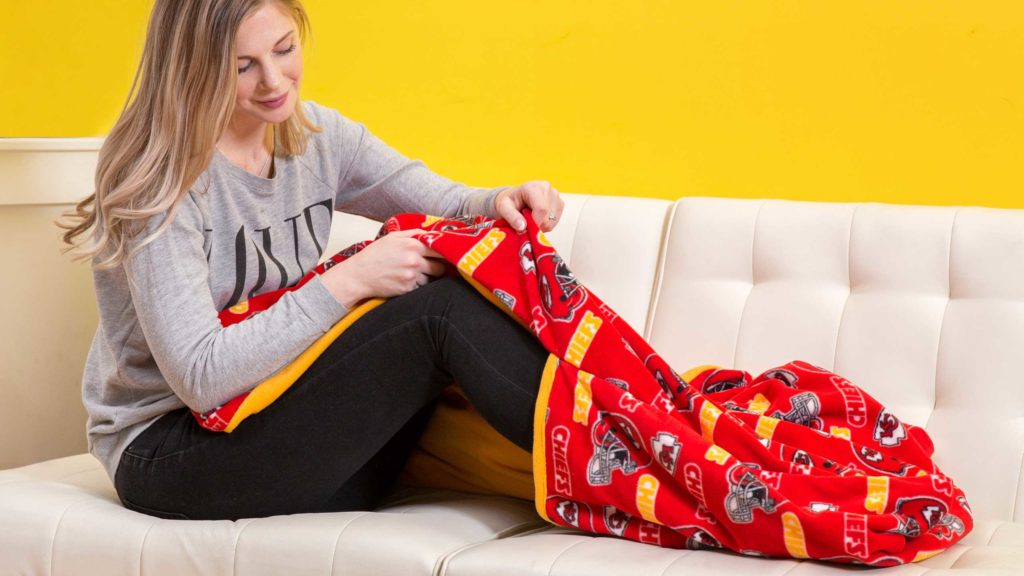
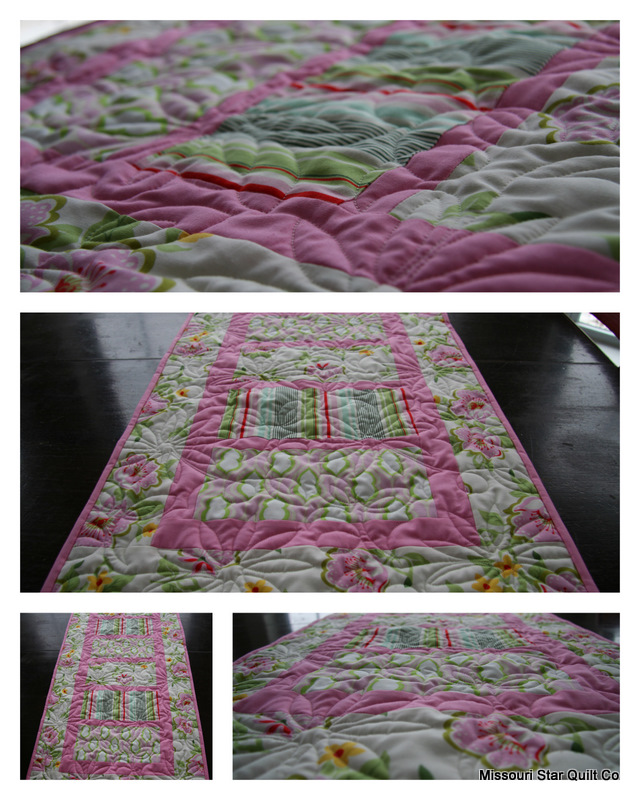
It’s always cold in Hamilton, Missouri when the Big Game comes around. What better time to snuggle up and watch the game in a new blanket? Stitch up this “Blipper” Quilt in your favorite fleece and get ready to cozy up and cheer on your team (or laugh at all of the great commercials!). This is no normal quilt – this one comes with an added pocket for your feet! Make one for you or a loved one here.

Do you enjoy watching sporting events with family and friends? Have you made anything quilty to support your love of the game? Leave a comment and let us know!

Nicey Jane table runner….

You may have guessed it by now, that I LOVE Nicey Jane, by Heather Bailey.  I may only be, mildly obsessed with her.  I may even be willing to name a child after her.  (well, if I have any more, I will totally consider that!!)

Anyway, I was so excited about this line, and wanted to just use the pinks to make a table runner for Valentines Day!  (plus, because it is Nicey Jane and NOT all heartsy, I can use this thing clear in to Summer)  This table runner goes together in a jiffy.  It is easy and fast and I think, totally cute.

Sweet like candy, right?  I am beyond thrilled to have this little lady on my dining room table right now.  Seriously, it was the first things my girls noticed when they got home from school.

Enough of my yapping…..Here are the directions:

Supplies:
      • 6- 10X5 inch rectangles
      • 5- 1.5 inch strips for 1 st border and sashing strips
      • 3- 4inch strips for 2nd border
  1. Lay out your 6 rectangles in a pleasing manner.
  2. Take 2 of the 1.5″ strips and sub cut into 5- 10 inch pieces
  3. Sew a 1.5 X10 inch strip in between each of the 5X10 inch blocks.
  4. Then border the the long center strip sewing the sides first and finishing with the ends.
  5. Then use the 4 inch strip for the outer border ,sewing the sides and finishing with the ends.
You can get a kit here for this exact table runner for only $9.95 ($8.88 today only for the daily deal) and will include everything you need to make your top.
(backing and binding not included)  OR Today only you can grab it on The Quilter’s Daily Deal @ 8.88!
You can make them for your daughter in law, your sister in law, niece, aunt…..you name it I am pretty sure that anyone would LOVE to receive this as a gift!
Here is your first Valentines project from all of us at Missouri Star Quilt Co!  We have several more things planned for you, so stay tuned…..

Color Wheel= Sunshine

So yes, its been snowing, and its really cold!  I don’t know about all of you but about this time of year I start to miss the sunshine 🙂 So, I thought, what could I do to brighten up my day?  Well sewing something usually helps and sewing something bright is even better!

I’ve been dying to use a Kona Solids Charm pack so here it is!

I took one charm pack and cut each 5″ square into a 2.5″ rectangle.P1010001

Then I took my dresden ruler and cut twenty of them into dresden plate triangles.

lovely scraps!
lovely scraps!

I assembled the Dresden plate and machine appliqued it onto a black background (15.5″ square). I also machine appliqued the black center circle.

Then I took the remaining rectangles from the charm pack and made a piano key border for the dresden. It measures approx. 25 inches square.

I still need to decide how to quilt it. and what color thread to use! (the really tough choices:) I absolutely love this little mini quilt! It is so bright and cheerful! and so easy peasy… This is a perfect project for a dreary winter afternoon! Enjoy!

All done!
All done!

Up Next… (another “honey” of a project!)

…a tissue holder for your purse! These are so cute and much easier to make than you think!

What you’ll need:

1) six strips of fabric from your favorite honey bun

2)a coordinating piece of fabric for the lining that measures 9″ x 6″

First choose six of your favorite strips from your favorite honey bun. I am still using Fresh by Deb Strain. (Just so you know,  I will be making all of my projects out of ONE honey bun!)

Line them up until you like the order, then cut them down to 8″.

p3170057Next, sew your strips together. Press your seams to one side. Your six strips should now make a block that measures 7 1/4″ x 6″.

Then measure and cut your lining fabric to 9″ x 6″p3170046

Now you will line up your outer(strips)fabric with your liner fabric RIGHT sides together and sew a 1/4″ seam on each of the 6″ sides. It will look a little funny as the lining is larger than your outer fabric. Don’t worry you are doing just fine. p3170047Okay, now flip your fabric right side out and press making sure to center the outer fabric…It will look like this:p3170053

See how the lining makes a cool little accent? (love tricks like this)

okay with your lining as the outside turn the sides toward the middle. (Mine measures approx. 1 3/4″  on each side of the center line.) PIN! This one can be slippery!p3170054

Stitch the side seams closed. You may want to serge them or zig zag to prevent fraying.

Then you pop it right side out, pushing out those corners, and you are DONE!!! p3170058Is that not the cutest tissue holder that you’ve ever seen?

Yes indeed, it is that simple…Easily done in under an hour! This one would make a great gift for just about anyone on your list, as most of us will eventually need a Kleenex!  Fill er up and toss it into your purse! Your ready for whatever comes your way!p3170063(please excuse the horrific lighting…I just wanted to show it filled with lovely Kleenex!) Oh, and check back in a few days to see what I’ve come up with next!

Have a lovely day!

Sugar Pie Honey Bun(ch)!!!

p31700651
Finished Product

“…You know that I LOVE You! I Can’t Help Myself, I love you and nobody else!…”

Oh yeah! Honey Buns are great! They are the little sister to the Jelly Roll…a sweet little package of one and a half inch strips.  All from one line. All coordinated! Endless possibilities!

Today I have two fun projects for you…first the canister. You all know how much I LOVE to recycle so here is another Green project! Here is what you’ll need:

p3170024
Materials

a can…any size will do. I am using a #10 can for a canister, but I think smaller cans would be adorable too. Perfect project for kids and great gifts for teachers!

  1. Mod Podge
  2. foam brush
  3. scissors, and pliers
  4. and of course, your favorite honey bun! We are using Fresh by Deb Strain

p3170034
Be Careful!

First, make sure that your can is clean. Next, I took a pair of pliers and just squeezed around the lip of the can to make sure there are no sharp edges left.

p3170027
Unwrap a smile

p3170028
Time to get dirty

p3170037
Starting out

p3170029
Start Wrapping

p3170031
Oh Podge

Then comes the fun part…open up that jelly roll! I know its so hard to unwrap such a pretty package…but, you can do it! Choose six or seven of your favorites and line them up in an order that you LOVE! Then just start slathering on the mod podge…I started at the top of my can and folded the fabric over the edge to make a nice finished look.Take the strip of fabric and cut it where it overlaps itself. Take your time and try to line up your seam. Be sure to seal it with lots more mod podge.

Then you will want to continue coating your can with mod podge and lining up your strips until you reach the bottom of your can. I lined my final strip up with the bottom edge of the can and then added a final coating of mod podge to the entire thing.

This will make a nice sealed finish. If you want a smooth feel or a shiny look, just spray the can with a craft varnish. It will dry clear and looks beautiful!

p3170033
Looking good

p31700651
Finished

And there you have it! a lovely canister! Use these for storing spoons, scraps, buttons, toys, pencils, they would make gorgeous planters for the front porch, or a lovely herb garden…like I said before…Endless Possibilities! So very GREEN!

Isn’t it just the cutest little thing…oh, and do you see the little kleenex holder in the picture…That little honey of a project is coming right up!  So, check back soon, your next tutorial is on its way! and believe me, with one honey bun…you can make a BUNCH of projects!!! Love it!