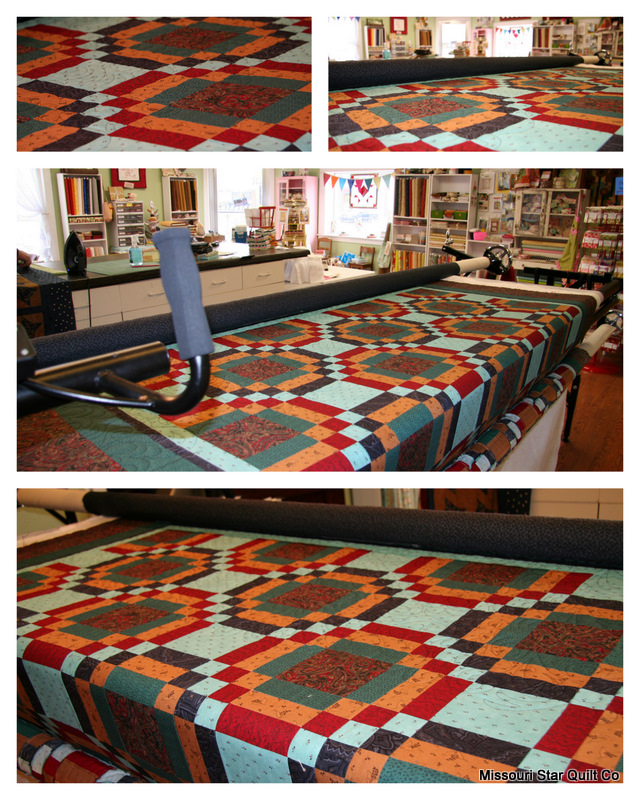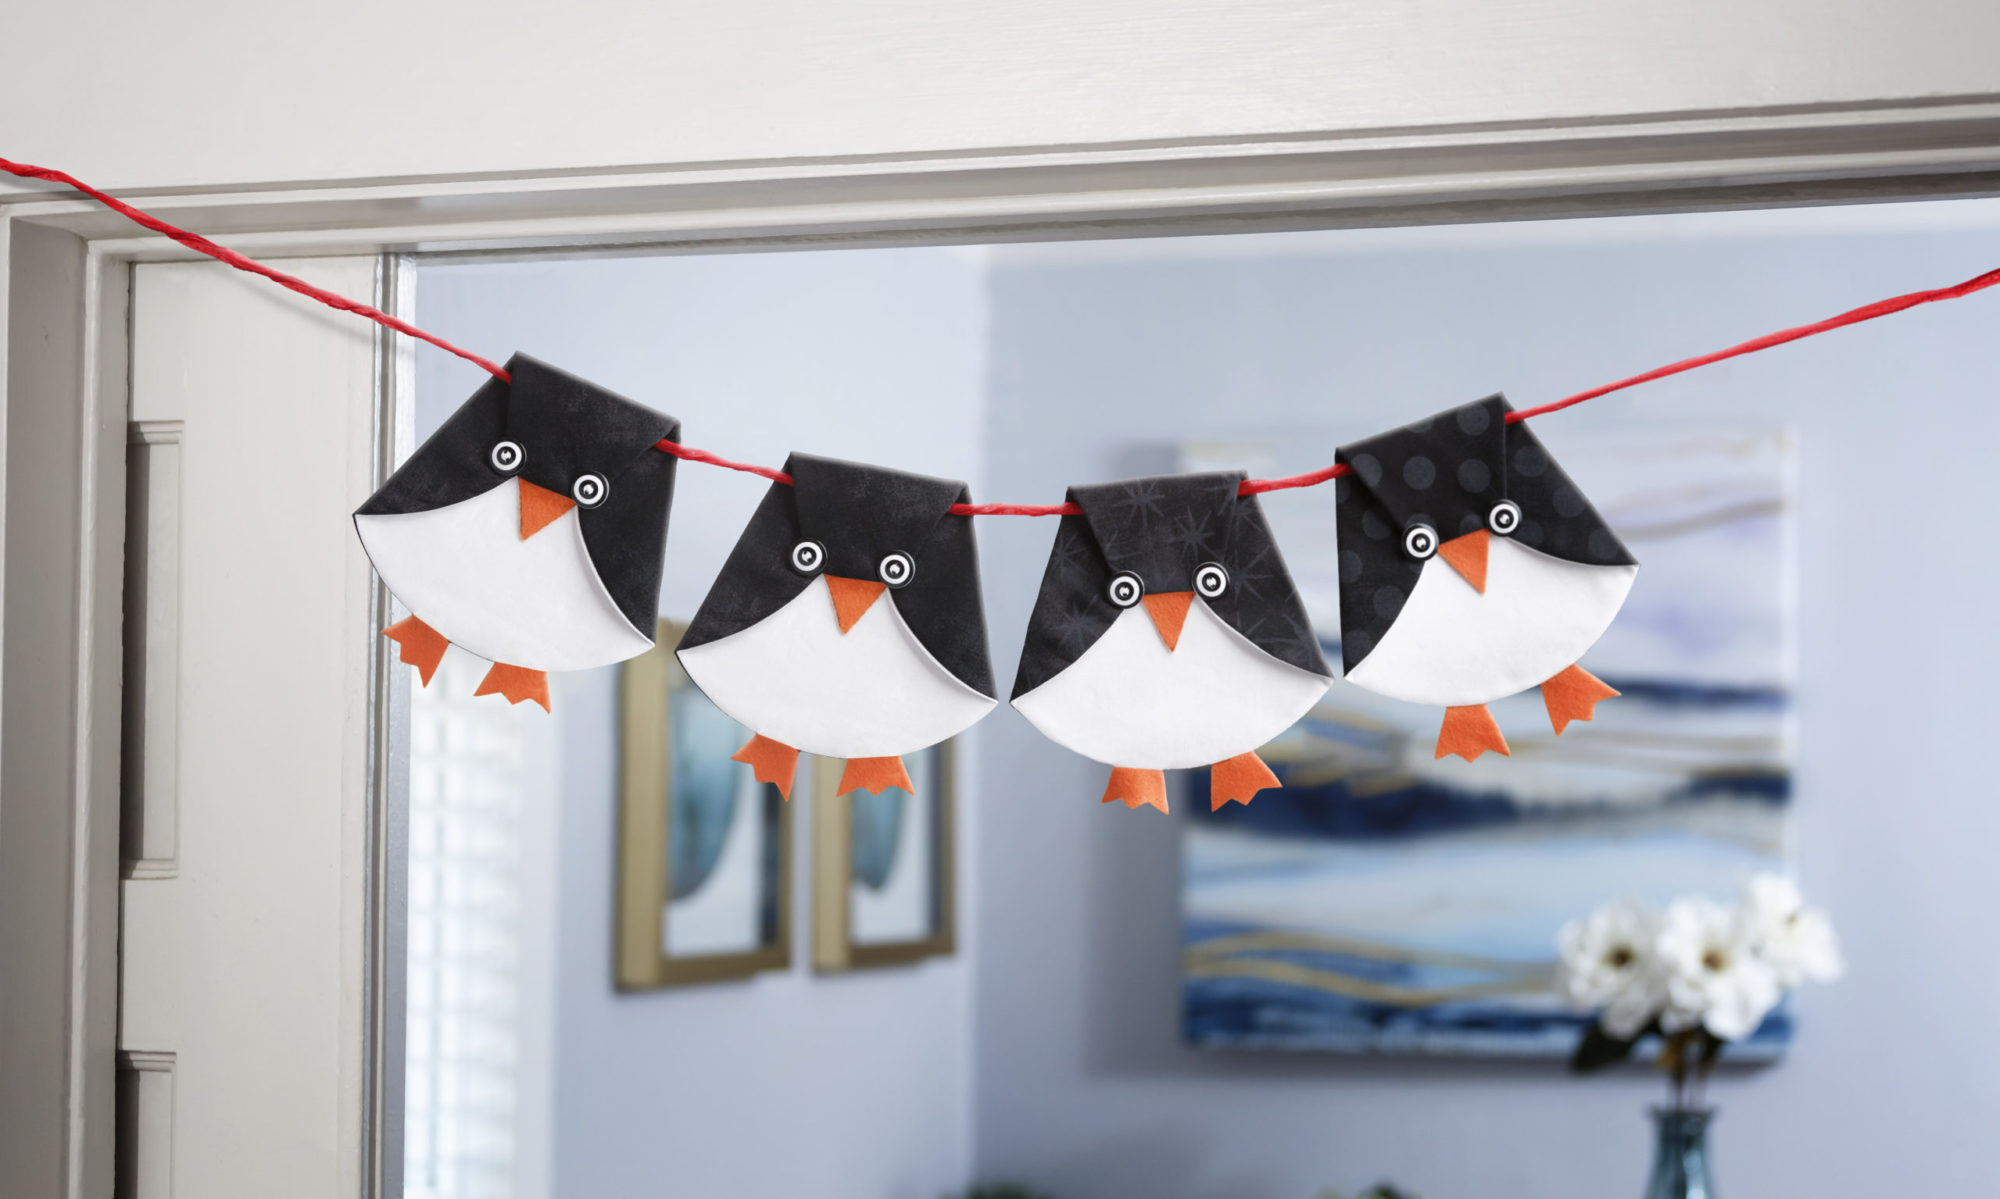

We are starting a Spring Quilt Along!

It’s a Log Cabin sampler style lap quilt. You know, just something to help you keep that sewing fix in check while the spring bug is biting and we’re spending so much time outside!
Feel free to grab the button and post it on your blogs and spread the word and join us! I’ll be posting info here on the Cutting Table Blog as well as in the forum’s Sewing Together Far Apart Section (This is open to all things virtual sewing by the way, incase you want to host a swap or bee, etc. this is a great place!), and on my own blog, Designing Happy so pick your place, swing into the forum and let us know if your in, and have a little spring sewing in your life!
We are currently gathering fabric and friends! I will post cutting instructions April 17th! Yay! It’s coming! Oh, and the plan is to take 2 weeks on each block style & step of this quilt since things can get busy this time of year 🙂 I know we have several new to quilting out here so, there’s no need to feel overwhelmed by this project.
We’re taking it slow and having a good time together!
I’ve posted most of this previously in the forum but for everyone else here you go 😀
– The finished quilt size will be 57×70 approx. (It will likely vary slightly  oh well
  ) with 10.5″ finished block sizes & 3″ sashing
-A log cabin square traditionally uses several fabrics of the same color that change from light in the center of the block and the fabrics get darker as you go out to the largest outside row of fabric or vice versa. Each block uses 2 colors. We will call them our primary and secondary colors. (The primary color will have slightly more of it on the quilt.) You can also fade from bright to deep or however you like it. Just be consistent.
-You need to decide what 2 colors you will be using in your quilt. Each color will need differnet shades of fabric. Such as Dark, Medium, and Light. When you have decided you can start finding what you have and what you will need to complete your color groups
-This Log Cabin Sampler quilt requires 8 Fat Quarters of your primary color and 5 Fat quarters of your secondary color. It will also require 1 2/3 yard of sashing fabric. The back and binding will be in addition but this tutorial will not cover that… unless there’s an uproar and then we’ll figure it out 
Here is our list of how many fat quarters you will need of each color group.
Primary Color – 4 shades
Dark – 4 FQ of the same fabric or 2 sets of 2 matching FQ
Medium Dark – 2 FQ of the same fabric
Medium Light – 1 FQ
Light – 1 FQ
Secondary Color – 3 shades
Dark – 2 FQ of the same fabric
Medium – 2 FQ (they don’t have to match, just both be of the Medium shade)
Light – 1 FQ
Don’t forget your 1 2/3 yd for sashing. I will be using an Amy Butler Slate, really anything neutral usually works great. You might consider getting enough of the fabric for your squares so that you can also use it for your binding. I will be taking extra strips in the same and similar colors from my fat quarters to piece together a scrappy binding. (if you do this you will probably want a couple extra FQ’s or scraps, to the equivelant of .5 yd)
Again, we will not be covering the finishing of the quilt, but depending on how you choose to finish it you will need batting, binding, & backing to 6″larger than the quilt top on all sides.
You can choose to make this quilt larger or smaller depending on your block size and sashing width. There are 3 variations on the Log Cabin Block in this quilt. Including the Log cabin, Courthouse Steps, and Square in a Square. (I will be throwing improvisational guidance for the last block. If you want to do it that way 🙂 )
You can also use precut honey bun’s or jelly roll’s for these blocks. They will give a very scrappy look as the color changes will likely not be as smooth, they will also change the size of your block’s. My strips are cut 2″ wide. A honey bun is 1.5 and a jelly roll is 2.5 . So, it can be done but my instructions will be for working with FQ’s. Feel free to adjust and share what works for you!
My sister has been participating in a fun quilt along by Elizabeth Hartman at Oh, Frannson! who has agreat discussion of color and color choices if you want to go check it out
Something else I read about choosing fabrics on Elizabeth’s site (this is not an exact quote but feel free to go check out her blog she has wonderful insight on all things quilting) is that there is no secret, just choose fabrics you love. You don’t want to work for hours on a quilt with fabrics you can’t stand. So step back and think about what you love. What colors did you paint your house what colors are in your closet are they florals, stripes, solids? Find what you love and you’ll be happy.
So that’s my opening info if you have question’s feel free to let us know we’ll be actively posting progress and pictures in the forum and we look forward to seeing you there with us!
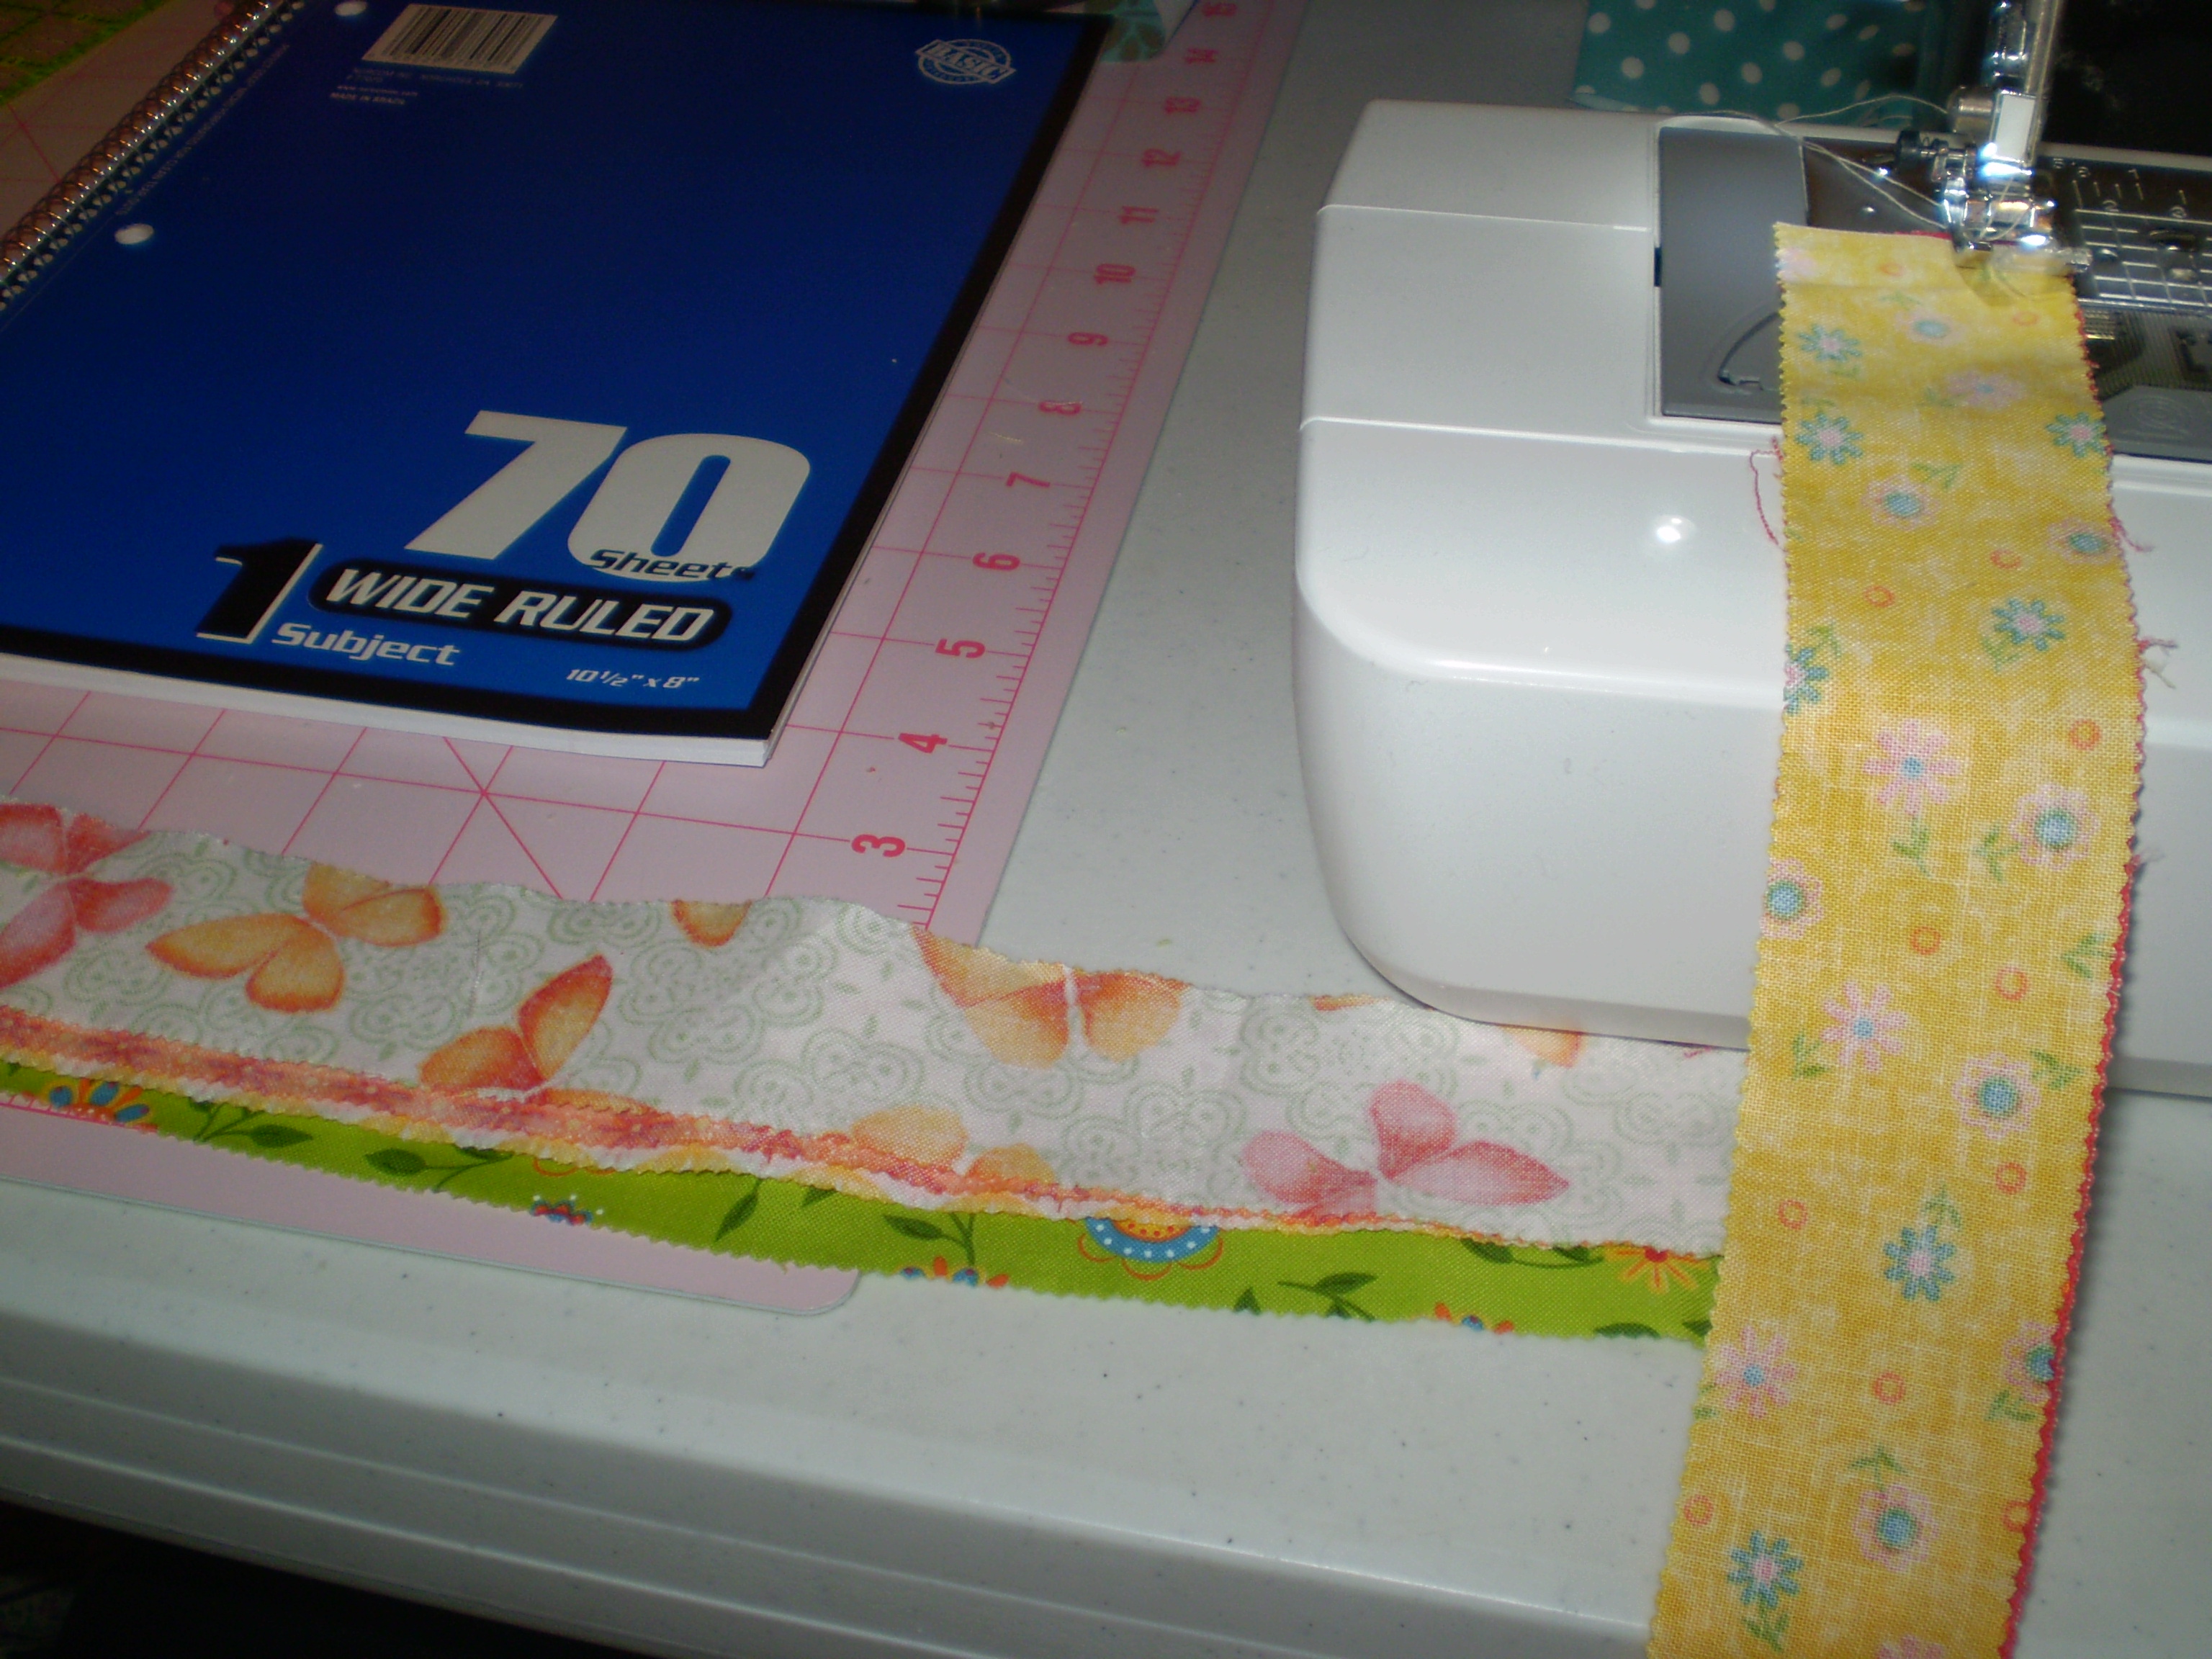
 The first thing you will do is select eleven strips from your honey bun. Cut them down to 18″ in length. Then lay them out and start sewing them together. you will then have a piece of fabric that looks something like this:
 Next, you will add your fusible fleece liner to make this baby a bit more sturdy:
  I would cut it smaller than your seam allowances from top to bottom, and the same size from end to end. (mine is 9″ x 18″)Because you don’t want those seams to be too bulky when you flip it around and I didn’t want mine to show at the top and bottom of the notebook. (You will catch it in your side seams.)Iron it to the wrong side of the fabric.
 Fold and iron one edge of each piece and sew under.


 And…your finally done! Here is a photo of the finished product!

 Yup, that’s all you get! I wont say when it will be finished or what it is! Let’s just say I love it…and I think you will too! Just wait and see!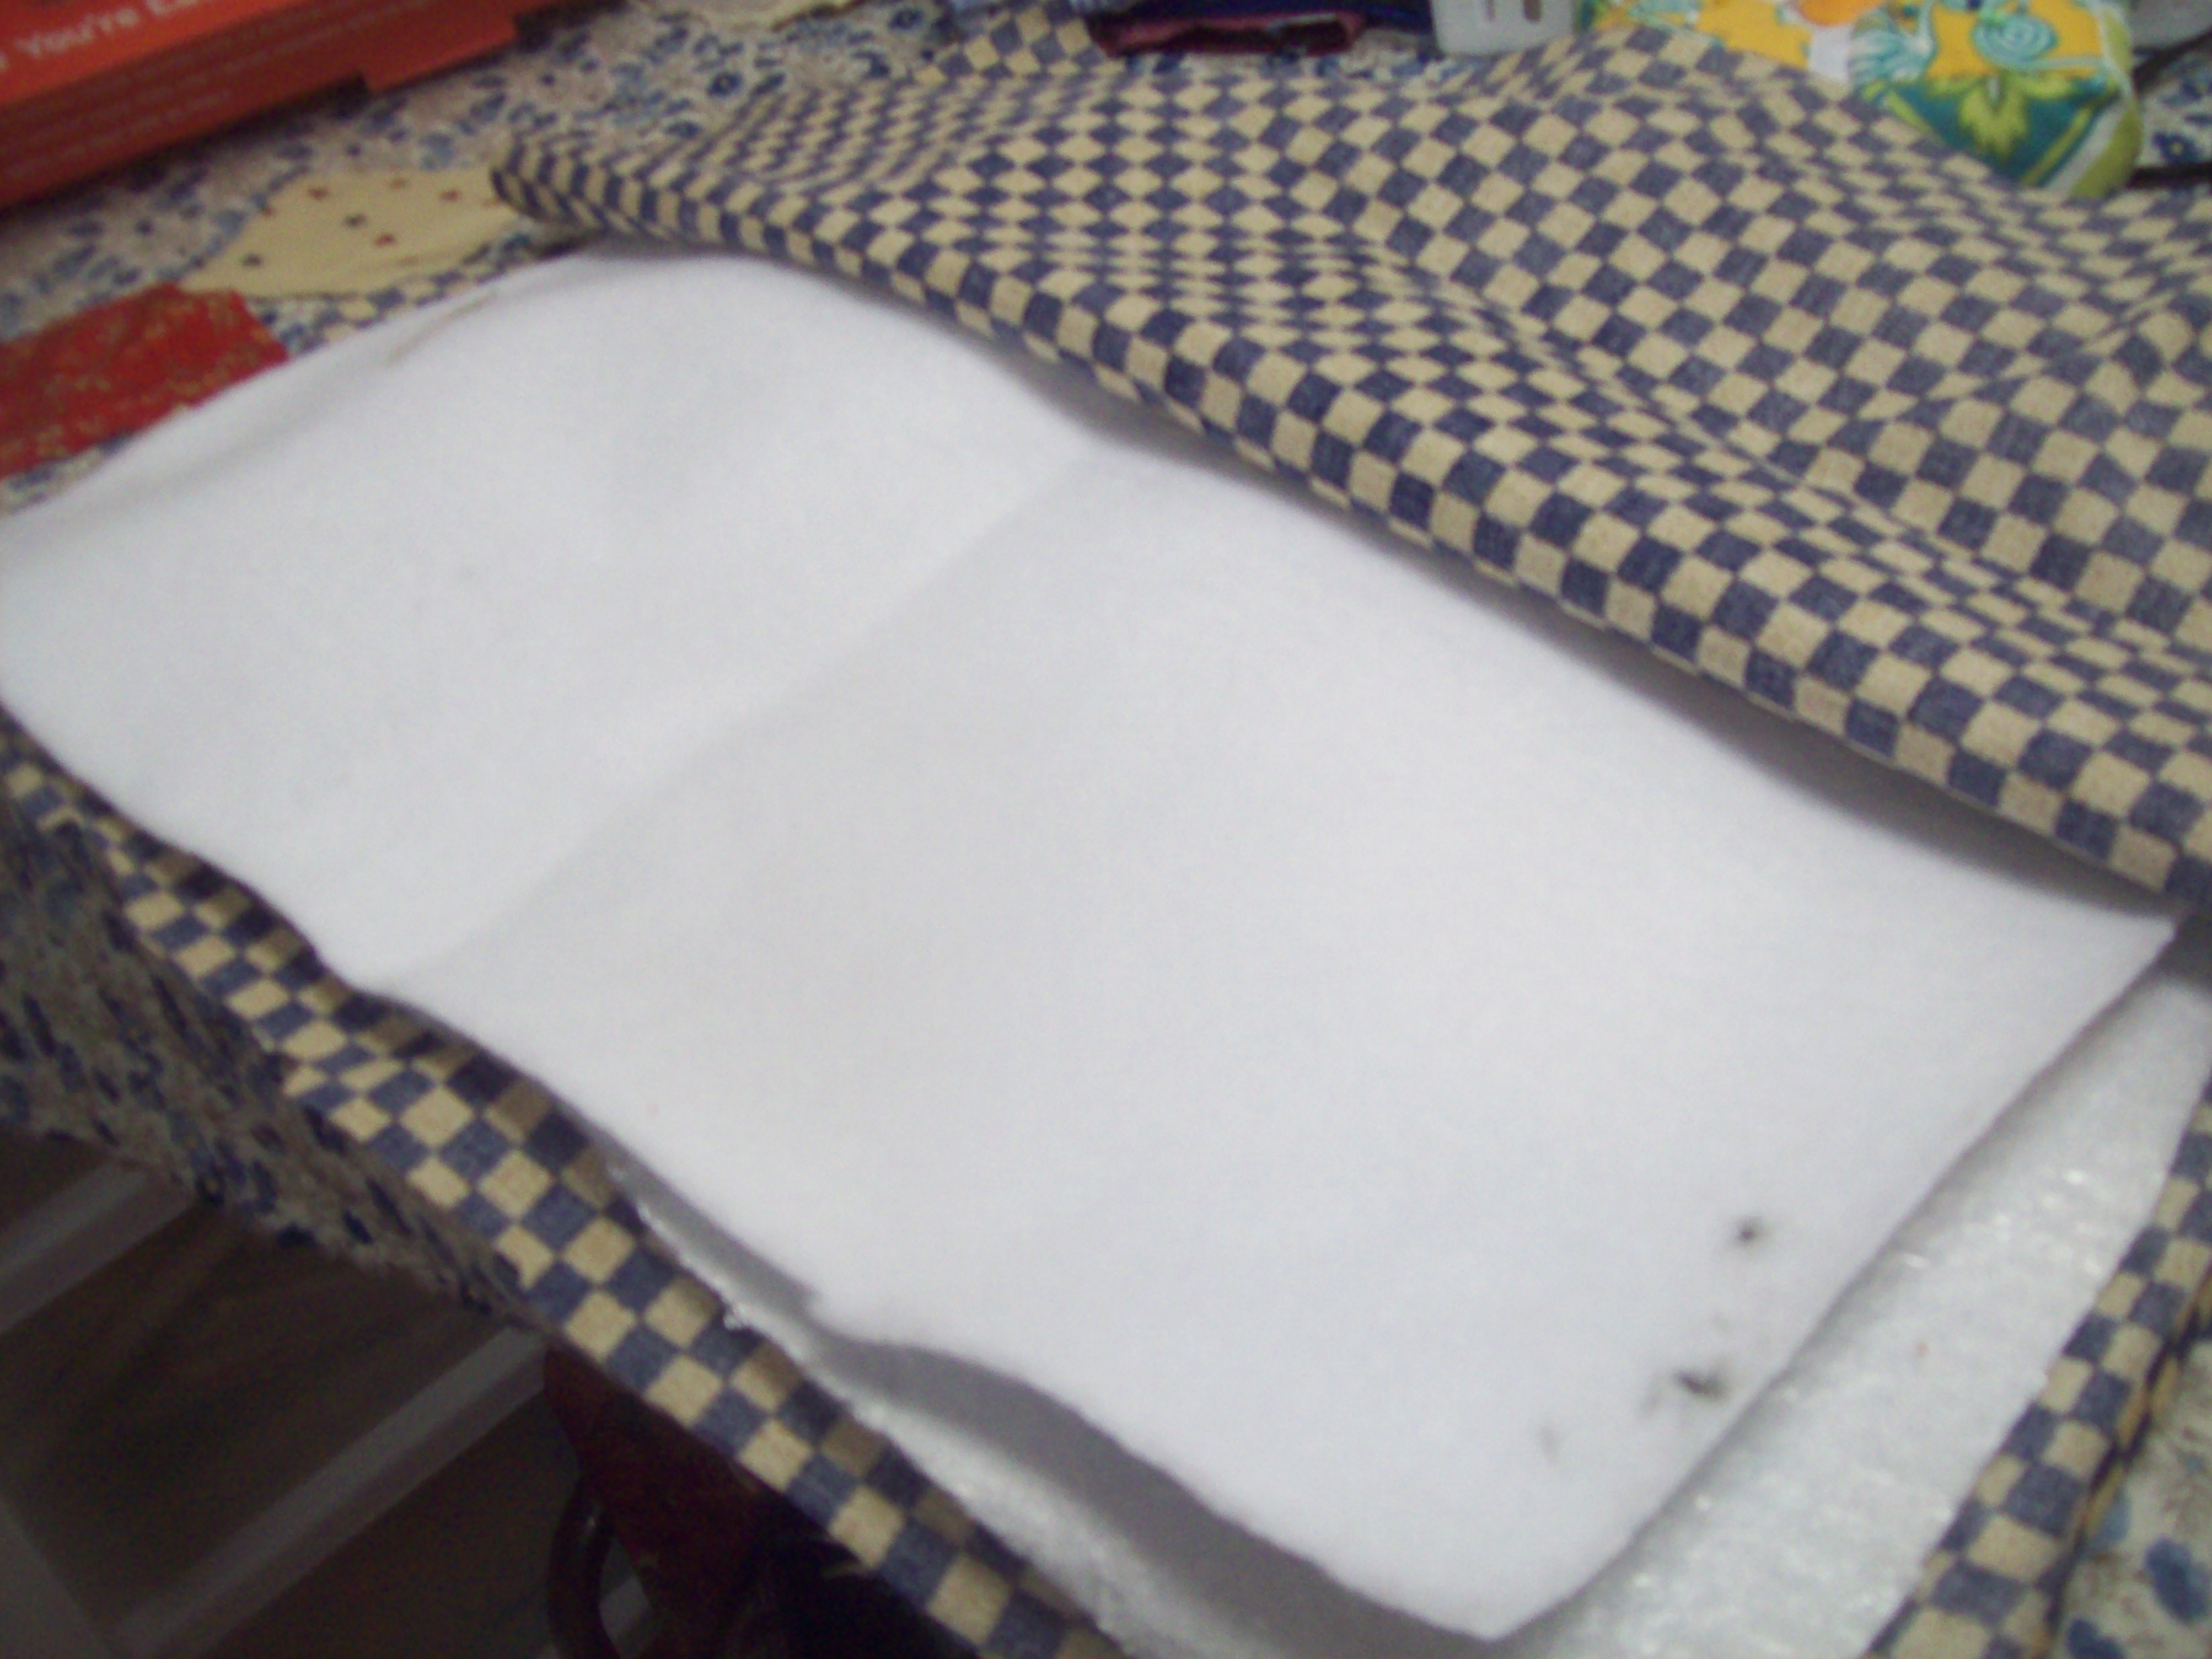


 Apparently persistense pays off because DanielaK has been playing along with us since we started this weekly game!! So, congratulations and thanks for playing along! We’re excited for you and we’ll be sending your