Tula Pink HomeMade Challenge at Missouri Star

NOTE: This blog post has been edited with updated deadlines from Free Spirit Fabrics due to COVID-19. Updated dates and procedures are listed in BOLD.

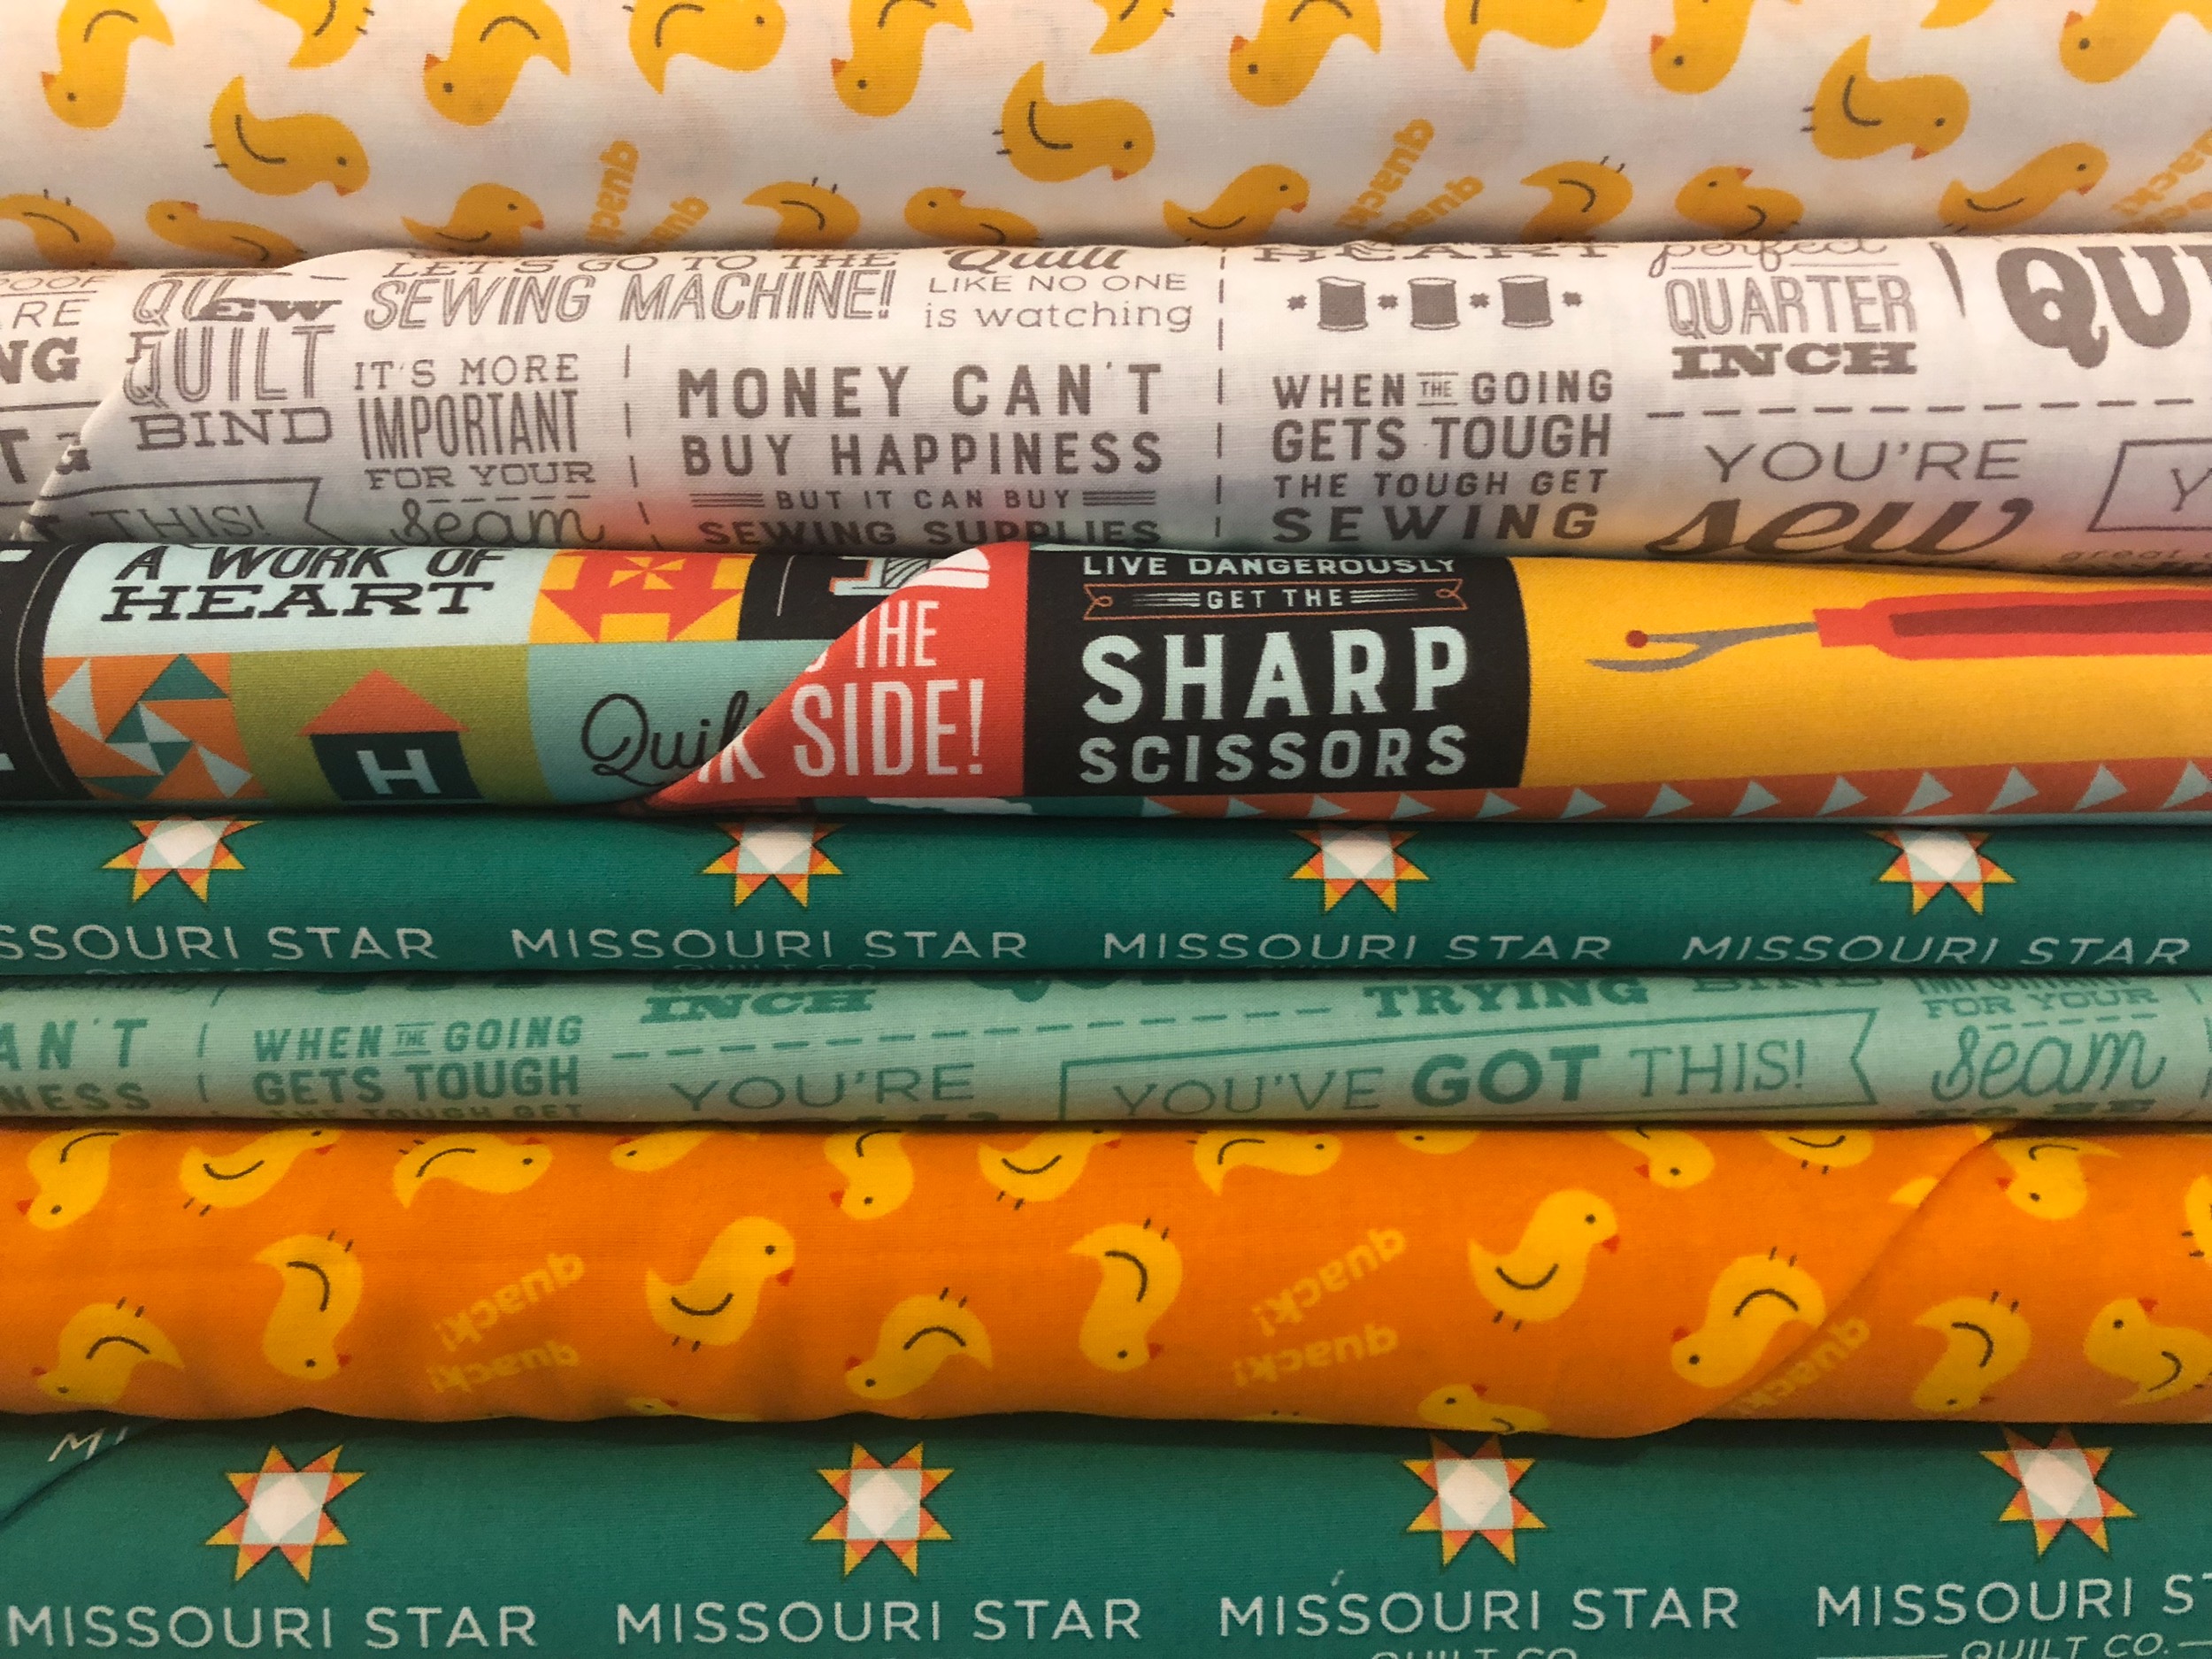
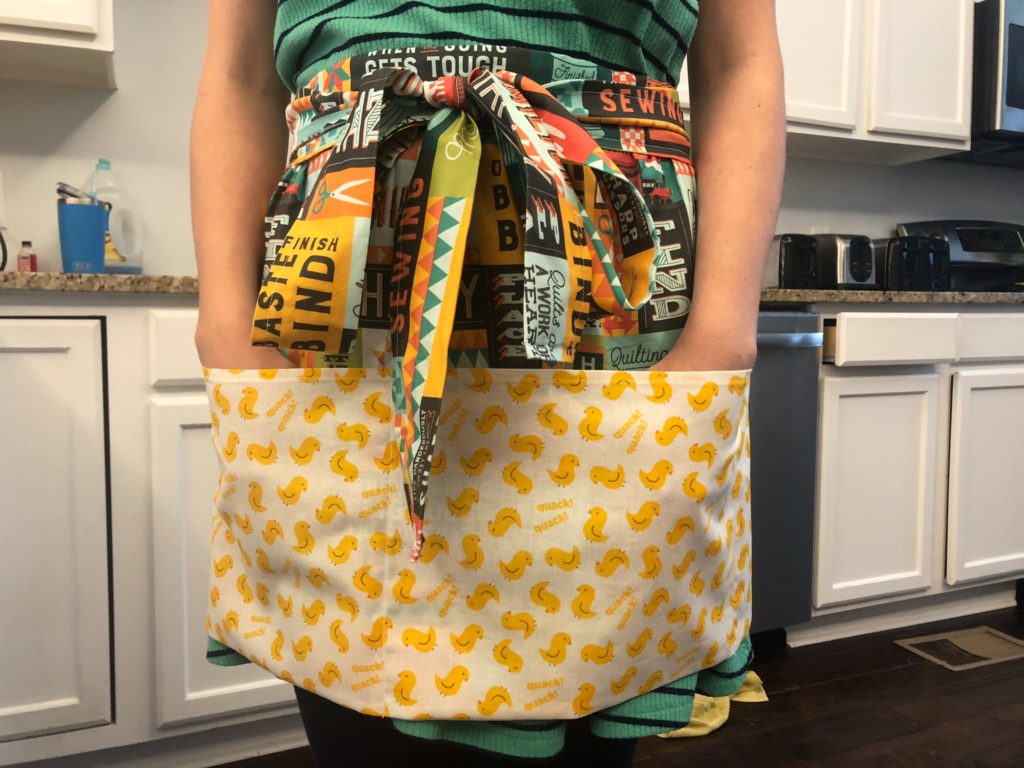
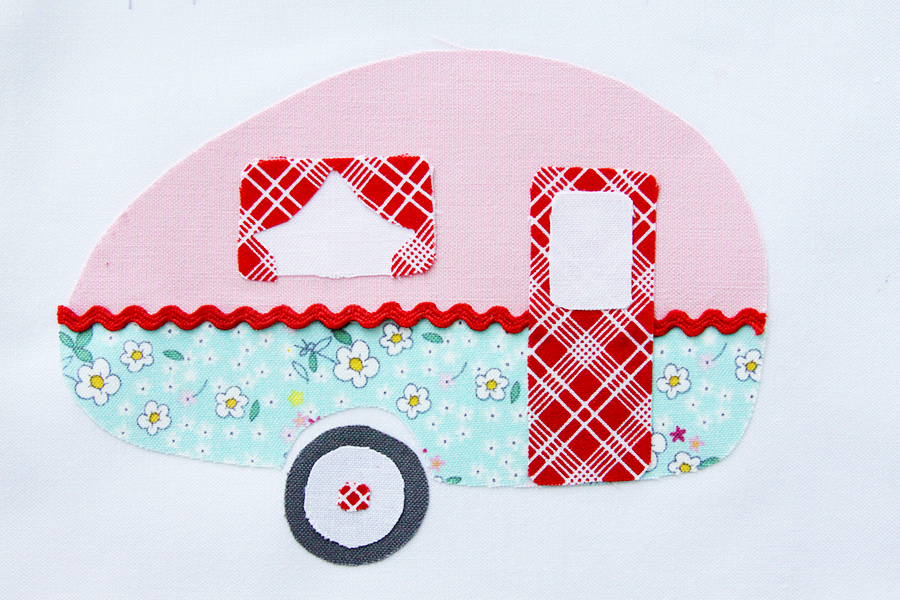
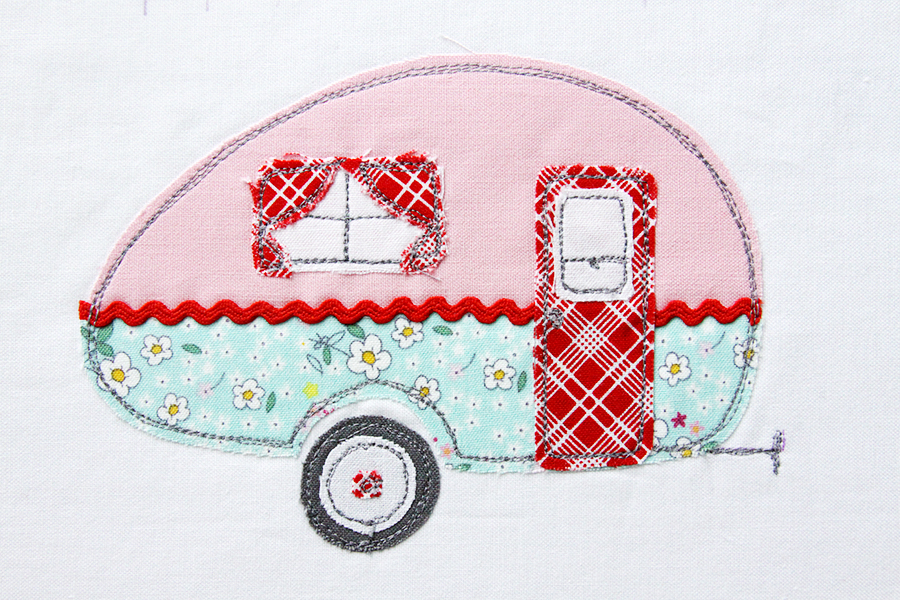
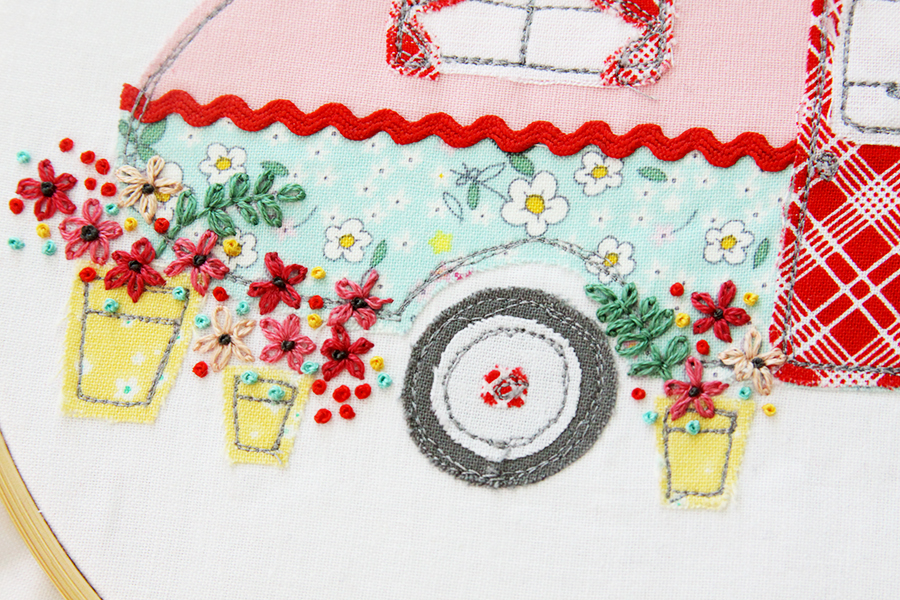
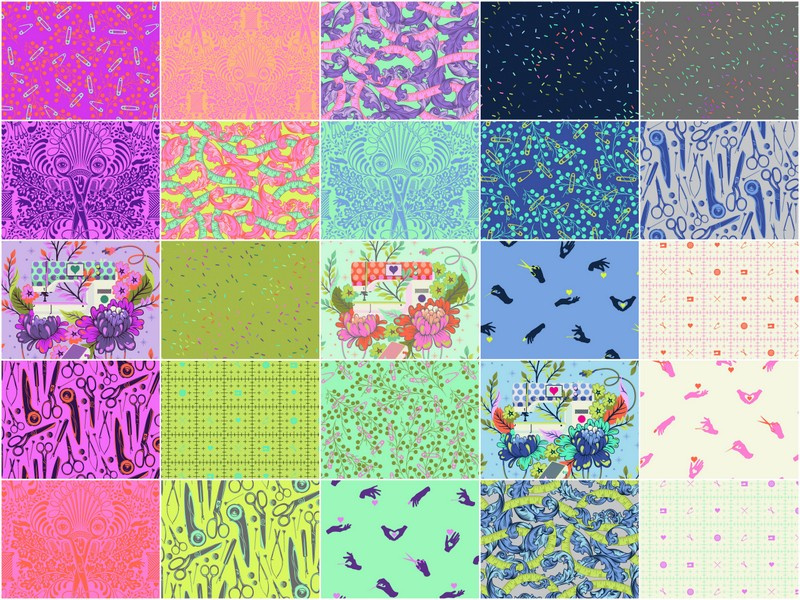
Bold and brilliant colors plus sewing-themed designs?! Sign us up! This is what you’ll find in Tula Pink’s brand new HomeMade collection. Designed with her sewing process in mind, HomeMade is sure to dazzle!

Tula Pink HomeMade Fabric available at Missouri Star Quilt Co.

To celebrate the HomeMade collection, Tula Pink, Free Spirit and Aurifil are sponsoring the HomeMade Challenge, a juried and judge quilt competition, and we’re proud to be one of the participating quilt shops!! For the complete contest rules, please click HERE

Missouri Star Quilt Co. is one of the quilt shops participating in the Tula Pink HomeMade Challenge

The winner of this challenge wins a terrific grand prize valued at over $10,000 (more details on the prizes HERE), AND the opportunity for his or her quilt to hang in a special gallery at Quilt Market in November 2021!

We can’t wait to see your quilt submissions here at Missouri Star (and be sure to check the list of participating shops to see if your local quilt shop is participating, too!) All of the competition specifics can be found HERE. Please read them thoroughly before you start stitching! 

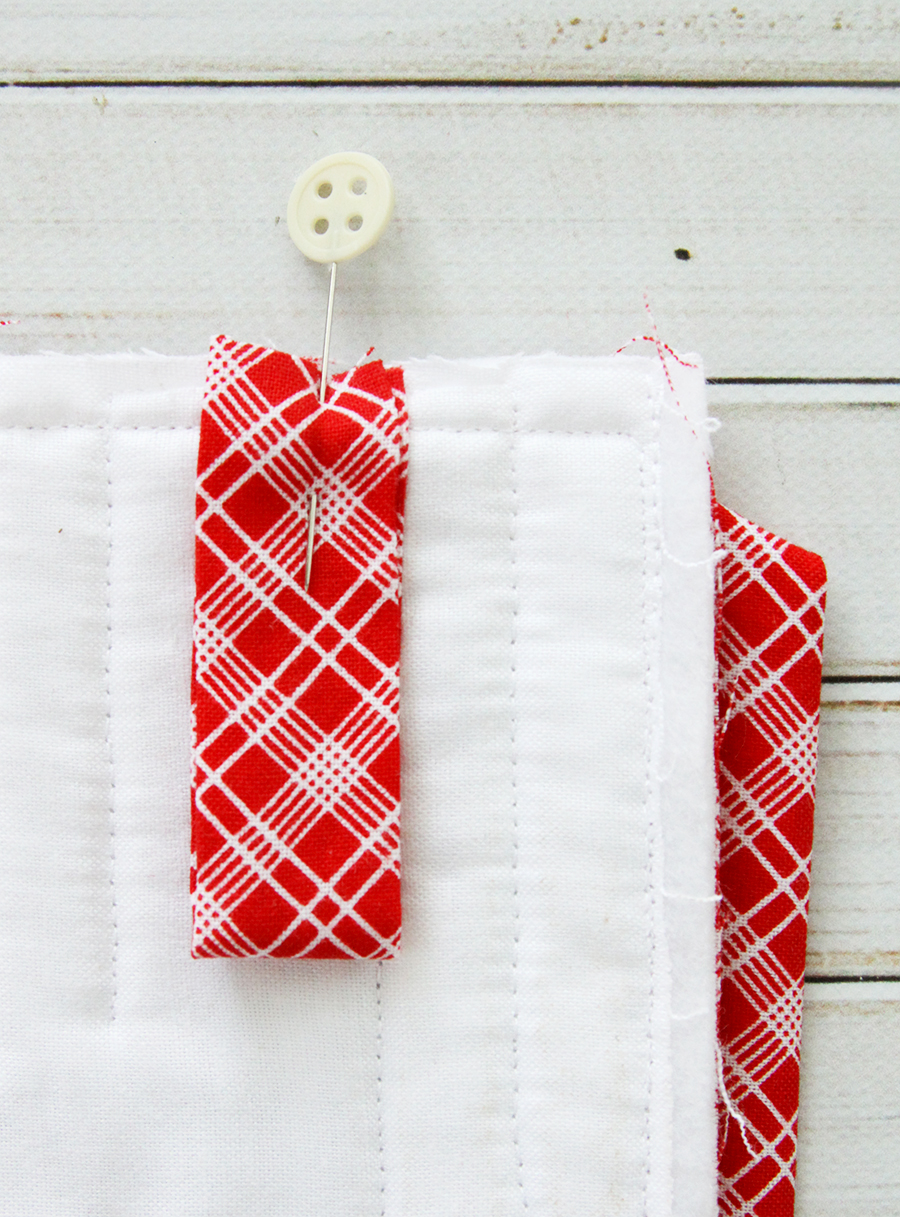
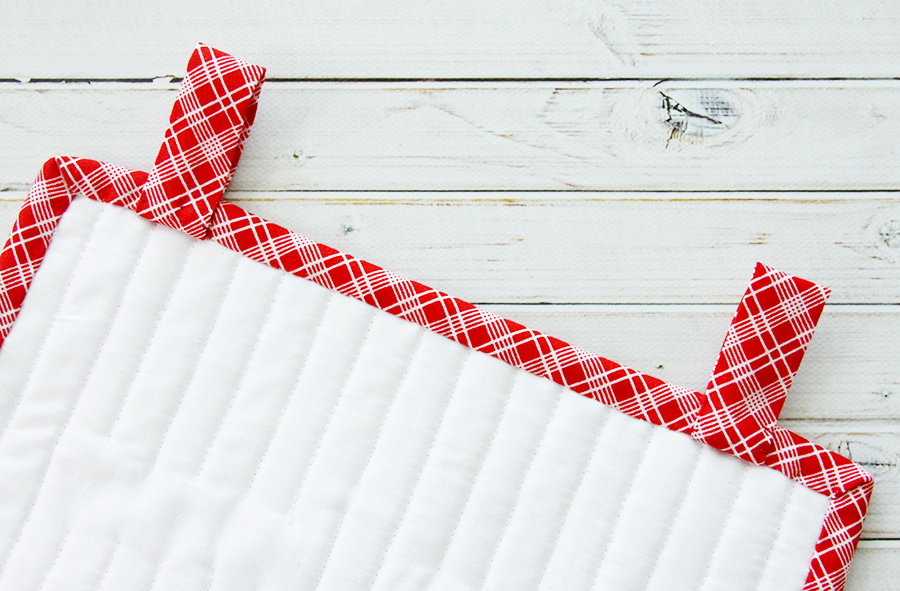
  • Quilts must be no smaller than 60”x60” with a four-inch sleeve sewn to the top back edge of the quilt. 
  • At least 80% of the quilt should feature Tula Pink HomeMade fabric and the use of Aurifil Thread
  • Missouri Star is accepting images of quilts for the entry into this contest. Please email socialmedia@missouriquiltco.com with your quilt images. Please DO NOT SEND physical quilts to Missouri Star for entry into this competition. 

Please submit your quilts via email at socialmedia@missouriquiltco.com and a completed entry form found HERE no later than Sept. 30, 2020. Online voting on quilts will begin June 17.

Introducing Missouri Star Souvenir Fabric

There is something special about Quilt Town, USA. Walking down Davis Street, you can feel the quilty inspiration, and no visit to Missouri Star is complete with picking up a yard or two (okay, okay, maybe a dozen) of fabric.  

A wonderful way to commemorate your visit to Missouri Star (or your Missouri Star fandom) is with our brand new souvenir fabric. With eight different fabrics, featuring our Welcome to Hamilton mural, Chuck the Chicken Duck, our Missouri Star logo, Jenny’s favorite sayings and a signature Missouri Star collage, these gorgeous fabrics can be stitched into bags, table runners, quilts and so much more!

Shop our Missouri Star souvenir fabrics HERE.  

Today, Misty is stitching up an All Purpose Apron, and you can find the FREE pattern download HERE!

If you are still looking for more fun ways to stitch up the Missouri Star souvenir fabric, then check out our Reversible Bag Pattern that you can purchase HERE.

LIVE: Mini Quilted Banners with Bev McCullough

We’re a bunch of happy campers since Bev McCullough joined us for a Live Video on May 29 to show us how to create the darling “Happy Camper” mini quilted banner that is sure to add a touch of charm to any glamper or sewing studio! Learn more about Bev on her blog, Flamingo Toes and follow along on Instagram!

Watch the replay of the Live Video below, and keep scrolling for step by step instructions!

Read on to see more photos of this fun project, and be sure to download the FREE Colorful Camper Banner Mini Quilt Pattern from Flamingo Toes HERE!

Show off your sense of adventure with this Colorful Camper Mini Quilt Banner! It is so quick to sew and it is a perfect scrap-busting project – you can mix and match your favorite prints to create this cute little camper!

The Mini Quilt is the sweetest little banner shape and has two fabric strips for hanging it from a little dowel or strip of wood. The embroidered details add a fun texture and color too!

Here’s what you’ll need to create it:

Instructions:

Print out your Camper pattern and Layout. Cut out the pattern pieces and cut out fabric pieces slightly larger than your patterns. Iron the HeatnBond Lite on the wrong side of the fabrics and cut out all the fabric pieces. Cut out from your white background fabric two pieces that are 9″ x 11″ and use the pattern layout page to cut the bottom of the pieces into a banner shape.

Using the layout as a placement guide, iron on your fabric camper pieces, except for the planters. Add the rick rack the length of the camper over the seam, but trim out the section under the door. Optional – glue the rick rack in place instead of stitching it on. Iron the fusible interfacing or embroidery stabilizer to the back of the front banner piece.

Using a free motion foot on your sewing machine, stitch around the shapes two or three times. Add the extra details of the window panes, doorknob, and towing hitch with stitching.

Iron on the planters and transfer all the embroidery designs. Stitch around the planters like you did with the camper.

Embroidery the design by adding lazy daisy stitches for the flowers and French Knots around the flowers and Planters. Stitch the leaf stems with a back stitch and the leaves with small lazy daisy stitches. Embroider the lettering at the top of the banner with a back stitch. Use three strands of floss for all embroidery.

Layer your banner front, batting (or fusible fleece) and banner back pieces together and baste. Quilt the banner as desired. I used Aurifil 50wt white in straight lines.

Cut a strip of red plaid 2 1/4″ x 42″ for double fold binding. Sew the binding to the front of the quilt. Cut a strip of red plaid 2″ x 9″. Sew into a tube, right sides together with a 1/4″ seam allowance. Turn right side out and press with the seam in the center. Cut the strip into two 4 1/2″ pieces.

Fold each strip in half with the seam to the inside, and pin the raw edge towards the top of the banner on the back side, 1″ from each side. Sew the strips in place just inside the binding seam.

Hand sew the binding to the back of the quilt. Once the binding is sewn in place, fold the hanging strips towards the top of the banner and hand sew in place.

Hang the mini quilt from a cute wood dowel or even a little branch!


We had so much fun with Bev’s Mini Quilted Banner project that we had to create some for ourselves/ Download the Missouri Star mini banner printables HERE!