yes, its from the same honey bun! Fresh, by Deb Strain. We seem to have a bit of a notebook buying problem around here! I think it leads back to my dad who always has (and still does) shopped the back to school sales! Stocking up on notebooks! We write a lot, take lots of notes, make lists of everything. and its spreading…we recently found a notebook full of lists made by Hillary’s daughter Ally…things like “the ten things I love…” followed closely by “the ten things I hate…”(and many more lists)! 🙂 We LOVED reading through her lists! My boys draw pictures all the time (I have notebooks filled with drawings) and my daughter Hannah sits and writes…she is constantly asking me to spell words for her. Her most recent thing has been listing all of her relatives by name and listing them in families. Then she orders them by age! Its so funny but, hey she’s keeping busy right?! (a tiny bit of OCD? I don’t know where she gets that? 😳 )
So, on to the project!
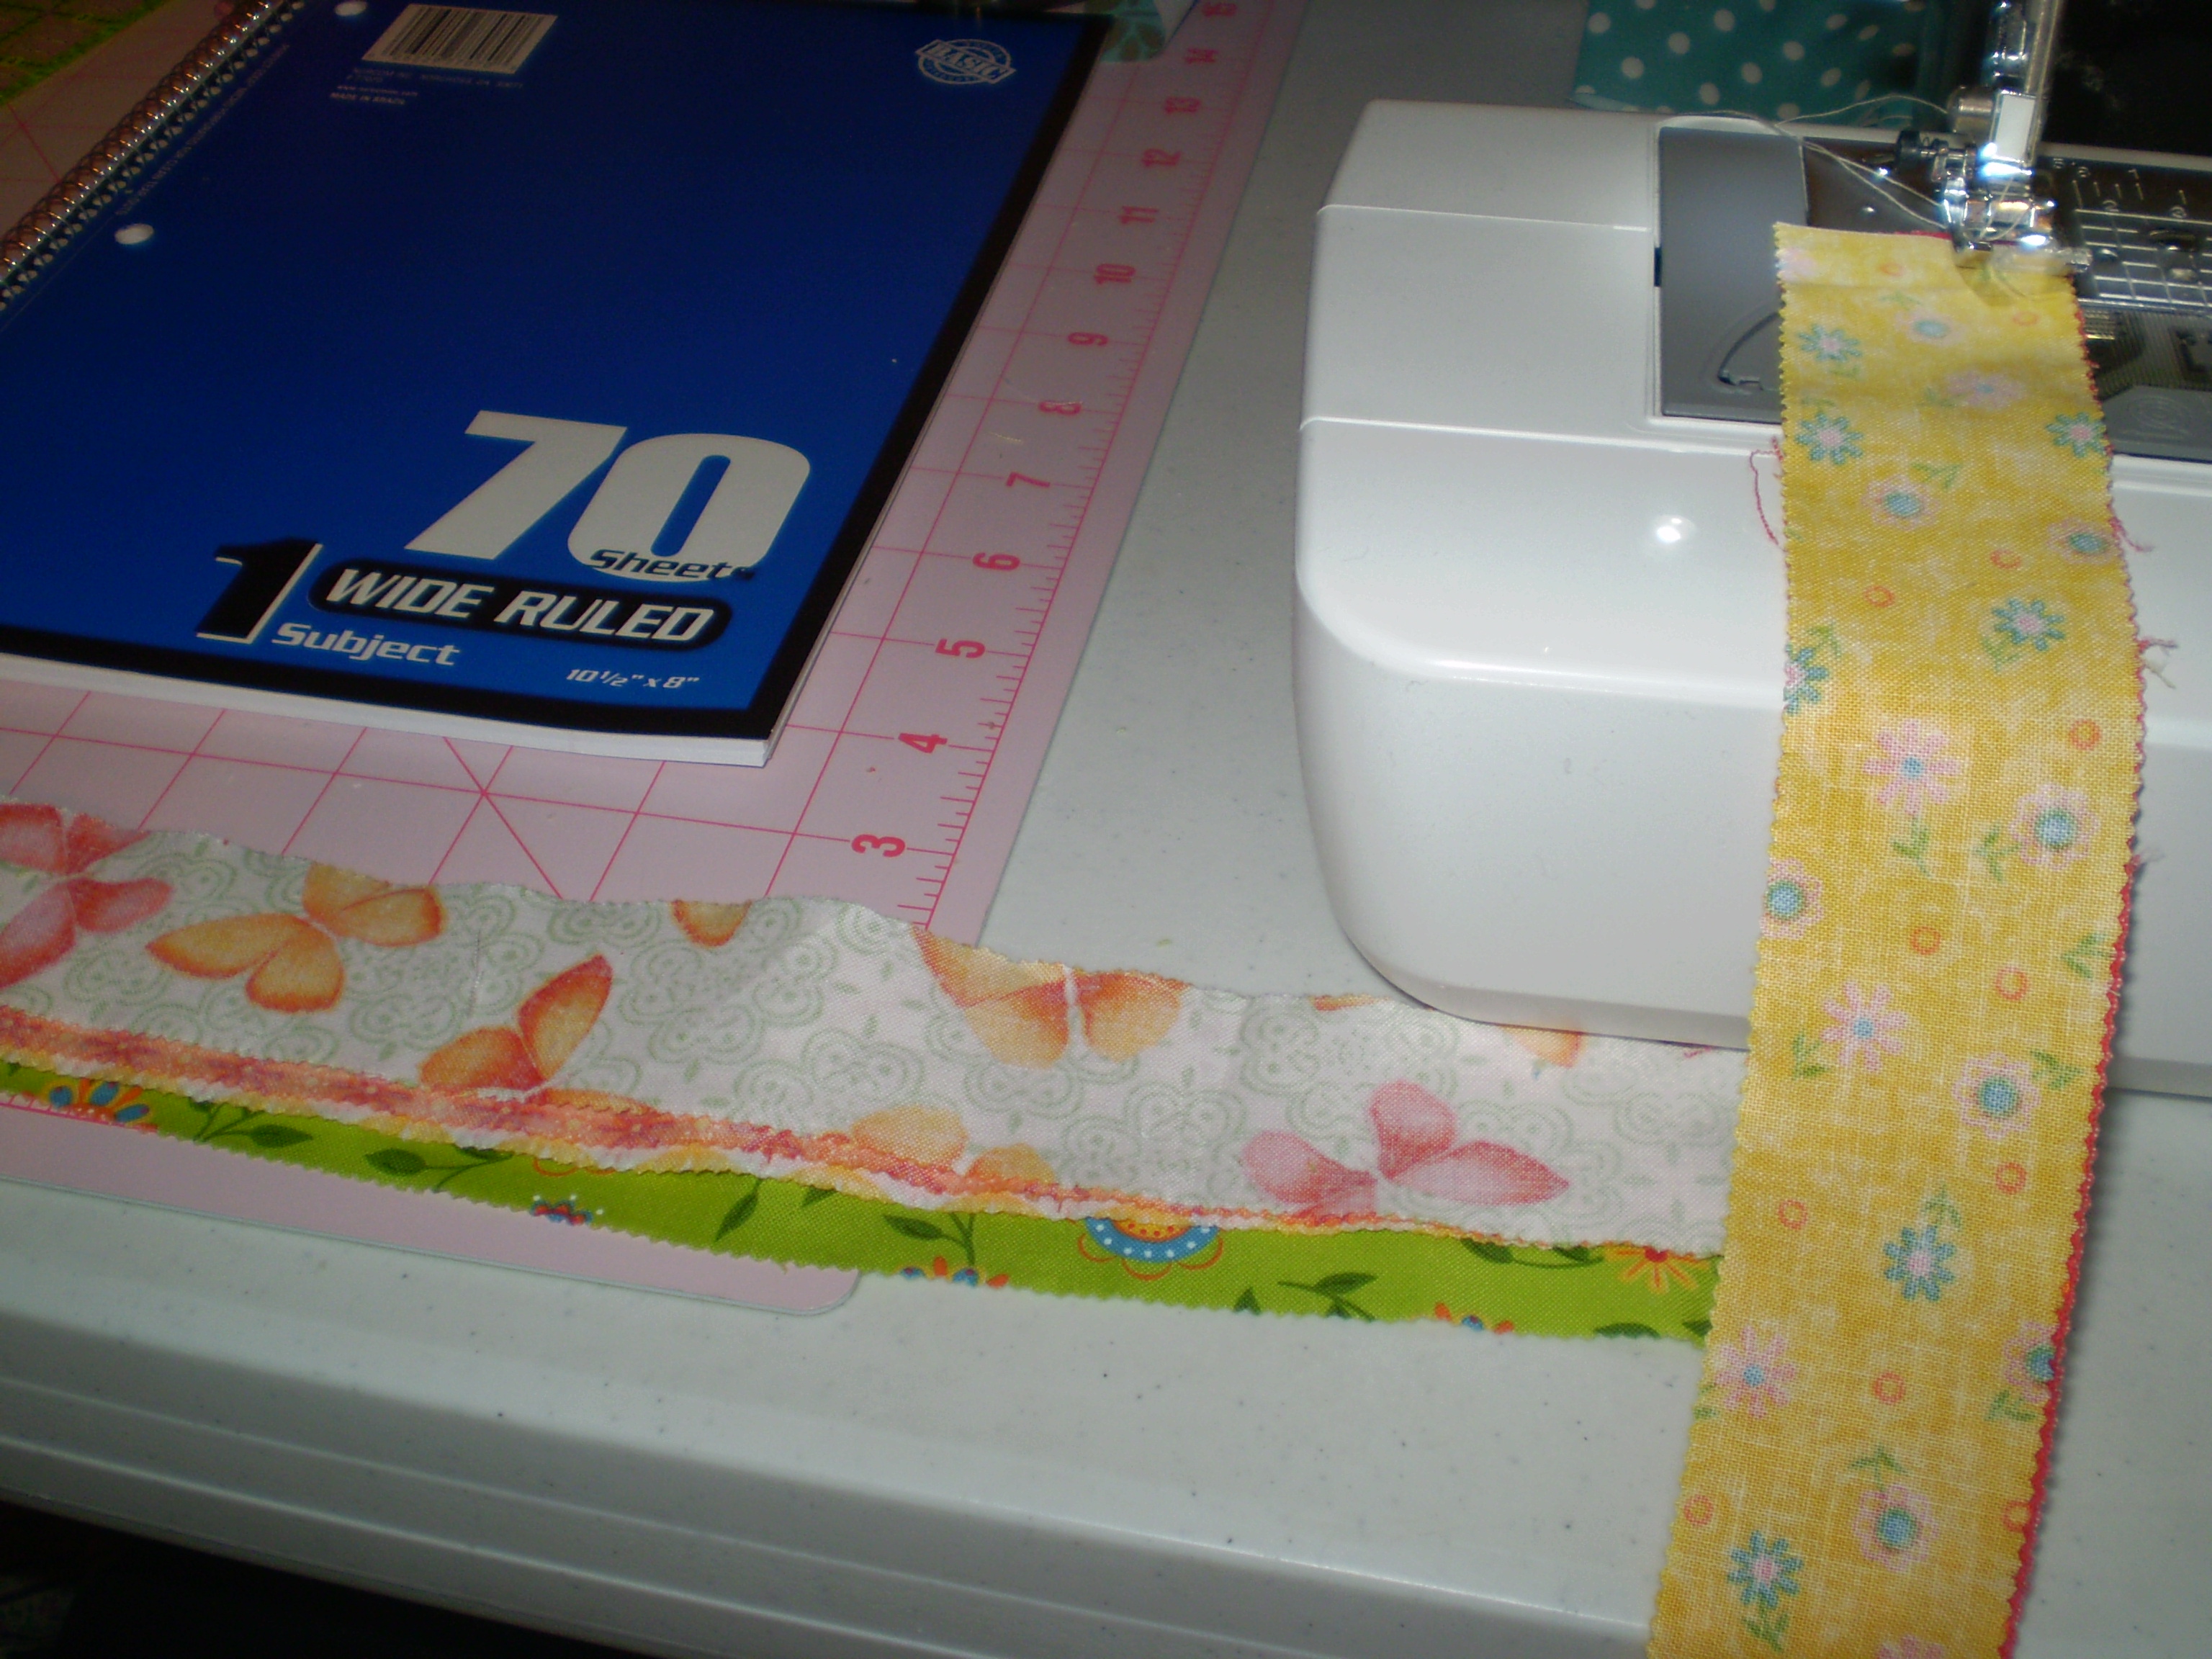
We are making an adorable cover for your standard 70 sheet notebook. The first thing you will do is select eleven strips from your honey bun. Cut them down to 18″ in length. Then lay them out and start sewing them together. you will then have a piece of fabric that looks something like this:
 Next, you will add your fusible fleece liner to make this baby a bit more sturdy:
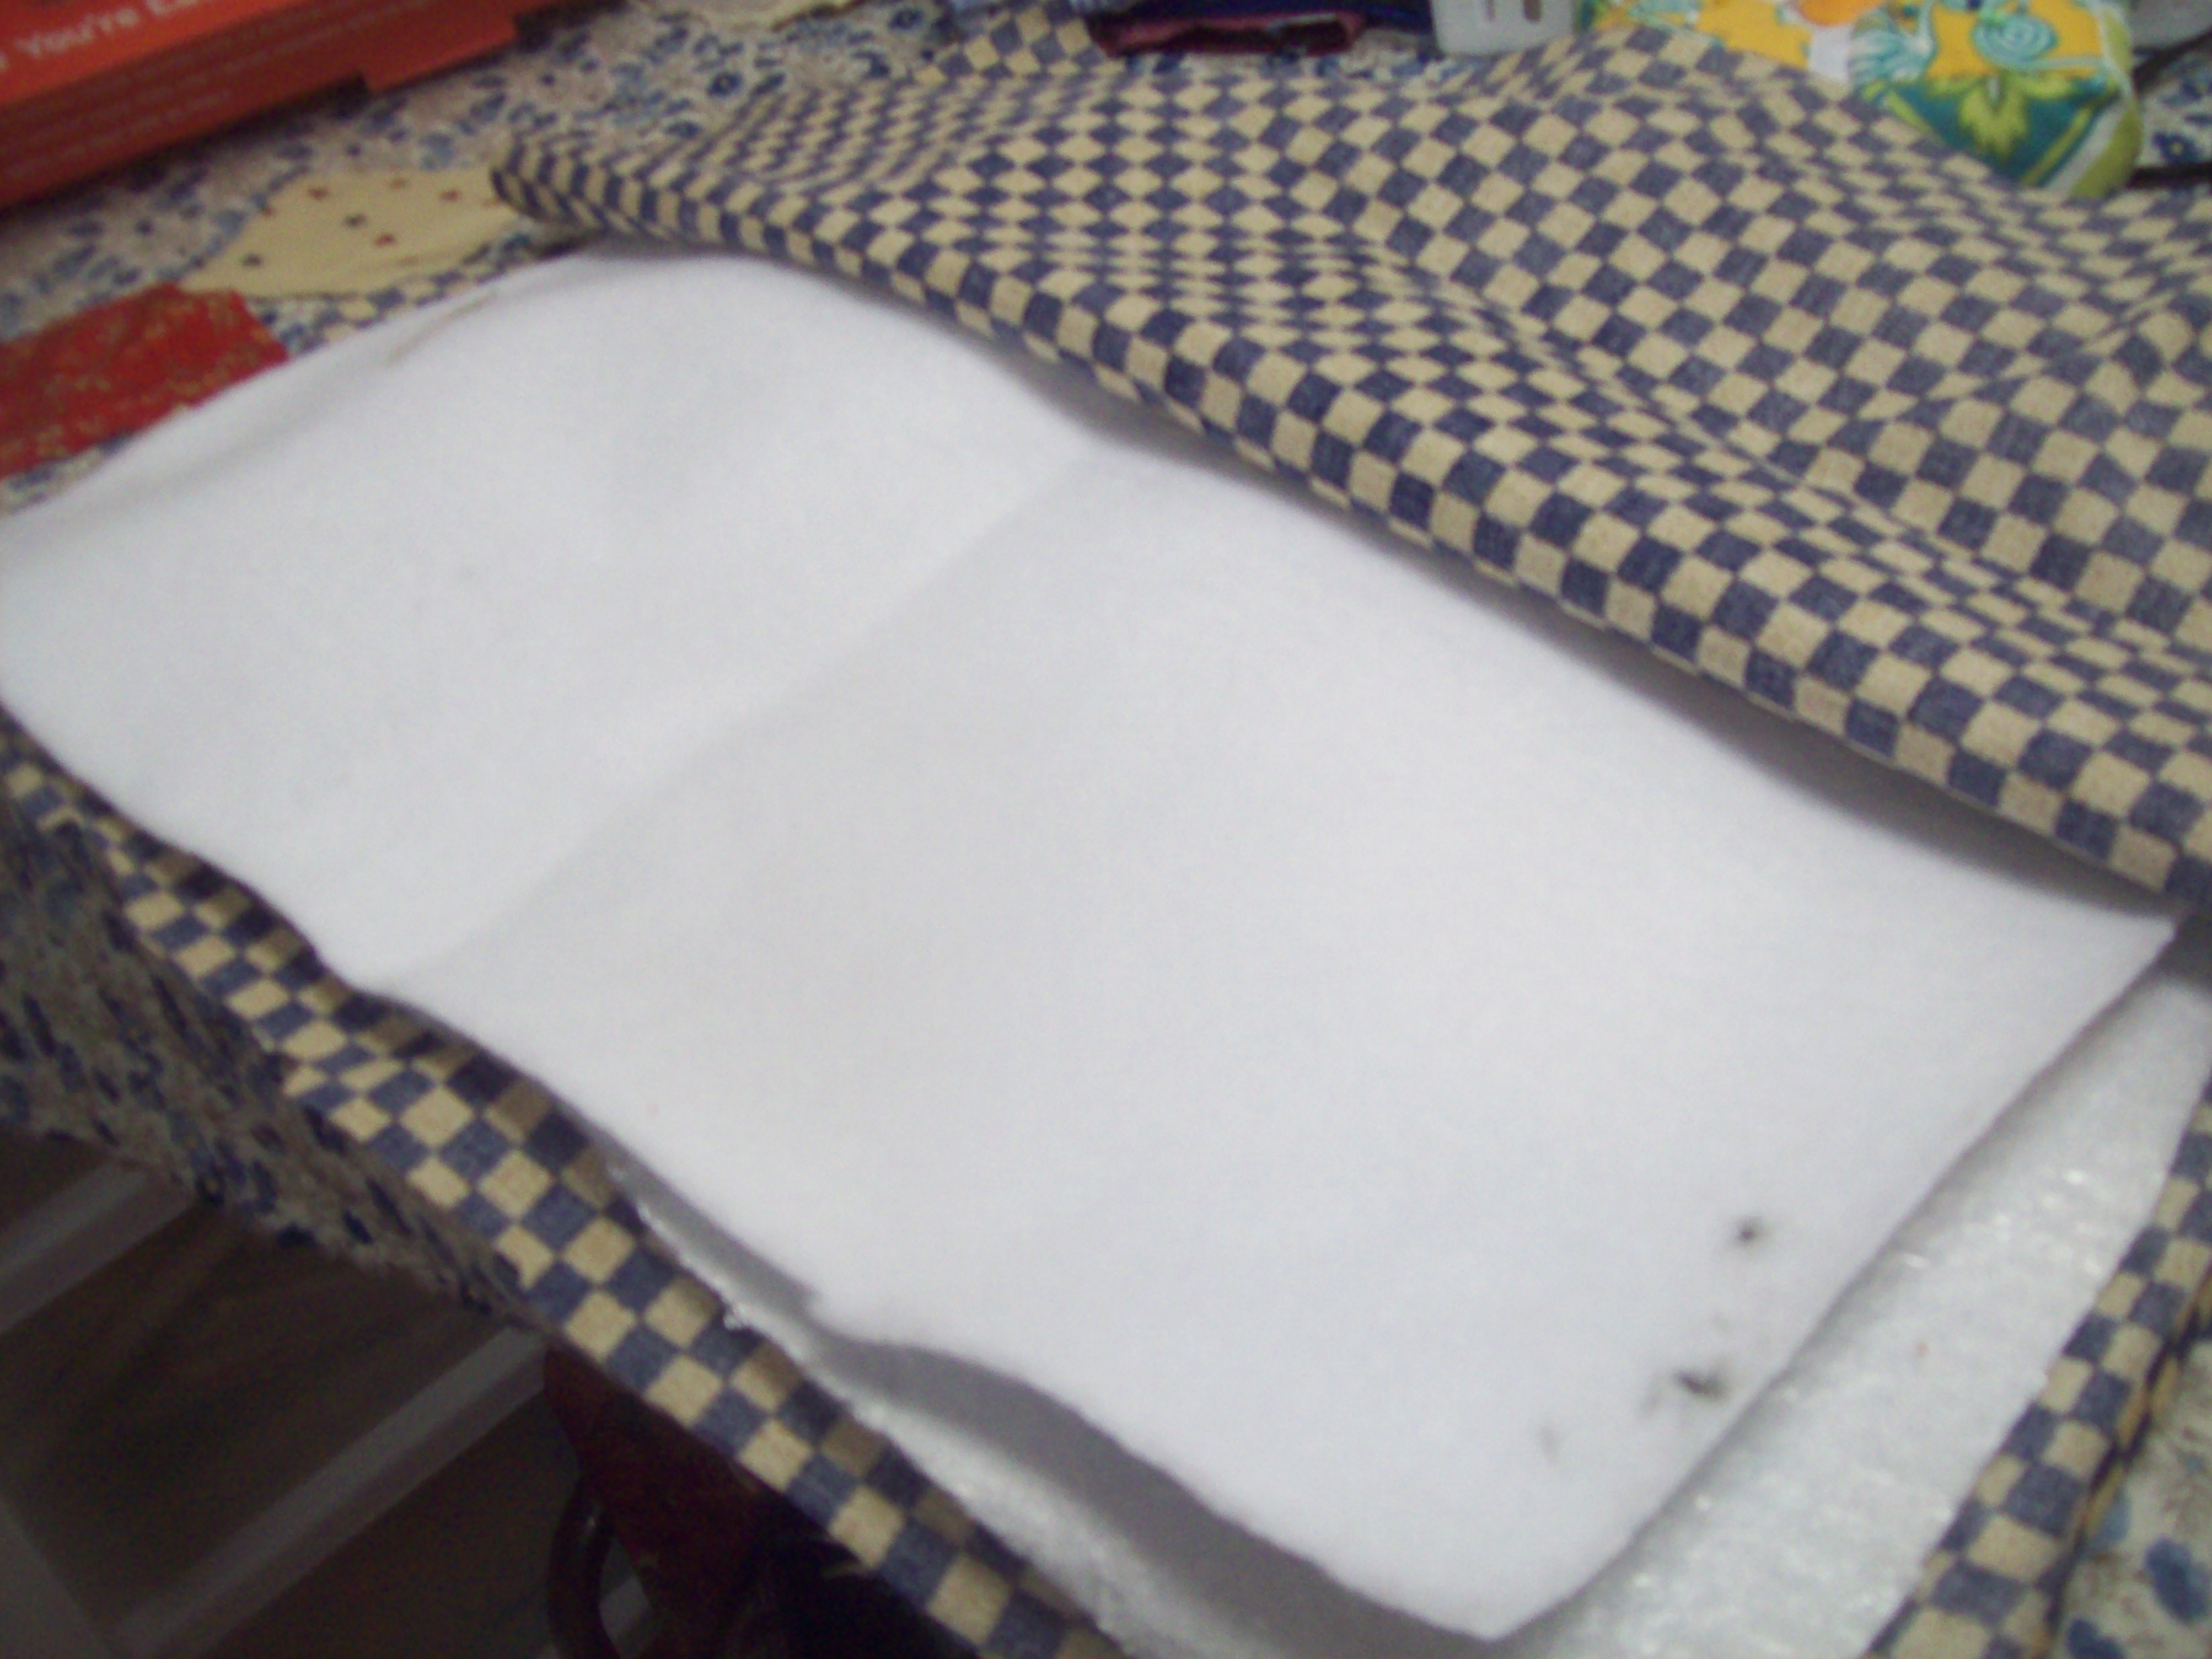
  I would cut it smaller than your seam allowances from top to bottom, and the same size from end to end. (mine is 9″ x 18″)Because you don’t want those seams to be too bulky when you flip it around and I didn’t want mine to show at the top and bottom of the notebook. (You will catch it in your side seams.)Iron it to the wrong side of the fabric.
Next, you’ll cut two pieces of a coordinating fabric. 8 1/2″ x 11″ Fold and iron one edge of each piece and sew under.
If you would like to add a pocket to the inside flap…now would be the best time! Just cut a piece of fabric (mine is 3 1/2″ x 10″) fold it in half to make it 31/2″ x 5″. sew it right sides together. leave a space to flip it. Turn it right side out…poke out your corners, and sew in place! Instant pocket!

Next, you will pin all your layers, right sides together: I also wanted to add a little piece of grosgrain ribbon for a bookmark! Pin it all!!!


Now sew all your layers together, flip it right side out and push out those corners! As one final step, you will sew a little seam in between your flaps at the top and bottom of your notebook cover as shown: And…your finally done! Here is a photo of the finished product!

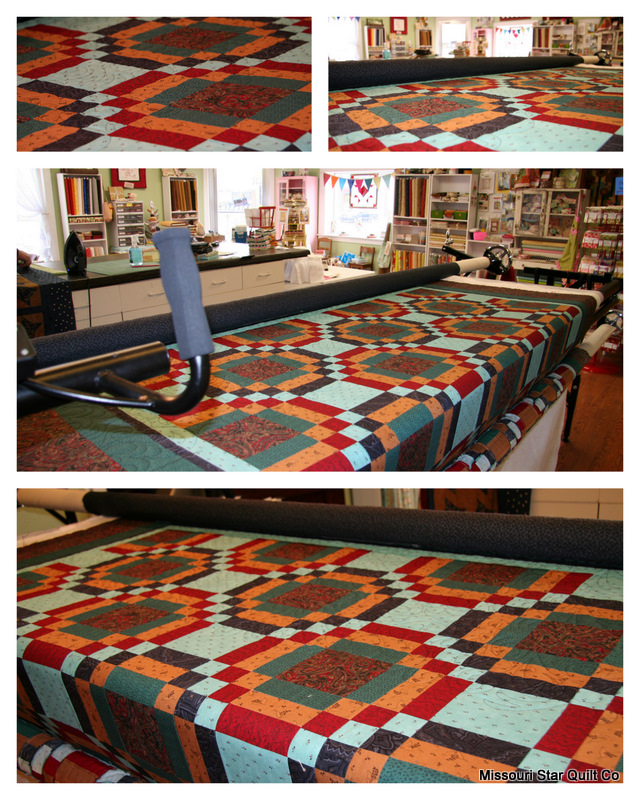
Alright, coming soon…this is it! I think I have finally exhausted this honey bun! and now….a sneak peek: Yup, that’s all you get! I wont say when it will be finished or what it is! Let’s just say I love it…and I think you will too! Just wait and see!
Have a lovely day!
~Natalie


 Apparently persistense pays off because DanielaK has been playing along with us since we started this weekly game!! So, congratulations and thanks for playing along! We’re excited for you and we’ll be sending your