A pixel quilt is just a charm quilt, really. The only trick is planning the layout. Luckily, Robert Kaufman did all the figuring for the Pixelated Heart Quilt, and you can download the pattern for free!
Watch Jenny whip up this pretty project. It’s so quick and easy, she finishes the entire top during the video! (Bonus: You’ll also get a quick lesson on perfecting your ¼” seam!)
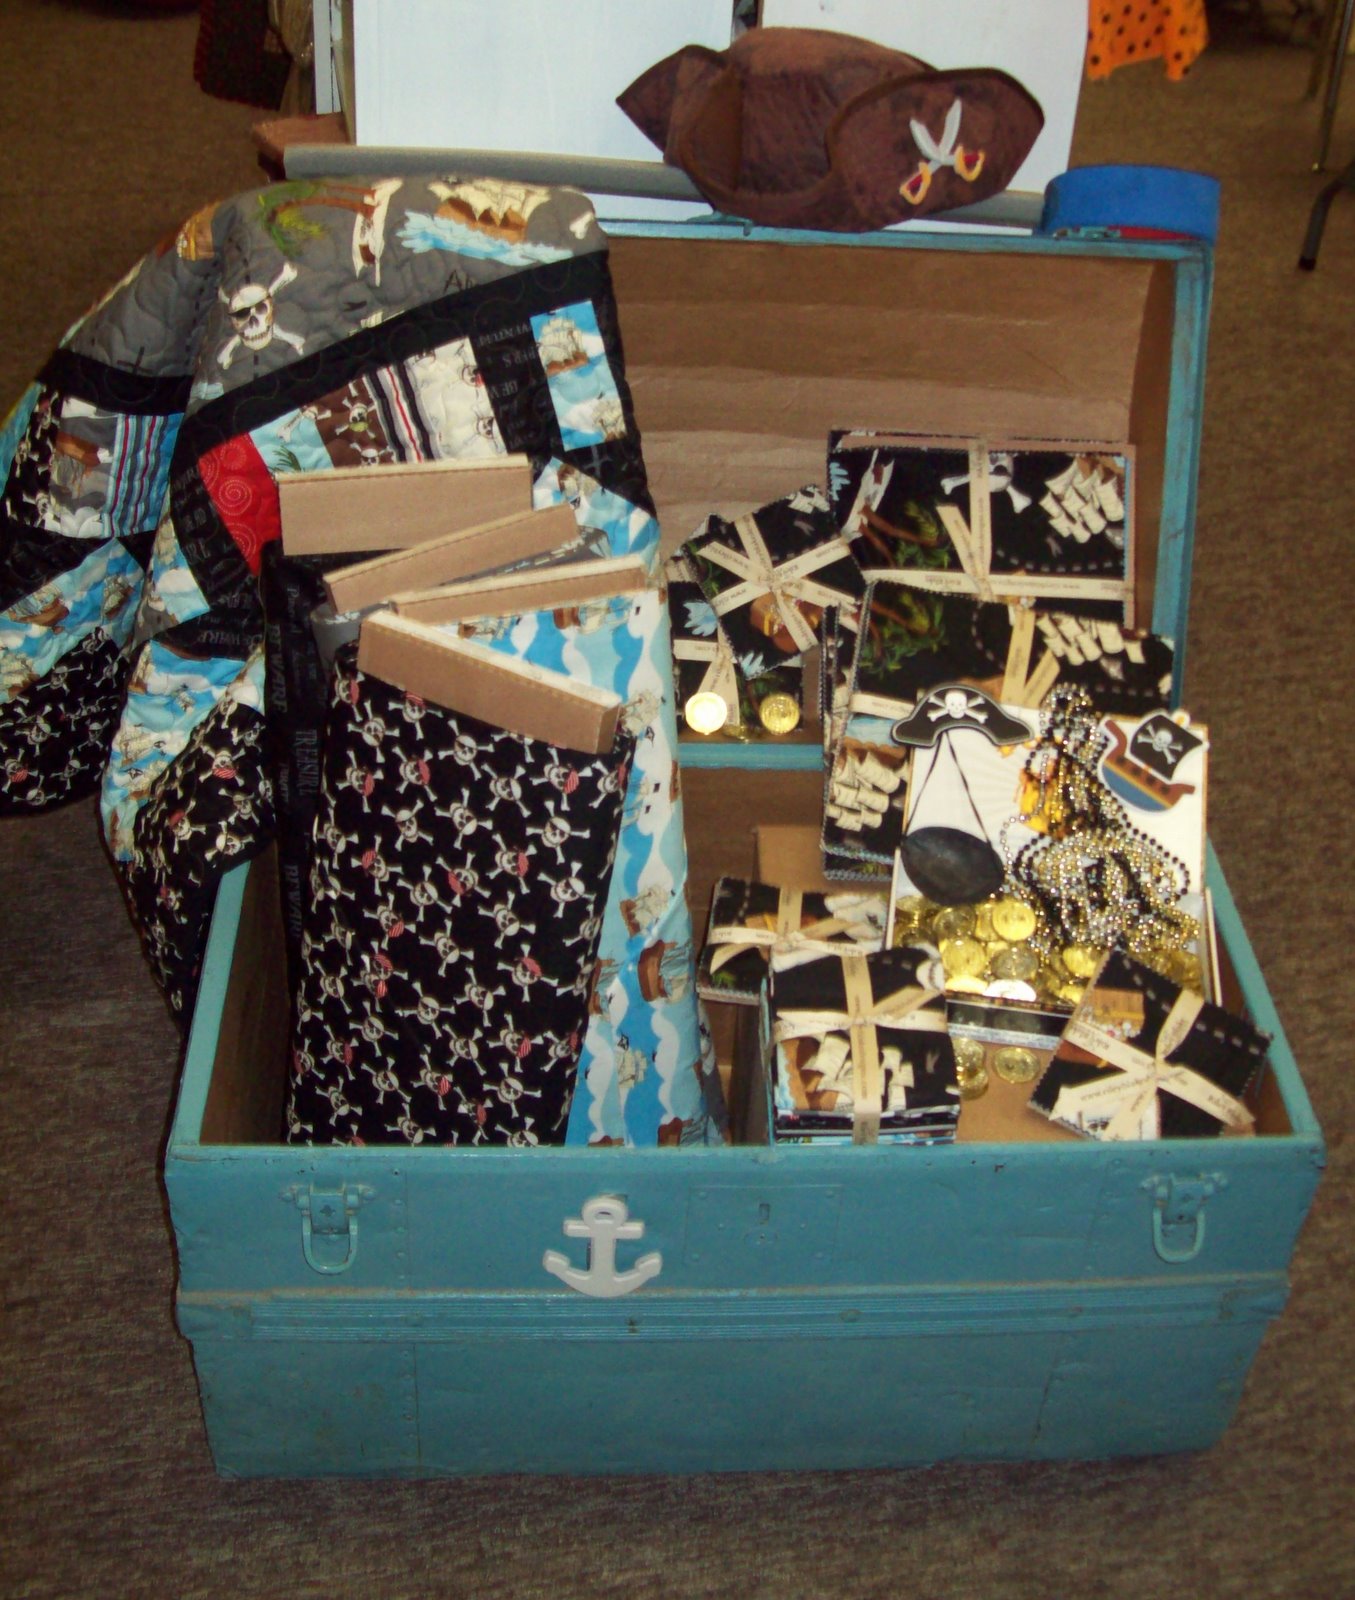
Arrgh! Mom’s done it again. Stole the pattern right out of me head!
So do you or someone you love have a thing for Pirates!!?!? If so, you have probably been looking EVERYWHERE for some adorable Pirate fabric, only to come up short. I know, because I have been searching everywhere! Well, Ladies and Gentlemen…It is here! Riley Blake has done it for us! With help of course from the amazing designer, Emily Taylor! {her blog here, go and tell her we said hi}
I know that the picture I posted might scare you, but have no fear. Our shop has not been taken over by mean pirates. No money grubbers and thievery going on, It’s just crazy Jenny dressing up for the occasion! (once a costumer always a costumer. Or is it, once a fun Mom always a fun one? I think both of those fit her)
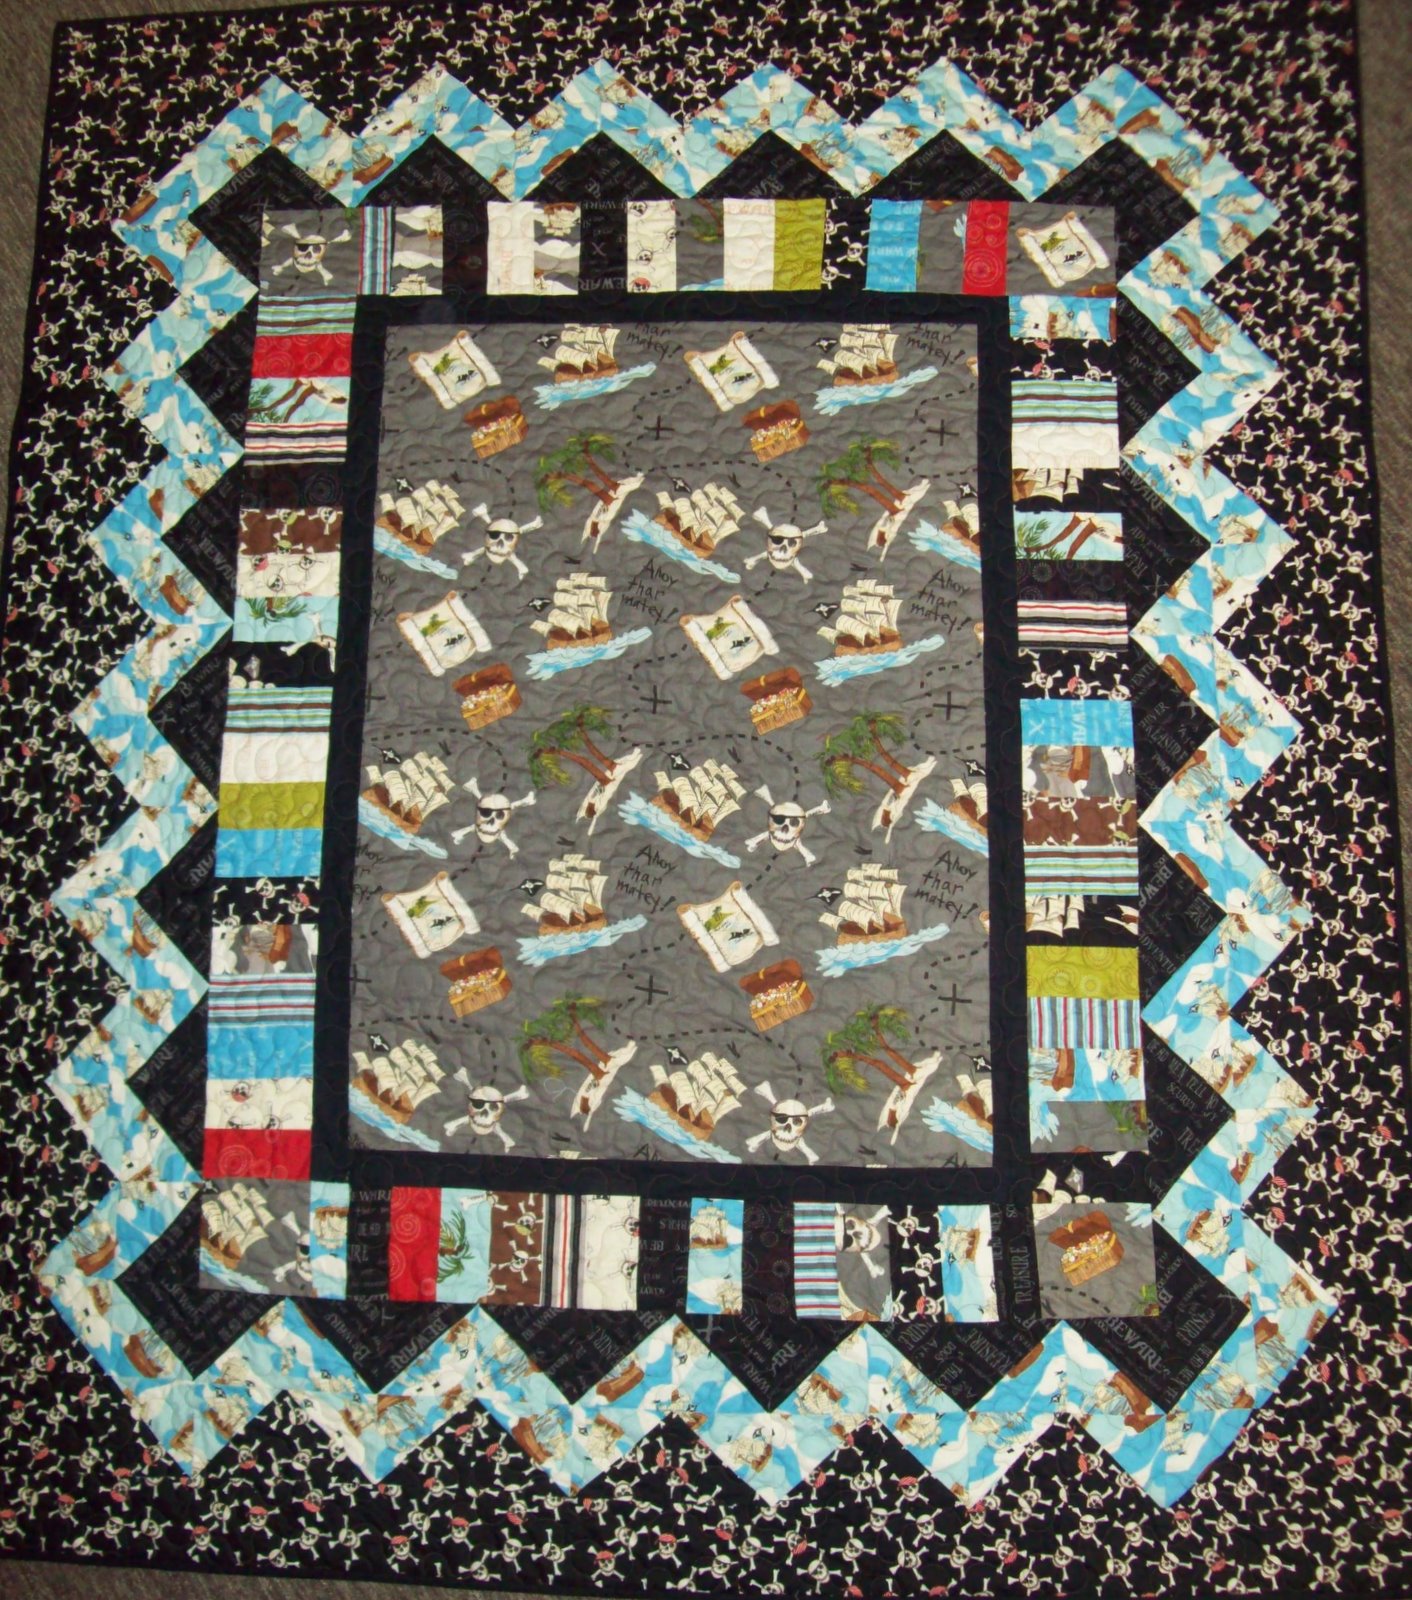
Anyway here is the quilt {without any distraction}
Just darling, right!?
If you want-need-just have to make one yourself, here is how you do it!
You will need:
3/4 yards of Black fabric {we used Bella solid Black 9900-99} for inner border and binding
Take the one yard of the {map fabric} and cut it down to 25″X 36″
Out of the leftover fabric, fussy cut 4- 5 inch square pieces
Then, with the Black fabric cut 4- 2inch strips and border the main fabric.
Take one charm pack and cut it in half. {2.5 inch rectangles} Sew together on the long side, making coin strips. Attach the coin strips to the quilt, using the fussy cut blocks in the corners.
For the zig-zag border cut 12 squares {of each fabric. Skulls and words} 6.5 inches X 6.5 inches
TO make the half square triangles, pair the skull and black fabric with a blue boat fabric. Sew all around each square {like we do the pinwheels} matching up the squares and cutting them both ways diagonally, to make half square triangles.
We get lots of emails form our wonderful customers asking questions and showing off projects! We are so proud of each of them and we just LOVE hearing from you all. So I thought I would start posting and showing you all the fun quilts that I get stories about and pictures of!
Here is one from Bunny. Her email is as follows:
Sarah and your great staff: I’m finally finished with the Minkee Coin Quilt! Wasn’t sure I could do it but, Hurrah! Thanks for the great pattern from Dawn on your site, the wonderful Minkee squares, and the perfect charm packs to make it possible.
This quilt is for Keri Ann born on Sept. 1st and she is my best friend – Carol’s first grandchild. Carol still has the baby quilt I made for her son J.B. 35 years ago, and he is the Daddy of this new little girl. I’m very pleased. Thanks you for all your help.
Bunny
Isn’t that just the sweetest thing? We are so fortunate to have such wonderful customers that enjoy the love of quilting. We just love to hear these sweet stories that you share!
Thanks Bunny for allowing me to post this!
If you are interested in the pattern you can find it here.
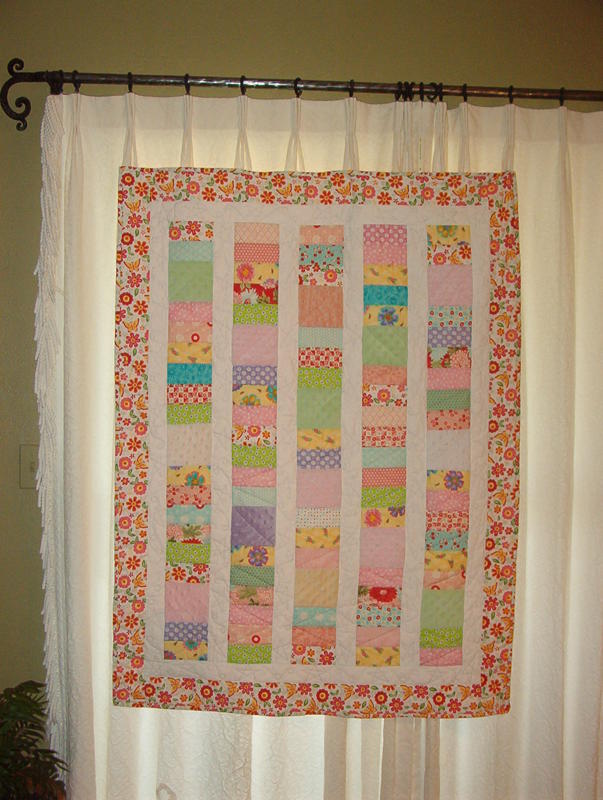
You may have guessed it by now, that I LOVE Nicey Jane, by Heather Bailey. I may only be, mildly obsessed with her. I may even be willing to name a child after her. (well, if I have any more, I will totally consider that!!)
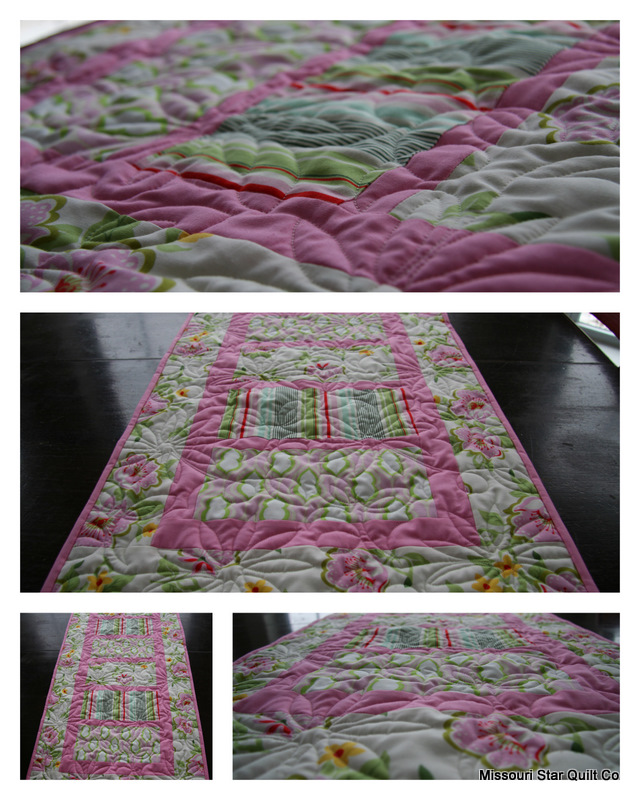
Anyway, I was so excited about this line, and wanted to just use the pinks to make a table runner for Valentines Day! (plus, because it is Nicey Jane and NOT all heartsy, I can use this thing clear in to Summer) This table runner goes together in a jiffy. It is easy and fast and I think, totally cute.
Sweet like candy, right? I am beyond thrilled to have this little lady on my dining room table right now. Seriously, it was the first things my girls noticed when they got home from school.
Enough of my yapping…..Here are the directions:
Supplies:
6- 10X5 inch rectangles
5- 1.5 inch strips for 1 st border and sashing strips
3- 4inch strips for 2nd border
Lay out your 6 rectangles in a pleasing manner.
Take 2 of the 1.5″ strips and sub cut into 5- 10 inch pieces
Sew a 1.5 X10 inch strip in between each of the 5X10 inch blocks.
Then border the the long center strip sewing the sides first and finishing with the ends.
Then use the 4 inch strip for the outer border ,sewing the sides and finishing with the ends.
You can get a kit here for this exact table runner for only $9.95 ($8.88 today only for the daily deal) and will include everything you need to make your top.
(backing and binding not included) OR Today only you can grab it on The Quilter’s Daily Deal @ 8.88!
You can make them for your daughter in law, your sister in law, niece, aunt…..you name it I am pretty sure that anyone would LOVE to receive this as a gift!
Here is your first Valentines project from all of us at Missouri Star Quilt Co! We have several more things planned for you, so stay tuned…..
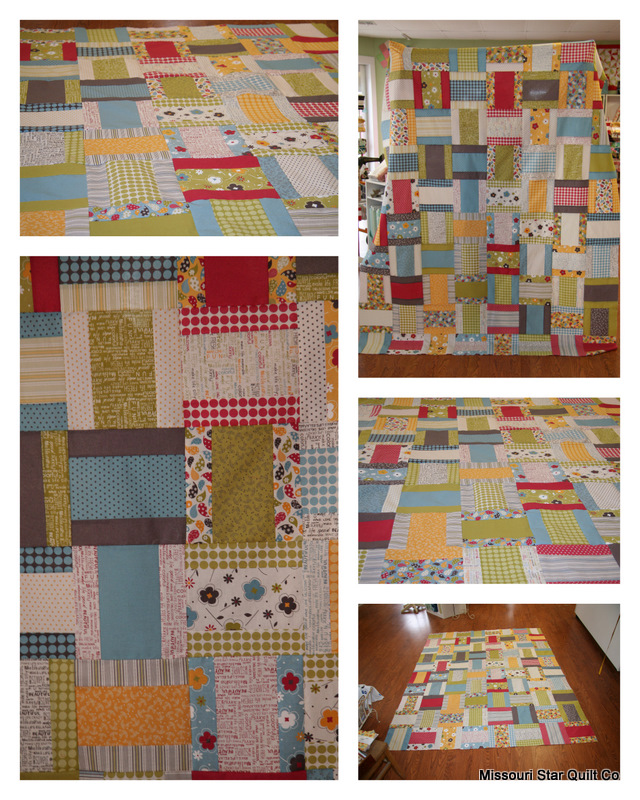
We just got the new line, Make Life (by Sweetwater, for Moda) in our shop and let me say, it is happy and bright. I love it more than I thought I would! We couldn’t wait to cut into it and make something.
Natalie put together a quilt using this line and we wanted to give you the directions so that you can make one for yourself! This is a great pattern and has very LITTLE waste! You will almost use every piece of both the jelly roll and layer cake.
You will need:
1-layer cake
1-jelly roll
Directions: First cut your layer cake squares in half (5X10″ pieces)
then cut your jelly roll strips into 10″ strips. (each strip will give you 4- 10″pieces) 2 1/2 X 10″ strips
Once you have all the cutting done, you take two Jelly roll strips (matching pieces) and sew on either side of the 5X10″ strips. (each block should have one layer cake piece in the middle, with a jelly roll strip on each side)
Continue mixing and matching jelly roll pieces with the layer cake pieces, till all your strips are sewn together.
Then take your block and square them up to nine inches.
All you have left to do is lay it out and sew the blocks together! Alternate the blocks to create the pattern.
Here is a picture of ours before it is quilted. We are still deciding on borders and will update you when we are all finished!!
Finished top (without borders) is 68 X 86
Have fun putting this easy peasy quilt top together! When we are finished with this we will have a pattern for you to down load. Have a great day!