Sew Fast & Fun: Red Heart Fancy Zipper Bag

Valentine’s day is right around the corner and if you’re looking for a treaty for your sweetie (or treat yourself, we won’t judge!) then the Red Heart Fancy Zipper Bag is an easy and quick project that is simply bursting with love! Nothing says love like a handmade project, so treat someone special in your life to a fantastic new bag to show your love!

Supplies Needed:

Two 1/3 Yard Cuts of Contrasting Fabric

One Missouri Star 14″ Fancy Zips

Bosal In-R-Form Double-Sided Fusible Plus

Even if you’ve never worked with Bosal In-R-Form before, have no fear! This project is as easy as they come and creates an adorable free standing back that makes the perfect gift for Valentine’s Day. Cut both of your fabric choices into 12″x21″ rectangles (you may even have enough to make two bags)! Once that is complete, you’ll also need to cut your Bosal In-R-Form into the same 12″x21″ rectangle. Lay the Bosal In-R-Form down first, followed by the first fabric facing up and the second fabric facing down. Add some straight quarter-inch seams on both short sides of this stack and be sure to use some pins to keep everything together and even.

Open on both sides of the fabric and flip right sides out, at this point both fabrics should be facing out with the Bosal In-R-Form in the center. Hold this in place and press to activate the adhesive. Looks at that! You’re almost done! Fold both sides of your fabric sandwich in and add a Missouri Star Fancy Zips to create an open ended box that will take form once you box everything up and work on those corners. Now that you have the basic ideas of this project (we told you it was SEW easy!) check out Misty’s full tutorial complete with instructions to bring this project together in time for Valentine’s Day!

Sewing Projects for a Full Heart (and Bobbin)!

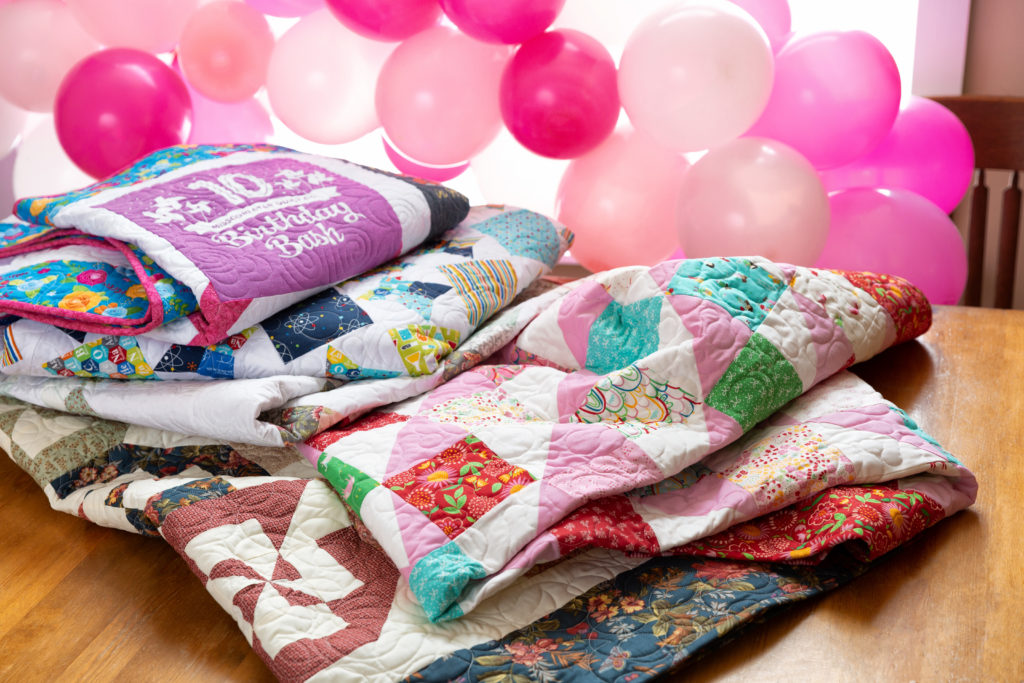
When someone is covered in a cozy, warm quilt, they are reminded that someone sat at a sewing machine for hours, carefully piecing and stitching, with them in mind. A handmade table runner sitting on the family dining table shows a loving home to all who feast there. To be gifted a wall hanging is a reminder that they are loved by its maker.

Valentine’s day is one of the best holidays to make for because it’s about love and we LOVE to make! Here are some sweet as pie project ideas:

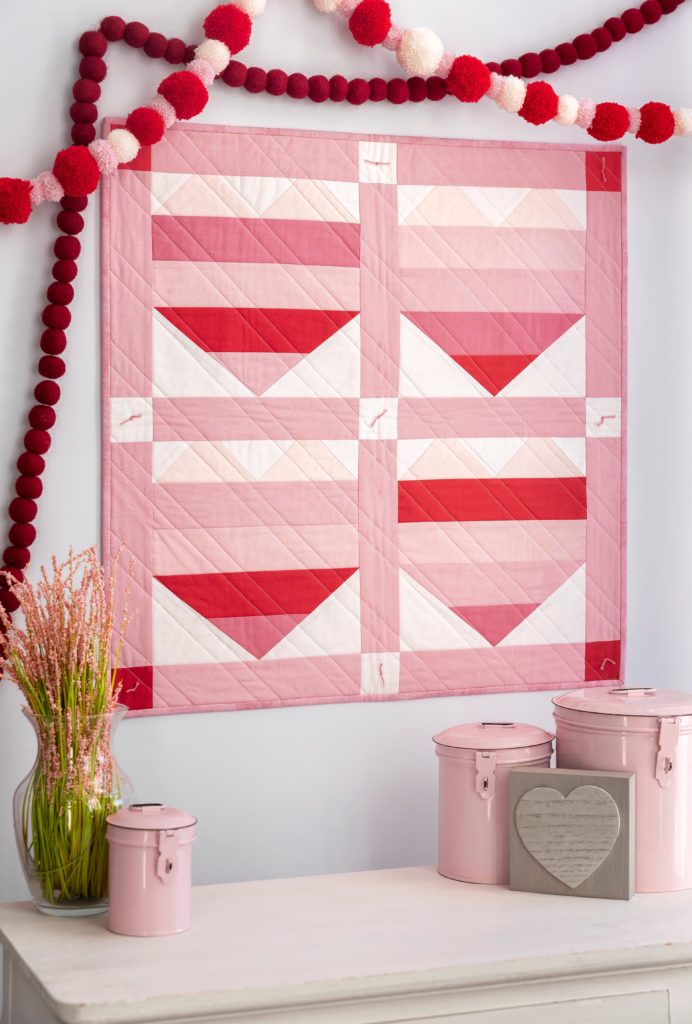
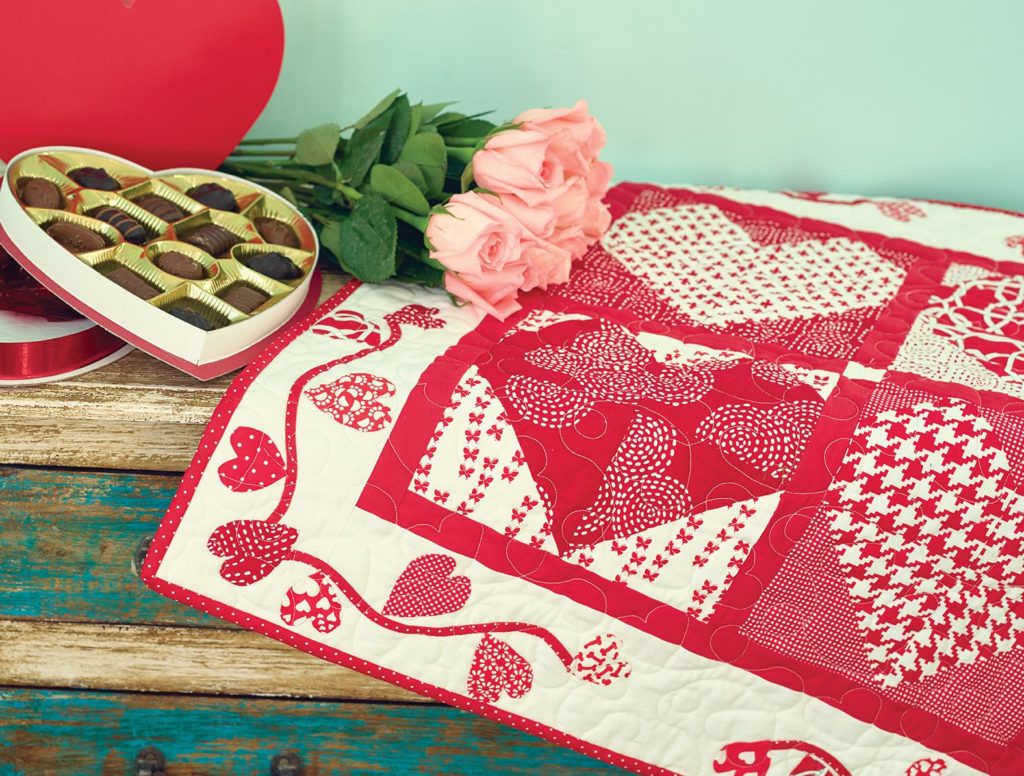
Tender Hearts Quilt Project Tutorial

Tender Hearts

Image – Tender Hearts Wall Hanging by Christopher Thompson (Check out his blog for a Valentine Ombre Wall Hanging)

Pour your heart into a love-able quilt or mini wall-hanging. This sweet project will make your heart melt!

GET THE QUILT PATTERN >

WATCH TUTORIAL >

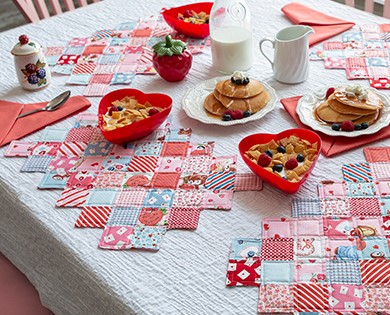
Zig Zag Placemats & Napkins Pattern

Zig Zag Placemats & Napkins

Make tea time the best time when you get stuck on these easy-to-sew table accessories!

GET THE PATTERN >

Love Notes Quilt Tutorial

Love Notes

Make their cheeks rosy, by turning our version of “You’ve Got Mail” into “Love Notes.”

GET THE PATTERN >

WATCH TUTORIAL >

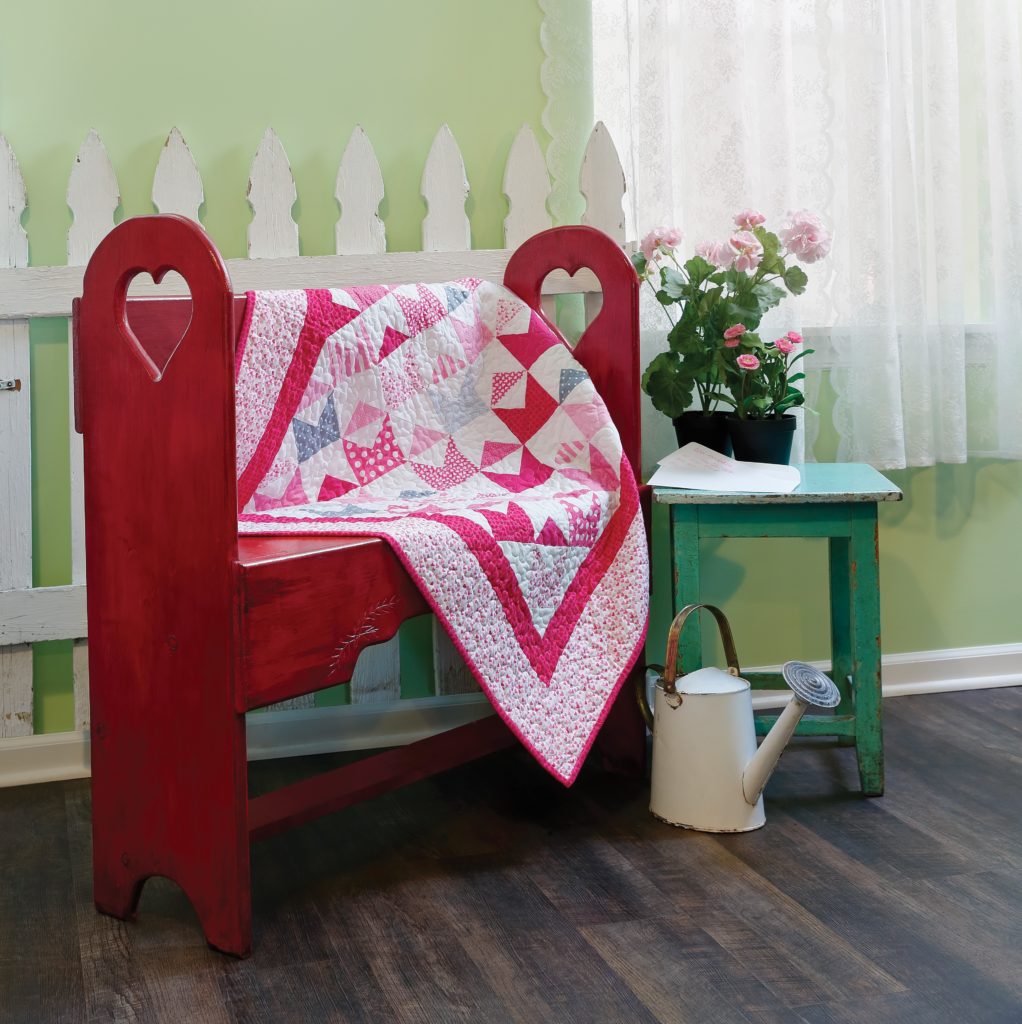
Love is in the Air Quilt Project

Love is in the Air

Can you feel it in the air tonight? You will when you become love-struck by appliqué hearts!

GET THE PATTERN >

WATCH TUTORIAL >

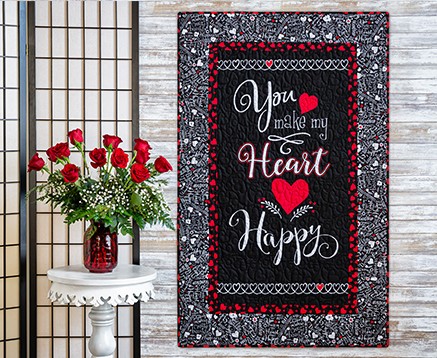
You Make My Heart Happy Valentine's Day Panel

You Make My Heart Happy

“You make me happyyy when skies are greyyy. You’ll never knooww dearrr how much I love you…” is what you’ll be singing while putting together this adorable project!

GET THE PANEL >

Check out our selection of Valentine’s Day themed fabrics and get started! Whatever you make, make it with love.

Have you ever received a hand-made gift? Tell us about it in the comments!

Sweet hearts

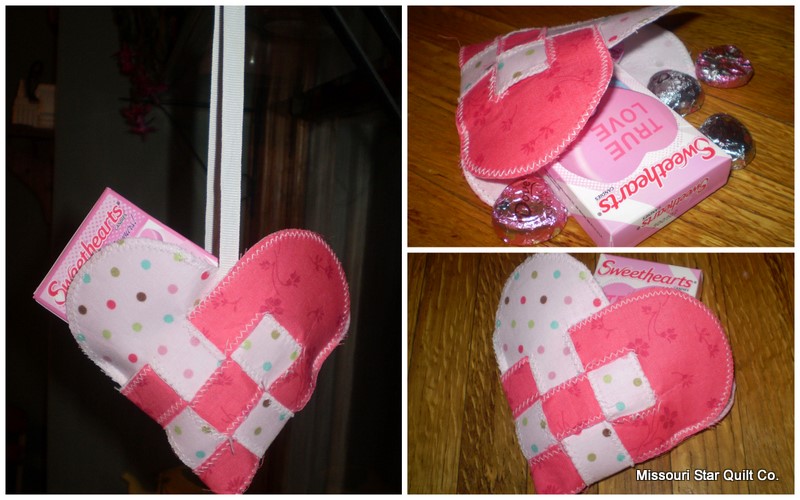
Today we have a cute little craft for you. This is a traditional Swedish heart. We usually make these around Christmas time and hang them in our tree but, we thought it would be cute to use these for Valentines day as well this year!

You will need:

two strips of contrasting fabric (a light and a dark will look best) 3″ x 11″

two strips of heavy fusible stabilizer 3″x 11″

scissors

*sewing machine optional!

First iron on your fusible stabilizer to the wrong side of your fabric. This will reinforce your fabric and give your basket some shape.

Next, fold your strips in half and round off the cut end. I use a small glass from the kitchen as a template. It doesn’t have to be perfect just round off the corners.

Then with your strips still folded in half, on the folded side, make 2 cuts perpendicular to the fold, 1″ apart from each other, and 3.5″ long.

Now comes the tricky part.  We will be weaving through and around our strips as opposed to the traditional over and under type of weaving.

Keeping each strip folded, set them down so that the folded sides face each other.Now take the top strip of your light fabric and weave it in between the layers of your first dark strip. 

Then weave the second dark strip in between the layers of your first light strip.

Next weave the light strip in between the layers of the third dark strip. Your first row is done. Now just repeat  starting with the opposite color. Do this for each strip set and you will be done!

You may want to fray check your fabric if you don’t like the raw edge look. You could also do a decorative stitch around each of your raw edges. We did a zig zag on a couple of them and thought they turned out cute.

If you want a tighter seal on your basket just stitch a small seam at the top of the sides to keep it togetherYou could also add a ribbon or ric rac handle by slipping your ribbon in between the layers of fabric at the center of the heart basket and stitching it down.

Now just fill and enjoy!