Building Blocks: Working with Templates and Notions

Various Missouri Star Quilt Co exclusive quilting templates.
A variety of Missouri Star exclusive templates and notions.

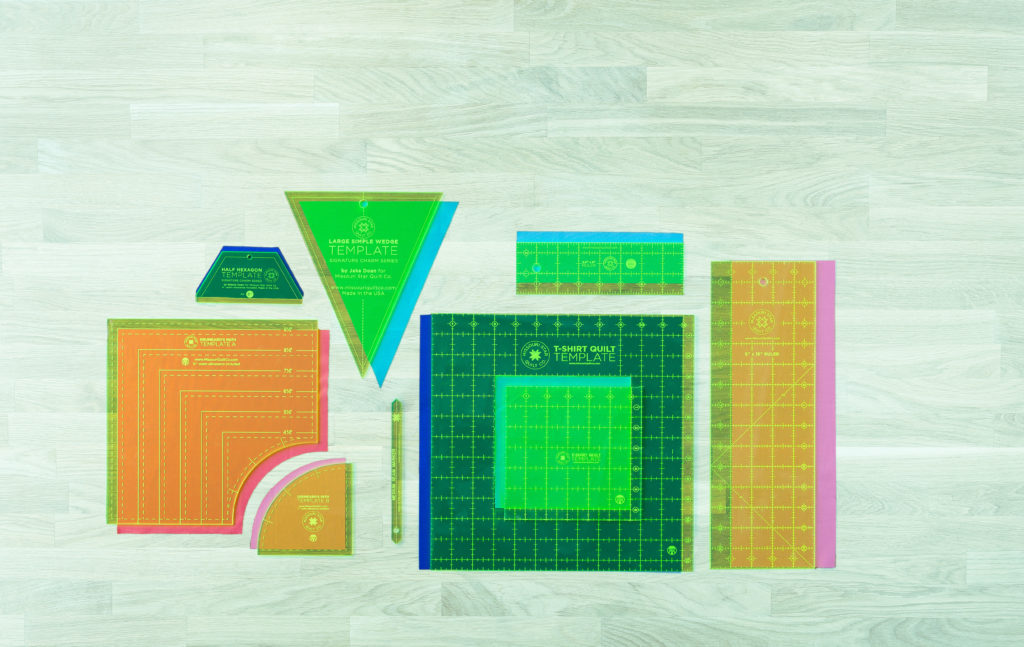
You’ve gathered your supplies, you’ve studied your basic skills, and you’ve even put together your first quilt block, but what comes next? Using templates and notions to create one-of-a-kind quilting designs is even more simple than you may have imagined. In fact, if you’re using a ruler to line up your cuts, then you’re already experience in the process! The Merriam-Webster dictionary defines a template as “something that establishes or serves as a pattern”, so that handy ruler you’ve been using is the first step in mastering the template process!

The most familiar template for all of us is the trusty 5″ x 15″ ruler. This simple straight line device is used in quilting to cut an even and straight line, but they come in a variety of different sizes! If you’re sewing a big project, consider using a bigger ruler. Many quilting rulers are designed exclusively to feature one inch blocks in a transparent plastic so you will always be certain that you’re cutting and measuring precisely.

Various templates and notions for quilting.
An assortment of templates and notions displayed upon a gridded mat for quilting.

This is just the beginning of the world of templates and notions! Consider the Dresden Plate block for example, it’s a time-honored traditional quilt block that demonstrates expertise in crafting and has long been a staple of the quilt world:

“The popular name for this quilt, Dresden Plate, reflects the romance of the Victorian Era with its love of elaborate decoration on household items and décor. Dresden, Germany was a center of 19th century romanticism movement in art, one that included the fine decoration of porcelain. The plates were embellished with elaborate design using flowers, fruits and foliage. The beautiful plates would surely have been admired by women of the early 20th century.”

http://www.patternsfromhistory.com/colonial_revival/dresden-plate.htm

Thanks to new quilting innovations however, the Dresden Plate has never been easier to create with a template. Using the Missouri Star Large Dresden Plate Template for 10″ Squares, Jenny demonstrates how to create this gorgeous vintage block in her Dresden Blooms quilt tutorial.

The Dresden Blooms quilt created with the Missouri Star Large Dresden Plate Template for 10″ Squares.

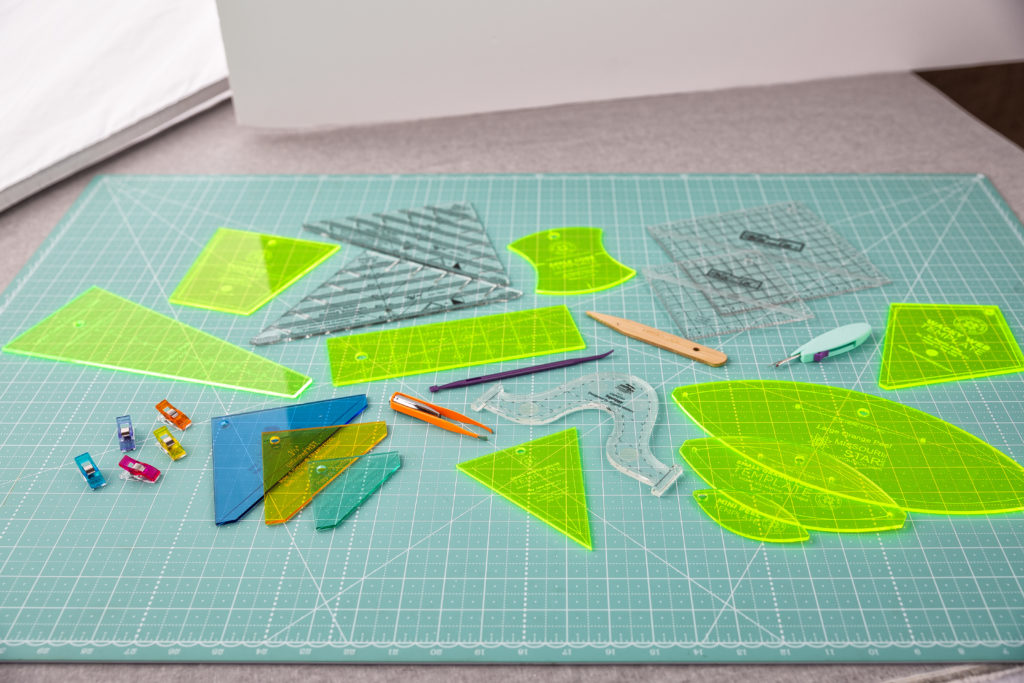
The fun doesn’t stop at just dresdens! Templates and notions are designed to make your quilting career easy and approachable. Whether you’re quilting with curves or using a notion to push out the corners of your project, take some time to research the available options to streamline the process. There is no limit to the ingenuity being utilized within the crafting world, so the next time you’re dreaming up some inspiration for your next project, consider challenging yourself to improve your skills by adding a new element to your quilting with a template.

Quilt Snips Mini Tutorial: The Tumbler Block

Quilt Snips Mini Quilting Tutorials

thumb-tumbler

Aren’t Jenny’s quilting tutorials the best? Jenny puts the quick and easy in quilting, but sometimes there are so many good tutorials, that it’s hard to remember them all! That’s why we do things like Tutorial Reboots, to revisit old tutorials and give them new life.

Now we’ve got a mid-week mini tutorial series called Quilt Snips, which offers another chance for you to revisit your favorite simple quilt patterns and get a small burst of inspiration whenever you need it! You can always watch them on our YouTube Channel, Facebook Page or even on Instagram!

This one is the Tumbler Quilt. It uses 5″ squares and our Tumbler Template and you won’t believe how quickly it comes together! Use one of Robert Kaufman’s beautiful precuts in a fun solids color palette (like Kona Lush Lagoon as shown in the video) or any charm pack you like!

To watch this new Quilt Snips Video and get the supplies you need to make a Tumbler block, click HERE and Happy Quilting!

Mini Periwinkle or Mini Wacky Web Tutorial Reboot Featuring Guest Blogger Rebecca Bryan

Revisited Quilting Tutorials from Missouri Star Quilt Co

Make a Mini Periwinkle Quilt with this Free Step by Step Tutorial! Featuring Rebecca Bryan!

Hi everyone! I’m Rebecca Bryan, of Bryan House Quilts, and author of Modern Rainbow: 14 Imaginative Quilts that Play with Color (Stash Books, 2015). I’ve been quilting from a fairly young age having grown up around quilting. I’ve always been artistically inclined, and quilting has been a constant way for me to keep creating and discovering.

Today, I’m showing you my mini or table topper version of the Mini Wacky Web/Mini Periwinkle. Some of my favorite quilt designs center around a simple, geometric block. Which is why I chose to use Jenny’s lovely Mini Wacky Web Tutorial. The Mini Wacky Web is perfect for me!

Ready? Quack! Let’s go. 🙂

Make a Mini Periwinkle Quilt with this Free Step by Step Tutorial!


Make Quilting Easier with the Sizzix Fabi Machine! Easy Periwinkle Quilt Tutorial

For my cutting, I used my Sizzix Fabi and Mini Wacky Web Die to cut up my Cotton Couture charm pack. You could also use the Mini Wacky Web Template (Jenny shows you how in the original YouTube tutorial).


Make a Mini Periwinkle Quilt with this Free Step by Step Tutorial!

Here’s a glimpse of my process. I wanted to choose my colors fairly randomly (but let’s face it, I still like to choose favorites) so I used a ceramic fruit basket to toss the colors about. I made all my blocks just as Jenny instructs. To make a table topper, I decided to make 16 blocks.

Make a Mini Periwinkle Quilt with this Free Step by Step Tutorial!

At this point, I was loving my blocks. But to make each block pop, I decided to add 1” turquoise sashings and borders.

Make a Mini Periwinkle Quilt with this Free Step by Step Tutorial!

The unfinished Mini Wacky Web block measures just around 6”. So I cut 2 strips of 1 1/2” widths of fabric from my turquoise yardage. Then I subcut 12 rectangles 1 1/2” x 6”. After I decided on my block layout, I added a 1 1/2” x 6” strip to the right side of 12 blocks. And then sewed the blocks into rows.

Make a Mini Periwinkle Quilt with this Free Step by Step Tutorial!

Then I added 1 1/2” x 25 1/2” sashing strips between the rows and sewed the rows together.

Make a Mini Periwinkle Quilt with this Free Step by Step Tutorial!

To finish off the quilt top, I added 1 1/2” x 26 1/2” borders to each side.

Instead of machine quilting this table topper, I couldn’t resist hand quilting with black perle #8 thread. I love hand quilting, especially small projects. 🙂

Make a Mini Periwinkle Quilt with this Free Step by Step Tutorial!

This was so much fun to make – so bright and happy. Thank for having me MSQC! And thank you for reading!

Click on the button to watch the original tutorial and get all the supplies used in Rebecca’s version!

watch tutorial shop supplies

Make a Mini Periwinkle Quilt with this Free Step by Step Tutorial!


mm bundles

We want you to make your own, so 2 Lucky Winners are going to get a Michael Miller Cotton Couture fabric bundle! Enter below:

a Rafflecopter giveaway

Here’s where you can find Rebecca Bryan of Bryan House Quilts on the web:

Blog: https://bryanhousequilts.com/

Facebook: https://www.facebook.com/bryanhousequilts

Instagram: @bryanhousequilts

Make a Mini Periwinkle Quilt with this Free Step by Step Tutorial!

New Friday Tutorial: The Orange Peel Lotus Quilt

MSQC New Tutorial on the Blog!

Quick and Easy Large Orange Peel Lotus Quilt with Jenny Doan! FREE Tutorial!

Have you ever tried to make the Orange Peel Quilt using our MSQC Small Orange Peel Template? It is so gorgeous, but it is a little time consuming. Wouldn’t it be nice if there was a larger scaled template to make the same beautiful motif in a larger scale?? 🙂 Well now we do! This beautiful Orange Peel Lotus Quilt features the Large Orange Peel Template from MSQC and shows you how quick and easy this quilt is going to come together!

Close up stitching

A beautiful, easy way to stitch down your appliqué!

Screenshot 2015-11-24 13.00.00

Click on the button to watch the tutorial and see all the supplies you need to make this beautiful quilt!

shop for supplies tutorial button