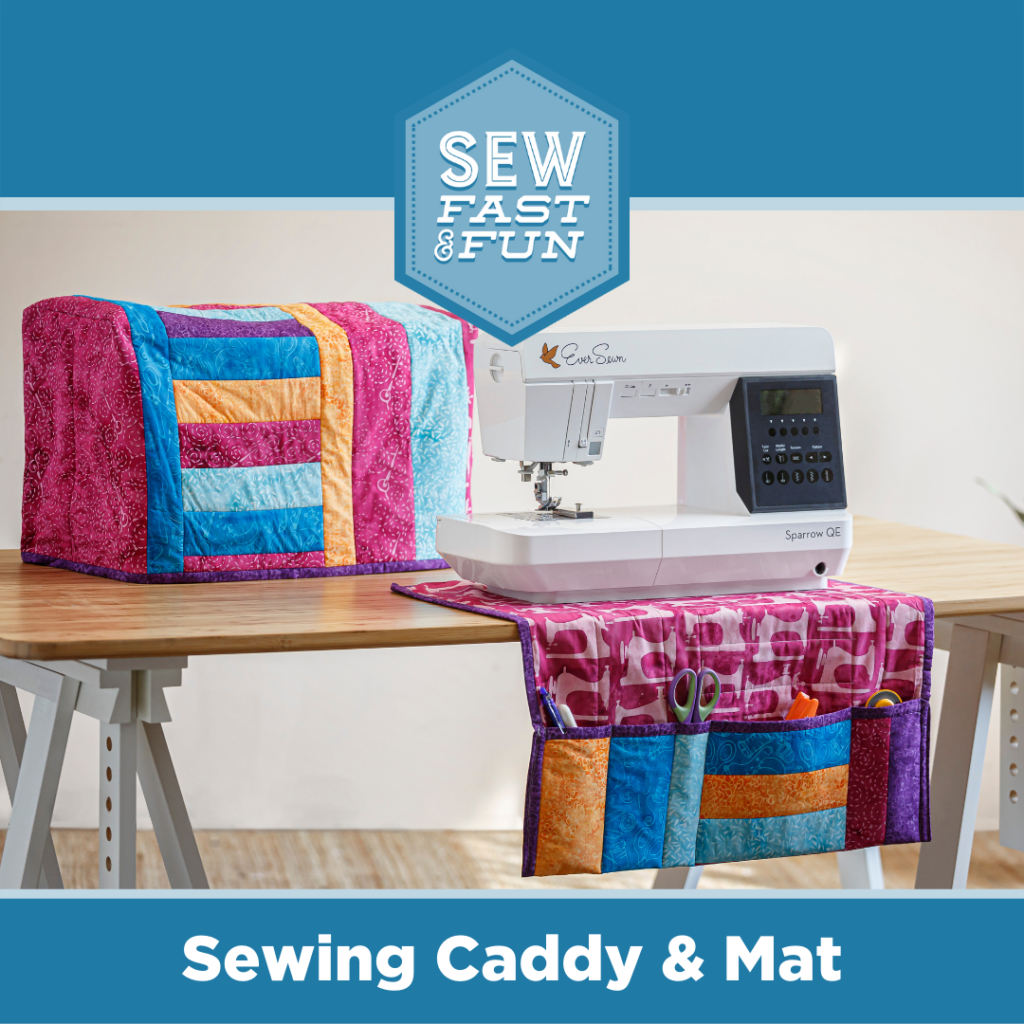
Get organized this January as part of you New Year’s Sewing Resolution with this incredibly simple Sewing Caddy and Mat! Having a handy location to put all your notions and quilting accessories allows you to quilt on with confidence and never waste time trying to find your most used templates and tools. All you’ll need is two half yard cuts of contrasting fabric, a half yard of batting and a little Steam a Seam for quick binding!
First and foremost, you’ll need to measure your home sewing machine to determine how wide you want your sewing machine pad to be (this project is catered directly to you). If your sewing machine is wider than 1/2 yard, then all you need to do is adjust your fabric needs to match your machine. Once that’s been determined, all you need to do is make a quilt sandwich out of your two fabrics with the batting in-between and then straight line quilt it with your machine.
Even up your project’s end with your ruler and add a strip of binding. Now all that’s left is to add a little Steam-a-Seam to the binding, fold the bottom end over and sew it together! You can even sew in a few pockets with ease to hold your most important items such as your scissors or your rotary cutter. Just like that you’ve created a custom made sewing machine caddy & mat perfect for retreats, home sewing and just general new year organization!
Needing a little extra inspiration? Check out Jenny’s tutorial on how to create this project with ease by clicking the video link below!
Wouldn’t it be nice if we all had large quilting studios with plenty of space for cutting, designing, ironing, fabric storage, and multiple sewing machines? Yes, that would be ideal, but it just isn’t the reality for most of us. The truth is, many sewists are squeezing their hobby into tight spaces and we’re here to help you fit everything you love about quilting into whatever space you have to make creating a pleasure again.
Back to Basics
When you think about it, all you really need to sew is a place to set your machine and work with fabric. A sewing machine isn’t that big in and of itself. It could comfortably fit on a side table or a portion of your dining room table. If you’re struggling for cutting and ironing space, think about converting a folding tray table into a temporary cutting and pressing table that you can fold away when you’re through. You can even use a sturdy ironing board with a mat on top for cutting—and it’s height adjustable! As for supplies, they can be packed up into a tote with a handle that you can pick up and put away when you are finished sewing.
Stash Storage
Finding space for a sewing machine is just the beginning. Quilters all know that maintaining a small (or large) fabric stash is key—it can be a source of inspiration, but it can also be a headache to manage all that fabric. So, where to start? Pull out every box and bin and literally gather up every piece of fabric you own. Make a HUGE pile! Once you’ve done that, the magic begins.
Sort your pile of fabric into three categories: keep, donate, or sell. This can be tough for many of us who love every piece of fabric that comes our way, but if we’re honest with ourselves, there is fabric in our stash that will never be used and it can be used by someone else.
Once you’ve whittled down your stash a bit, take the time to fold it neatly and store it once more. Chances are, you’ve already cleared up some space. Way to go!
When you go to put your fabric away again, consider how you like to access it and display it. Maybe you have a shelf for pretty precuts that you like to look at or deep bins for larger cuts. Be wise as you put your fabric away so you can easily access it later on.
Tips for Fabric Storage in Small Spaces
Below, you’ll find top storage tips from four of our favorite quilters. Of course, Jenny and Misty pitched in their favorite tips as well as our senior copywriter, Nichole, and our educational producer, Liz!
• Try a Dresser “I can fit tons of fabric and notions in my drawers without worrying about shelves getting messy. My dresser also doubles as my cutting table.” -Liz
• Keep It Visible “I keep scraps of the same color in clear bins so I can see what fabrics I have and use them up.” -Nichole
• Hang It Up Larger cuts of fabric or panels can be hung up in the closet on hangers for easy access later on.
• File It Away Put an old filing cabinet to use for more than old papers and fold your fabric so that it drapes neatly over the empty paper files. When you open up the drawers, you’ll be treated to an organized fabric stash!
• Shelve It Utilize shelf space for fabrics by either folding them up neatly and stacking them, or you can cut down pieces of cardboard and wrap fabric around the cardboard like mini bolts that can be stored vertically on the shelf like books.
• Organize by Project “I don’t have a lot of stash to organize, but I do have fabric with specific projects in mind. I have quite a few clear project bins that I use to keep all the needed fabric for each project together. It makes it easy to clean up and store when I want to work on something different for a little while. They’re only a few inches deep and about 12″ square, so they’re easy to stack up and store, but I can still tell quickly what’s in each bin.” -Misty
Notions Storage
Sewing notions may be small, but they sure can pile up, too! Before you go to organize your notions, do a similar kind of whittling down like you did with your fabric. It’s easy to keep doubles and even triples of everything as quilters and those items may just be taking up space. Take a look at all your notions and decide what to keep or donate and then move on to setting up your space for success.
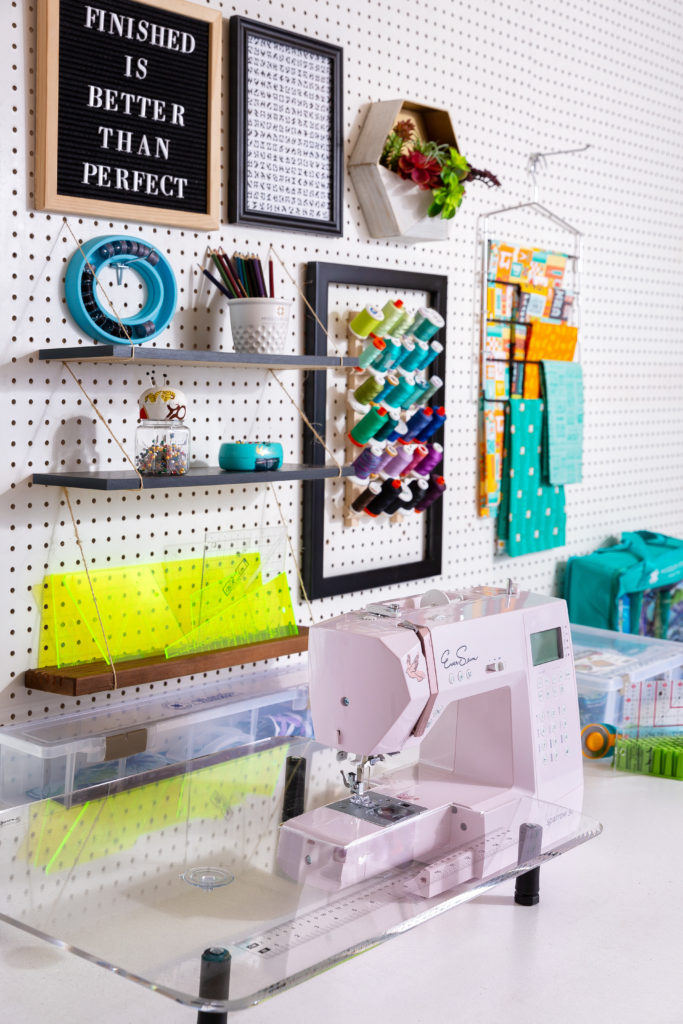
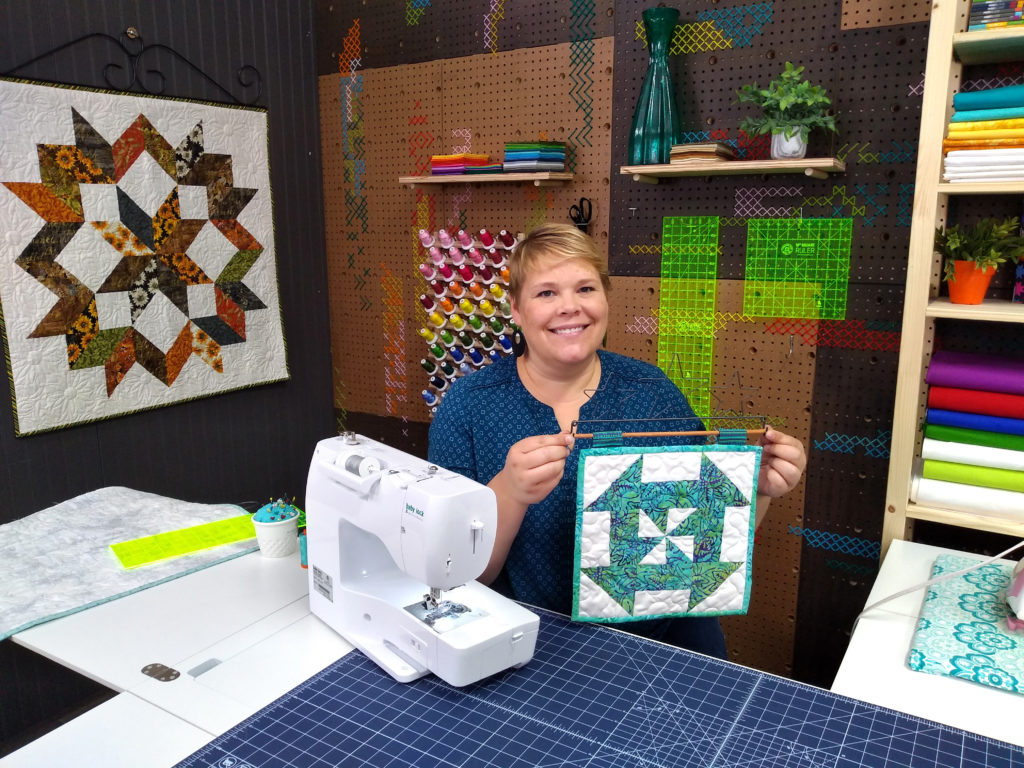
Because notions are easy to lose track of, it’s important to organize them in a way that is visually appealing and accessible. You know those neat peg boards that have been used as garage organization for tools? Why not use them for sewing! Storing notions vertically opens up space on your sewing table. You can also hang a couple shelves over your sewing table and arrange your notions up above your workstation to keep your table clear.
Jenny’s sewing studio is packed with everything she could need to create her next project and she says, “I like drawers for thread and rulers, although I prefer a hanging pegboard rack for the rulers I use often. I also like containers that are decorative and useful.” Like our cute little thimble containers! We just can’t get enough.
And don’t forget about pins! Jenny always says, “You can’t have too many pin cushions and we agree.” Liz mentioned that she likes to keep, “several pin cushions and put different kinds of pins in each—keeping them organized and being able to grab a whole pile of the ‘right’ ones for whatever I’m working on.” What a great idea!
Finally, when you’re organizing your workspace, think of the overall layout and how everything works together. If it’s a tight space, you may not have to walk far to your pressing station from your sewing machine, but do you prefer it on the right or on the left? Or are you always tripping over the iron cord? Keep these considerations in mind when setting up your space so that you’ll always feel comfortable and your creativity will flow easily. Another great tip from Liz is, “Think about laying out your ‘golden triangle’ of workspace. You can learn all about this on home improvement shows about kitchen layouts with an oven/sink/fridge, except our golden triangle of sewing is cut/press/sew—make that layout work for you and you’ll love even a tiny space!” Wise words indeed.
No matter what size space you sew in, you can make it work for you with some careful consideration about your fabric stash, sewing supplies, and overall layout. Share your beautifully organized sewing spaces with us at #msqcshowandtell. We can’t wait to see what you’ve done with the place!
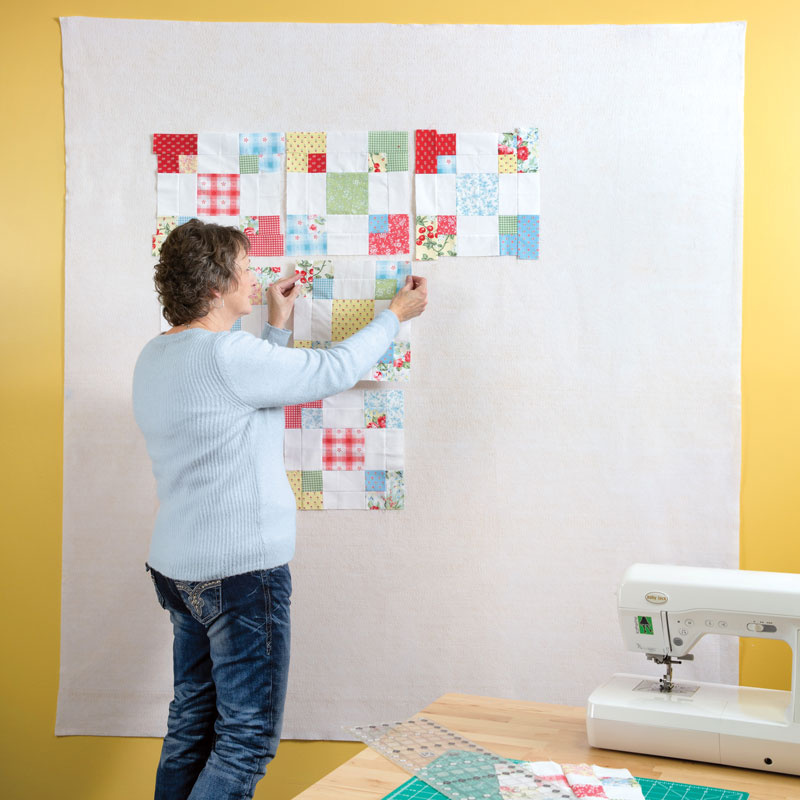
When piecing together any project, you’re going to want a wide open space to ease the process of designing, piecing, and cutting. Allow yourself an area designated for a large enough cutting board for the type of projects you normally do. Buy a fabric wall or create your own for even more savvy space in your area.
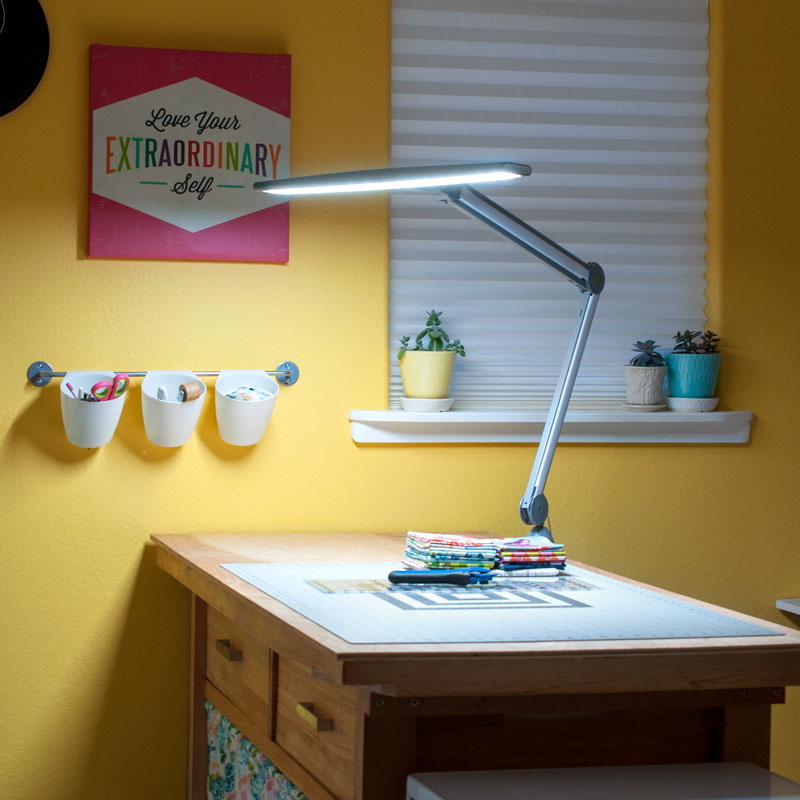
2. Adequate Lighting
Create an area full of efficient lighting to see your project clearly from beginning to end. For extra help, pick up some lighting that has a magnifier attached to keep your color coordination sharp and reduce any other hard-to-see errors.
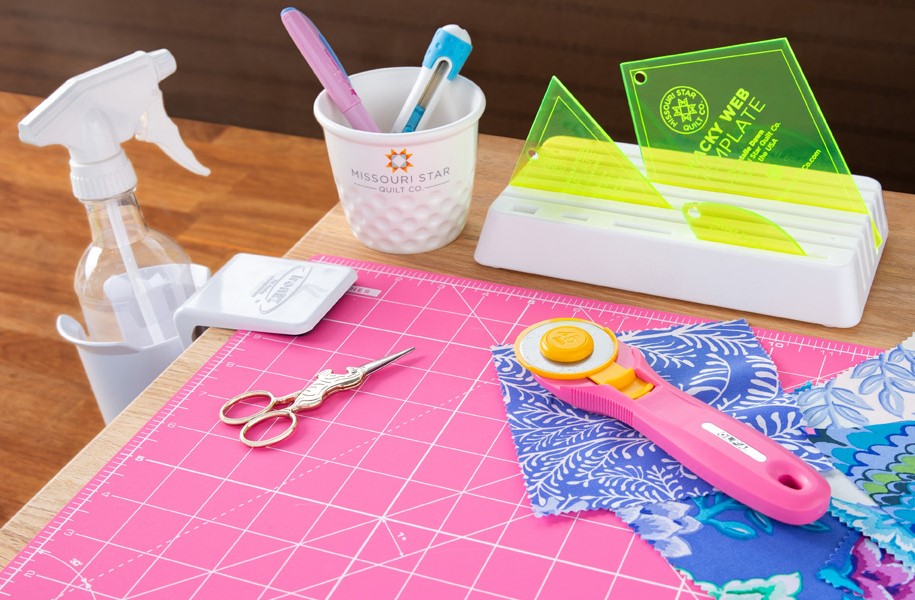
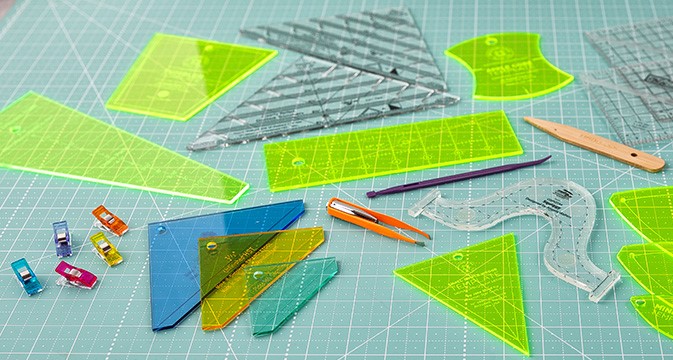
3. Nifty Notions
Fill your sewing area with handy tools that are only an arm’s reach away and ready to roll! Here are just a few things you won’t want to find yourself without once you start sewing!
Rulers & Templates of all sorts are great to have, but these three are exceptionally useful!
And of course, a good seam ripper is always handy to have close by!
4. Storage Solutions
You’re going to need a practical place to store all of the notions you have gathered. Explore our selection of storage essentials to help get you organized! Find a place to store anything from fabric and rulers to pins and needles!
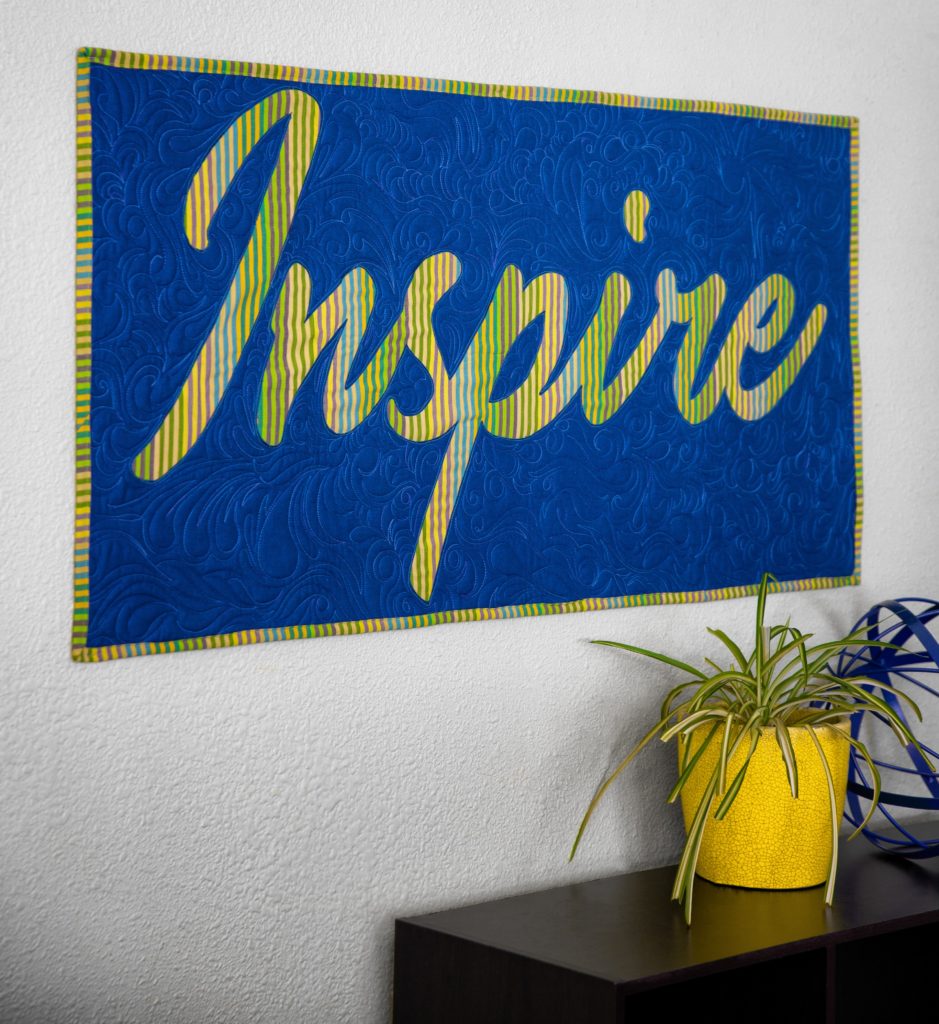
5. A Creative Environment
To start any good project, one needs motivation. Create a space in which you find yourself surrounded in inspiration. Design it to your tastes. Make an area that you feel comfortable in, but also allows for your creativity to grow! Scroll through these patterns to discover a wall hanging you can add your own flare to and finish off a sewing room personalized to your own tastes!