You’ve finally made it! You have your supplies in hand and you have a great knowledge of precut quilting fabrics so it’s time to create your very first quilt block! Before we begin, remember Jenny’s favorite phrase, “finished is better than perfect”. Your first quilt block might not be perfect (maybe it will!) but what is most important is that you learned new skills along the way and have a finished block that YOU created!
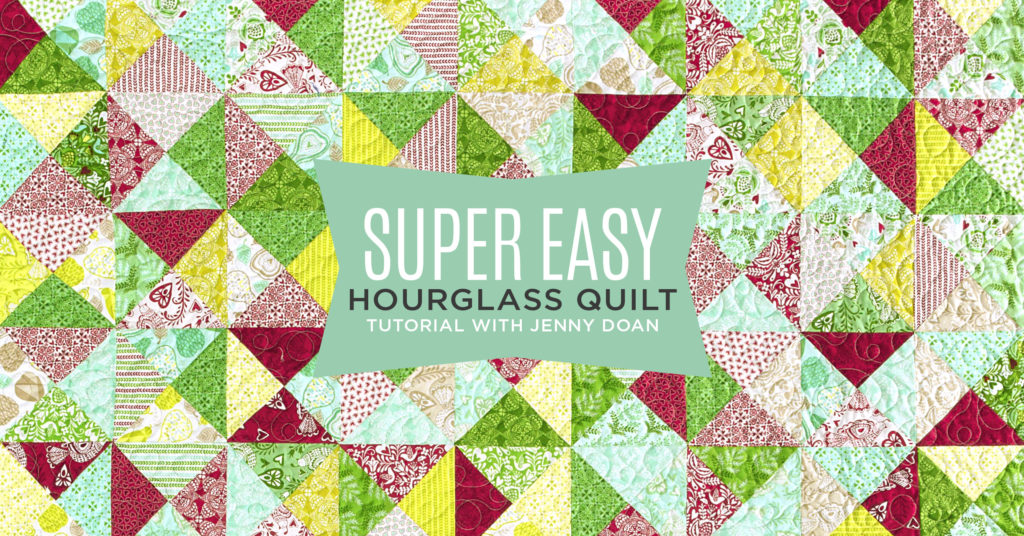
If you’re more of a visual learner and would like a video tutorial to follow along with as you create your first blocks, you can find all of the information on the Hourglass Quilt included in this blog post in Jenny’s Super Easy Hourglass Quilt tutorial and, for a quicker version, our Quilt Snips mini tutorial!
In today’s post, we are focusing on creating the first few blocks of the Hourglass quilt. We won’t be finishing the entire quilt top today, but if you continue your block making, you’ll soon have enough to create a finished quilt! We’ll get into binding, backing, and quilting later, but for now, let’s piece our first block!
For this project we’re going to be working with Charm Packs. If you haven’t already read Building Blocks: All About Precut Fabric, take some time to get to know your materials before diving into creating your first block. Once you’re ready, grab your favorite Charm Pack and let’s get stitching! You will need:
Supply List
One Charm Pack of 5″ precut squares
An Iron for Pressing
A Sewing Machine Ready to Sew
Remember we’re not tackling the full quilt today, just the first block. If you’re wanting to push your sewing skills a bit further, gather the supplies for the Super Easy Hourglass Quilt from the list HERE.
Creating Your First Block
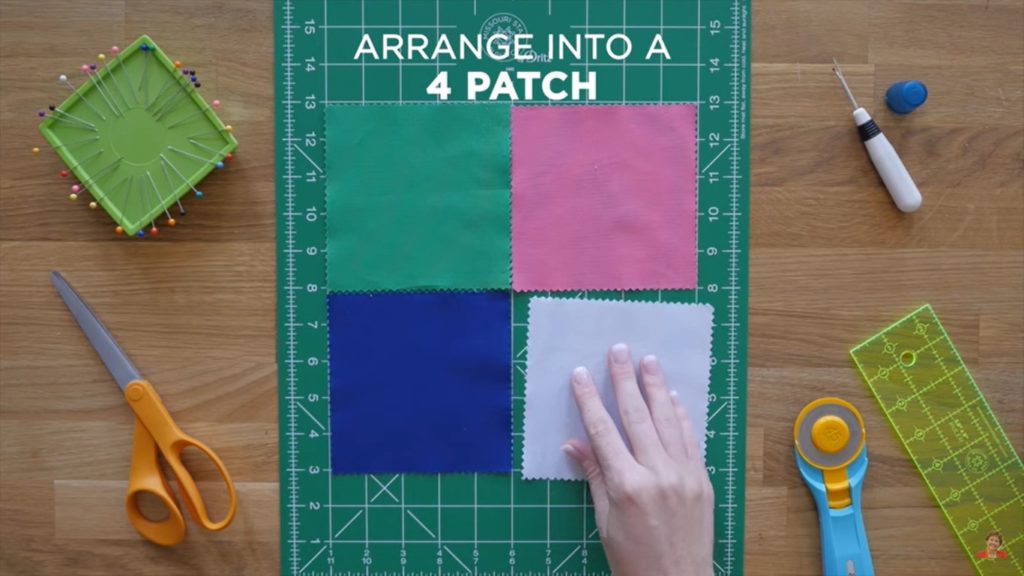
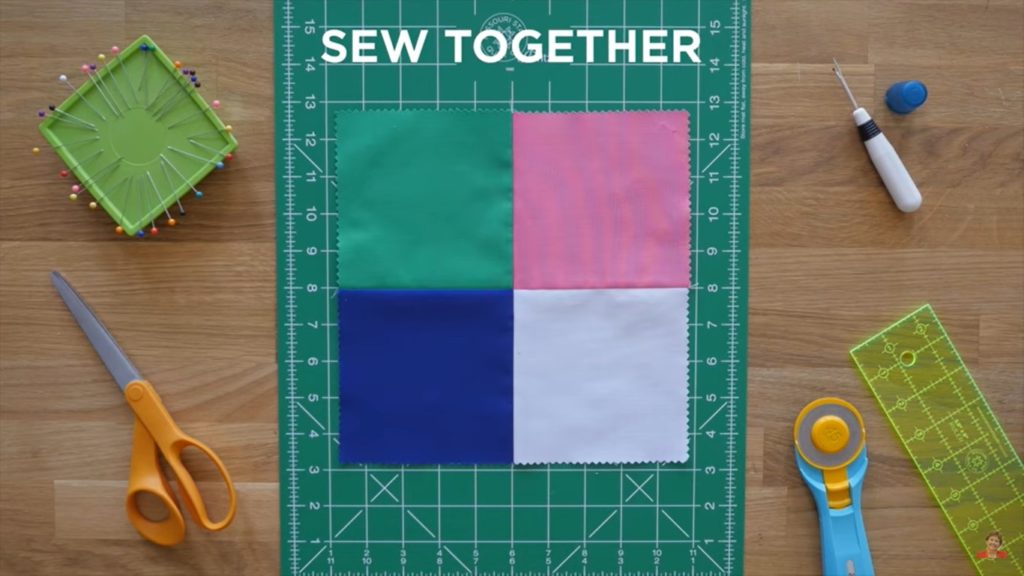
Start by arranging four 5″ squares from your Charm Pack into a Four-Patch. This is a very simple and basic quilt block style and a great place to get started! Select four 5″ squares that vary in color or design and remember—we’ll be cutting these four-patches up very shortly so the layout will change as the hourglass block develops.
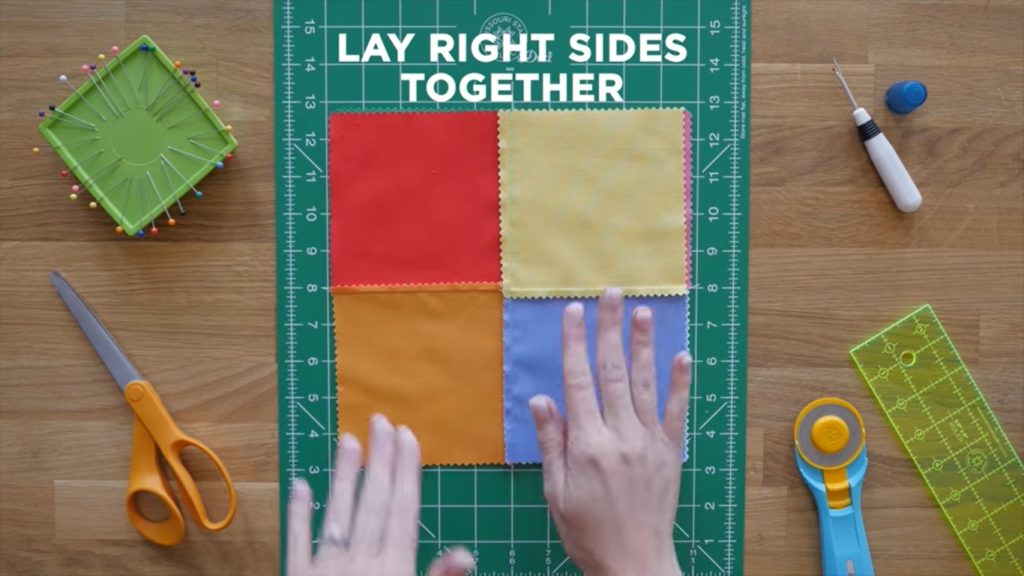
Once you have laid out four squares (hard work so far, right?) all you need to do is sew them together! Flip two squares of your four-patch over so that the right sides of the fabric are touching, as shown below.
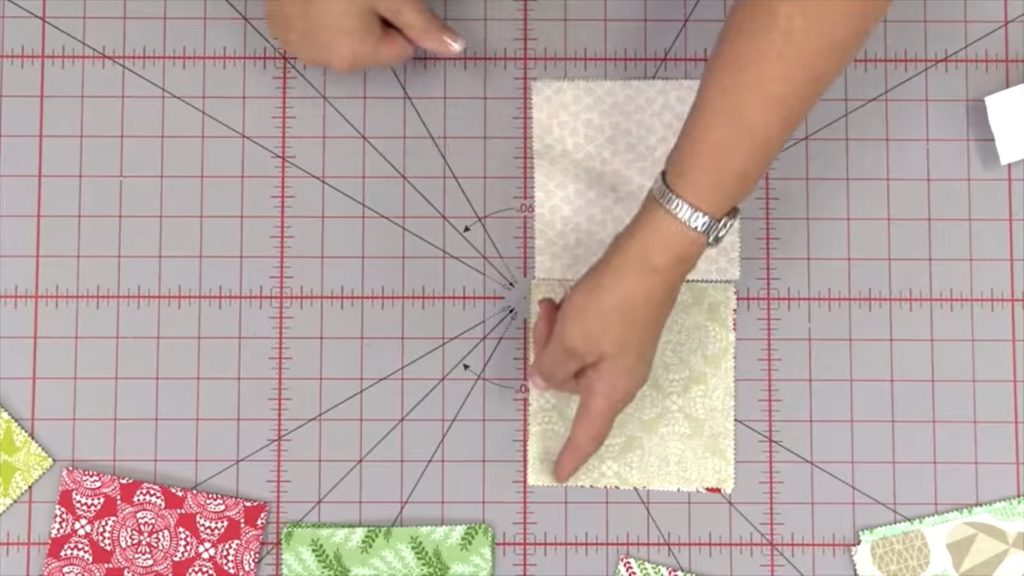
Next, sew straight down one side of each set of squares, creating two sets of two squares, using a 1/4 inch seam. Open and press the two sets flat, then line them up on top of each other with right sides facing. Match up the middle seams and sew the two sets together to create a four-patch.
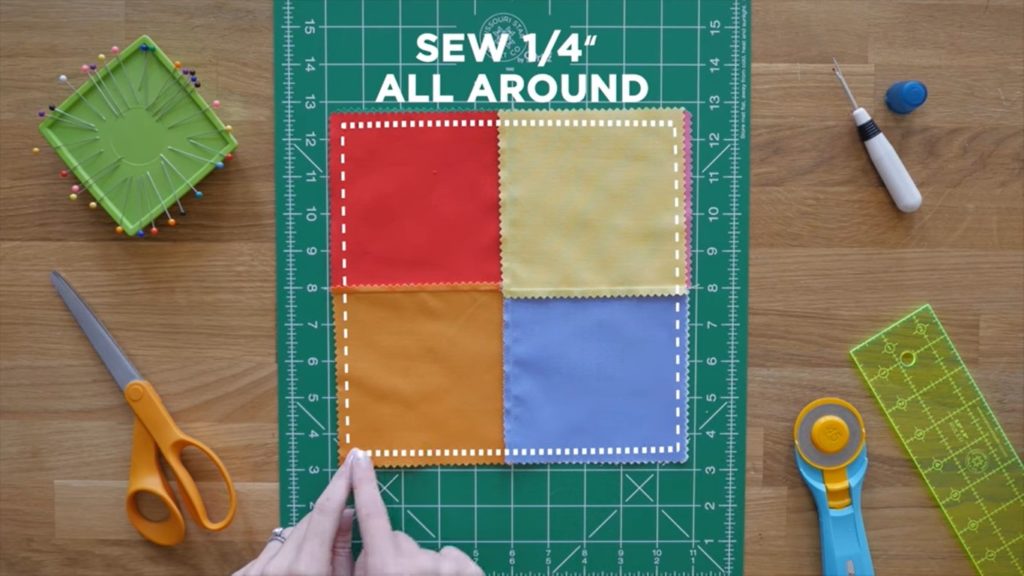
Once your four squares are sewn together, press your block flat with your iron. Believe it or not, you’ve created your first quilt block! This Four-Patch block is oh-so simple and versatile on its own, but with a little more creative energy, we can turn it into a simple Hourglass block! To do so, follow the instructions above to create a second Four-Patch block, just be sure to mix up your fabric choices! Once the second Four-Patch block is complete, press it flat and lay it on top of your first Four-Patch block with the right sides of the fabrics facing each other.
Take your blocks over to your sewing machine, keeping them lined up (you can stick a few pins into your blocks to hold them together if needed), and begin to sew all the way around the squares with a 1/4″ seam.
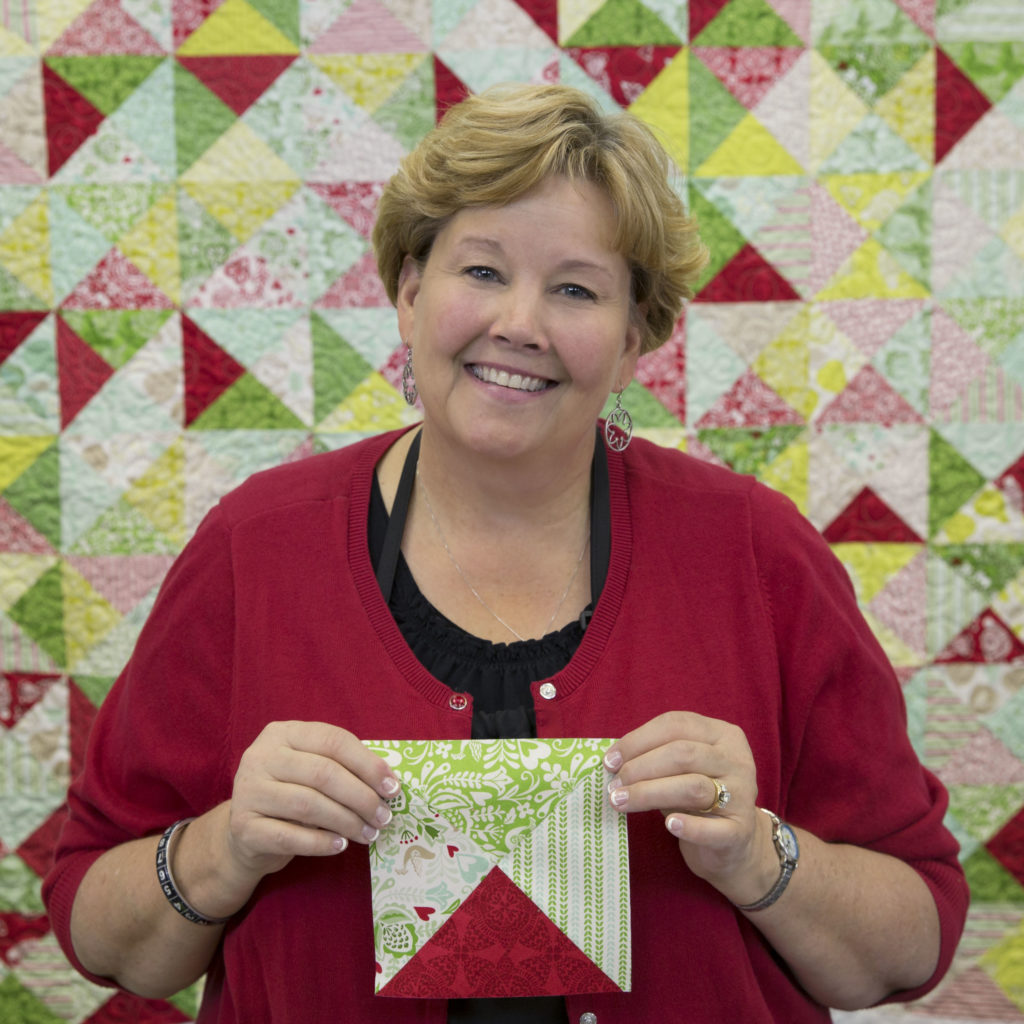
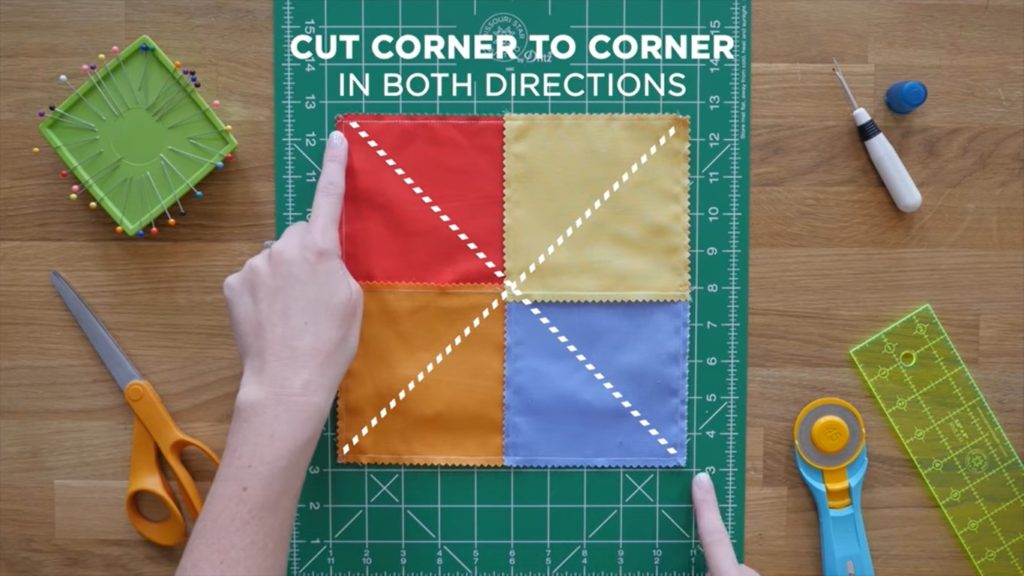
Your two Four-Patch blocks should be sewn together now and held tight. Now comes the fun part! Grab your rotary cutter and ruler and make two diagonal cuts from corner to corner on both sides of the sewn-together block. Use extra care when crossing over the middle of your block as the seams will be slightly more difficult to cut. Use your 5″ x 15″ ruler as a guide to ensure that your cuts are straight and even!
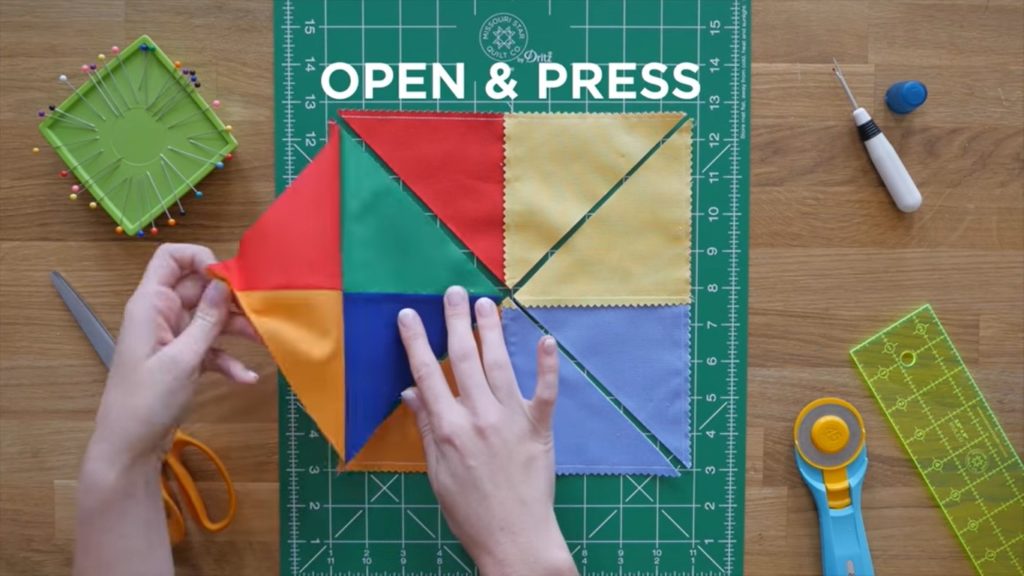
Now all that’s left is to open your newly created Hourglass blocks and press them flat! Using this method, you’ll actually create FOUR hourglass blocks at a time.
Take a moment to admire your work and be proud of what you’ve accomplished, you’ve not only created your first quilt block, but you altered that block to create four more unique quilt blocks! At this point you’re ready to tackle your very first quilt. If you need a little extra help, don’t panic! Check out Jenny’s full tutorial or the Quilt Snips mini tutorial below for some extra visual aids. Not everyone learns in the same way or at the same speed, so take your time and have fun!