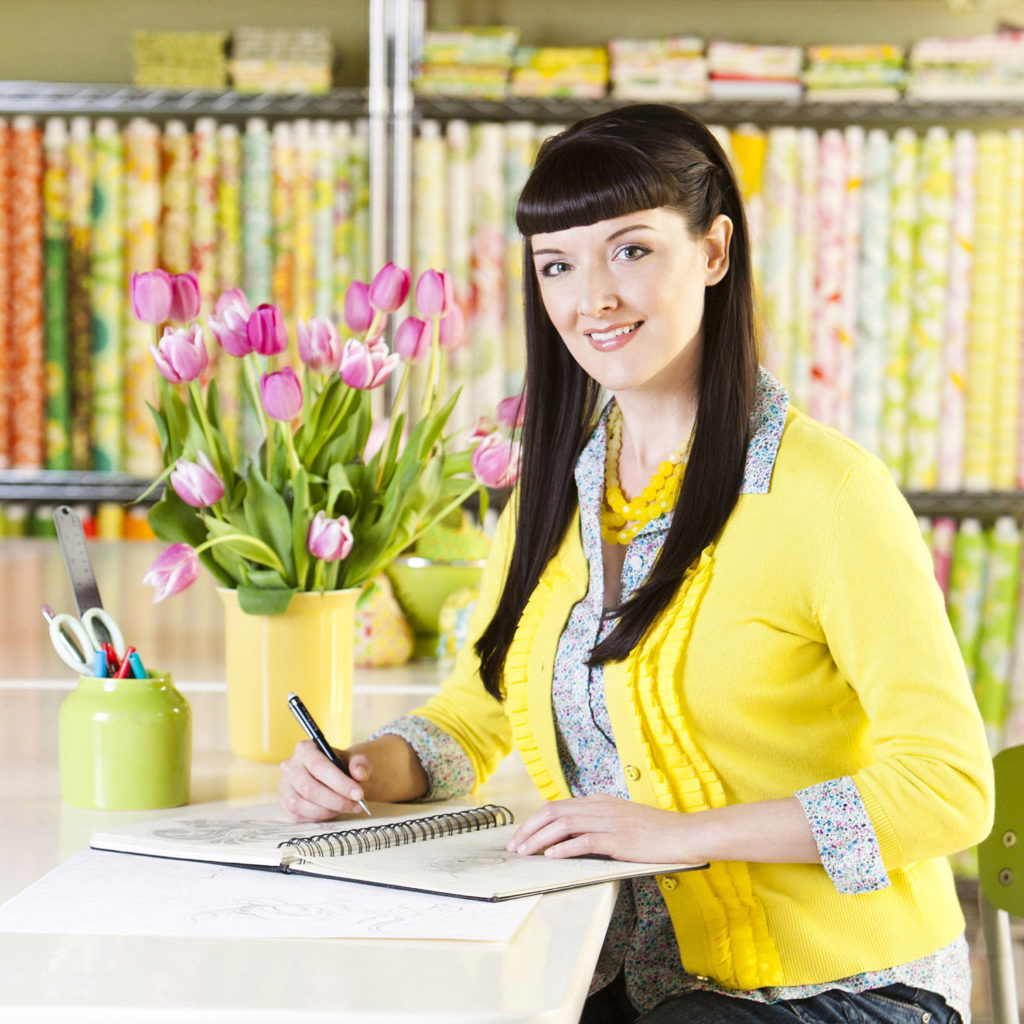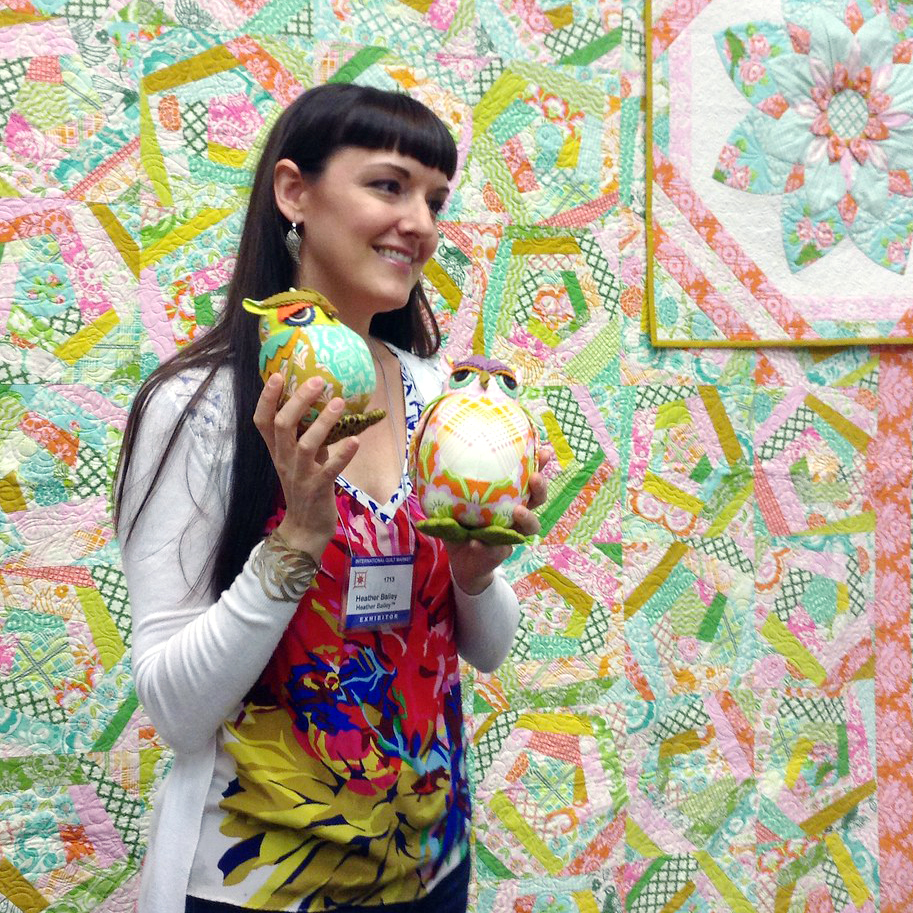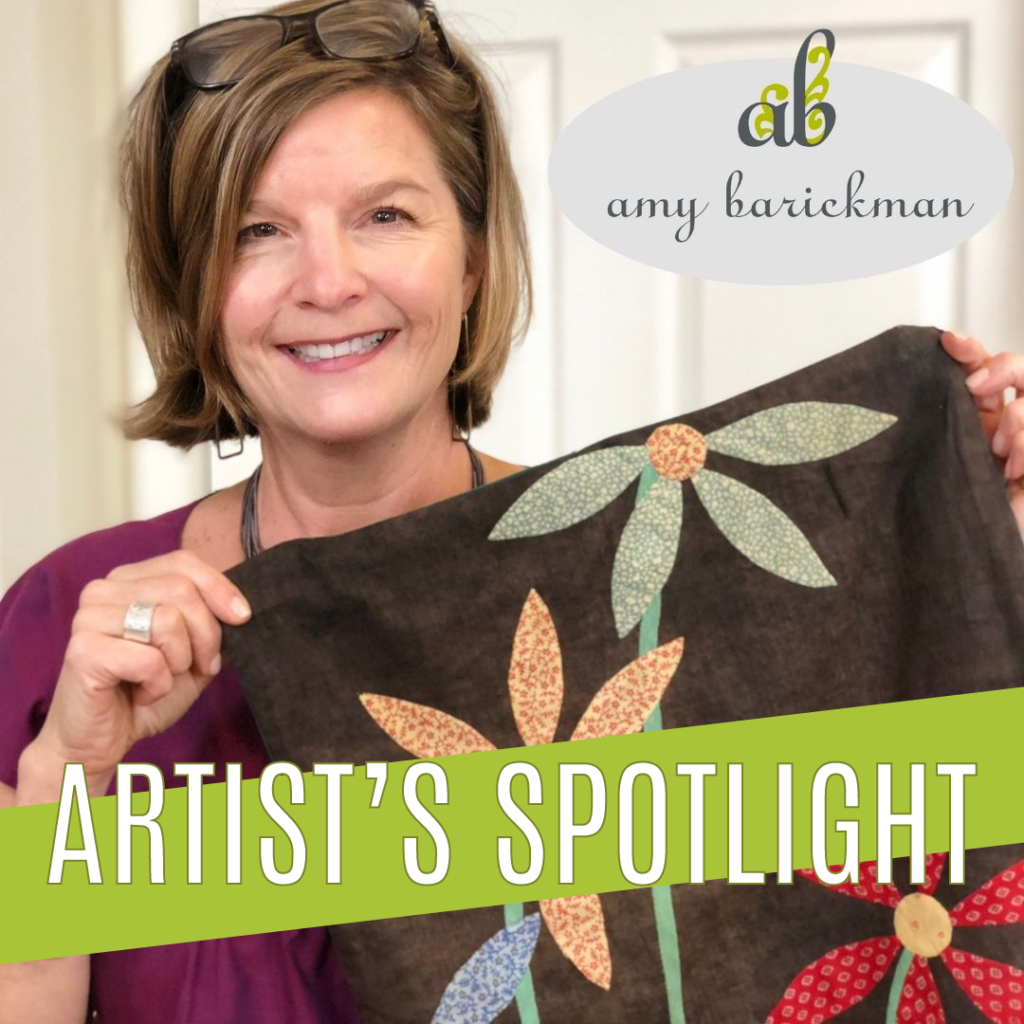
Meet Amy Barickman, founder of Indygo Junction and author of Vintage Notions: An Inspirational Guide to Needlework, Cooking, Sewing, Fashion & FUN! Through her YouTube videos, blog, website, and e-newsletter, Amy inspires fabric arts enthusiasts to learn from the past and experiment with new products and techniques for creating in vintage made modern style. Now you have the opportunity to learn more about Amy and her work! Join us on Missouri Star LIVE March 8th, 2022 at 11:00 am cst for a special segment with Amy herself – but in the meantime, get to know her little more with this exclusive interview!
What is your favorite part of the quilting process?
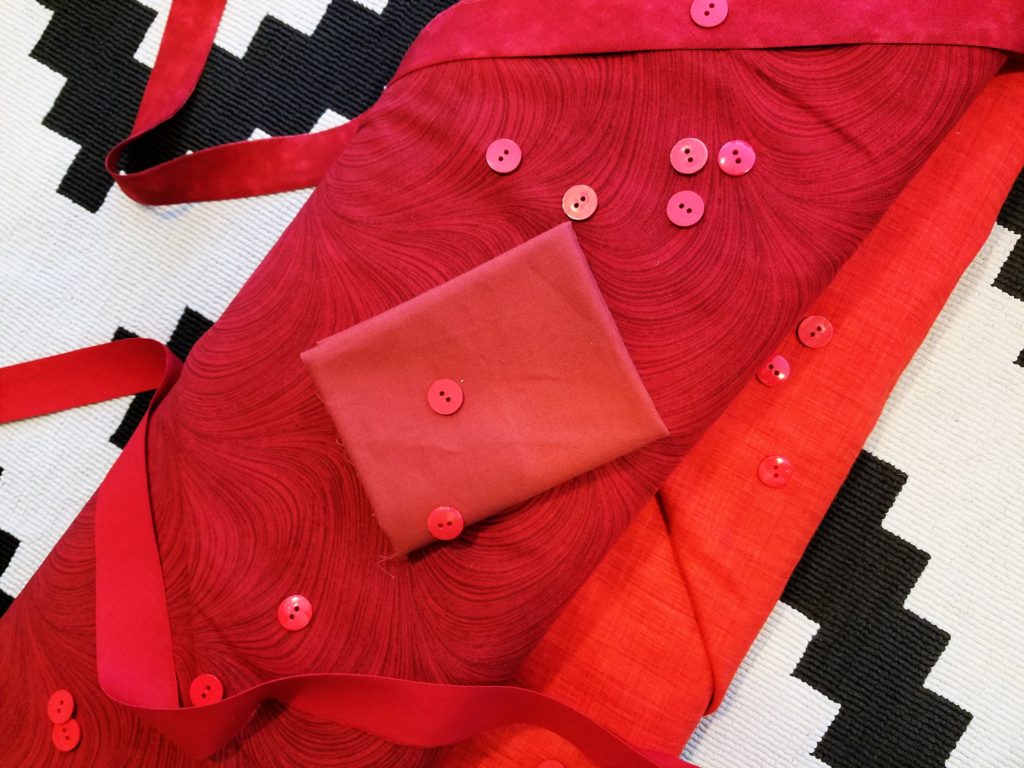
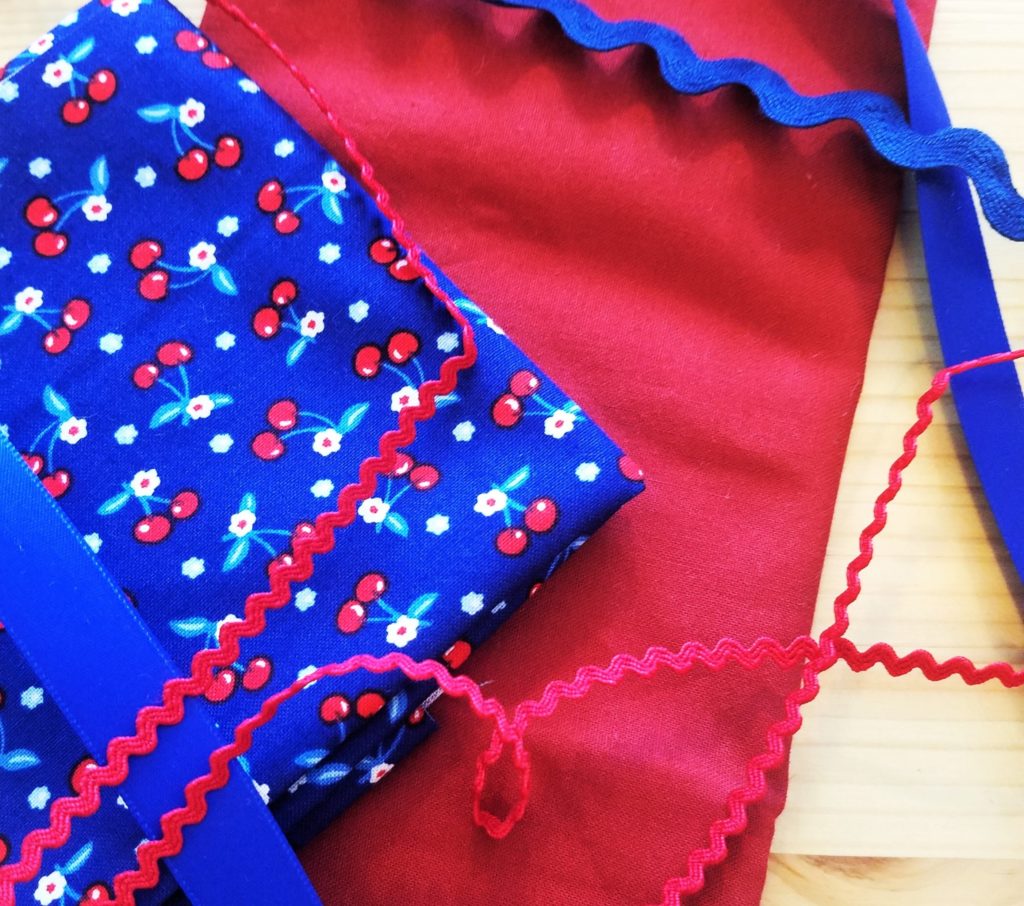
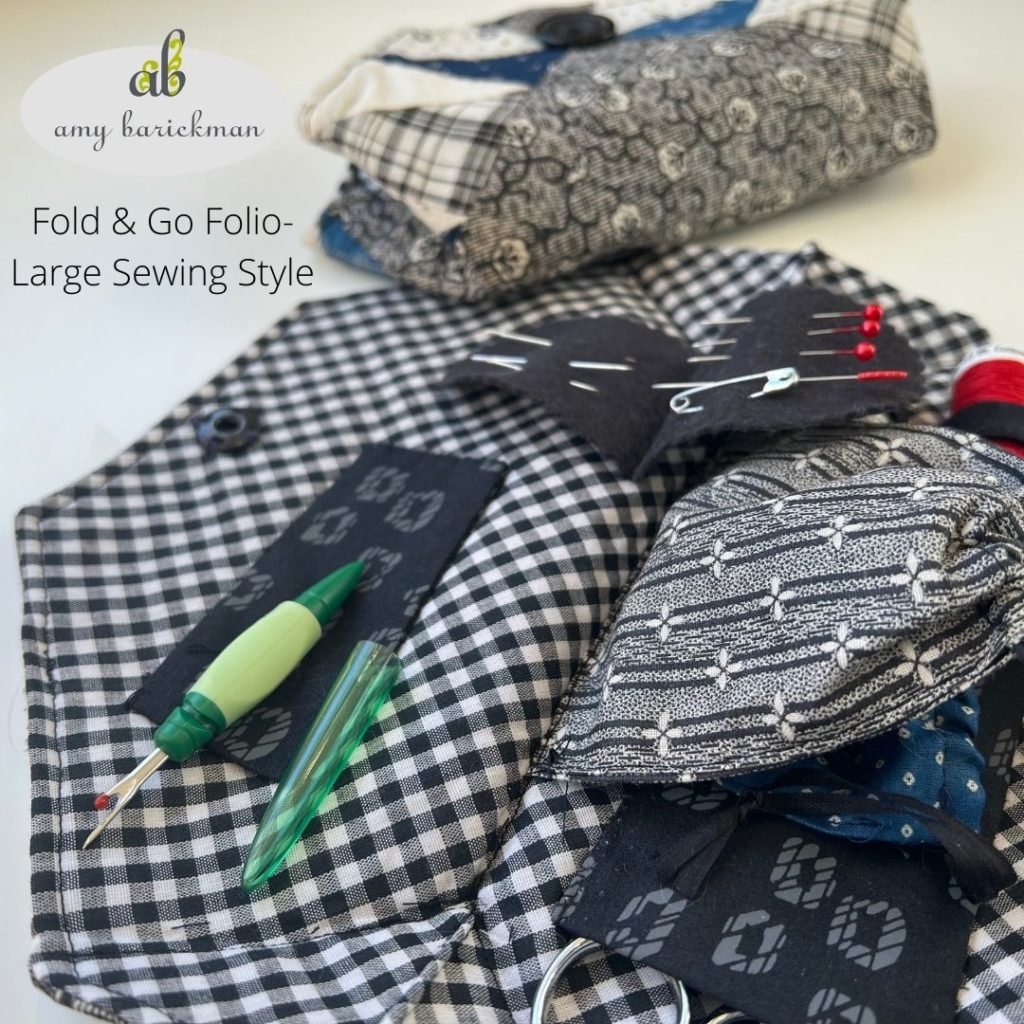
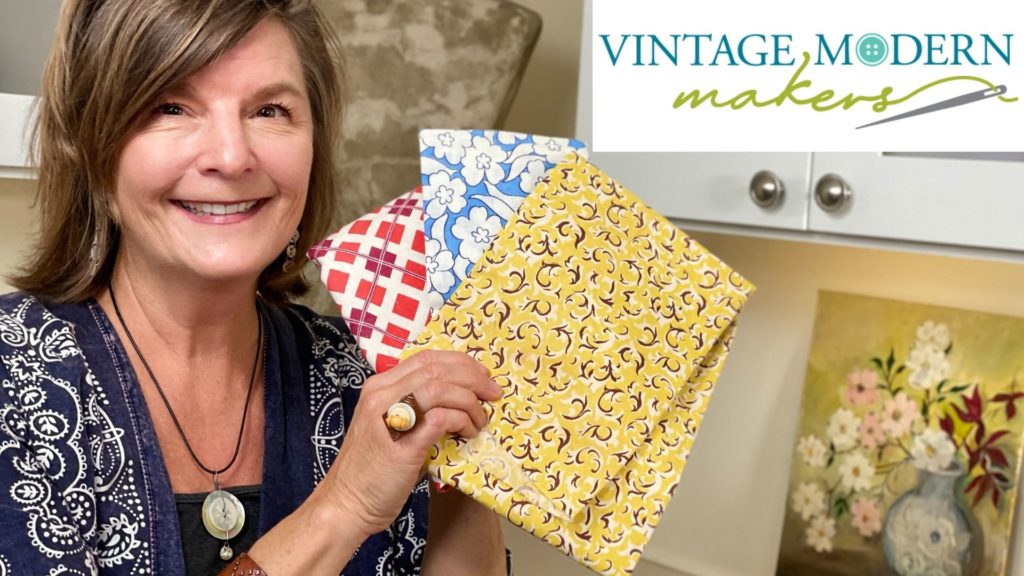
I sew more than I quilt, I love stitching by hand and paper piecing. My favorite part of the creative process is design development and choosing fabrics for a project. With my new Fold and Go Folio pattern I went “all in” on variations in the styling and created both a sewing case and a jewelry case and included two sizes. As far as fabric options, we have created versions in vintage feed sacks, as well as modern Tula Pink prints. This pattern is perfect for upcycling – think neckties and gingham shirts! And preserving treasured fabrics like vintage embroidered linens and quilt blocks.
Who are your favorite fabric designers?
There are sooo many I love. Recently I sourced fabric for the Fold & Go Folio from the following designers- Freespirit: Tula Pink and Kaffe Fassett ; Art Gallery Fabrics: Bonnie Christine ; Moda: French General ; Riley Blake: J Wecker Frisch.
If you would like to see some of those fabulous fabrics and learn more about all the possibilities for this pattern check out this video I filmed at QuiltCon.
What notion or sewing tool are you most dependent on?
Seam Ripper. I love to upcycle fabric I find at the thrift shop – jeans, dress shirts (especially gingham), ties, and wool jackets, so a good seam ripper is a necessity. By the way the Fold & Go Folio has a sleeve for a seam ripper.
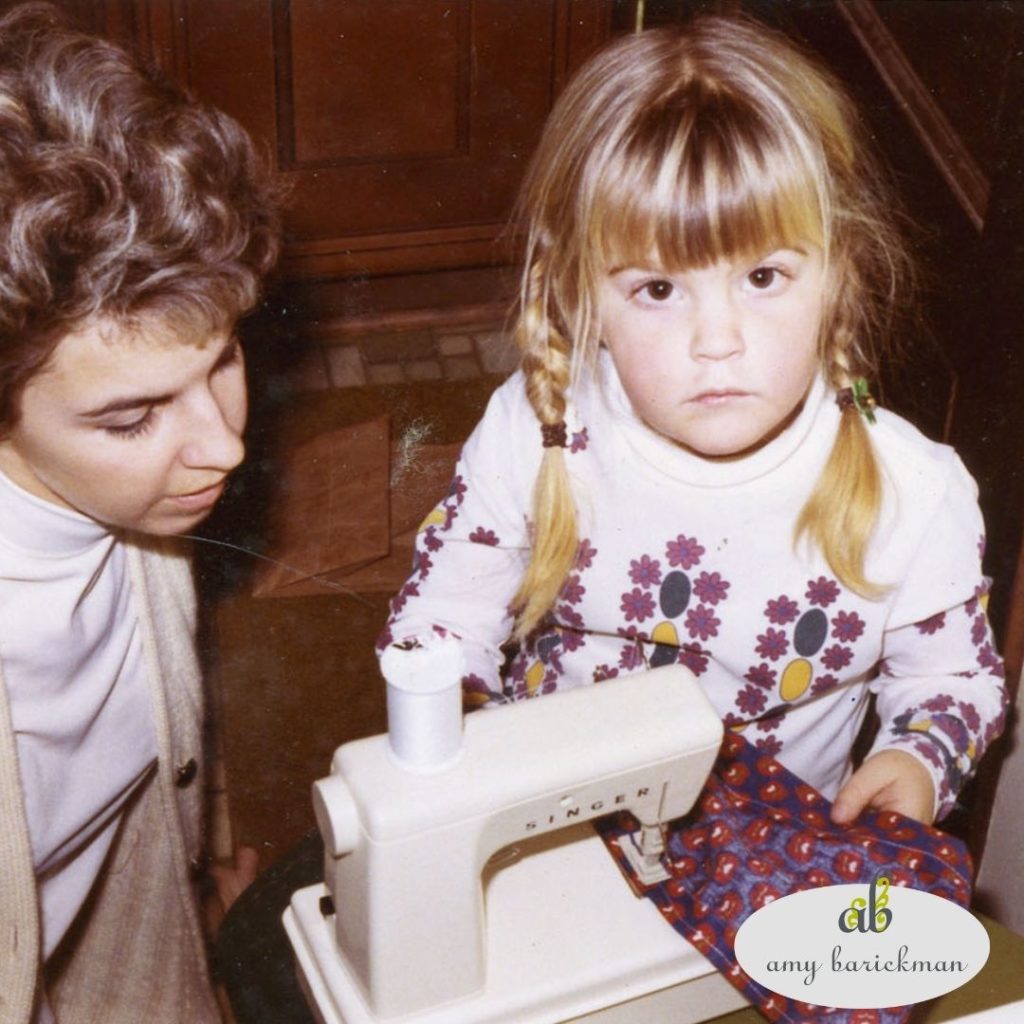
How were you introduced to sewing and quilting?
My mother was a home ec teacher and a talented seamstress. She has taught me so much over the years and we are working together, still today developing new patterns and products. The early sewing patterns I developed for my original pattern company, Indygo Junction, were for Teddy Bears, inspired by my mom teaching teddy bear making in her retail store in West Des Moines, Iowa. She owned a gift and craft store for much of my childhood and also a quilt shop for several years. My passion for the creative needle arts business is in my genes- thanks mom!
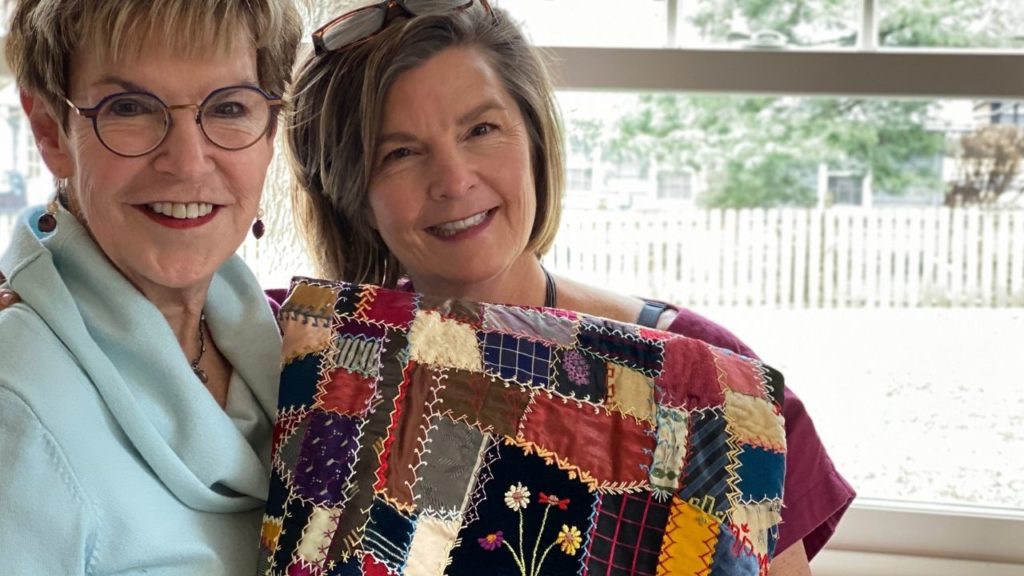
Here is a fun replay of a Facebook Live event we hosted on Crazy Quilts!
What do you do to find inspiration/encourage your creativity?
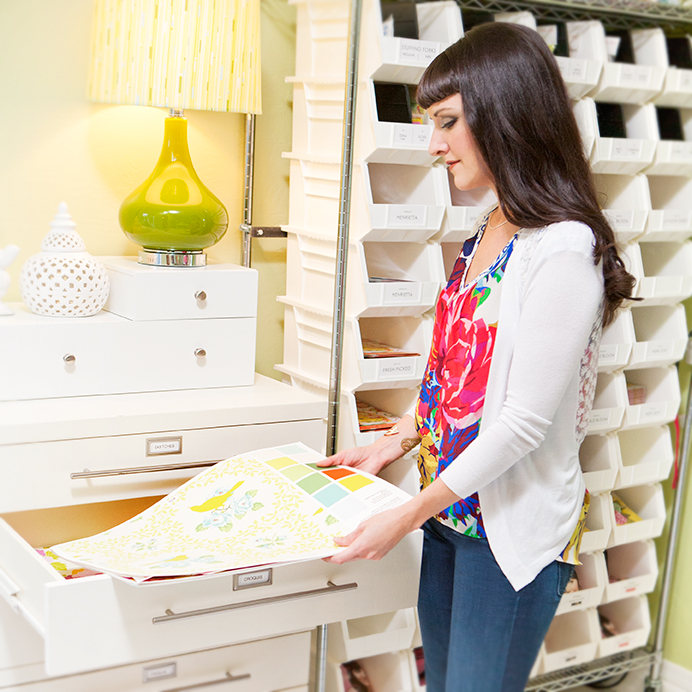
I have an extensive collection of vintage magazines, books and patterns focused on fashion, sewing and quilting. I also collect notions and handmade needle arts from buttons to embroidery and quilts. I reference my collection daily in my quest for developing vintage made modern patterns, books, and fabrics. My collection of Mary Brooks Picken and Woman’s Institute content dated 1916-1950’s, has been by far the most inspirational in my development of products. My book Vintage Notions: An Inspirational Guide to Needlework, Cooking, Sewing, Fashion & FUN was inspired by the correspondence school’s lessons and stories.
I created a 12 episode YouTube series sharing the book chapter by chapter. In the series I share many textile treasures from my collection that were featured in the book as well as patterns and many ideas for upcycling fabrics. Click HERE for the Playlist.
What occupation would you like to try if sewing/making wasn’t an option?
A nature photographer. I love finding unique color, pattern and design in nature and capturing those images. I am looking forward to the colors in Spring flowers and my chance to share those images on Instagram. Crocus should be popping up soon in Kansas City!
Who is your favorite fictional character?
Not sure I have one. But I do have a few favorites that are “nonfictional”.
A hobby of mine is researching characters in the history of sewing and quilting. I found that Amelia Earhardt had a connection to the legacy of needle arts. Here are a couple blog posts sharing my discovery and a visit to her childhood home. I was so excited when I learned she carried a sewing box on her long flights.
https://amybarickman.com/2019/10/05/my-discoveries-at-the-amelia-earhart-museum/
https://amybarickman.com/2019/09/03/amelia-earharts-sewing-box/
What fabric have you been hoarding/saving the longest?
Feedsacks! To justify my hoarding, I actually created a course on my VintageModernMakers.com site about the history of Feedsacks that includes sewing projects, videos, and a PDF with historical articles and heirloom art to print. See my current courses HERE.
Describe your perfect day.
A morning walk on a nature trail followed by shopping for vintage fabrics and embroidery at the Glenwood Antique Mall or First Fridays in Kansas City’s West Bottoms. Followed by a meal at one of my favorite restaurants in midtown, Tailleur on Main or sister restaurant, The Russell.

Don’t forget to join us for Missouri Star LIVE on March 8th, 2022 at 11:00 am cst to learn more about Amy (and maybe to win a special giveaway prize from Amy herself)! In the meantime, be sure to follow Amy on Instagram, Facebook and YouTube. You can learn more about her and her projects as well on her website and blog.
Can’t get enough? We can’t blame you!
Amy is now offering online DIY courses based on her collection of vintage fabrics and notions at VintageModernMakers.com. Grow your appreciation and knowledge while you create practical projects. Each “Primer” course includes sewing patterns and technique tutorials. Amy shares fascinating history lessons including field trips to museum exhibits. Be inspired by Amy’s interviews with textile experts as well as artists and makers! You will access both printable PDFs and videos content the user-friendly platform VintageModernMakers.com. Don’t forget to keep up with Amy’s continued journey curating vintage treasures and never miss a new pattern or book by signing up for her newsletter HERE!