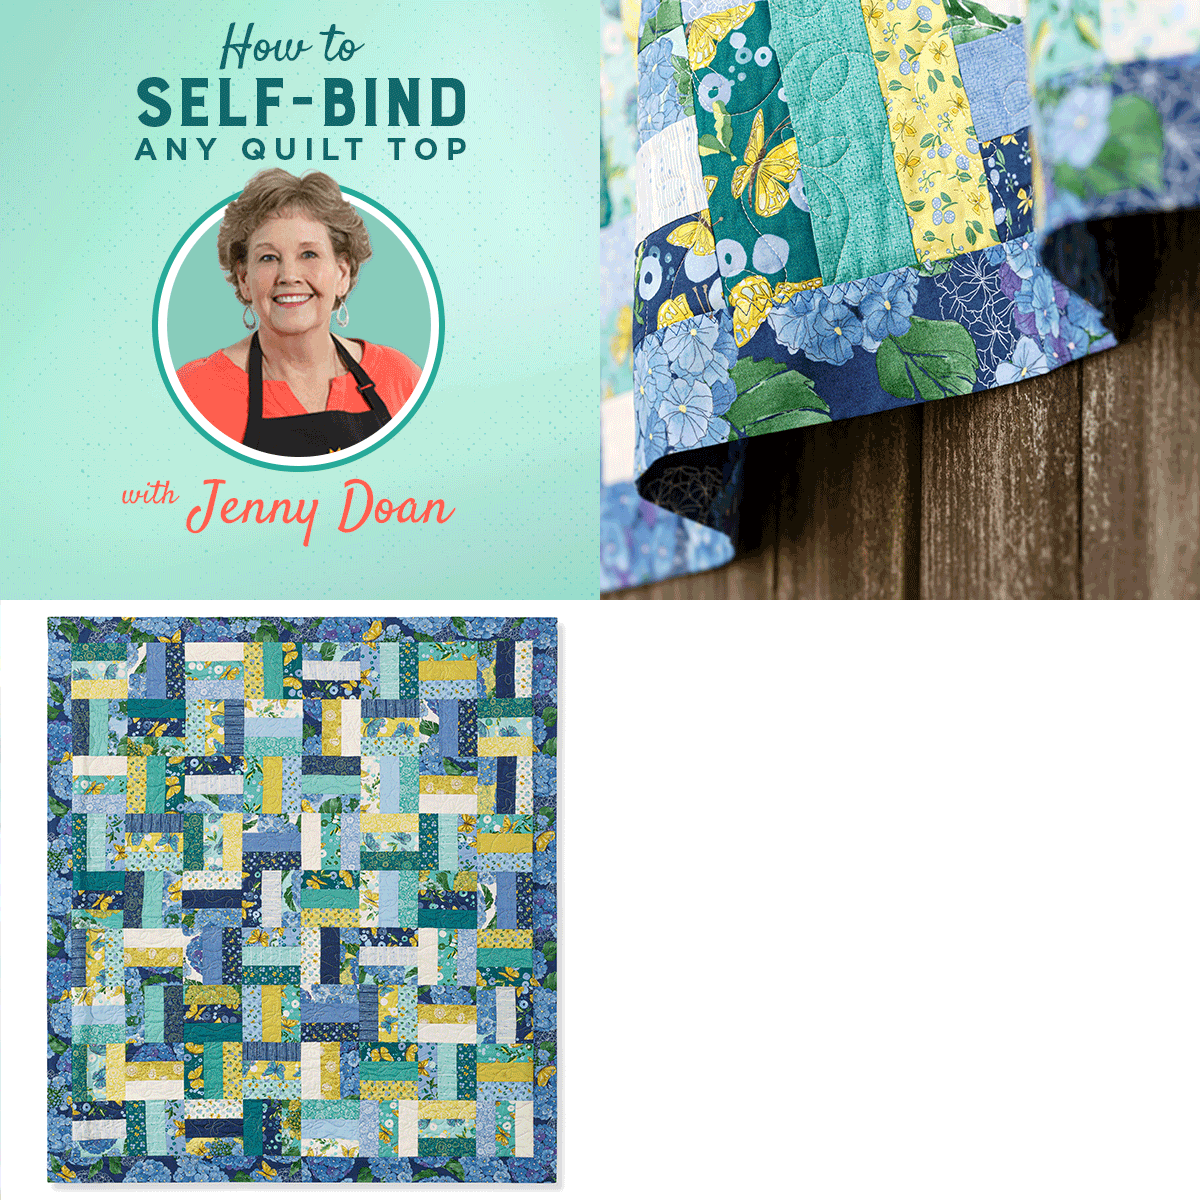
How to Self-Bind Any Quilt Top

How to self-bind any quilt top - a tutorial from Missouri Star Quilt Co.
Learn how to self-bind any quilt top in the latest tutorial from Missouri Star Quilt Co.

The first time Jenny Doan made a self-binding baby quilt, her husband was skeptical. “I’m pretty sure this isn’t going to work, dear…”

Undaunted, Jenny replied, “Just you watch!” And guess what? It did work, and it was fab-u-lous!

How to self-bind any quilt top - a tutorial from Missouri Star Quilt Co.
Jenny Doan demonstrates how to self-bind a quilt in the latest tutorial from Missouri Star.

Over the years, Jenny’s Self-Binding Baby Blanket tutorial has been watched millions of times. (Imagine all the babies who have been wrapped in those sweet little quilts!) 

But, after dozens and dozens of easy-peasy baby quilts, Jenny started to wonder…would the self-binding technique work on larger quilts, too? (Spoiler alert: It does!) 

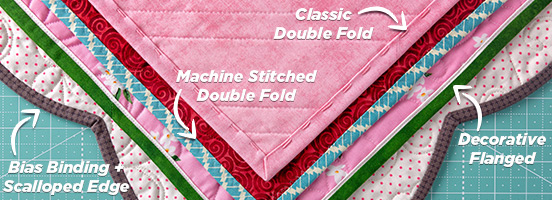
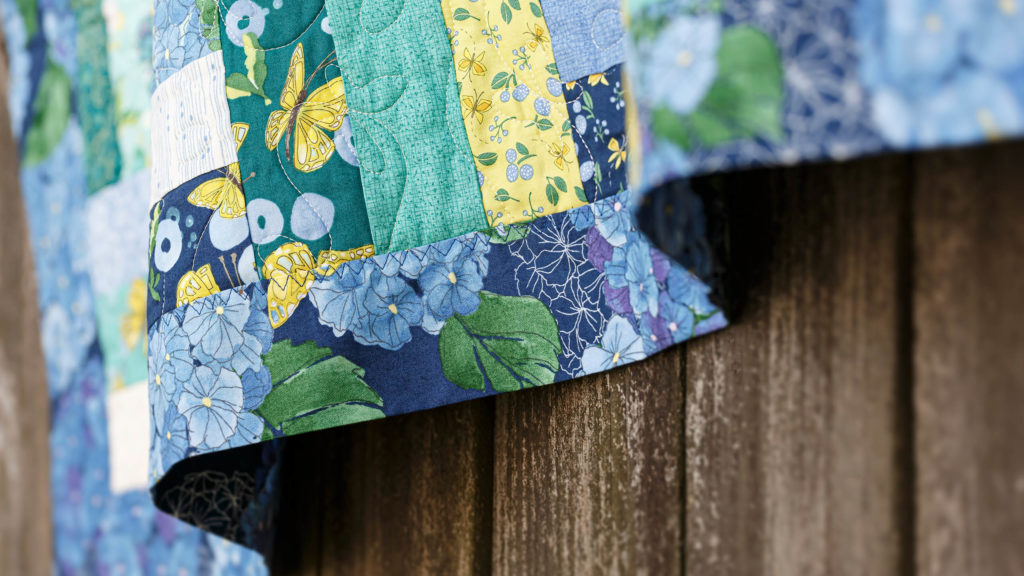
In this week’s new tutorial, Jenny demonstrates how to stitch a self-binding backing to any size quilt.

Watch the Latest Tutorial from Missouri Star Quilt Co!

How To Figure Yardage For Quilt Binding

How To Figure Yardage for Binding

The final step of making a quilt may seem like the most intimidating, but have no fear! Adding binding can be a really enjoyable process when you know how much you need and how easy it is to make and stitch on your quilt.

How to Figure Yardage for Quilt Binding

Supplies needed:

  • Pencil
  • Paper
  • Calculator
  • Your finished quilted project 
  • A measuring tape or template

Finally, choose a lovely fabric, bias, or precut for binding and load it into your Missouri Star Quilt Co. shopping cart!

Step 1: Find the perimeter of your quilt. Measure each of the four sides and add them together.
Step 2: Add 20 inches to your total.
Step 3: Choose your binding width. We recommend using 2 ½” wide strips.
Step 4: Divide the total length of binding needed for your quilt by 40″. This gives you the number of width of fabric strips needed to create your binding.
Step 5: Round up to the nearest whole number of strips. Multiply the number of strips by the width of binding you decided in step 3. That will give you the number of inches required to cut the necessary number of binding strips for your quilt.
Step 6: Divide the number determined in step 5 by 36″ to calculate the yardage. Round this number up to the next 1/4 yard increment and you’ll have your total yardage number!

Tips and Tricks for Binding:

How to Figure Yardage for Quilt Binding
  • Precut strips work great for binding as they are already 2 ½” wide.
  • Sew strips together end-to-end on a 45 degree angle into one long strip using diagonal seams. Press seams open to reduce bulk.
  • Fold strips in half lengthwise with wrong sides together and press.
  • The entire length of your binding should be equal to the perimeter of the quilt plus 15 to 20 inches.
  • Using a Binding Tool makes the process even easier!

Example Quilt:
(Quilt length + quilt width) x 2 = perimeter of quilt
(66″ + 58″) x 2 = 248″ This is the total perimeter of your quilt
Add 20″ to that number = 268″ needed of total binding length
Take the total inches and divide by 40″ to get the number of strips you need
268″ divided by 40″ = 6.7
Round up. You’ll need 7 strips of fabric for your binding.
Take the number of strips you need and multiply by your binding width. In this case, it’s 2 ½”.
7 x 2 1/2″ = 17 ½”
Divide the number of inches needed by 36″.
17 ½” divided by 36″ = .48
Round up to the nearest ¼ yard and you get ½ yard.