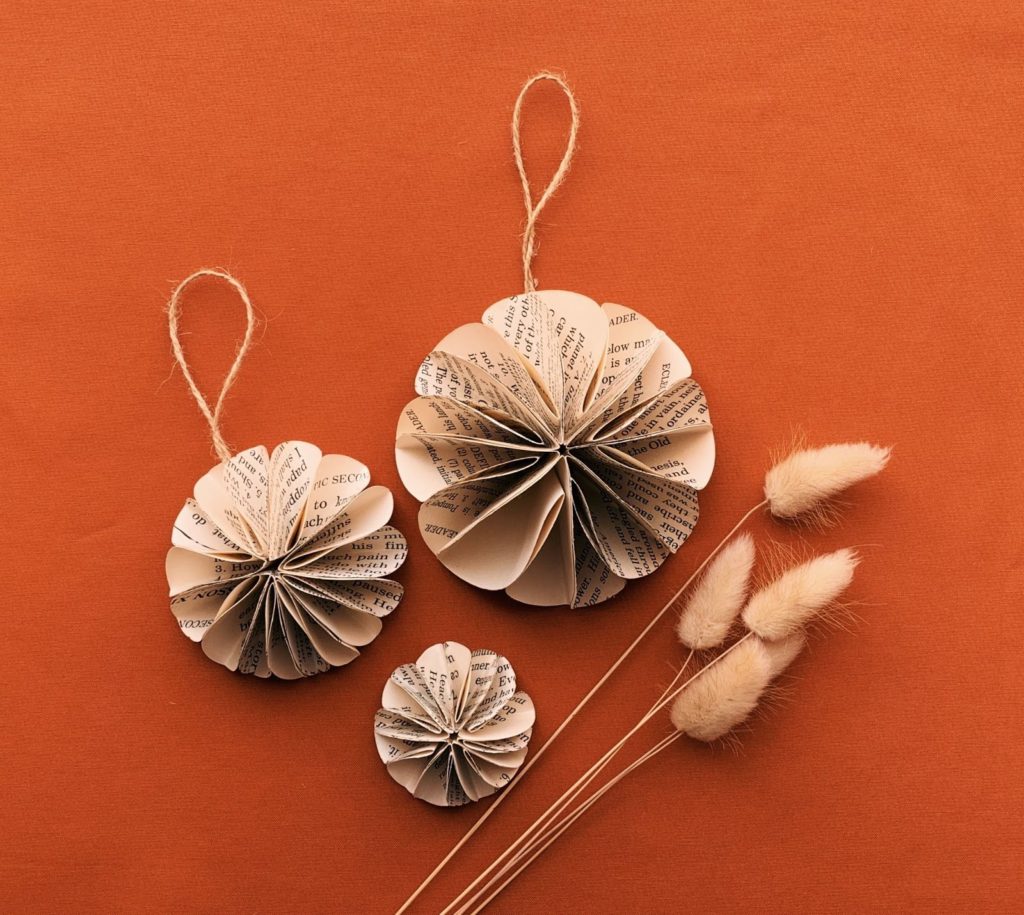
Handmade Paper Christmas Ornaments – Get Crafty!

You asked and we delivered! In our Handmade Holidays pictures, there are cute little ornaments that you were curious about. We heard your requests and we’re showing you how to make them! From Ali, our visual merchandiser, here are the instructions on how to make these cute paper ornaments.
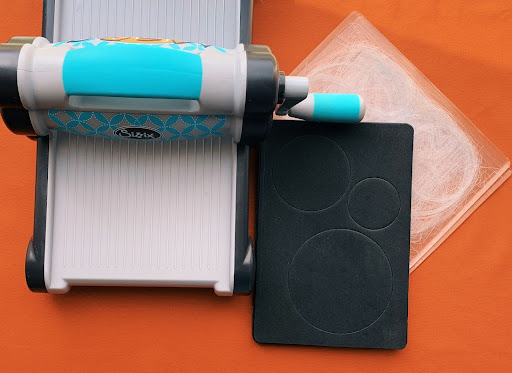
Get your supplies ready, it’s time to make some ornaments!

Supplies Needed:

Old book, paper of your choice.

Hot glue gun

Scissors

Sizzix machine or something to create circles. The bottom of a cup could work as a template.

Twine or string of your choice

Step 1

Fold circle in half and then in half again.  This should give you a cone/triangle shape.  Do this eight times until you have eight individual triangles.

Eight finished triangles.

Step 2

Glue all of your triangles together.  The fold should face inward towards the center.

After gluing all of your triangles together you should end up with this.

Step 3

Glue remaining flaps of triangles together to give your ornament more shape and volume.

After gluing all of your flaps together, you should end up with your almost finished ornament.  It should look like this.

Step 4

Choose a string or ribbon of your choice to create a loop so you can hang your ornament.  Hot glue your string to the back of your ornament.

Finished!!!

And voila!  Just like that you have a unique and handmade ornament.

Forum Ornaments Christmas Tree

The Missouri Star Quilt Company Forums are a magical place.  If you need a friend, advice, an honest opinion or just someone to understand how deep your love for fabric truly is, then the forums are the place to go.  We’ve been amazed by what goes on there.  I don’t know how our forum members ever have the time to actually quilt because it seems like they’re always there, eager to answer a question or give a vote of encouragement.  It’s amazing and it’s all because of the forum members!

Well some of our super knowledgable and supportive forum members have taken on a special project.  They created a group that would set out to create stunning, handmade ornaments to send to Hamilton, Missouri for our shops.  We were so impressed by what we received that we had to give them a supreme location all on their own.  So, in the front window of The Sewing Center, we have our Forum Ornament Tree.  It truly is something special!  We LOVE every single ornament that was sent in and here are a few, so we can share the experience with you!

stocking quilt

tree 2

santa

We had to take some in the evening to see how they looked with the tree all lit up!

2014-12-05 17
tree 1

ball ornament
pinecone
missouri star ornament

THANK YOU to the super awesome M-Star Christmas Tree Ornament Party Group.  We adore every single ornament and are amazed by the time and talent that went into each one!!

Christmas Stars

Happy Holidays my quilting divas!! Have I got a project for you!! It’s a no sew and great for keeping those grandkids busy! I’m calling them Christmas stars, but you could make them for all seasons or holidays. You can also light them up  with Christmas lights or with some ric rac or fishing line make them into ornaments. They are so versatile!

Materials:

IMG_0393

All you’ll need is a:

1. Charm pack – or if your using scraps a perfect square (5×5, 4×4, whatever size you want)

2. Scissors

3. Iron

4. Fusible interfacing – I used heavy Pellon, you’ll need 3/4 yard

5. Glue gun and glue sticks

Step 1:

IMG_0394

IMG_0395

Place the interfacing shiny side up and iron the entire charm pack down. It works best if you use a little steam.

Once they’re all ironed on, cut them apart. Get right next to the pinking.

Step 2:

Step 3

Grab one square and fold it diagonally with print side up. Set the fold with iron, remember to use steam. Repeat in the opposite direction.

You should now have two folds creating a X shape.

*It helps if you can let the fold cool each time before doing the next.

Step 3:

Step 4

Fold the charm with the print together and press it in half. Set the fold and repeat the other direction. You should now have a cross.

*It helps if you can let the fold cool each time before doing the next.

Step 4:

step 5

On the perpendicular folds, the ones that make a cross, cut less than half way. Do not cut the diagonals!

Step 5:

Step 6

Fold each corner over to the diagonal fold and set with the iron. Repeat for all four sides.

Step 6:

Step 7

This is what it should look from the back, upper left, and front, lower right.

Step 7:

IMG_0434

Time to plug in the glue gun!

step-7

Place a thin-ish line of glue ( look at the bright green line for guidance) on one triangle and fold the other half over of to the crease and press together. Repeat for all four sides.

Tip 1: Fold the point first before adding glue, this way you know which way it wants to fold (it make the points neater)

Tip 2: When your pressing, use a lobster pinch. Insert you pointer finger in the point and pinch with you thumb.

step-8

Here’s what you star should look like now.

Step 8:

IMG_0440

Once you have two made, put a dot of glue where the stars overlap. You should have four small dots (one for every point of one star).

If you making them into ornaments this is where you want to insert the ric rac, before you connect them.

Light it up!!

IMG_0445

The best part about these is if they squished just pull on the points and it will pop back!

Good Luck!

Kate