
Brown Goose Quilt

The Brown Goose Quilt from Missouri Star Quilt Co.

Before Jenny Doan, there was Nancy Cabot.

During the 1930s, Nancy wrote a column for the Chicago Daily Tribune featuring a new quilt pattern every single day. A diagram of the daily block was printed next to helpful tips and bits of quilt history. (The pattern could be purchased for “5 cents in stamps or coin.”)

Nancy’s column was chatty and casual, like a tea time conversation between friends. I think I would have loved her!
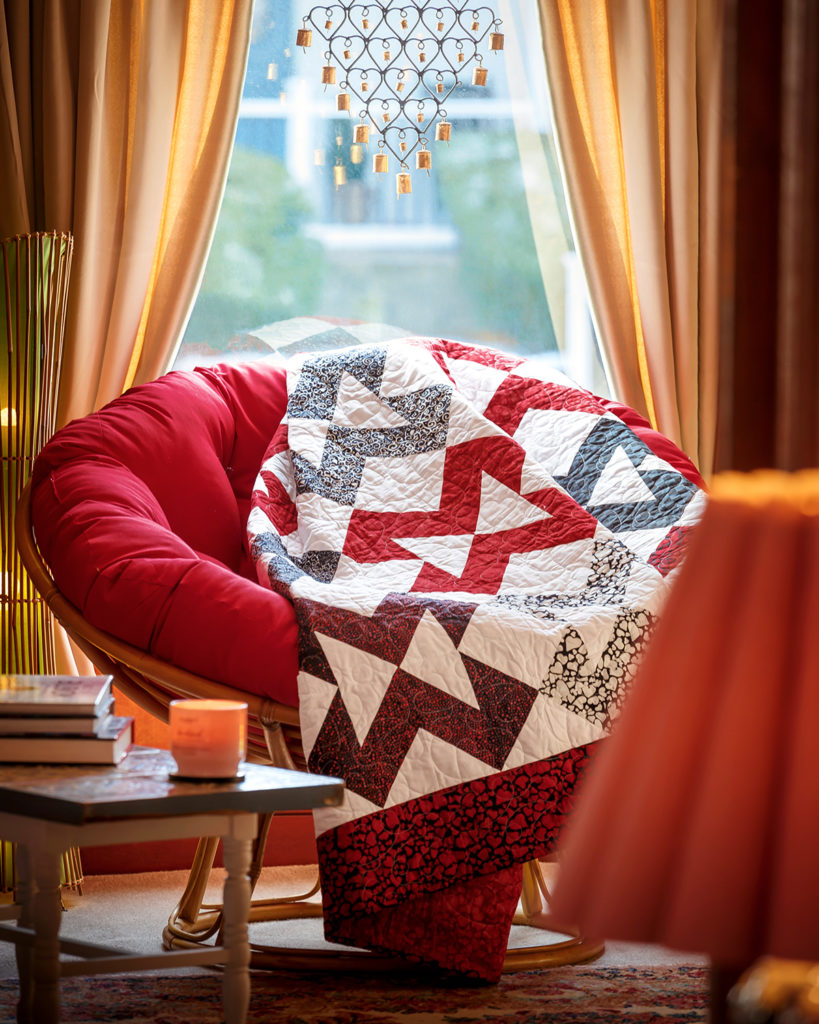
The Brown Goose Quilt from Missouri Star Quilt Co.

On January 27, 1933, Nancy highlighted a simple half-square triangle pattern called The Old Gray Goose. Of course, like all old-fashioned blocks, it had other names, too, including Double Z, Devil’s Claws, and Brown Goose.

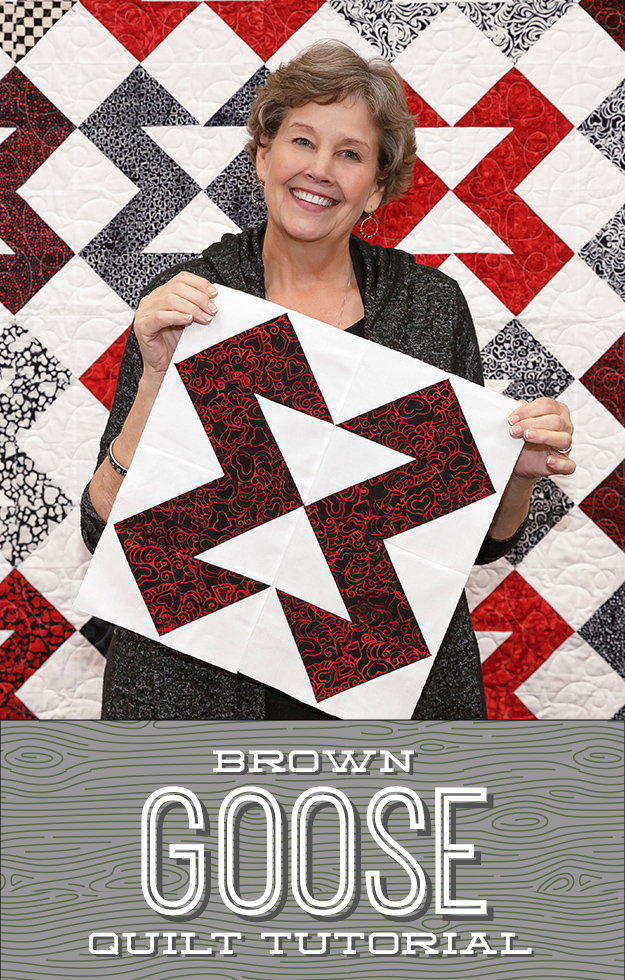
98 years later, Jenny is whipping up this pretty, antique block using 10-inch squares of precut fabric. We’re calling it Brown Goose, and you won’t believe how quickly it comes together! Nancy Cabot would be proud!
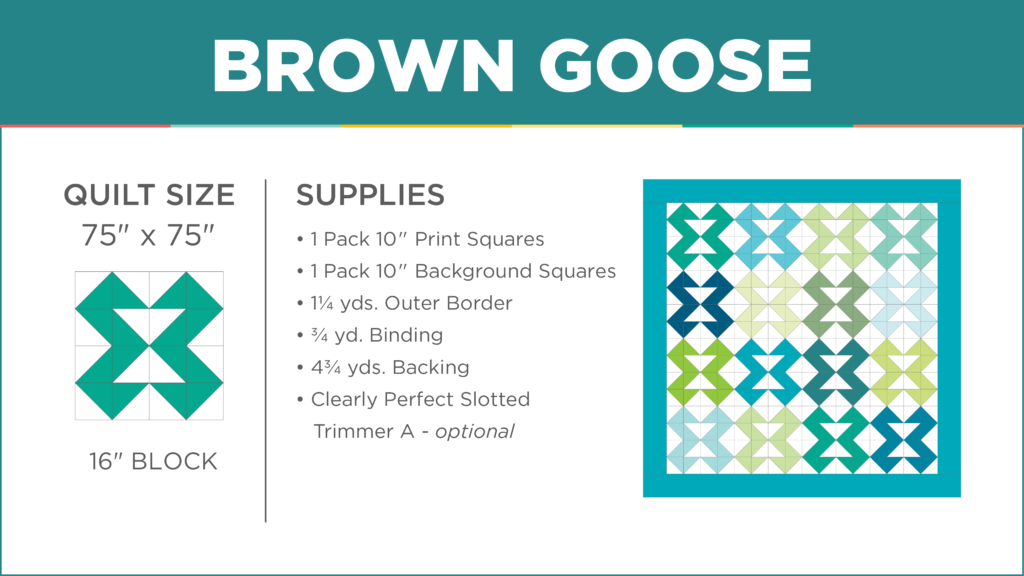

The Brown Goose Quilt from Missouri Star Quilt Co.
Watch the Latest Tutorial from Missouri Star Quilt Co!

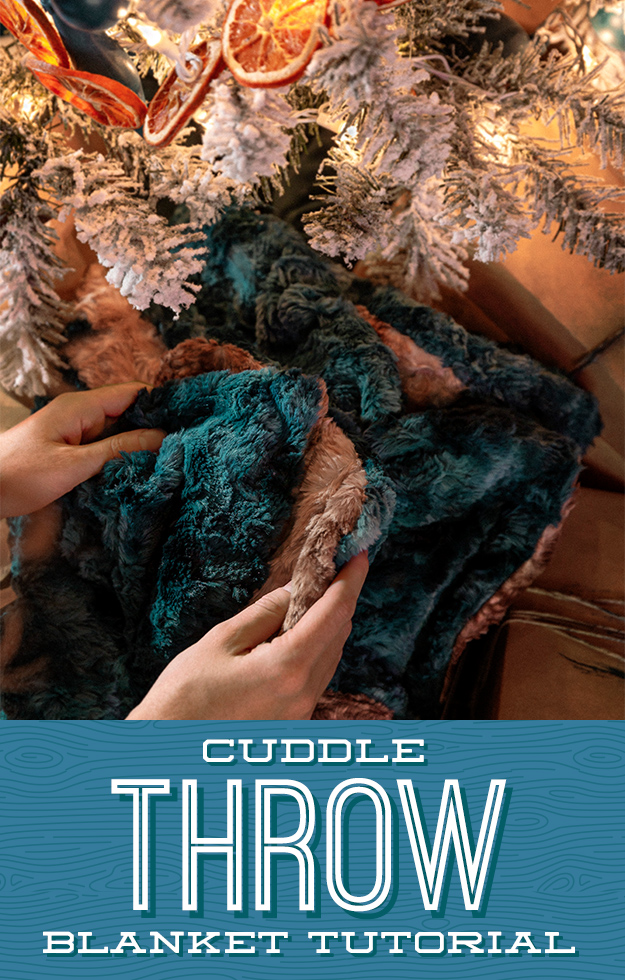
Cuddle Throw Blanket

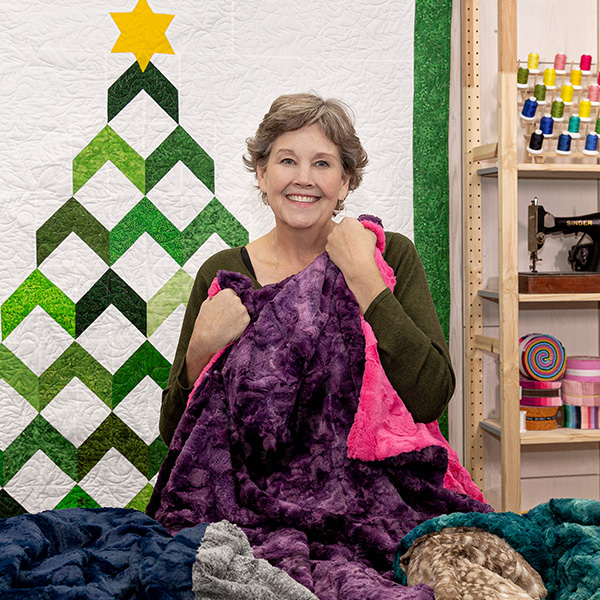
The Quick and Cozy Cuddle Throw Blanket from Missouri Star Quilt Co.

Merry Christmas, my friends! 

After months of planning, sewing, and wrapping, you’ve created real magic this holiday season. I’m so proud of you!

The Quick and Cozy Cuddle Throw Blanket from Missouri Star Quilt Co.

Now it’s time to kick up your feet and rest. Treat yourself to a cup of peppermint cocoa and a warm soak in the tub. 

You know, quilters love to give and serve. But sometimes we forget to take time for ourselves. So every Christmas, Jenny plans a special project meant just for YOU.

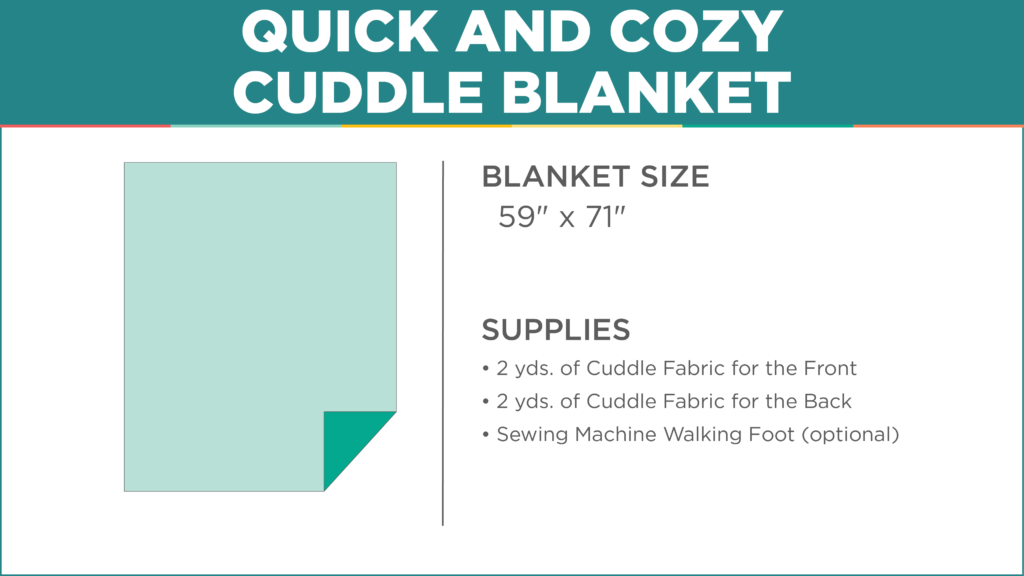
This year, she is using Shannon’s Cuddle® Cuts Minky 2-Yard Cuts to make a quick and easy throw blanket that is so luxuriously soft, you can wrap it around your shoulders and relax like the quilting royalty you truly are! 

The Quick and Cozy Cuddle Throw Blanket from Missouri Star Quilt Co.
Watch the Latest Tutorial from Missouri Star Quilt Co!

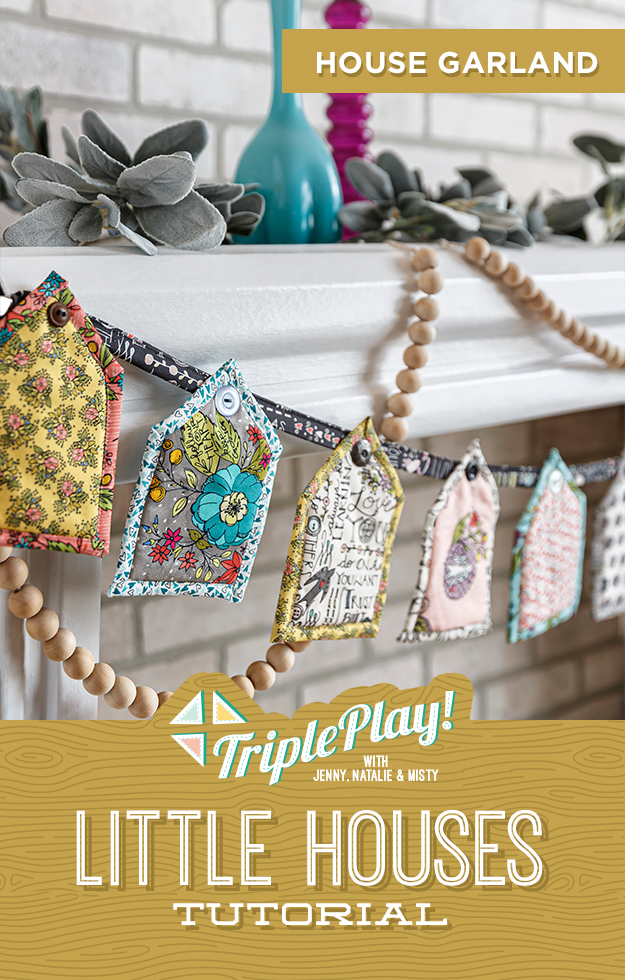
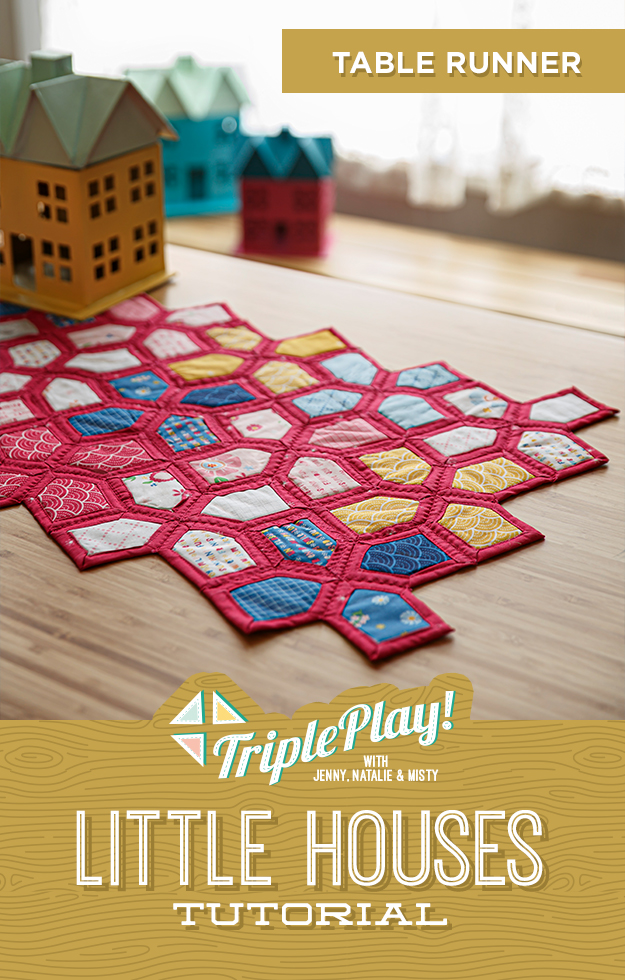
Triple Play! Little Houses

I’ll always remember 2020 as the year we stayed home. We wore stretchy pants. We watched movies. We sewed and sewed and sewed (and sewed). And, we baked A LOT of banana bread. 

Jenny’s Design

Some days were boring; some were lonely. But through it all, I’ve felt grateful for the peace and safety of these four old walls. Dorothy was right, there’s no place like home.

Natalie’s Design

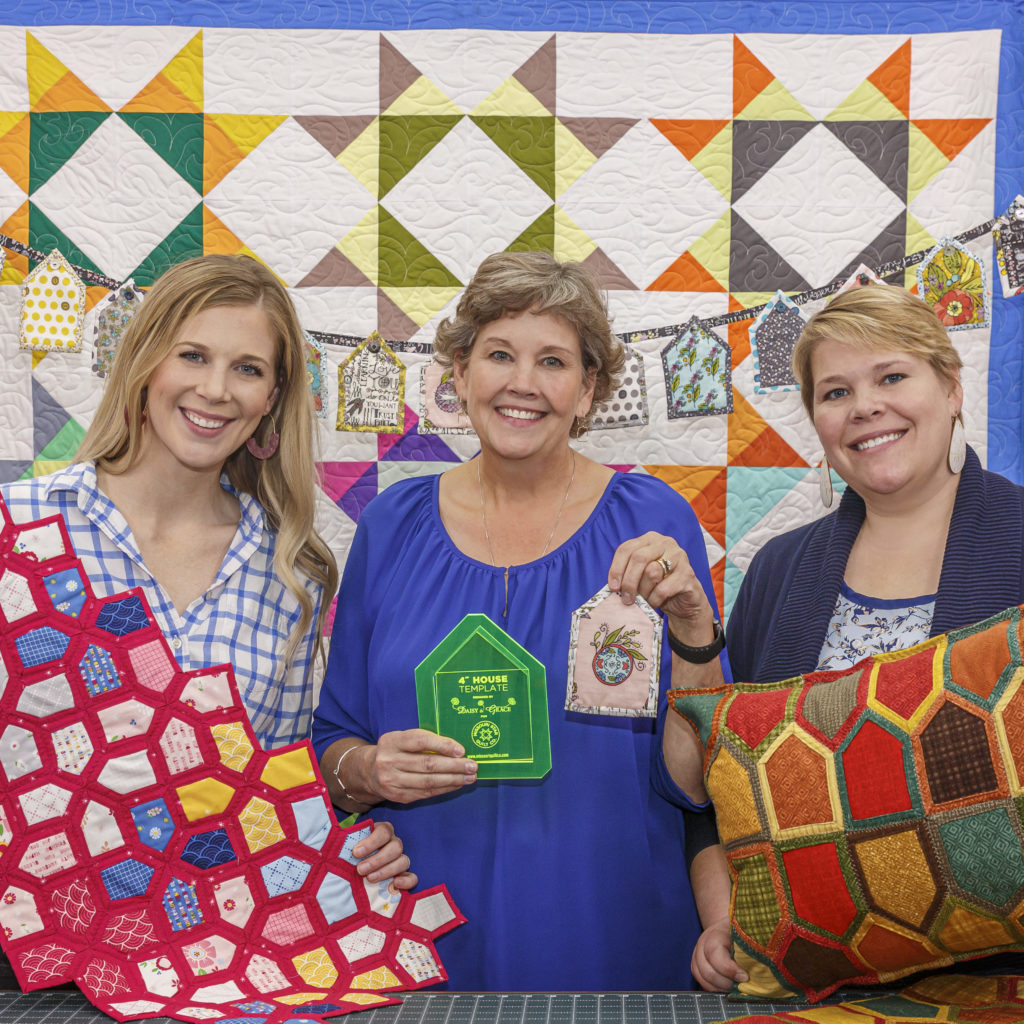
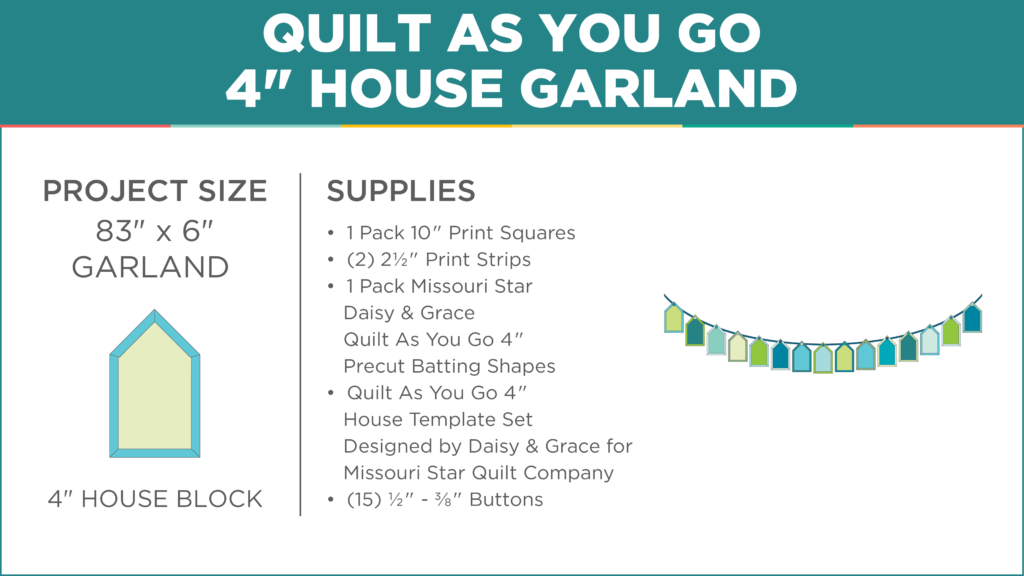
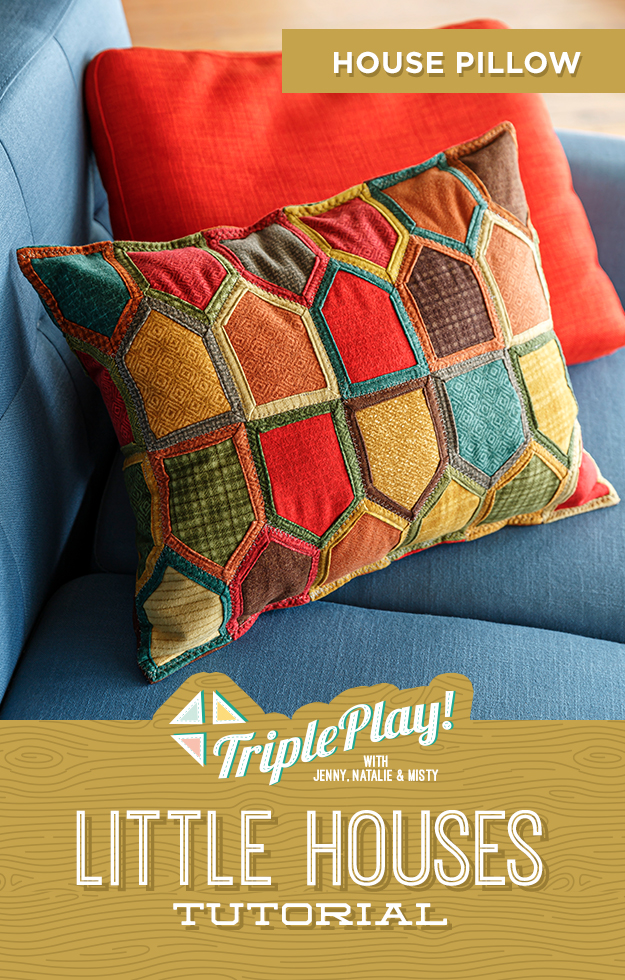
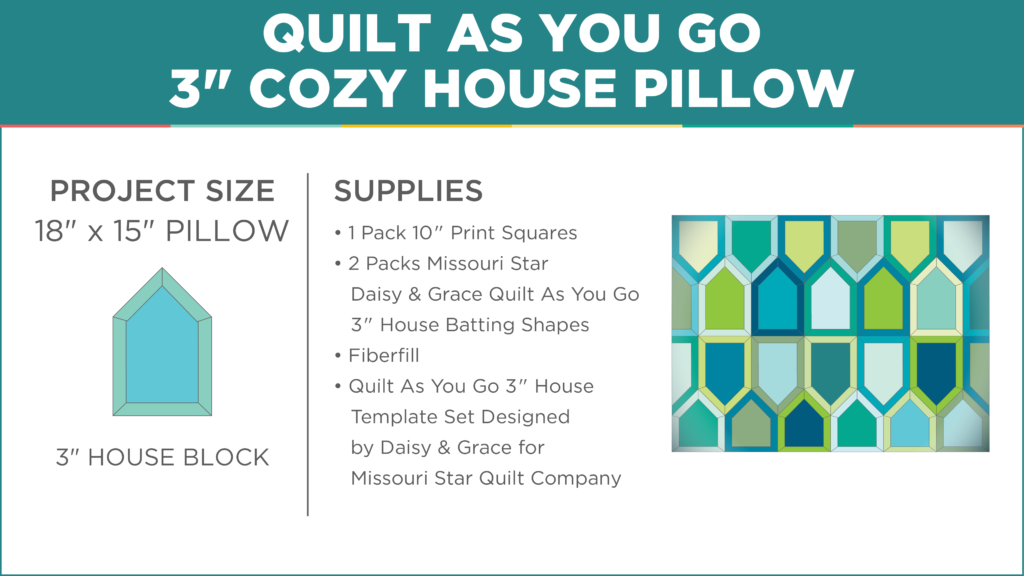
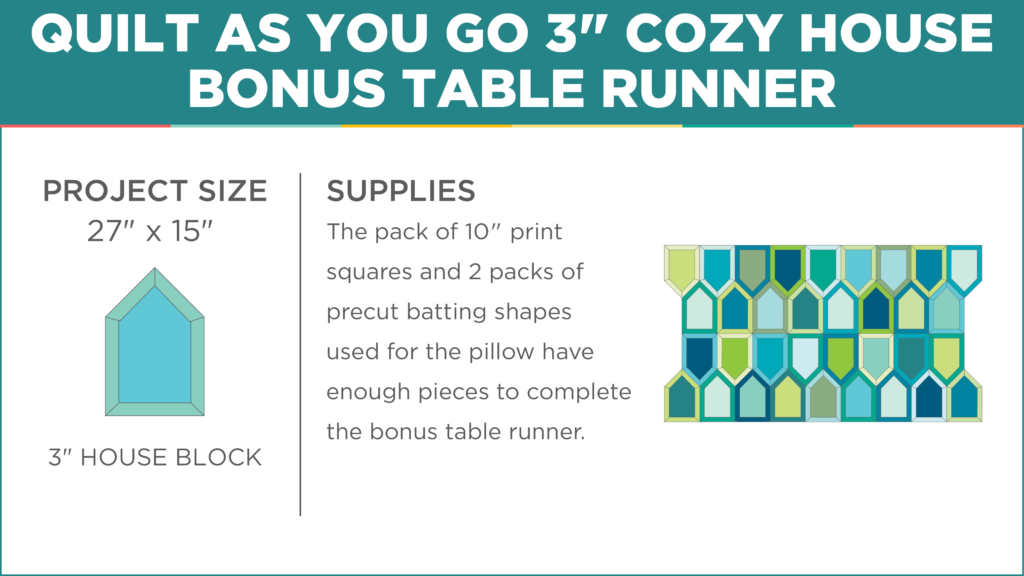
For this month’s Triple Play tutorial, Jenny and the gals used Daisy & Grace’s tiny house quilt-as-you-go templates to make a garland, a pillow, and two different table runners.

Misty’s Design

These sweet little houses can be sewn by hand or machine, and they come together easy-as-pie. Best of all, the quilt top, batting, backing, and binding are all completed in one fell swoop. Once you’re done, you’re done! Click HERE to watch the tutorial!

Watch the Latest Tutorial from Missouri Star Quilt Co!

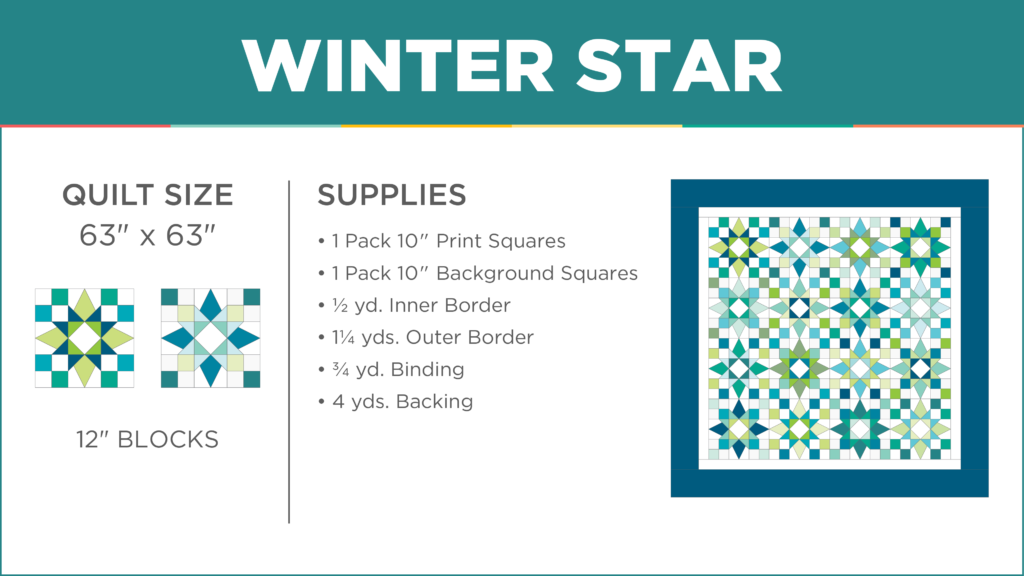
Winter Star Quilt

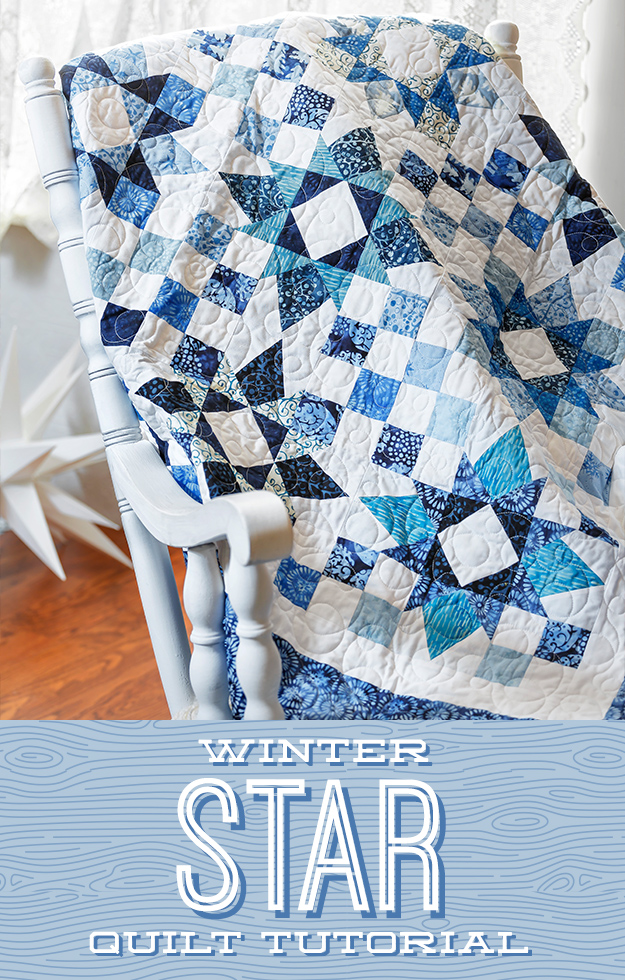
The Winter Star Quilt from Missouri Star Quilt Co. Watch the free quilt tutorial today.

On cold winter nights, the sky is an icy blanket of twinkling stars. The truth is … I rarely take notice. It’s just too cold for stargazing! 

The Winter Star Quilt from Missouri Star Quilt Co. Watch the free quilt tutorial today.

But if you are willing to bundle up and brave the winter chill, you will be treated to a glittering show far brighter than any summertime stars. 

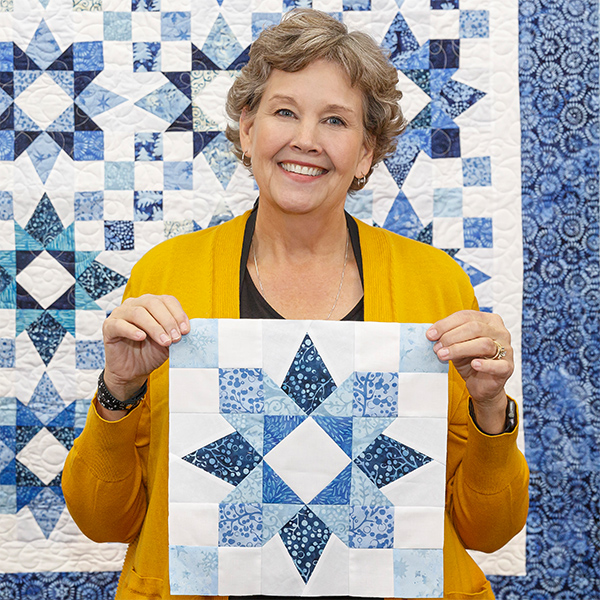
This week Jenny is whipping up a Winter Star quilt in icy shades of blue and white. This quick and easy layer cake pattern is perfect as a lap quilt or winter wall hanging.

The Winter Star Quilt from Missouri Star Quilt Co. Watch the free quilt tutorial today.
Watch the Latest Tutorial from Missouri Star Quilt Co!

Thimble Container Cactus Shaped Pincushion

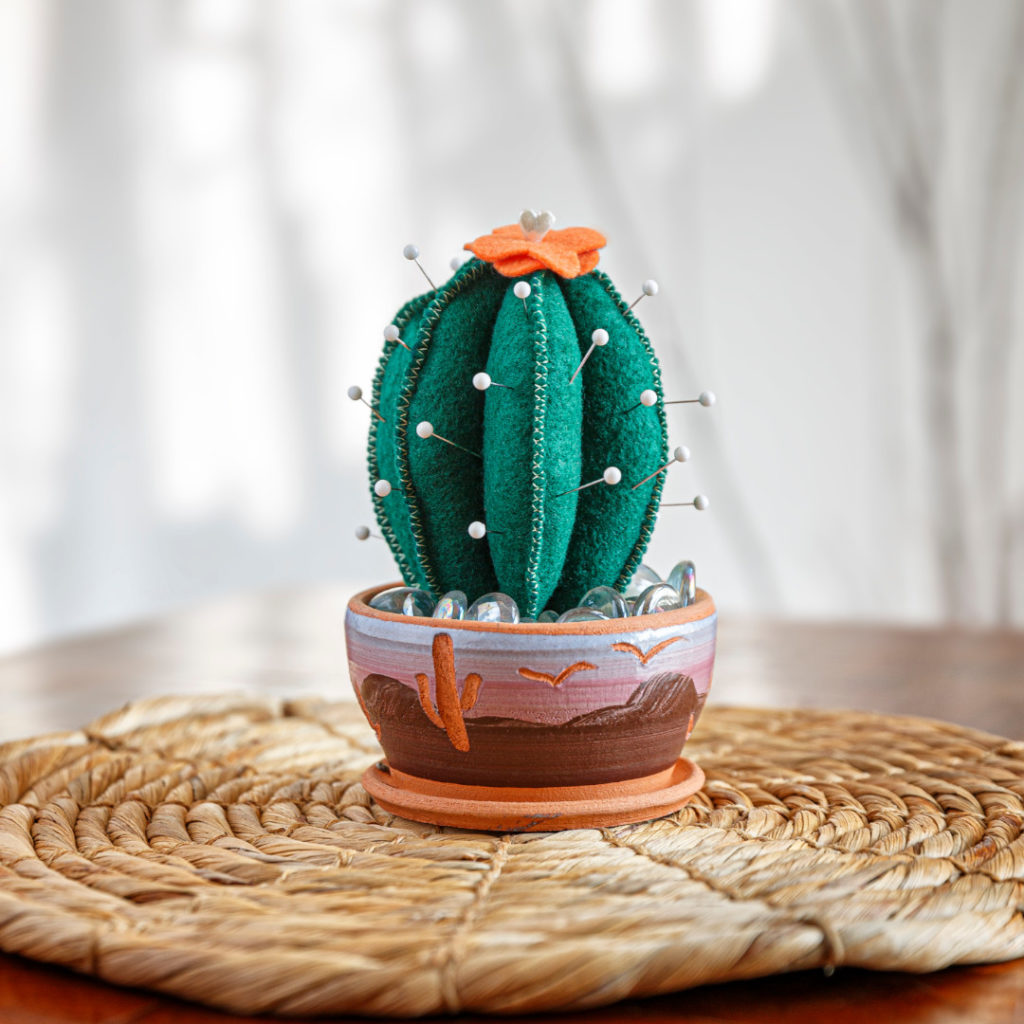
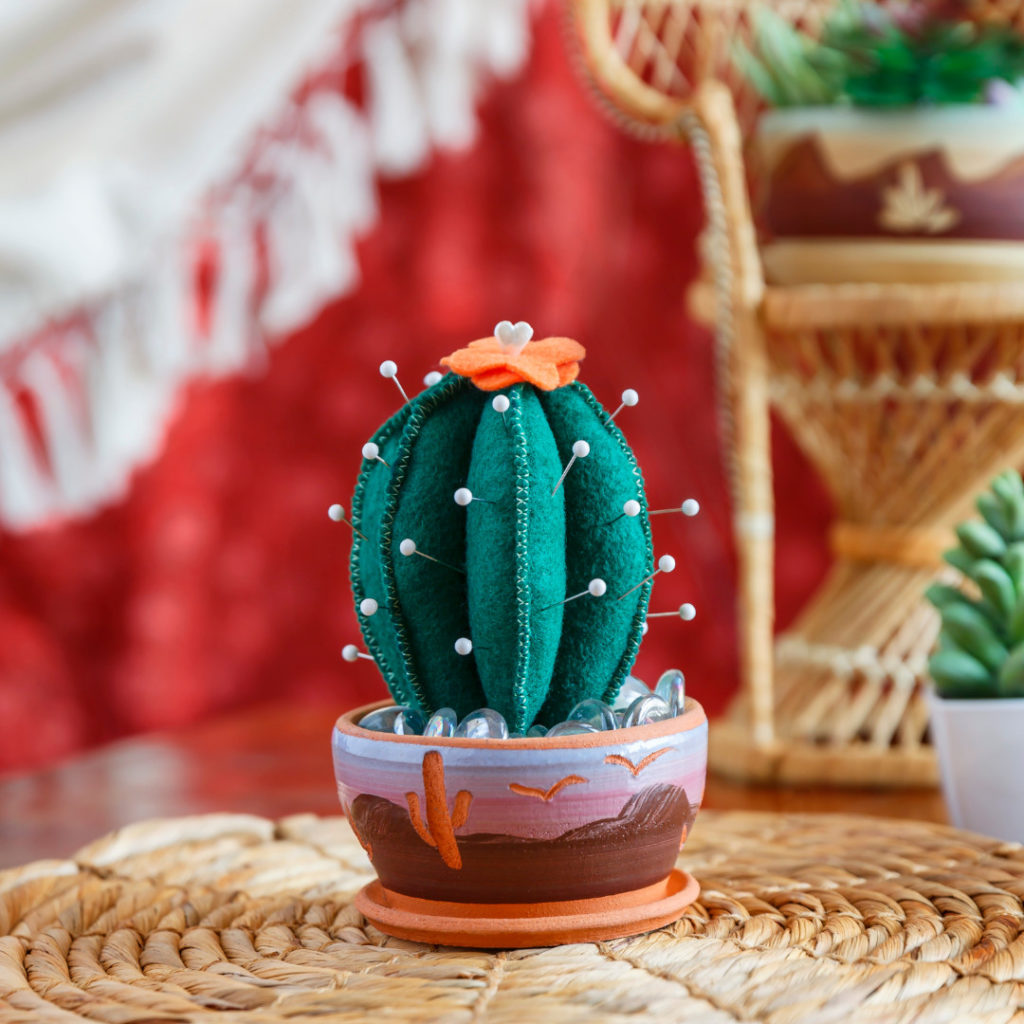
The Missouri Star Thimble Container Cactus Pincushion from Missouri Star LIVE!
The Cactus Pincushion from Missouri Star Live displayed in a terracotta pot.

Long gone are the days of your grandmother’s red tomato pincushion! In the latest installment of Missouri Star LIVE, Courtenay demonstrates how to make a unique cactus shaped pincushion that will not only add a modern elegance to your sewing room, but will keep all of your pins safely tucked away for future use. Whether you’re “planting” your cactus pincushion in a traditional terracotta pot, or celebrating your love for Missouri Star by using a Thimble Container, this handy project is a must-have addition to your sewing studio.

PROJECT SUPPLIES

• (1) 9″ x 12″ green felt square
• Felt scrap for blossom—approximately 1½” x 3″
Fiberfill
Missouri Star Thimble Container or terracotta pot
• 3½” – 4″ styrofoam cube
• Gorilla Glue or similar glue for styrofoam
Wonder clips or binder clips—optional
• Aquarium rock—optional

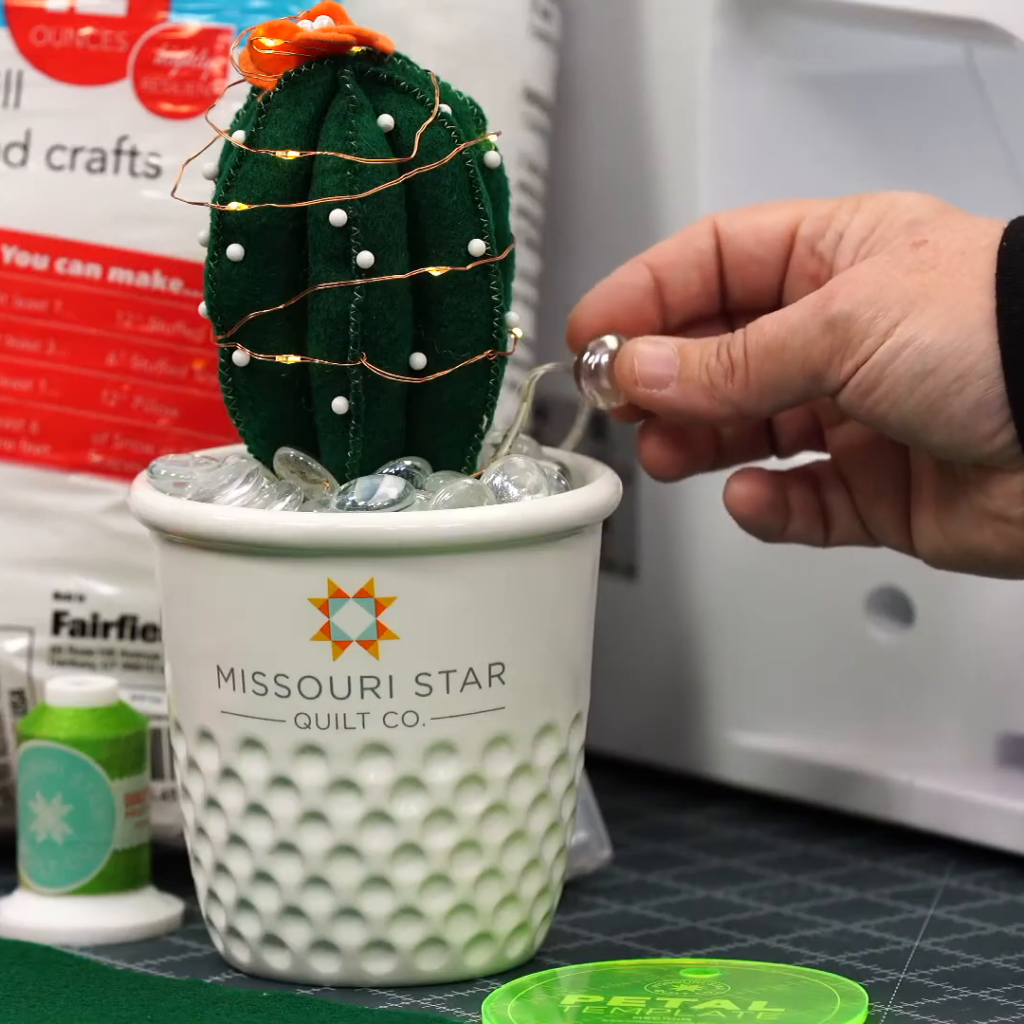
The Missouri Star Thimble Container Cactus Pincushion from Missouri Star LIVE!
Add your pincushion to a Missouri Star Thimble Container and share your love of Missouri Star!

CUTTING

  1. Use the petal template to trace and cut 6 petal shapes from the green felt.
  2. Cut out the paper cactus blossom template. Use the template to trace and cut 2 cactus blossoms from the accent felt scrap. Set these aside for the moment.
    • Hint: Because you are sewing through layers of felt, you may need to change your needle to a larger size and sew slowly to ensure even stitching.
  3. Lay 1 petal shape atop another, right sides out. Using a medium zigzag stitch, sew around the curved edges, leaving the bottom edge open. Repeat with pairs of the remaining petal shapes to make 3 units.
  4. On only 1 of the sewn units, measure 1¾” from the widest point of the curved edges and mark a vertical center line.
  5. Stack the 3 sewn units, aligning the edges, with the marked unit on top. Use Wonder Clips, binder clips, or pin as needed to hold the stack together. Sew the 3 units together along the marked center line, backstitching at the beginning and end.
The Missouri Star Thimble Container Cactus Pincushion from Missouri Star LIVE!
Pin a fabric flower to the top of your Cactus Pincushion for a beautiful final touch.

FINISHING

  1. Stuff each of the 6 tubes you just created with fiberfill.
    • Hint: The eraser end of a pencil or small dowel comes in handy to stuff the skinny tubes (Don’t forget you may find a wooden rod in your Poly-fil bag!).
  2. Lay 1 cactus blossom atop the other at a 45° angle so that the ends of all 8 petals are visible.
  3. Sew the blossoms together by hand, slightly gathering the top petals so they have 3 dimensions.
  4. Sew the cactus blossom to the top of the cactus.
  5. Cut the styrofoam cube as needed to fit inside the thimble container. Use the glue to adhere the sytrofoam to the inside of the pot. Use additional glue to adhere the cactus to the top of the styrofoam. You can fill the pot around the styrofoam with aquarium rock or even glue some rocks around the base of the cactus to finish “planting” your cactus.
  6. Stick in some of your favorite pins and your cactus pincushion is sure to prickle your fancy!
Watch the Latest Tutorial from Missouri Star Quilt Co!

Needing some more help? Download our Free Printable Pattern or Join Missouri Star’s very own Courtenay Hughes as she demonstrates how to create this adorable, quick and easy project on the replay of Missouri Star LIVE!