The season of campfires, apple cider, pumpkin spice and everything nice is upon us! It’s also our absolute favorite to decorate for because you don’t have to stick to pastels like you would in the spring, or red and green and blue like in the winter-time. Instead, you have an entire selection of earth-y tones to choose from and an abundance of ways to use them! We can get spooky with ghouls and goblins or we can celebrate the harvest with pumpkins and gourds. Here’s a few things you may want to add to your fall project list:
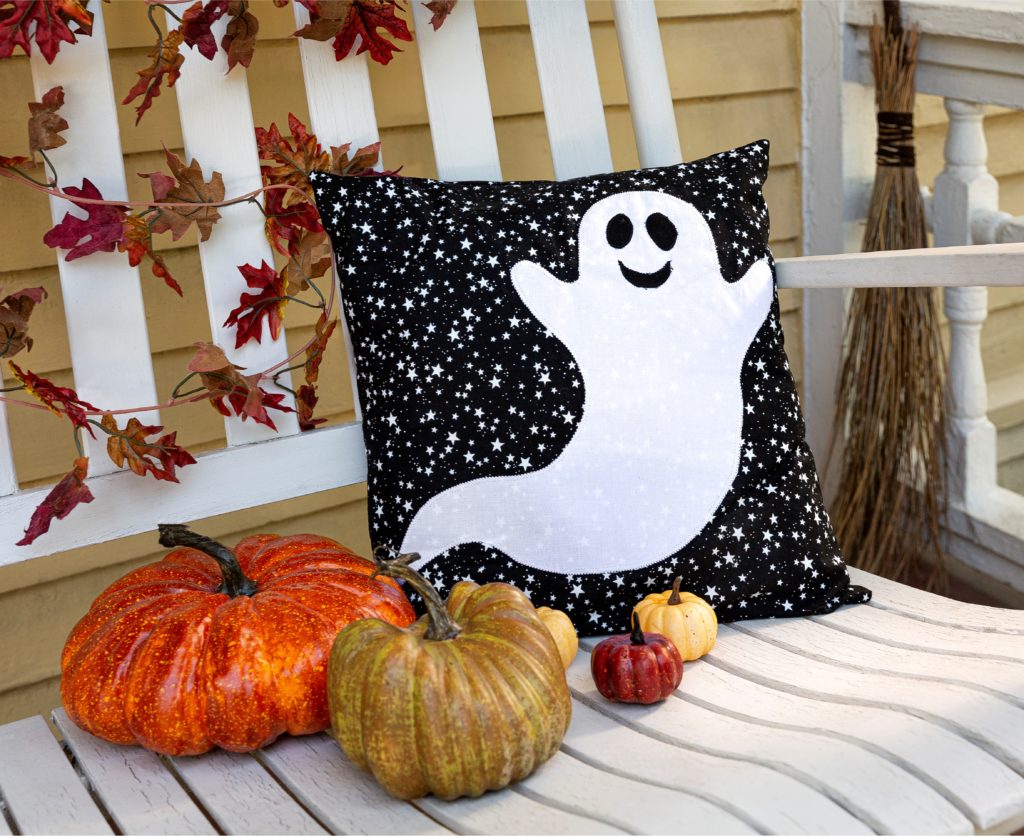
The Ghost Pillow Cover
This ghost isn’t exactly spooky, but it is downright adora-boo!
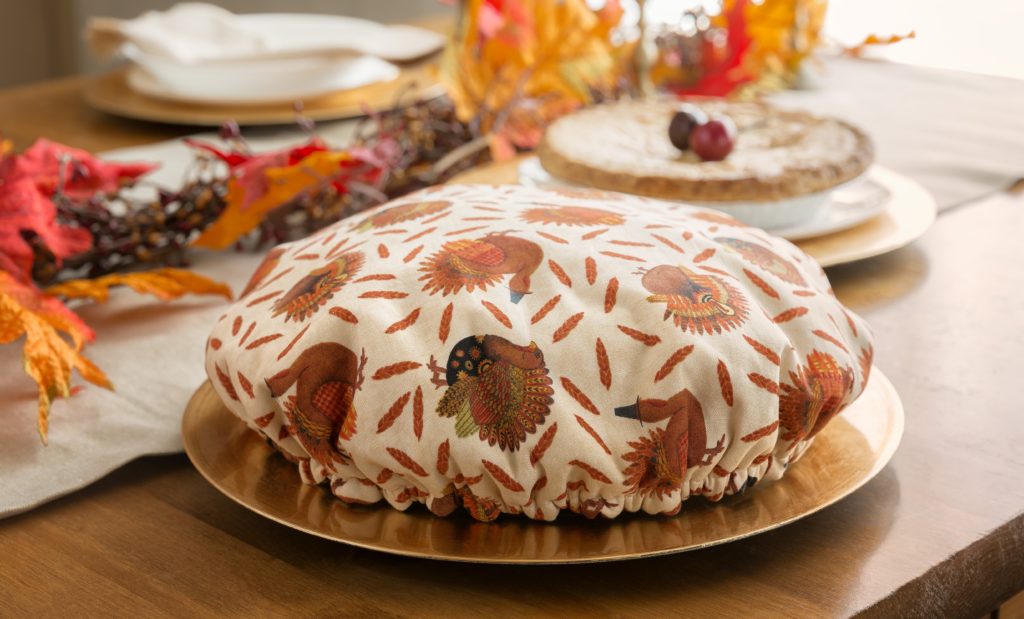
Maybe you don’t have time to stop by the pumpkin patch, maybe you don’t want to deal with ridding of rotten pumpkins when winter hits, or maybe you just want an excuse to sew! Either way, these stuffed ornament pumpkins are the fun way to go! Grab the kit and get started.
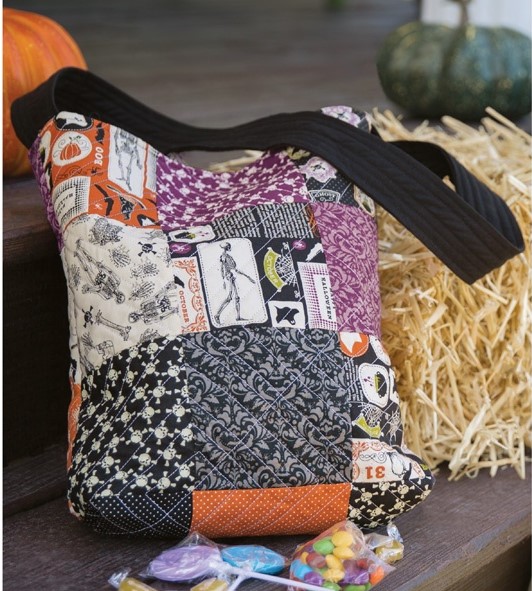
Candy Catcher Bag
Make trick-or-treating even better for your favorite little dinosaur, firefighter, witch, or werewolf with a candy bag.
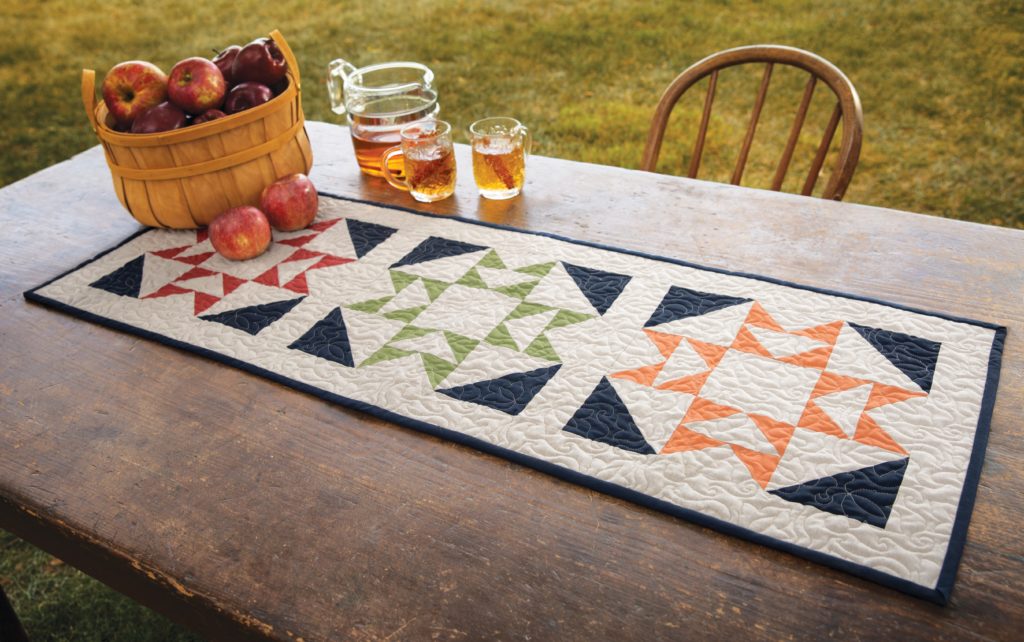
Where do people hang out the most in the fall? The kitchen table of course! Bust out the scraps and piece together a table runner just in time for fall!
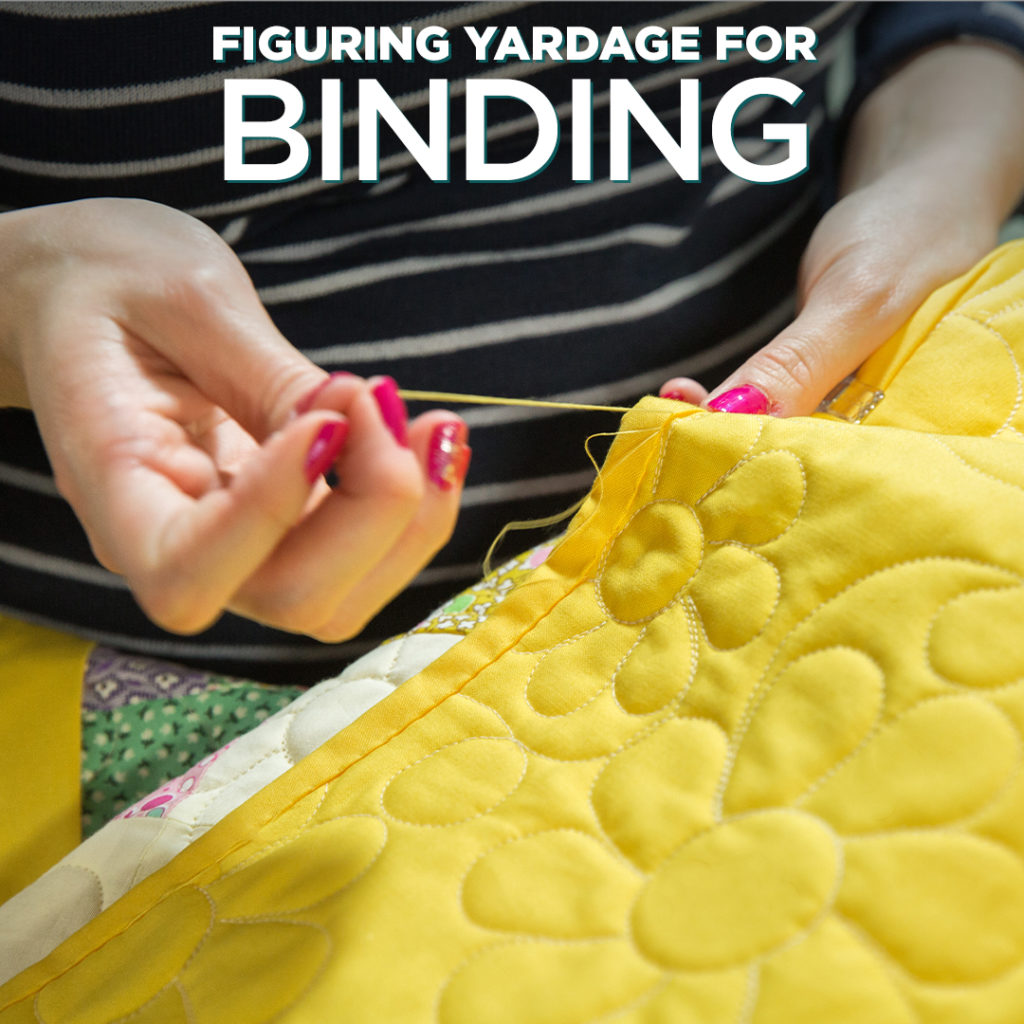
The final step of making a quilt may seem like the most intimidating, but have no fear! Adding binding can be a really enjoyable process when you know how much you need and how easy it is to make and stitch on your quilt.
Supplies needed:
Pencil
Paper
Calculator
Your finished quilted project
A measuring tape or template
Finally, choose a lovely fabric, bias, or precut for binding and load it into your Missouri Star Quilt Co. shopping cart!
Step 1: Find the perimeter of your quilt. Measure each of the four sides and add them together. Step 2: Add 20 inches to your total. Step 3: Choose your binding width. We recommend using 2 ½” wide strips. Step 4: Divide the total length of binding needed for your quilt by 40″. This gives you the number of width of fabric strips needed to create your binding. Step 5: Round up to the nearest whole number of strips. Multiply the number of strips by the width of binding you decided in step 3. That will give you the number of inches required to cut the necessary number of binding strips for your quilt. Step 6: Divide the number determined in step 5 by 36″ to calculate the yardage. Round this number up to the next 1/4 yard increment and you’ll have your total yardage number!
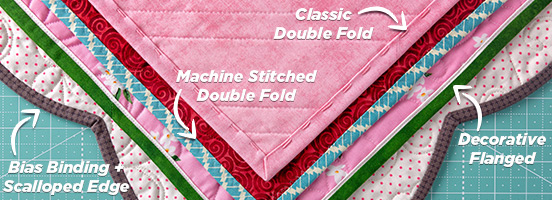
Tips and Tricks for Binding:
Watch our machine binding tutorial right HERE or buy our in-depth class “Create Better Bindings” with Natalie Earnheart.
Precut strips work great for binding as they are already 2 ½” wide.
Sew strips together end-to-end on a 45 degree angle into one long strip using diagonal seams. Press seams open to reduce bulk.
Fold strips in half lengthwise with wrong sides together and press.
The entire length of your binding should be equal to the perimeter of the quilt plus 15 to 20 inches.
Using a Binding Tool makes the process even easier!
Example Quilt: (Quilt length + quilt width) x 2 = perimeter of quilt (66″ + 58″) x 2 = 248″ This is the total perimeter of your quilt Add 20″ to that number = 268″ needed of total binding length Take the total inches and divide by 40″ to get the number of strips you need 268″ divided by 40″ = 6.7 Round up. You’ll need 7 strips of fabric for your binding. Take the number of strips you need and multiply by your binding width. In this case, it’s 2 ½”. 7 x 2 1/2″ = 17 ½” Divide the number of inches needed by 36″. 17 ½” divided by 36″ = .48 Round up to the nearest ¼ yard and you get ½ yard.
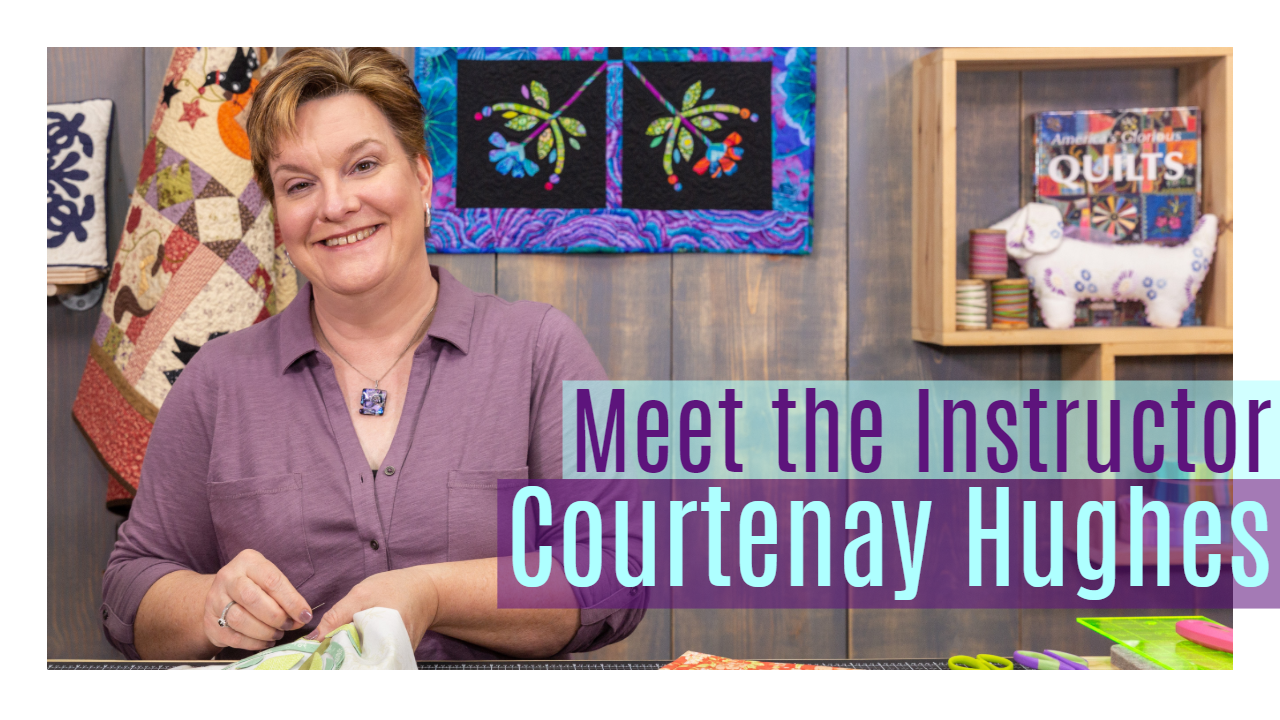
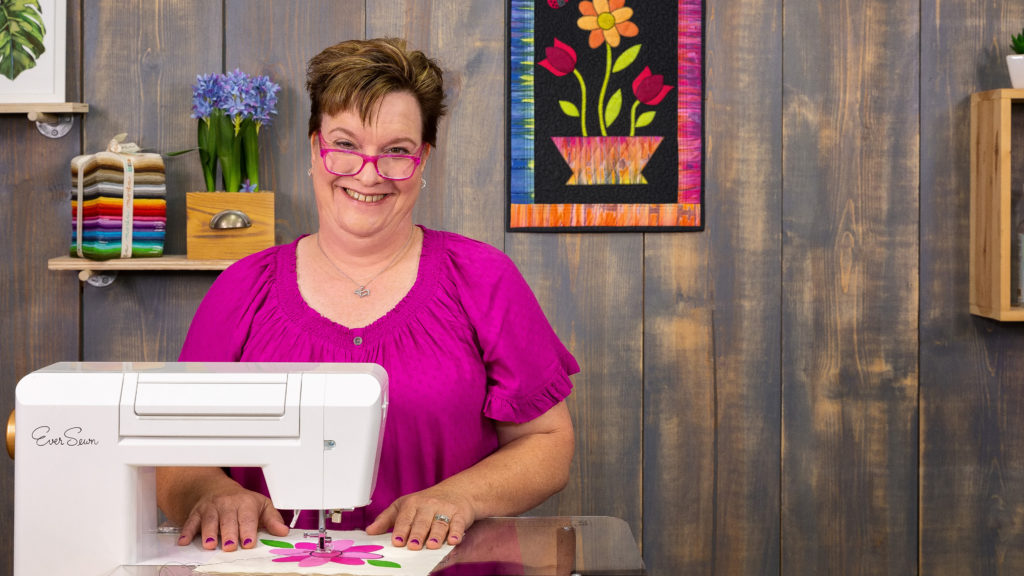
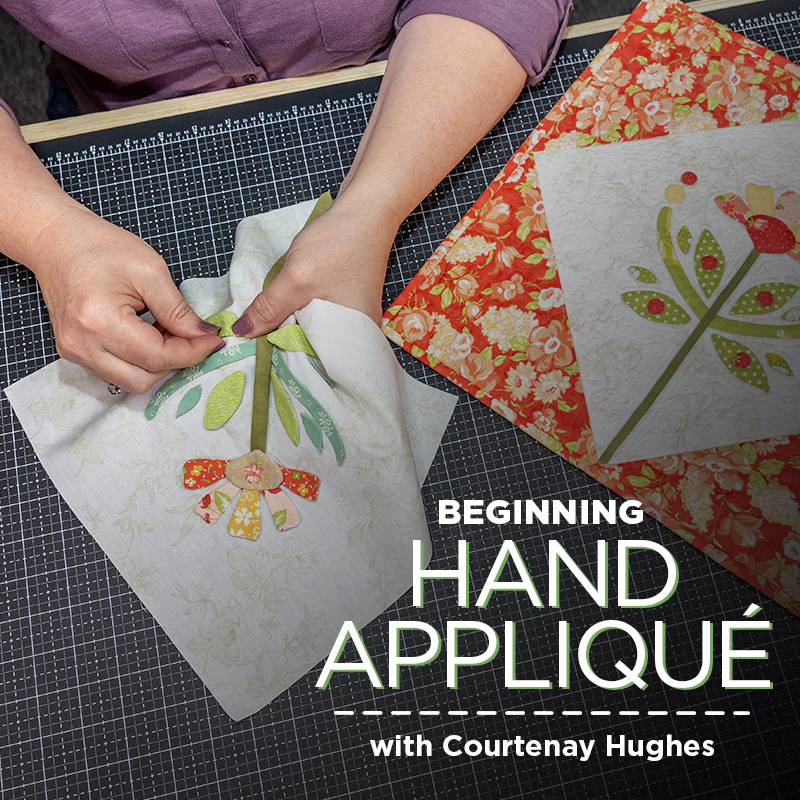
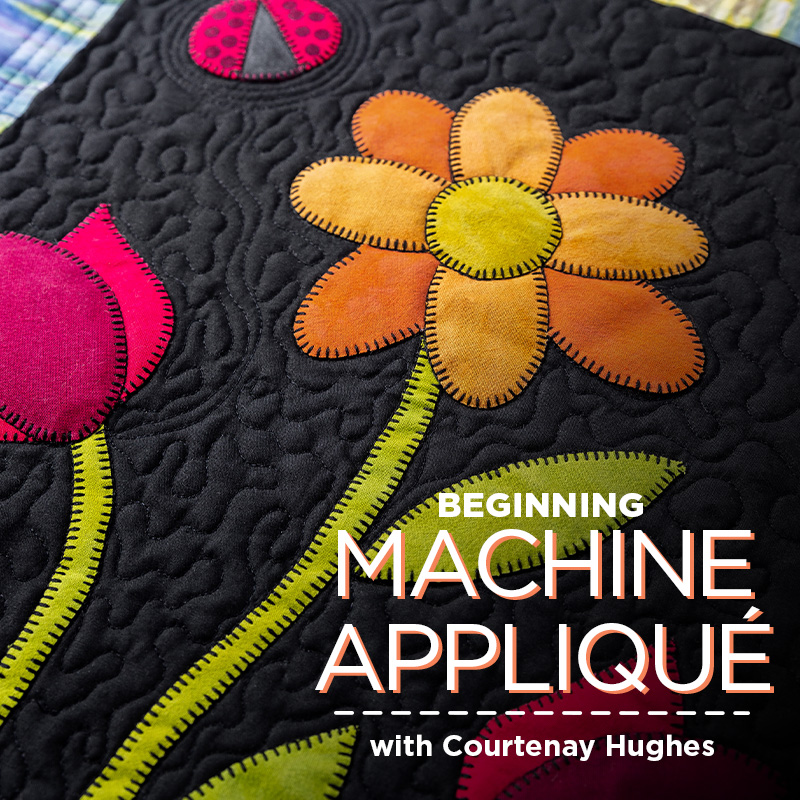
Courtenay Hughes is one of our talented instructors here at Missouri Star. As part of our education team, Courtenay teaches quilting, embroidery, and appliqué classes through Missouri Star Academy. This includes our online courses, in-town classes, and some of our free tutorials!
“I want to say I LOVE her teaching style! She is so funny, and I felt like I was spending an afternoon with a good friend. I really enjoyed this video.”
– Customer Review
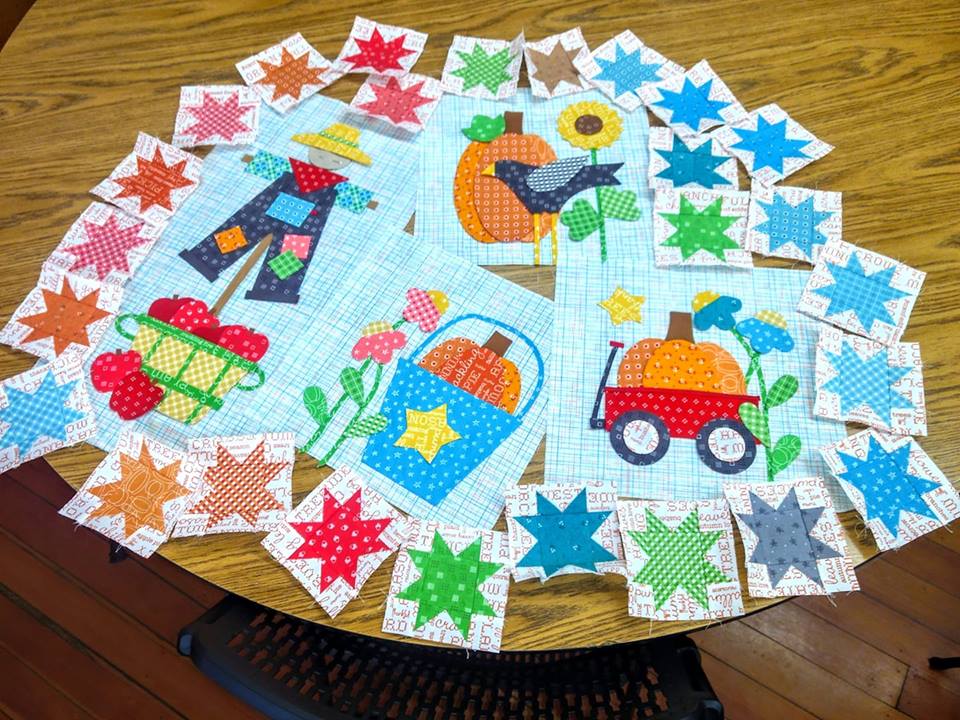
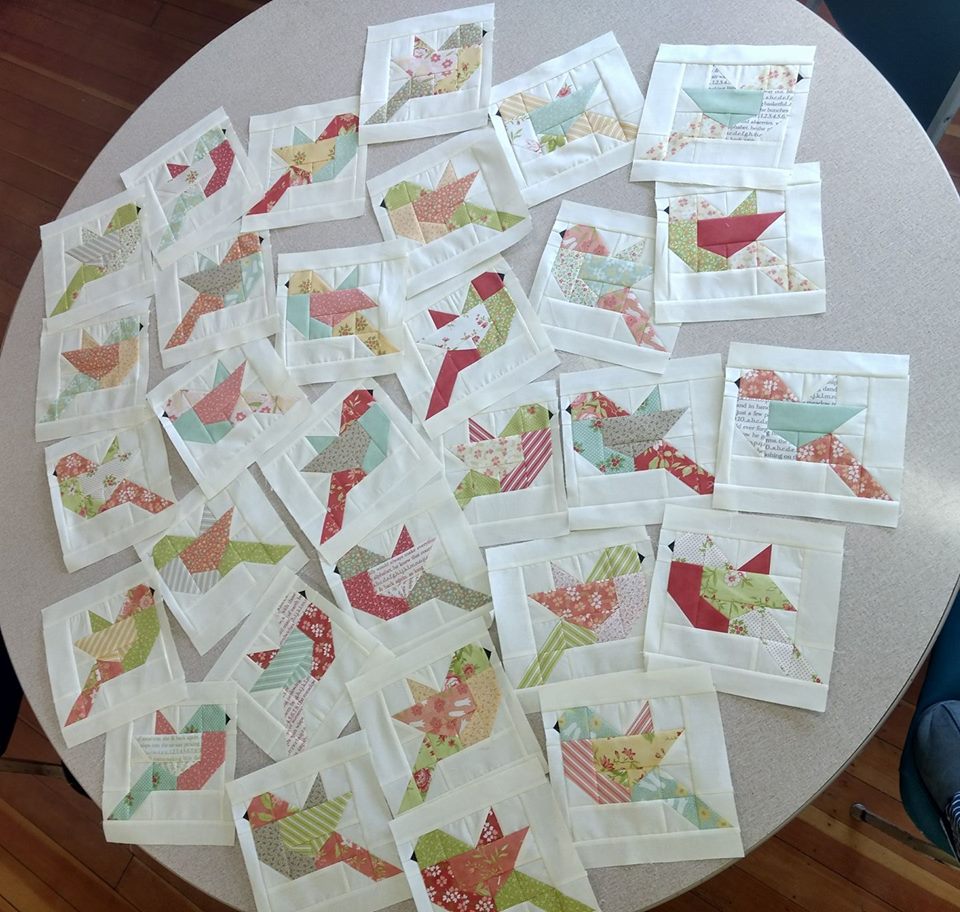
Courtenay’s Creations
This quilting diva has been a wonderful component to our education team and you can see why! Her gorgeous projects continue to inspire all of us makers!
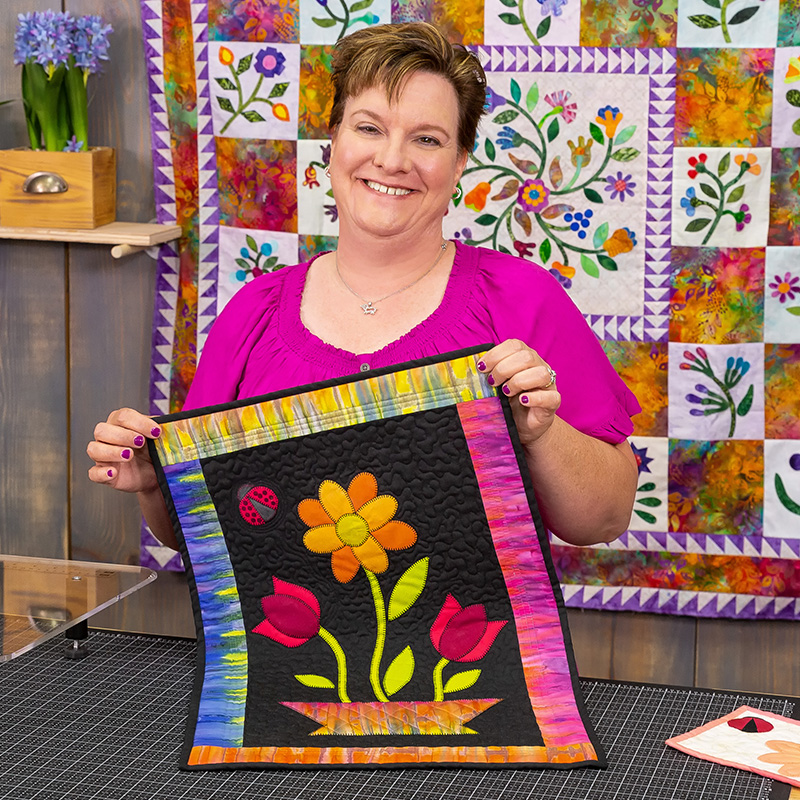
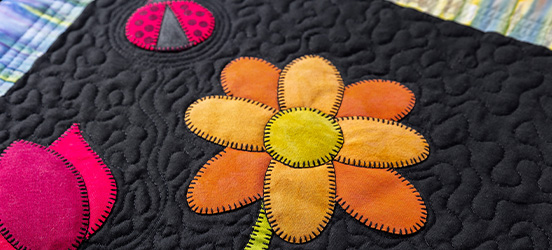
Now, let’s talk about appliqué, Courtenay’s area of expertise! If you’ve always wanted to try it out, but imagined it might be intimidating, we’ve got the tools, techniques, and tips to change your mind. Appliqué is a lot easier than it looks – and it looks pretty spectacular personalizing and decorating your quilt!
We talked to Courtenay about machine appliqué designs and tips…
Q: Courtenay, how long have you been sewing machine appliqué? A: I have been quilting for over 25 years. I’ve had about 20 odd years of practice at machine appliqué. And I am really looking forward to sharing some of that with you
Q: What’s your favorite part of teaching appliqué for beginners? A: My favorite part of teaching is when students who aren’t sure they can complete their projects get to the point where they realize that, yes, they can make them—and they will be beautiful! Whether that’s how to machine appliqué small pieces, how to hand appliqué in the car on road trips, or how to let loose and try something completely new, like a free-motion zig-zag “heartbeat” stitch that looks complicated but is actually very freeing, I love seeing students succeed!
Q: What shapes can you make with machine appliqué? A: Anything you can imagine – and any pattern in your library, really. I like to show you tips for leaves, stems, circles, stars, hearts, petals, and working in layers. While a lot of my patterns are flowers or animals – ask me about placing bunny ears – the sky is the limit. You can decorate any quilt with appliqué, in blocks, borders, even your quilt label.
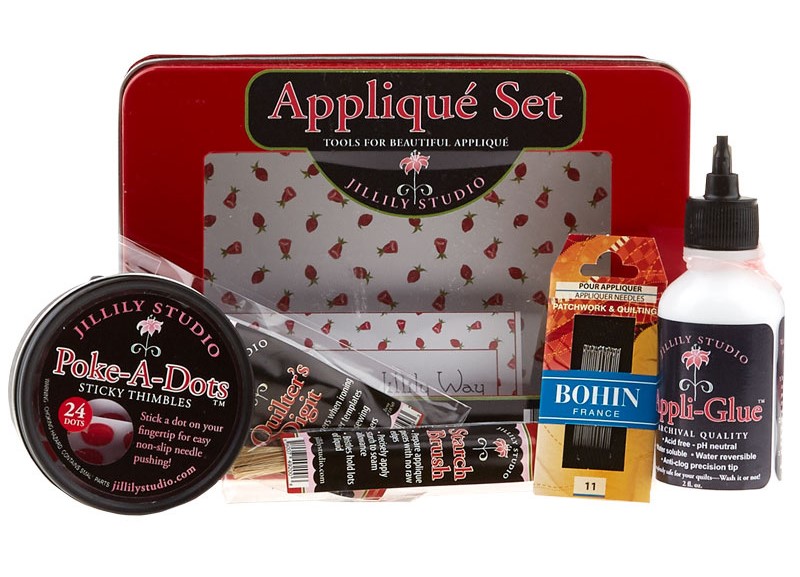
Q: What are some tools you recommend for appliqué? A: This depends a little bit on which method you’re using, but some of the applique essentials are:
For Machine Appliqué:
Fusible Web – Use this to temporarily glue fabric pieces in place while machine stitching.
Appliqué Pressing Sheet – Place over the project diagram to use as a guide while layering fabric shapes.
Marking Pen – Use a fine sharpie or marking pen to trace designs onto projects.
Scissors– A good pair of scissors come in handy for cutting fusible and fabric pieces.
Machine Needles – A sharp needle that is great for stitching through layers of applique pieces.
50wt Thread – A strong thread that blends with fabric shapes. Or black thread for a “folk art” look.
Self-Threading Needles – An easy way to bury threads after stitching pieces to background.
Iron and Iron Cleaner– An iron for fusing paper shapes to fabric, and iron cleaner.
Embroidery Hoop – (optional) These come in handy when stitching pieces in place on background, especially when using the free-motion zig-zag “heartbeat” stitch.
Hand Needles – A smaller point for hand stitching, but also a bit enough needle to prevent hand cramping.
MiniIron – A tiny iron will give more control over tiny fabric pieces.
Appliqué Pins – These come in handy when fitting several pieces into place.
Fusible Web(optional) – Melts to adhere the fabric pieces together.
We think it’s time to give appliqué a try!
We currently have two classes for beginners at Missouri Star Academy. You’ll learn multiple methods, troubleshooting tricks, how to machine appliqué a quilt or how to hand appliqué a quilt. Each class also comes with a FREE quilt pattern so you can show off your newly mastered skills! Try appliqué today!
Don’t forget to check in on our Education Center’s class schedule to see what class Courtenay will be teaching next!
If you’ve taken a class by Courtenay Hughes, show her what you made in the comments below ⬇️
Petunias are the unsung hero of the flower garden. Those vibrant petals and long-lasting blooms adorn my yard with color all summer long. Of course, as fall draws near, my petunias tend to look a little “long-in-the-tooth,” and by first frost, they’re ready to be retired.
If you’re looking for a petunia that can stand the test of time, today is your lucky day! Jenny is stitching up an everlasting garden of simple blooms in our newest tutorial, Sweet Petunias. Click HERE now to watch!
Click the above image to view the FREE PDF Download of this tutorial layout!
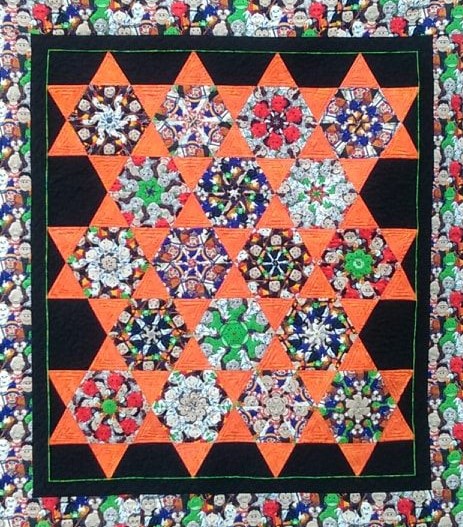
This week’s quilt is a simple, modern beauty. Teeny-tiny triangles form delicate rings on a sea of white.
But the real beauty of this work of art is how simple it is to put together. Just stitch one snowballed corner on each charm, and you’ve got the building blocks for this sweet little quilt! Click HERE watch the tutorial!
Please click HERE or on the above diagram to get a free printable PDF.