Building Blocks: Learning Quilting Basics

A sewing machine in action from BLOCK Magazine Volume 7 Issue 3.

If you’re interested in learning about the basics of quilting, then you’re in the right place! 

Getting started with something new is usually the hardest part. Quilting can be a laborious process — it requires many steps that can seem really overwhelming when you’re new to it all! Many beginner quilters can get stuck when thinking about piecing together their first blocks, but we’re here to help! Today we’re going to be talking about the steps before you start piecing. A good foundation is the key to success, so before you dive in and start stitching up your first creation, let’s learn about the very first steps in your quilting journey!

Jenny Doan always says “finished is better than perfect” and we can’t agree more! No one will notice if you lost a point or if you had to add back fabric with an extra seam after a cutting mistake or if you had to rip out the stitches in your block one too many times with your handy seam ripper (we’ll learn more about this tool soon!). Finishing a quilt or project is a huge accomplishment and you should never let your fear of imperfection get in the way of creating! So, let’s start with the basics and build our foundation and you’ll be sewing confidently in no time!
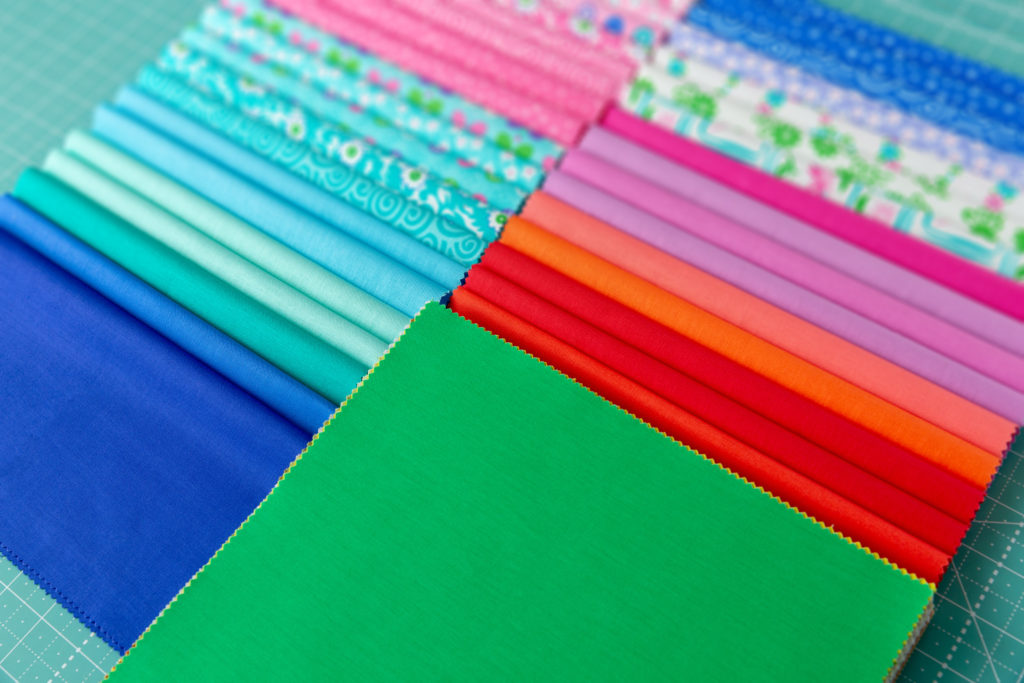
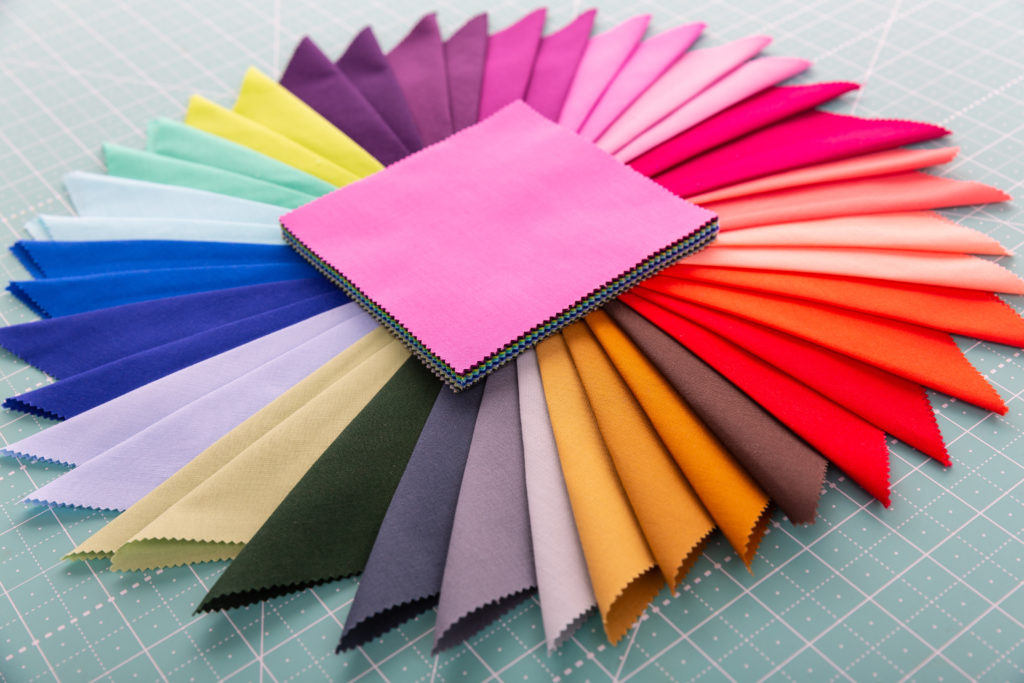
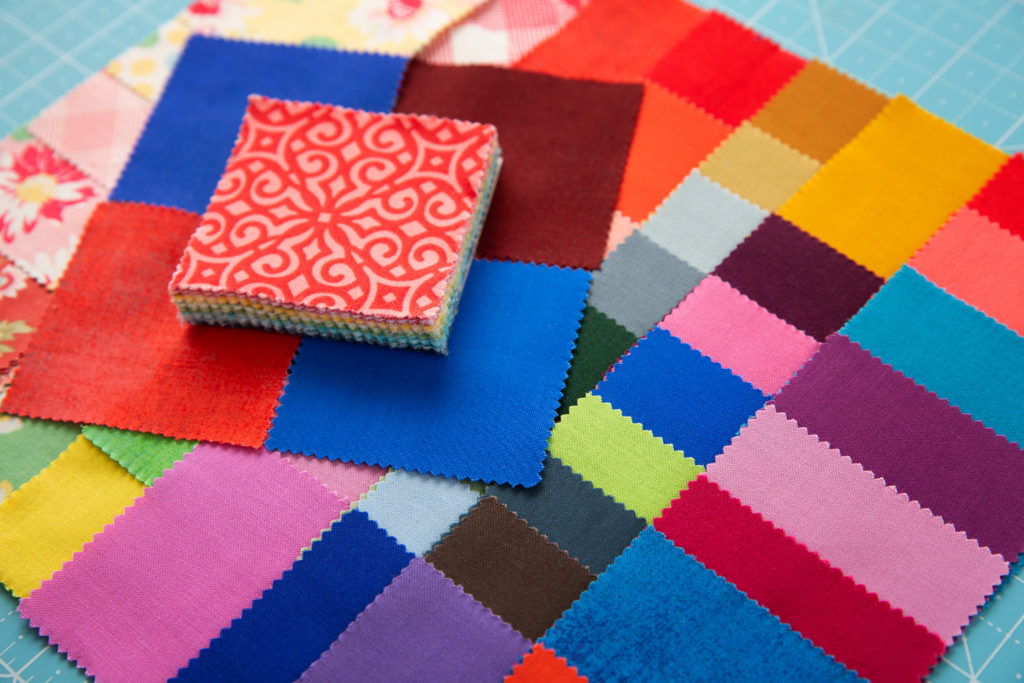
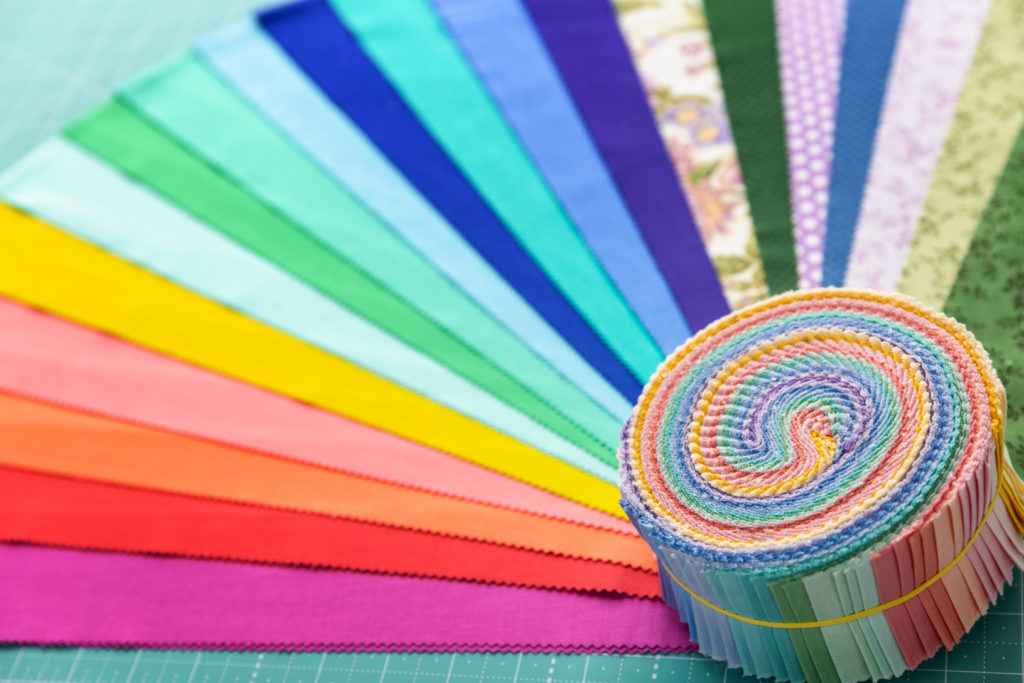
Fabrics

Fabric comes in all kinds of shapes, colors, cuts and styles. Photo from BLOCK Magazine Volume 7 Issue 1.

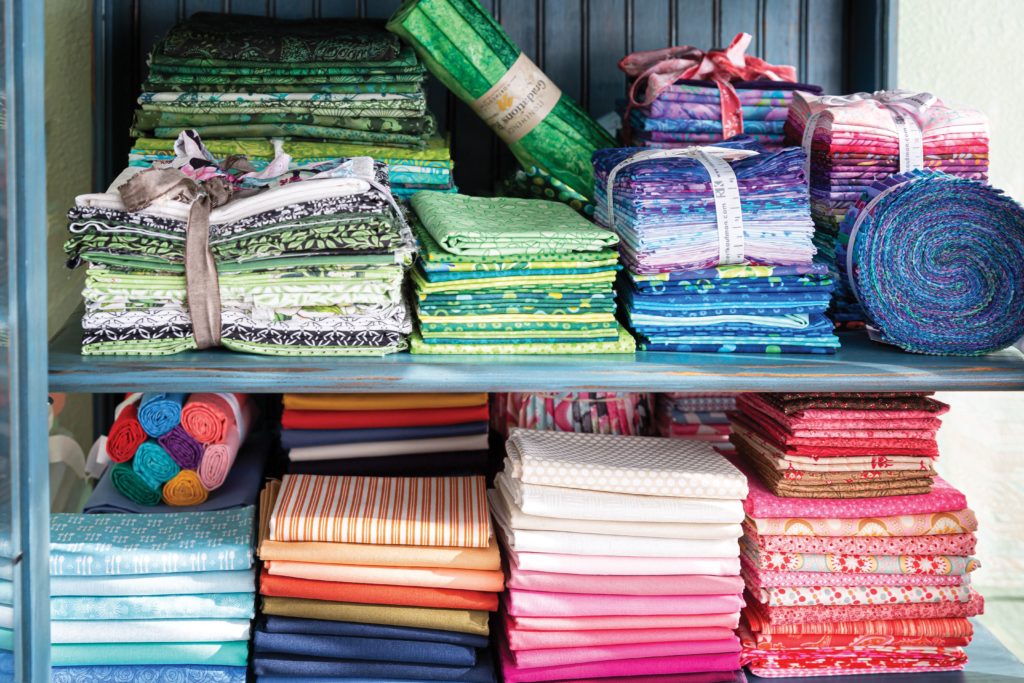
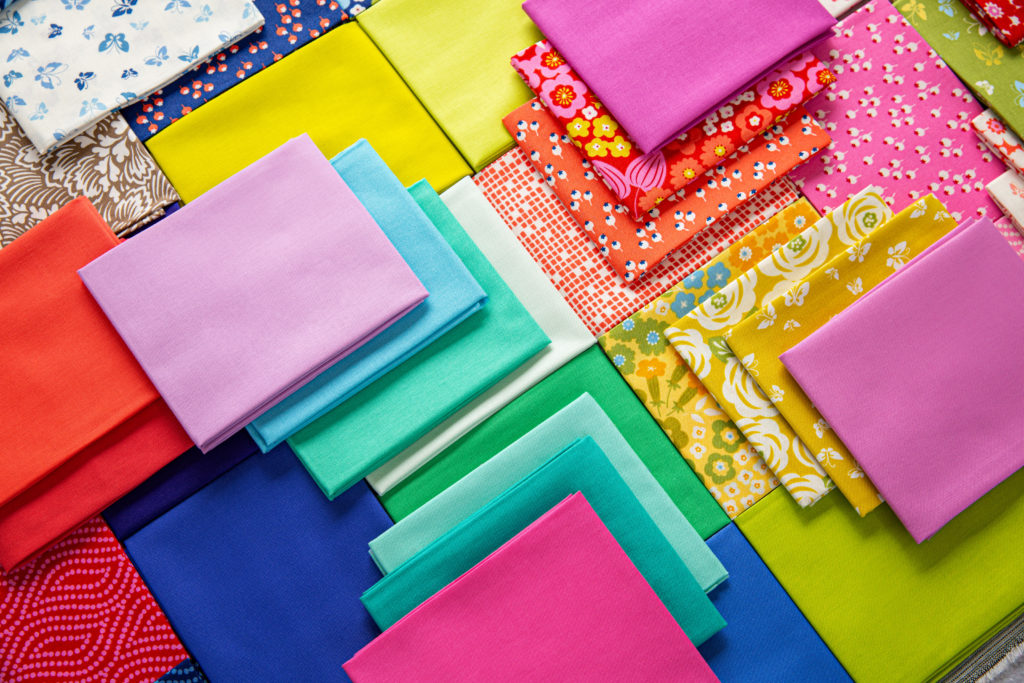
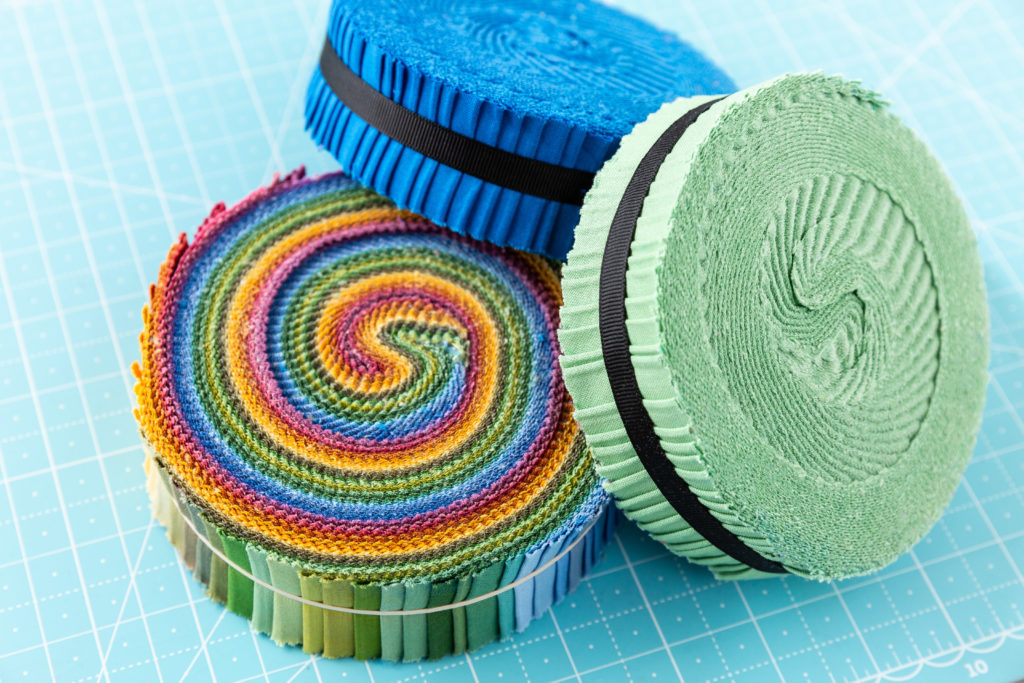
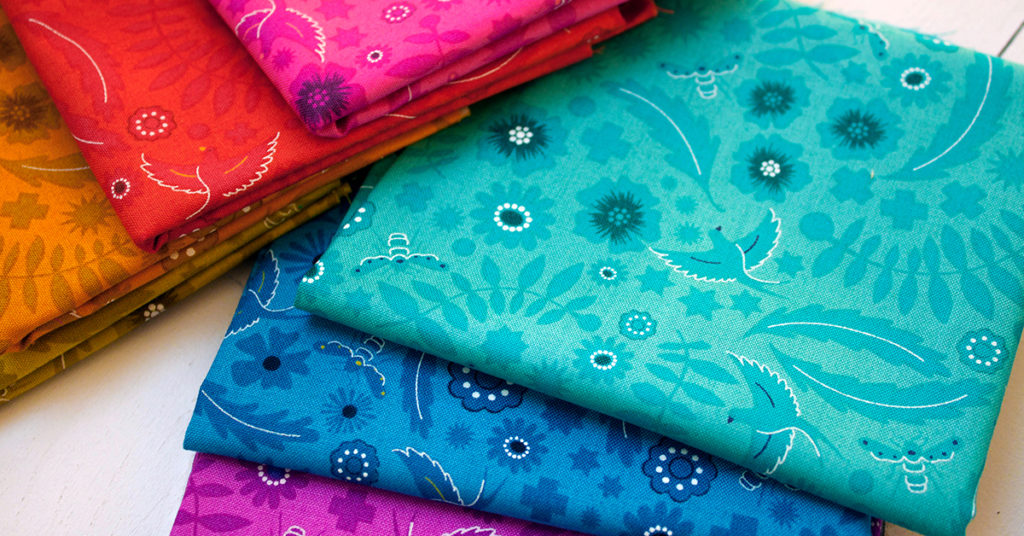
When it comes to buying fabric for your first quilt, pre-cuts are a good place to start! They come ready to go in various sizes in bundles of fabrics that coordinate with one another. If you haven’t had the chance, you can learn more about pre-cuts in our previous Building Blocks blog post. If you aren’t ready to take the leap into buying pre-cuts yet or you have other fabrics in mind for your project, have no worries! Virtually any fabric can be used for a quilting project.

The Memory quilt, for example, utilizes old neckties and shirts to create a quilt to honor a dear one’s existence. These materials are not designed for quilting projects, but with a little creative energy and ingenuity they come together to make a fantastic project that makes a truly powerful gift to honor the memory of a loved one. Old denim jeans, fabric scraps, recycled materials, t-shirts, and more can be materials used in your projects! So the next time you open your closet, keep in mind what you can repurpose to add a unique and modern touch to your quilting project.

You have many options for materials to use in your projects, but keep in mind that some materials are trickier to use than others. If you are just entering the world of sewing, we recommend choosing a material that is 100% cotton!

Cutting & Measuring

A selection of Rotary Cutters in various shapes and sizes on top of a gridded cutting mat.

Now that you are getting comfortable with choosing fabric and learning about all the choices you have, let’s talk cutting that fabric! The old adage “measure twice, cut once” has never been so pertinent. In many projects, the fabric measurements are very important to get right, so that the rest of the work goes by smoothly! Quilting can be a precise art form, so it’s best to get used to measuring out your fabrics and cutting as accurately as possible in order to get the best results. There are a few handy tools that can aid in making this process the easiest it can be!

You’ll need a rotary cutter, a cutting mat, and a ruler. Scissors are very helpful in the sewing process, but when cutting up fabric as accurately and quickly as possible, rotary cutters are our go to — especially when paired with a gridded cutting mat. These mats come blocked out in one inch squares to assist in your fabric measuring and cutting! By learning how to sandwich your fabric between your mat and ruler and using the marked, premeasured guides on those tools, you can soon become comfortable with using your rotary cutter and making as accurate cuts as you can! It takes practice, so don’t be discouraged if you make mistakes along the way. No one is a master in the beginning!

Pressing

Irons and pressing mats come in a variety of styles and designs.

The last item that we suggest getting familiar with that will help in the quilting process is something that you likely already have in your house – an iron! Irons are an integral part of the entire quilting process — they are with us almost every step of the way! You may already be comfortable with the iron you have at home and if you are not, don’t fret! They usually are pretty quick to learn and may just take a little studying and practice to find the settings that work best for you. Ironing makes many steps of the quilting process easier and soon you’ll figure out how much or how little ironing you like to do during your quilting process! Everyone is a little different — some people utilize the steam feature on their iron often, some people iron every little piece, and some iron rarely. It’s all personal and a part of the learning process!

Remember to always iron on a safe surface — an ironing board is great if you have one, but if you want a space closer to your sewing area, you can always purchase an ironing mat or even make your own! You’ll be ready to press in no time and create beautiful smooth fabric that’s ready for the next step, piecing!

In our next segment, we will be talking all about piecing. Take this time to familiarize yourself with your quilting tools and measuring and cutting fabric. Remember, these basic steps, although simple, will make all the difference when creating your first quilt project. We can’t wait to see what you create!

Triple Play! Little Houses

I’ll always remember 2020 as the year we stayed home. We wore stretchy pants. We watched movies. We sewed and sewed and sewed (and sewed). And, we baked A LOT of banana bread. 

Jenny’s Design

Some days were boring; some were lonely. But through it all, I’ve felt grateful for the peace and safety of these four old walls. Dorothy was right, there’s no place like home.

Natalie’s Design

For this month’s Triple Play tutorial, Jenny and the gals used Daisy & Grace’s tiny house quilt-as-you-go templates to make a garland, a pillow, and two different table runners.

Misty’s Design

These sweet little houses can be sewn by hand or machine, and they come together easy-as-pie. Best of all, the quilt top, batting, backing, and binding are all completed in one fell swoop. Once you’re done, you’re done! Click HERE to watch the tutorial!

Watch the Latest Tutorial from Missouri Star Quilt Co!

Building Blocks: All About Precut Fabric

Precut fabric saves time and effort when creating quilting projects.

Precut fabric revolutionized the quilting world. The quilting skill was historically passed down through teaching – one would learn the intricate and mathematical approach of measuring and cutting fabric by hand from the generation that came before. Anyone who has pieced a quilt knows it’s difficult work! Before you could even consider your project or layout, all the fabrics must be cut from bolts or repurposed from used materials. The margin for error was extraordinary, a single miscalculation could jeopardize an entire quilting project.

Quilting is now easier and more approachable thanks to precut fabrics. Precuts are perfect for beginners (that’s why Jenny uses them to teach!). If you don’t know what exactly a fat quarter is, or if you never heard of a honey bun, we hope this guide kicks off your quilting journey with confidence.

Layer Cakes (10″ Squares)

Layer cake bundles contain forty-two 10 inch squares of precut quilting fabric.

A Layer Cake is a curated bundle of 10″ squares of coordinating precut quilt fabric from a designer’s collection. These versatile packs can be used for a number of projects. Their larger size allows them to be to cut into strips or smaller squares if needed! A typical layer cake contains 42 squares of precut 10″ fabric, enough for a small quilt top. Depending on the distributor, layer cakes are also called ’10 stackers,’ ’10 squares,’ ’tiles,’ and ’10 karat crystals.’

With such a big cut of fabric, layer cakes can dazzle because the printed design catches the eye first. If you want to showcase a gorgeous fabric, consider Jenny’s spin on tradition and create the Irish Change quilt. The Layer Cakes in this project are left completely whole and highlighted with fabric strips to create a beautiful showcase of 10″ squares!

Browse Layer Cakes Here >

Learn More About The Irish Change Quilt >

Charm Packs (5″ Squares)

Charm Packs contain forty-two 5 inch squares of precut quilting fabric.

Think of Charm Packs as Layer Cakes smaller sidekick! A Charm Pack is a bundle of 5″ squares of precut fabric. Charm packs are a fast, fun way to bring a quilt together like magic and, like Layer Cakes, Charm Packs are often sold in bundles of 42. These fabric bundles are also called ‘5″ stackers,’ ‘single scoops,’ and ‘stamps.’

For an easy introduction to the world of Charm Packs, use the pack as it is and create the Charm Quilt on Point! This simple creation turns the Charm Pack fabrics on point before sewing them together to create a beautiful layout with little effort! Select your favorite Charm Pack (much like in the Irish Change quilt, your Charm Pack fabric will be the focal point), add a border and a back – you just created the easiest quilt you ever made!

Browse Charm Packs Here >

Learn More About The Charm Quilt on Point >

Mini Charm Pack (2.5″ Squares)

Mini Charm Packs contain forty-two 2.5 inch squares of precut fabric.

Have you heard the saying “there’s always a bigger fish”? How about “there’s always a smaller square”? As you probably guessed, a Mini Charm Pack is exactly that – a smaller version of a Charm Pack! These fabric bundles contain forty-two 2.5″ squares of precut fabric, half the size of their larger counterpart! With a name as specific as Mini Charm Pack, it’s difficult find this precut under a different name (but let us know if you do!).

Think small when using this precut, it’s better used as a compliment than a feature! Mini Charm Packs create intricate and impressive designs, even though it’s really no different than sewing a larger square. The 2.5″ Mini Tumbler Quilt is a great option if you want to play with these mighty minis, but you can add creative flair to any quilt with a 2.5″ square as a cornerstone!

Browse Mini Charm Packs Here >

Learn More About The 2.5″ Mini Tumbler Quilt >

Jelly Rolls (2.5″ Strips)

Jelly Rolls contain forty 2.5 inch strips of precut fabric.

Let’s get away from squares and focus on strips! A Jelly Roll is a bundle of 2.5″ strips of precut quilt fabric, featuring an array of coordinating fabric from a designer’s collection. Jelly rolls make sewing up a cute strip quilt a snap. Not only are there countless patterns that use only a Jelly Roll, but you’ll find these strips so handy you may use them with other precuts. A standard Jelly Roll contains forty 2.5″ x 44″ strips of fabric and is also called a ‘rolie polie,’ ‘strip-pies,’ ‘roll ups’ or even just ‘2.5″ strips.’

One of the easiest quilts for beginners is the standard Jelly Roll Race quilt! Piece your Jelly Roll strip by strip, and you can stitch up 1,600 inches of fabric in less than an hour! This pattern can be wildly colorful, with constantly changing colors and designs – so be bold with your Jelly Roll choice!

Browse Jelly Rolls Here >

Learn More About The Jelly Roll Race Quilt >

Honey Buns (1.5″ Strips)

Honey Buns contain forty 1.5 inch strips of precut fabric.

The Honey Bun is the Jan to the Jelly Roll‘s Marcia. Have you ever heard of it? This slender roll is perfect for sashing and strip quilting. The Honey Bun is a bundle of forty 1.5″ strips of coordinated, precut fabric. When piecing a quilt top, it’s more common to use a Jelly Roll, but don’t count the Honey Bun out. Whether creating a small quilt top or an intricate design, the Honey Bun will serves up loads of versatility. If you can’t find a Honey Bun, try looking for it’s alter ego – Skinny Strips!

Jenny’s very first quilt was a Log Cabin quilt, so they’re near and dear to her heart. If you want to feature a Honey Bun in your next project (and not just for sashing), a simple log cabin block is the way to go. You can get 21 log cabin blocks from a single Honey Bun!

Browse Honey Buns here >

Learn More About The Log Cabin Block >

Fat Quarters (22″ x 18″ Cuts)

Fat Quarters are 22″ x 18″ cuts of Fabric.

If you absolutely adore a line of fabric, the answer is the Fat Quarter! A fat quarter bundle is a stack of fat quarters (quarter yards of fabric, cut wide) of coordinating quilt fabric from a designer’s collection, and of all the precuts, it gives you the most fabric! Fat quarters measure 18″ x 21″ and make it easy to build a quilt with your fabric lines. With just a little extra cutting, the possibilities are endless for this precut bundle. Fat Quarters are sold in bundles called Fat Quarter Bundles, but sometimes they are also advertised as “rolls.”

Precuts are the perfect way to round out your stash, as you can grab one for all sorts of projects. Feeling inspired now? Try a fabric basket with Misty. She uses two fat quarters to create the A Tisket A Tasket… 2 Fat Quarter Basket from Me & My Sister Designs. Fat Quarters are an easy way to stock up on your favorite fabrics in bulk, but expect a little extra cutting or piecing in your Fat Quarter projects!

Browse Fat Quarter Bundles Here >

Learn More About The A Ticket A Tasket… 2 Fat Quarter Basket >

Vintage Bouquet Quilt

The Vintage Bouquet Quilt from Missouri Star Quilt Co. Watch the free quilt tutorial today.

Marcia, Marcia, Marcia! If you love Marcia Brady as much as we do, get excited! 

Last year, Maureen McCormick (aka Marcia Brady) visited Missouri to meet Jenny. Maureen is an avid quilter and just as sweet in person as she was on TV. (Click HERE to watch the video!)

The Vintage Bouquet Quilt from Missouri Star Quilt Co. Watch the free quilt tutorial today.

Now, Maureen has her own fabric collection with Moda, and Jenny used it to whip up a flower applique quilt made with quick and easy half-square triangles. 

These pretty blocks can be laid out in dozens of ways. And whether you choose pinwheels, chevrons, or square-in-a-square, you’ll have a groovy garden of flowers as perfect as Marcia herself!

The Vintage Bouquet Quilt from Missouri Star Quilt Co. Watch the free quilt tutorial today.
Watch the Latest Tutorial from Missouri Star Quilt Co!

Seeing Spots Quilt

The Seeing Spots Quilt from Missouri Star Quilt Co. Watch the free quilt tutorial today.

Hexagon quilts can be tricky, but they don’t have to be! Simply grab your favorite jelly roll strips and our brand new 60 Degree Triangle Ruler. Almost like magic, those six-sided beauties come together in a flash—no Y-seams required!

The Seeing Spots Quilt from Missouri Star Quilt Co. Watch the free quilt tutorial today.

This quilt would dazzle with any 2.5 inch strips, but we sure love Jenny’s choice of Linework and Designer Solids by Tula Pink for FreeSpirit Fabrics. It’s bright, cheery, and oh so fresh! Click HERE to watch the tutorial!

The Seeing Spots Quilt from Missouri Star Quilt Co. Watch the free quilt tutorial today.
Watch the Latest Tutorial from Missouri Star Quilt Co!