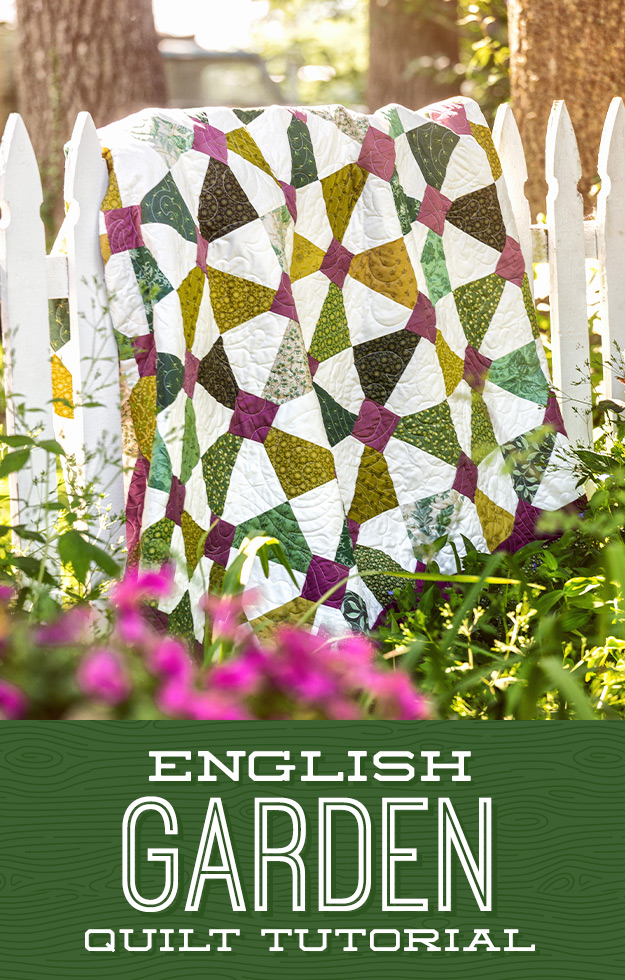
When I think of an English garden, I picture quaint gravel paths that divide shrubs and hedges like strips of sashing on a quilt. I picture drizzly afternoons and neat rows of pretty blooms. I picture cozy cups of tea sipped on quiet garden patios. I picture peace, order, and beauty.
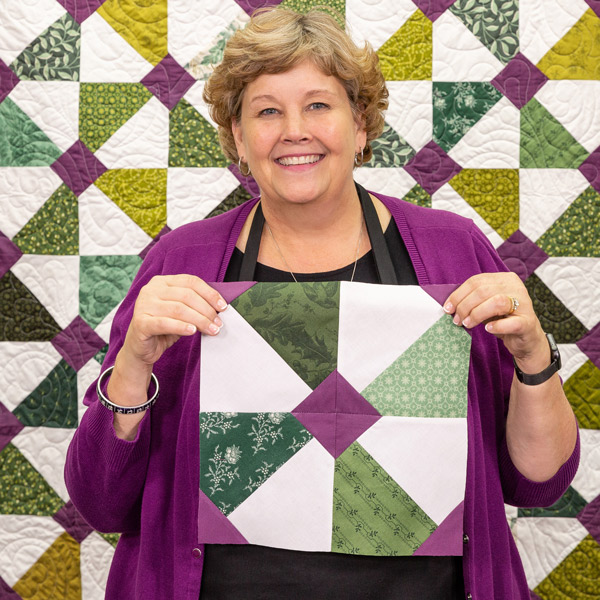
This week Jenny has packed all the charm of a real English garden in her newest quilt. Click HERE to watch the tutorial!
Once you’ve pieced your beautiful quilt top, it’s time to choose your backing! There are so many fabrics out there and using 108″ wide backing does make things easier, but we will help you know how much fabric you need when using standard 42″ wide fabric.
Here are some items you’ll be needing:
Pencil
Paper
Calculator
Your finished quilt top
A measuring tape or template
Step 1: Measure the length and width of your quilt top.
Step 2: Add an extra 8 inches to both the length and width of your quilt if it’s going to be machine quilted, that’s 4 inches on each side and 4 on the top and bottom.
Step 3: Take your measurements, add them both together, and divide it by 36. This is the amount of yardage you will need.
If your quilt is less than the backing width, congratulations! You can simply cut your backing to the same length you figured in Step 2. But, if your quilt is wider than your fabric, you’ll need to figure out how many fabric widths you’ll need to piece together and then multiply that number by the quilt backing length from Step 2. That’s the number of inches of fabric you need to buy.
If your quilt is more than about 42 inches wide, which is the typical width of a yard of fabric, you will need to keep in mind that you will have a seam in the backing, unless you use 108” inch wide backing.
Step 4: Cut the fabric to your backing length and piece together with 1/2″ seam allowances.
Now you are ready to quilt!
Wide fabrics make backing a quilt seamless. Visit our Backing & Trims store to find your next quilt’s back!
Tips and Tricks for Backing:
Measure your quilt top vertically and horizontally. Add 8 inches to both measurements to make sure you have an extra 4 inches all the way around to make allowance for the fabric that is taken up in the quilting process as well as having adequate fabric for the quilting frame.
Trim off all selvages and use a 1/2″ seam allowance when piecing the backing. Sew the pieces together along the longest edge. Press the seam allowance open to decrease bulk.
Use horizontal seams for smaller quilts (under 60″ wide) and vertical seams for larger quilts.
Don’t hesitate to cut a length of fabric in half along the fold line if it means saving fabric and makes the quilt easier to handle. Note: large quilts might require 3 lengths.
Choose a backing layout that best suits your quilt. Think about the direction of the pattern and pattern matching.
Example Quilt:
Once borders are added, the finished quilt top dimension is 58″ x 66″ Take quilt top width + 8″ = backing width 58″ + 8″ = 66″ Take quilt top length + 8″ = backing length 66″ + 8″ = 74″ Determine the number of Widths of Fabric (WOFs) you need for your backing by dividing your width measurement by 40″ 66″ divided by 40″ = 1.65 Round up to 2. You need 2 WOFs to make your backing. Take your backing length measurement and multiply it by the number of WOFs you need. 74″ x 2 = 148″ This is how many inches of fabric you need. Now, divide that number by 36″ to get how much yardage you need. 148 divided by 36″ = 4.1 Round up to the nearest ¼ yard and you get 4 ¼ yards.
In the middle of summer, it’s nice to daydream about a refreshing snowfall. The kind that covers the landscape with a nice layer of the white fluffy stuff, like a decadent cake.
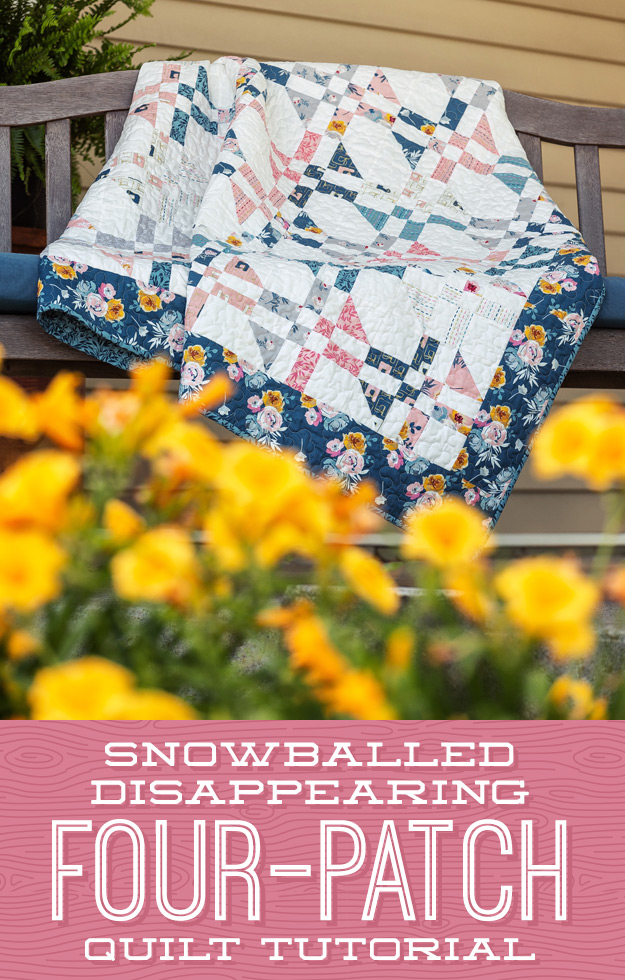
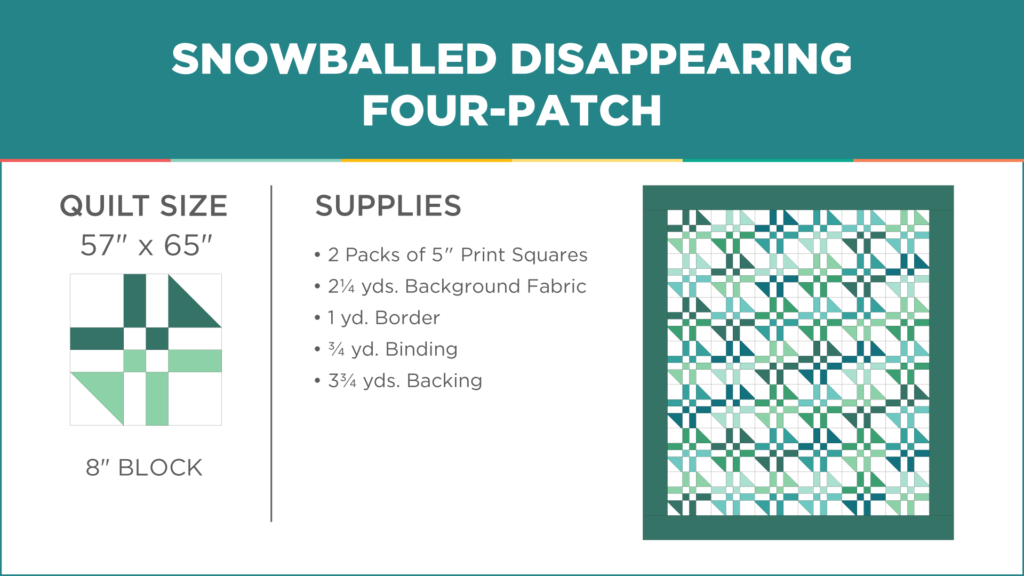
Though stranger things have happened, the chances of a July snowfall in the middle of Missouri are slim to none, so this week Jenny is adding a touch of snowy fun to our newest quilt, the refreshing Snowballed Disappearing Four Patch Quilt!
Click HERE to watch those little snowballs completely transform one of our favorite disappearing blocks!
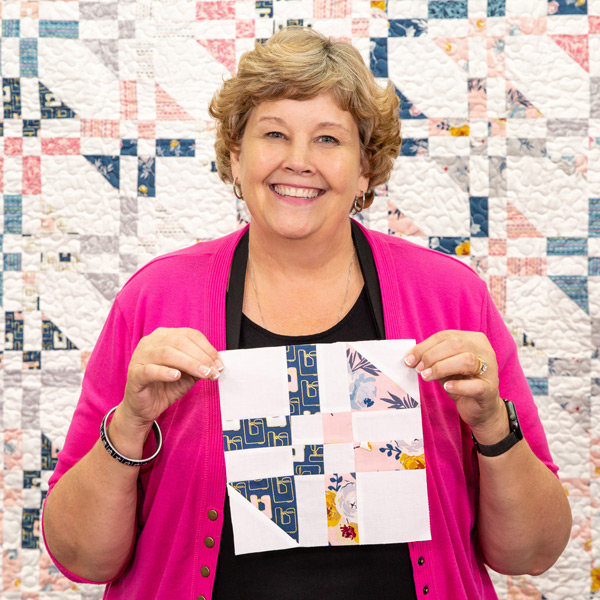
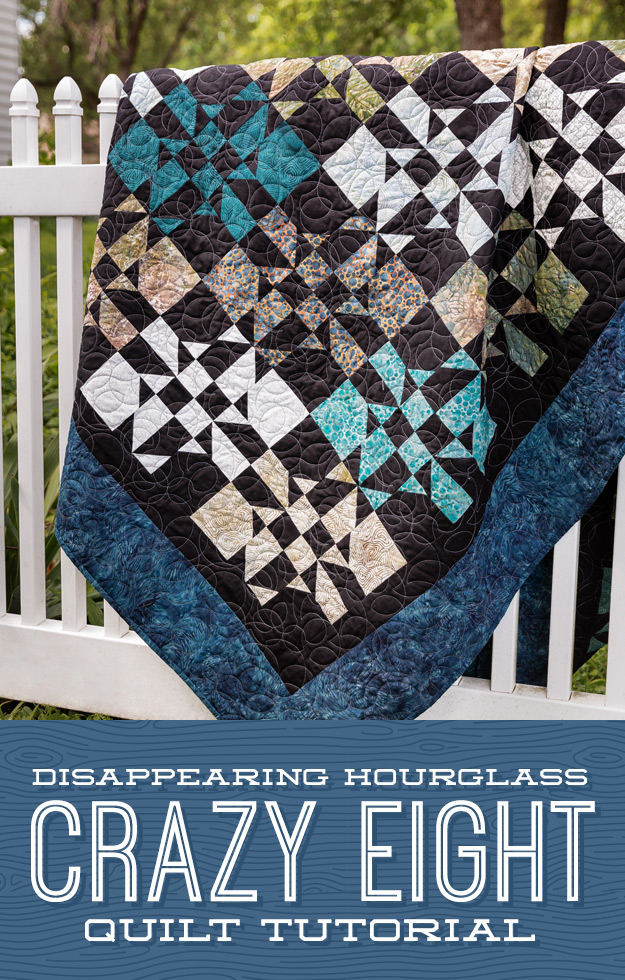
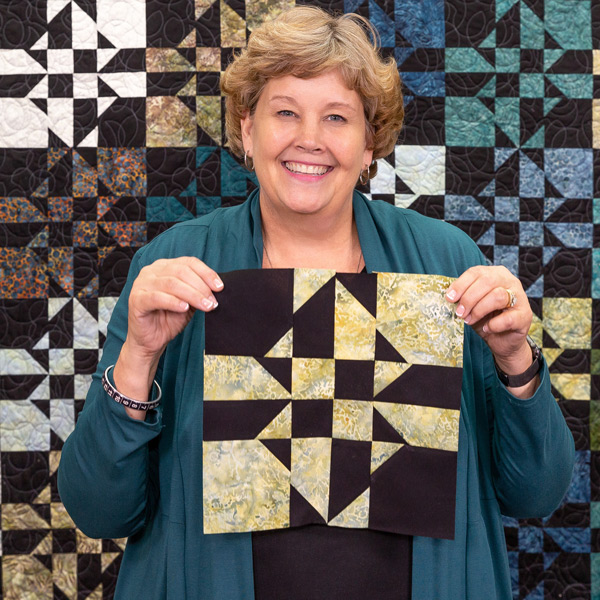
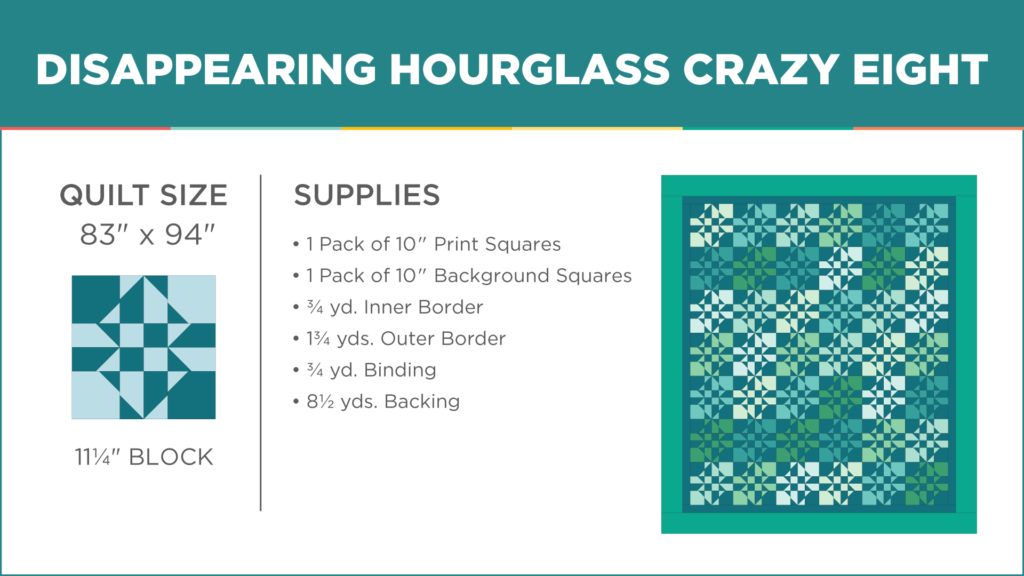
Let’s say you’ve just stitched up a nice, basic hourglass block. The ¼” seams are flawless and it’s pressed to perfection. What do you do next? Slice that block to bits, of course! Because when those pieces are rearranged and stitched back together, you’ll have a gorgeous, super-intricate block that looks like a million bucks!
Click HERE to learn how to make the easy-as-pie Disappearing Pinwheel Crazy Eight quilt!
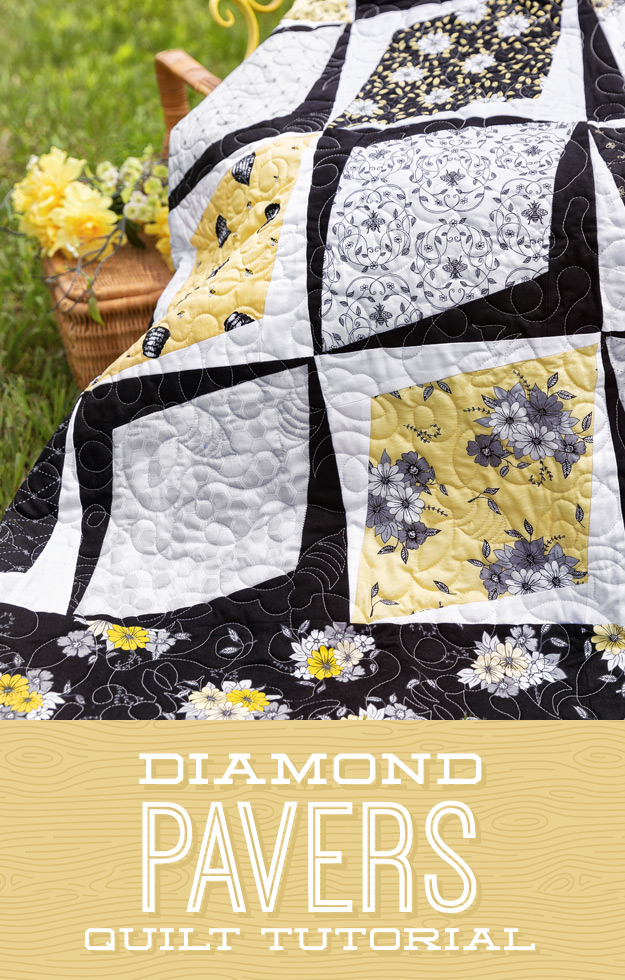
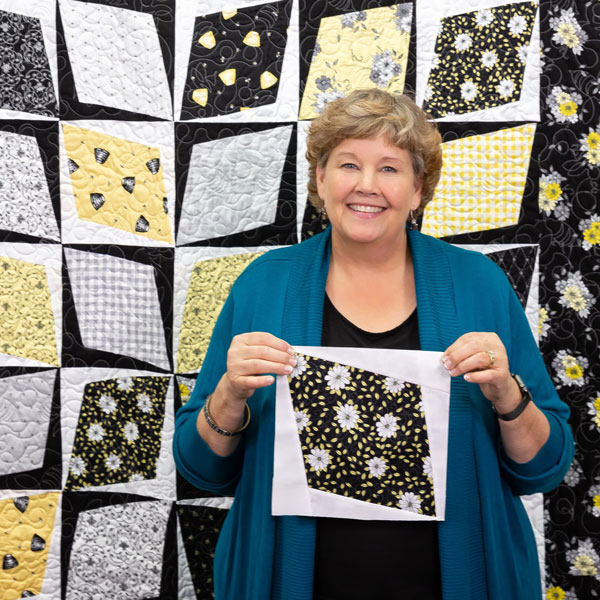
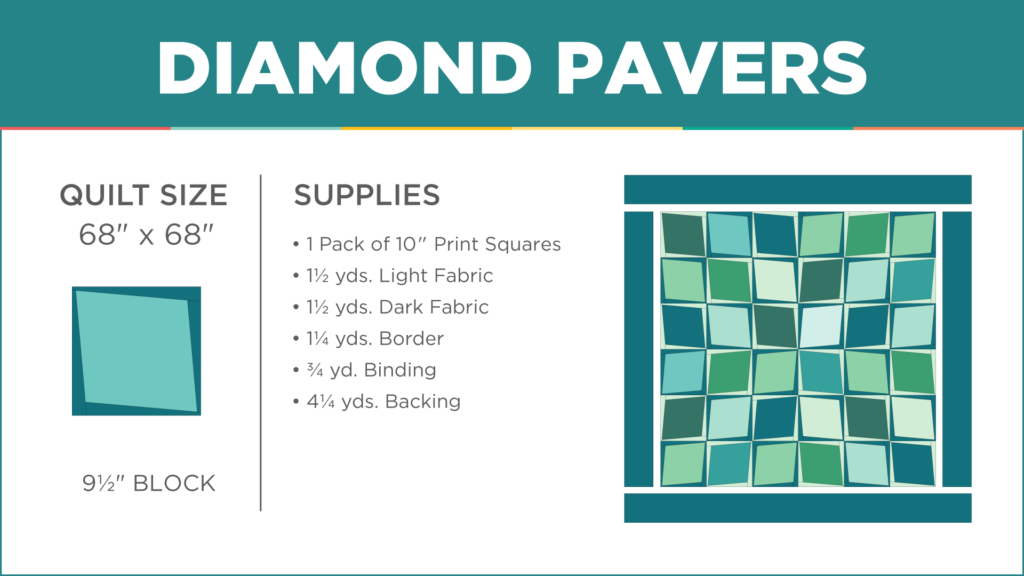
The Diamond Pavers quilt was made for pretty prints. The blocks are so big and simple, patterns have plenty of space to breathe!
For this quilt, Jenny used Honey Run 10” Stackers by Jill Finley for Penny Rose Designs. It’s an adorable collection filled with bees, florals, and delicate geometrics. (Don’t miss the machine quilting on this one! It’s a bee-utiful honey bee stitch!)