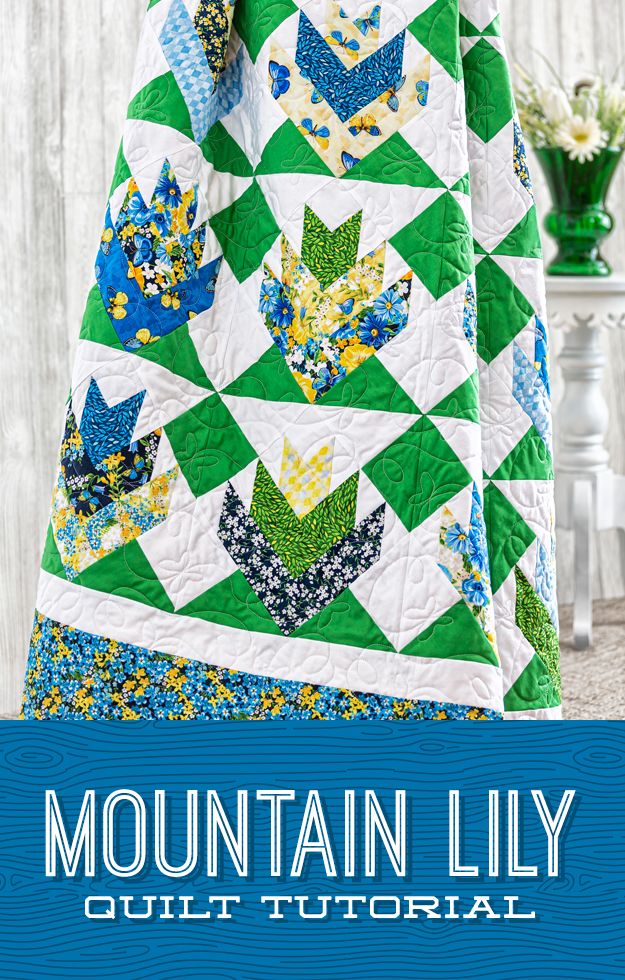
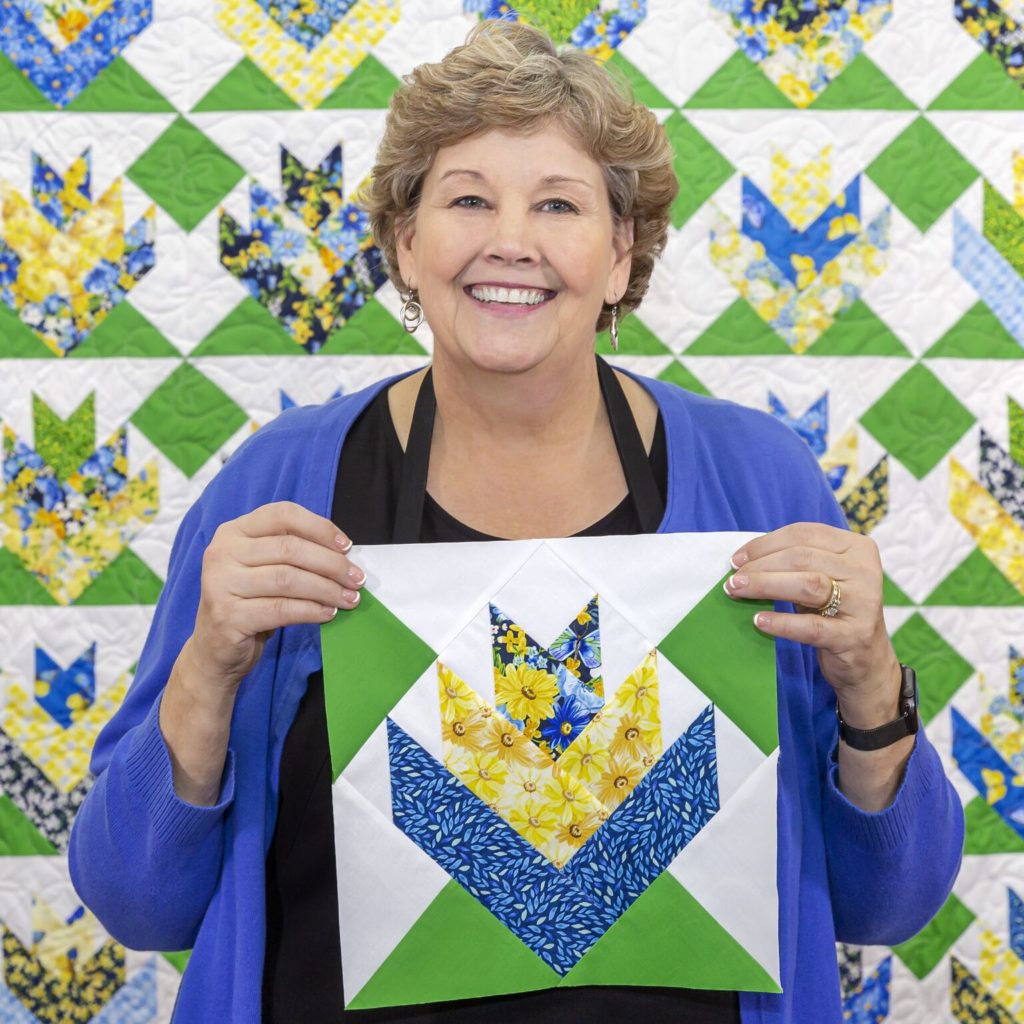
The tippy tops of the Rocky Mountains are covered with ten feet of snow right now! But underneath that blanket of white, wildflower seeds wait patiently. And when summer arrives, those mountain peaks will be bursting with blooms!
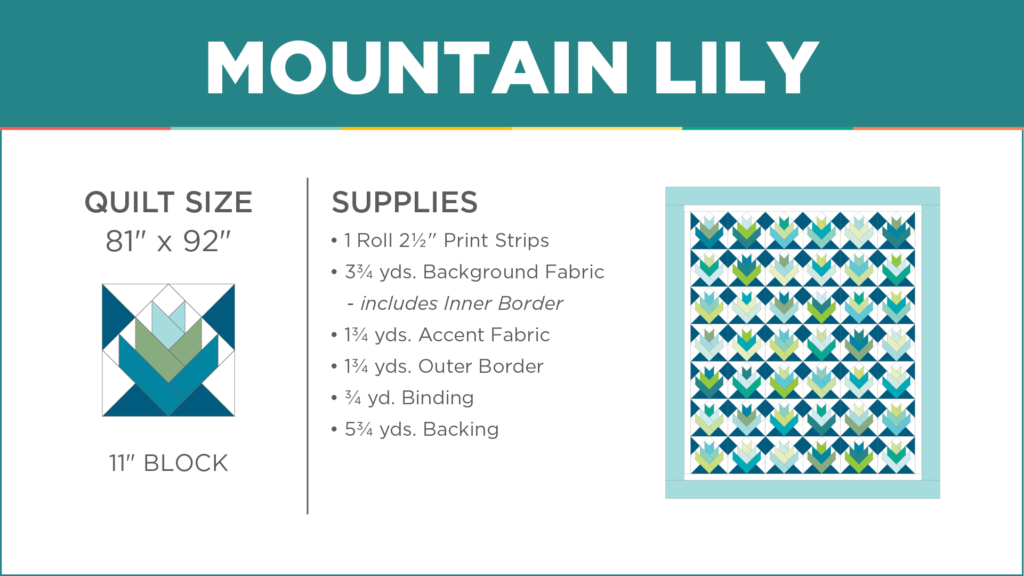
If you’re like me, you can’t wait till summer; we need flowers today! Click HERE to learn how to create your own Mountain Lily blocks out of 2.5” strips!
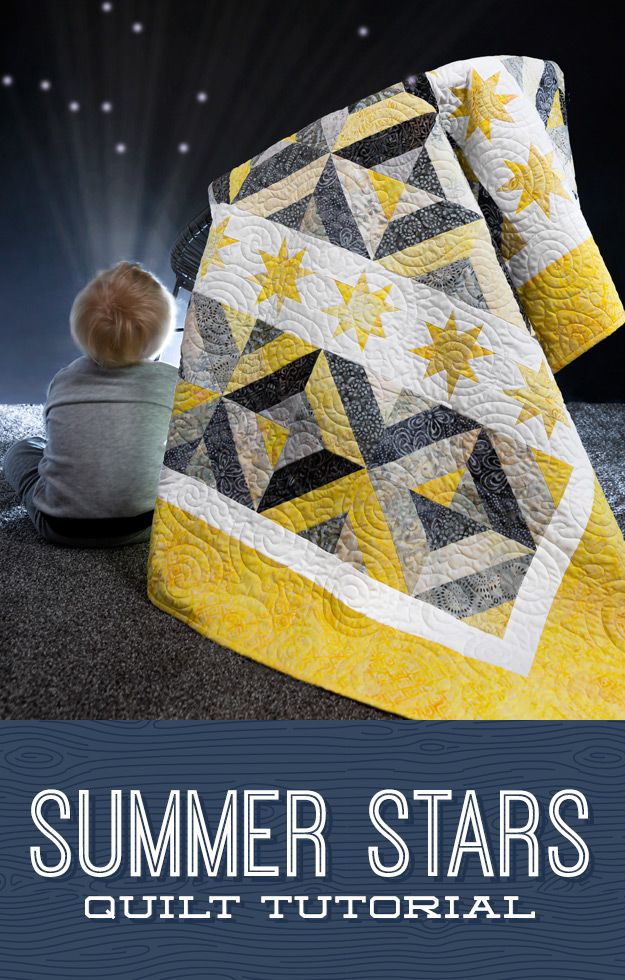
Jenny loves to give quilts as wedding presents, but not super-fancy-never-to-be-used quilts. She gives picnic quilts! Jenny wants her quilts to be taken on adventures near and far. She wants them to be loved and used!
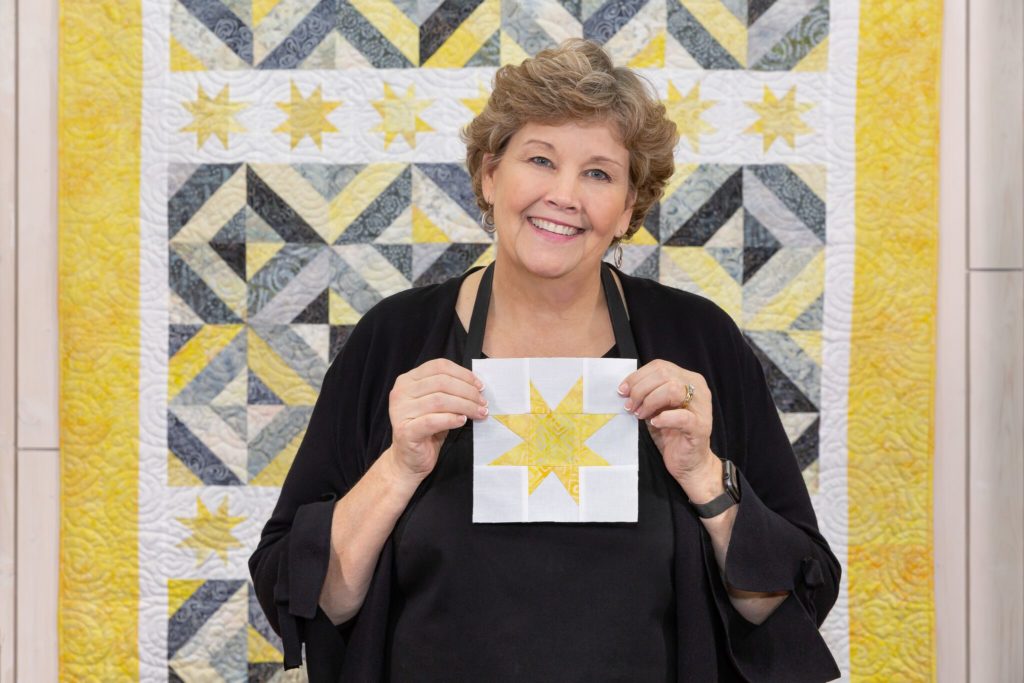
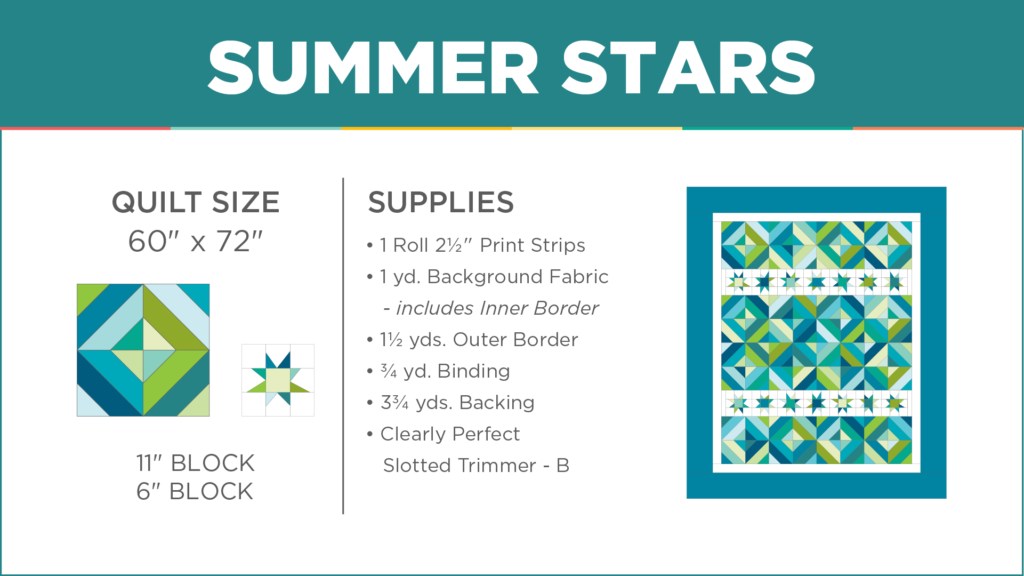
Summer Stars was created for a special grandson and his beautiful bride. It’s a cute picnic quilt made up of two of our favorite patterns: Summer in the Park and Wonky Stars.
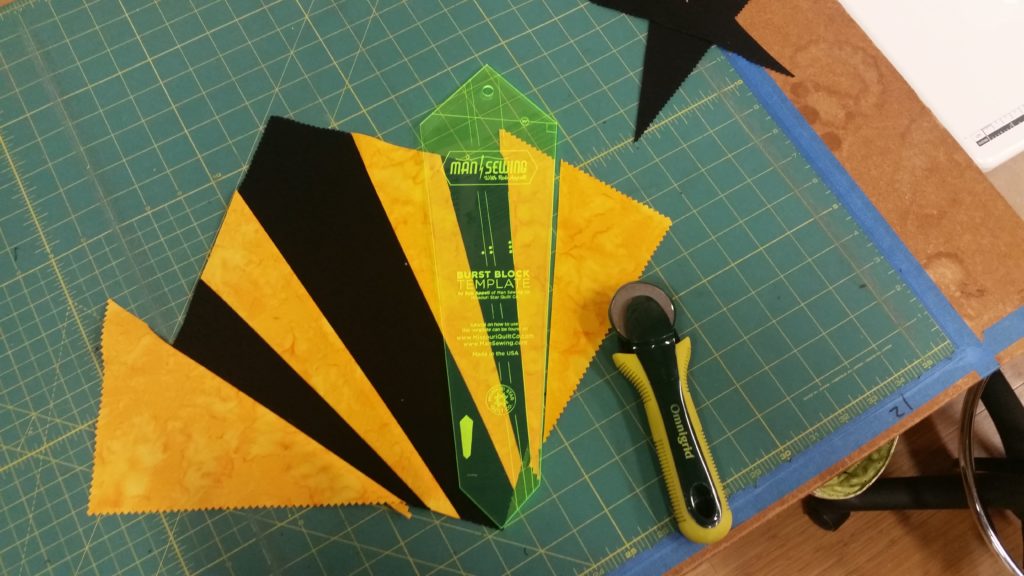
A little precision is good for the soul. Neat vacuum lines in the carpet. Deep green rows of meticulously mowed grass. Quilt blocks with well-pressed seams and razor-sharp points. All that order just feels nice.
If you crave a little precision, this week’s new quilt fits the bill! Jenny demonstrates how to achieve perfect points with just a touch of careful trimming. Easy peasy! Click HERE to watch the tutorial!
There are some of us who like to feel connected in some way to the mysteries around us. Thus, we read our daily horoscopes and give meaning to our birthstones because whether they hold true or not, fate or folklore, they are a fun way to celebrate ourselves and our loved ones.
To celebrate our birthday this year, we wanted to find a way to set some meaning in stone… or quilt. So we’ve come up with a few birthstone-inspired projects!
Our birthday is in September, making our gemstone, the gorgeous Sapphire. Find your gem color and sew with us!
Now that we’ve got the right colors, let’s start making!
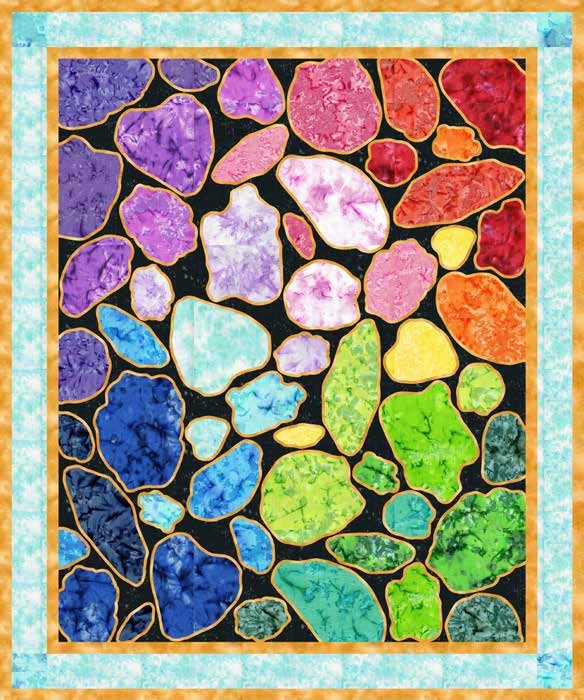
Hexi Gems Quilt
Get your “mod” on with this insanely versatile technique from guest designer, Lisa Hirsh. The pattern includes a blank diagram of the quilt that can be enlarged so you can color and spec-out a creation of your own. The best part is this quilt pattern is a great place for your scraps to end up! Grab the hues you need, and get started!
Hello, my name is Nicole Daksiewicz and I sew and blog over at Modern Handcraft, where I share my current projects and free sewing tutorials. I was so excited when they contacted me about joining the Tutorial Re-boot series here at Missouri Star Quilt Company. I have been a huge fan of the website and of Jenny’s since I first started quilting, and since joining the Sizzix Design team where they offer a huge assortment of MSQC dies that are so helpful!
One of the reasons I started quilting is that I was searching for nursery decor when I was pregnant with my first son and just couldn’t find anything that I loved. Fast forward to today’s project – my take on the Chopped Block Quilt which is a quilt I am making for my son’s Star Wars themed room. Kids bedding is a tricky one, usually the bed sets you find at the store are cheap quality and are not exactly the colors your child wants in his room. Luckily MSQC has a great assortment of novelty fabrics, including the Star Wars fabric I used in this project along with a pop of color that my son loves and matches the artwork we bought for his room.
The quilt I chose, the Chopped Block, is a beautifully simple quilt that was so so much fun to make. It can be very modern in appearance depending on the fabrics used and is a perfect project for a quilter that is just starting out! In the YouTube tutorial, Jenny uses pre-cut jelly rolls and charm packs.
The fabric we wanted to use unfortunately did not come in pre-cuts, but that doesn’t mean we couldn’t use them, we just had to do a little math using the fabric allowance chart and do a little extra cutting.
Once you have all of your fabrics prepped, it’s time to make each block. We will start with a patterned center for the first block. You will make the same number of patterned center blocks as solid center blocks since you will be cutting and shuffling in the next step. Take your 4.5″ patterned square and join a 4.5″ x 2.5″ solid strip of fabric to each side, press seams.
Add your 8.5″ x 2.5″ solid strips to the remaining sides, press seams.
Now add your 8.5″ x 2.5″ patterned strips to two sides, press seams.
Add the final patterned 12.5″ x 2.5″ strips to the remaining sides, press seams.
For the chop and shuffle step you will first need to cut your blocks into 4 sections, in half and in half again. The trick I have for making cutting the blocks is to line up your outside middle square line to the 2″ line on a ruler and the outside line of the middle fabric to the 4″ line on the ruler. This will make for fast cuts and ensure that everything is nice and straight.
You will join two pieces of solid center block with patterned center block to create the chopped block design, isn’t that fun?!
Once you get into the groove of sewing all of your parts together this is a fantastic project for chain piecing. It comes together really fast!
Before you know it you will have a whole stack of Chopped Blocks finished! The instructions now have border information for you to use. I altered my twin size a bit and left the half blocks off of the top and bottom and just went with a 6″ border around the entire quilt. My son’s bunk bed is a little smaller than a normal twin sized bed so making it a little smaller so it will fit inside the bed nicely.
I hope you enjoy this project as much as I did! The video instructions are fantastic and I honestly believe beginners to expert quilters would enjoy making this quilt. Here are some more photos of my finished quilt along with the inspiration for my color choices.
Thank you so much for allowing me to share my version of the Chopped Block Quilt with you here at MSQC!
You can find more of my work at the following places: