Celebrate National Walnut Day with a New Pincushion

The Cactus Pincushion from Missouri Star Quilt Co.

Did you know today is National Walnut Day? Of course you did, who could ever forget such a major holiday! We here at Missouri Star Quilt Co. are big fans of this special day because walnuts can be your new best friend when it comes to quilting and sewing! Crushed walnut shells are often used as stuffing material for pincushions because, not only do they hold their shape and make a great pincushion, the oil from the walnut shells has restorative properties that keep our needles sharp.

So grab some fabric from your stash (you won’t need much) and check out these three great and unique ideas for a pincushion – each featuring crushed walnut shells as the filling! You may surprise yourself by how creative you get with found materials from around your sewing studio!

Mason Jar Pincushion

The Mason Jar Pincushion from Missouri Star Quilt Co.

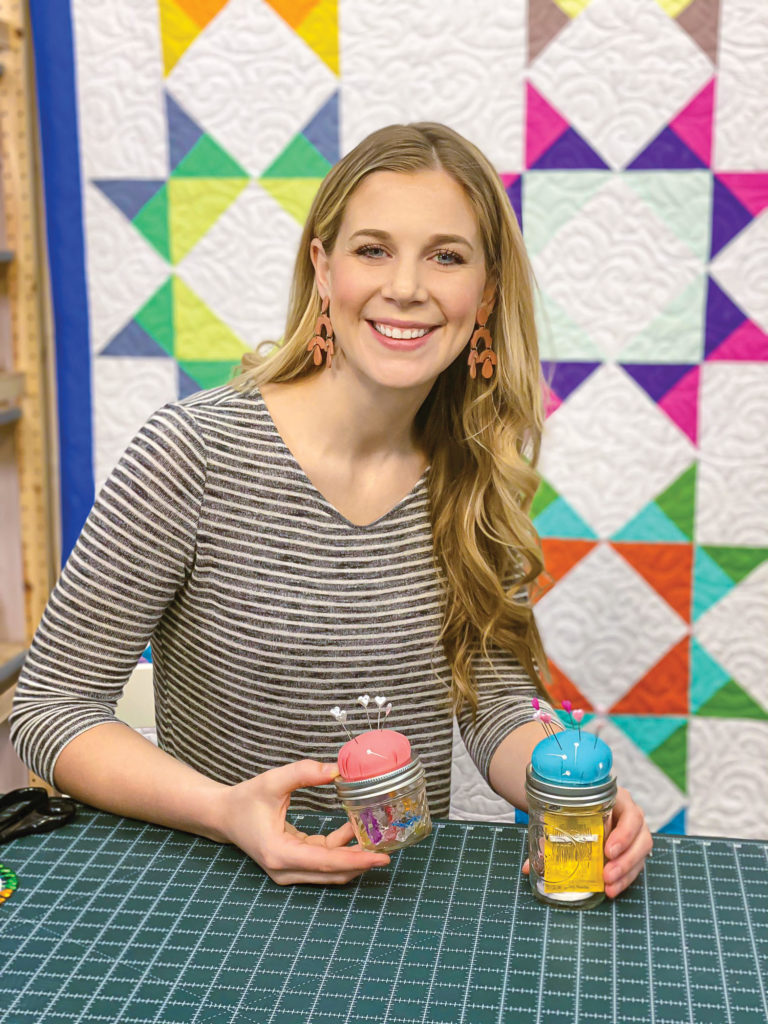
Who doesn’t love repurposing materials from around the house? Not only do you get the opportunity to flex your creative ingenuity, but you make something from scraps that would normally just be discarded. This handy upcycled pincushion not only stores your pins (and keeps them sharp thanks to our friend the walnut) but offers additional storage for bobbins, bits of thread, and whatever you can think of in the jar below!

Watch the Live Replay >

Stay Sharp with Crushed Walnut Shells >

Happy Chicks Pincushion

The Happy Chicks Pincushion pattern from Missouri Star Quilt Co.

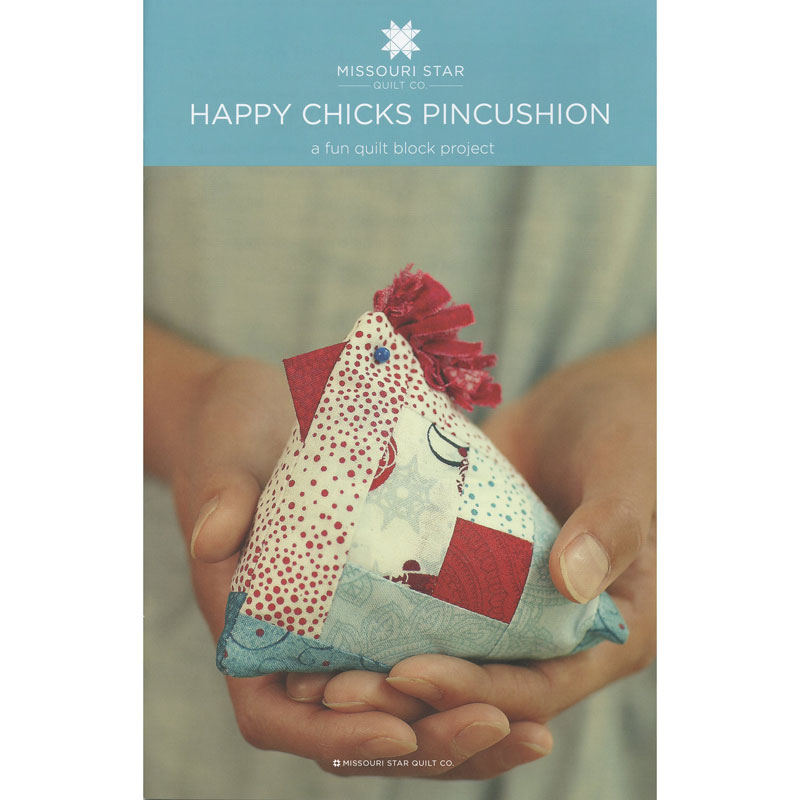
Let’s face it, you can’t help but love the classic farmhouse sewing notions from generations past. Remember the little sewing tomato? We know you do! Pay homage to yesteryear with this scrappy quilt block chicken pincushion – the perfect combination of farmhouse chic and scrappy modern piecing! With the addition of a bag of crushed walnut shells, this simple project comes together in a flash and is a great addition to your sewing table.

Get the Happy Chicks Pincushion Pattern >

Watch the Free Tutorial >

Cactus Pincushion

The Cactus Pincushion in a Missouri Star Thimble Container

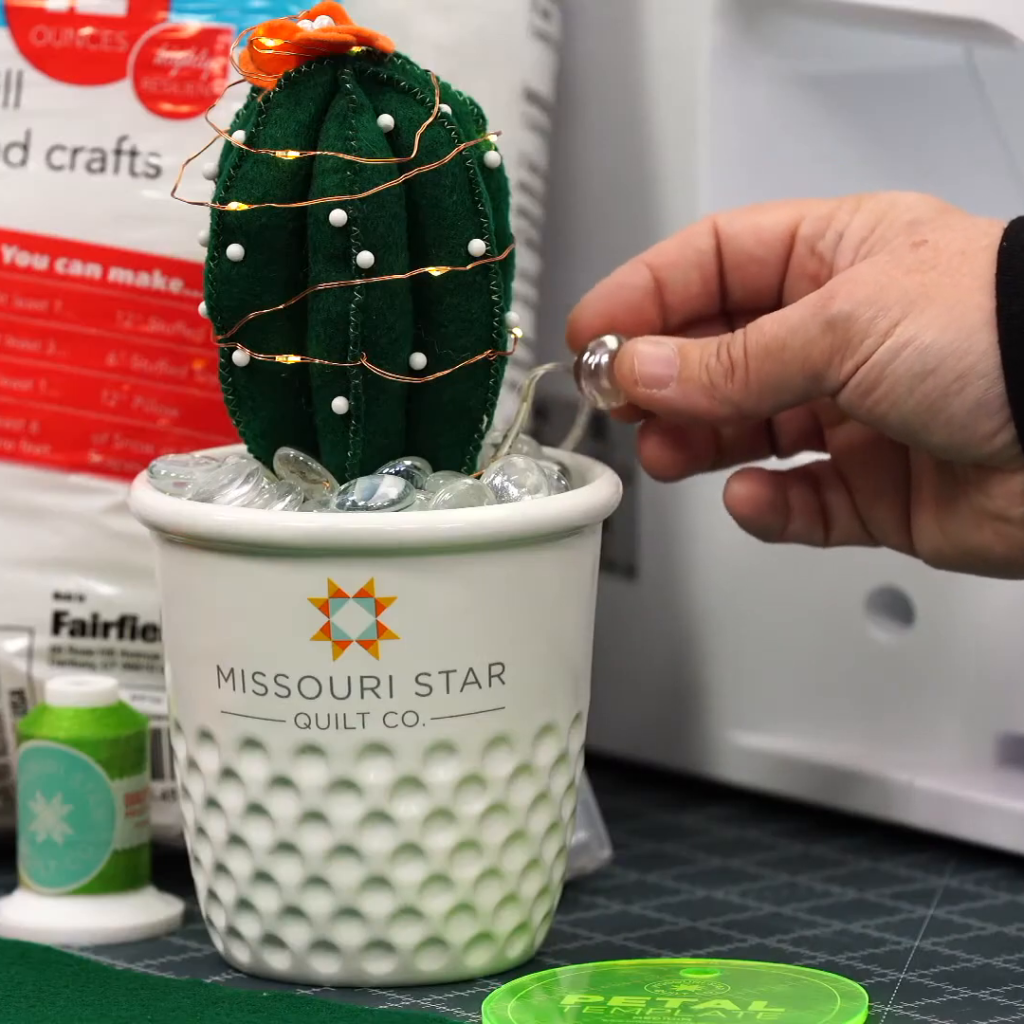
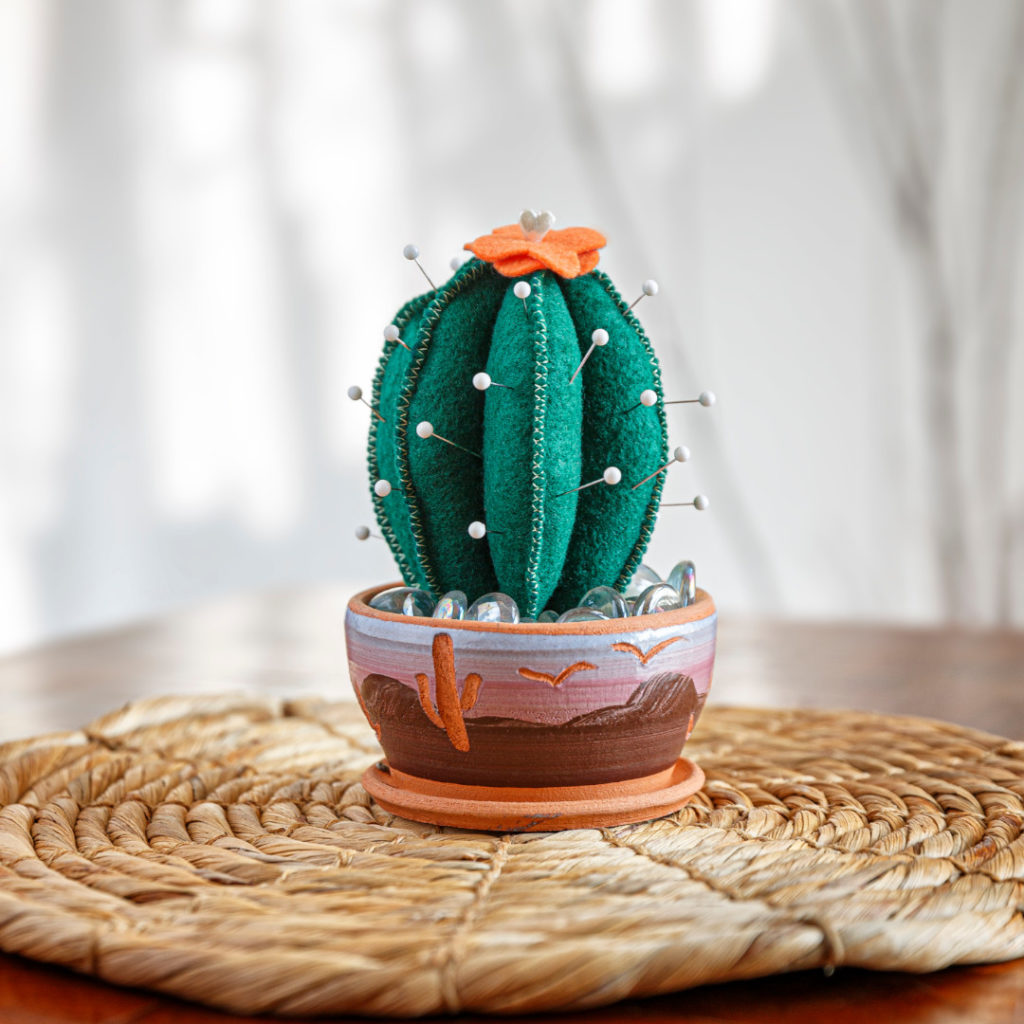
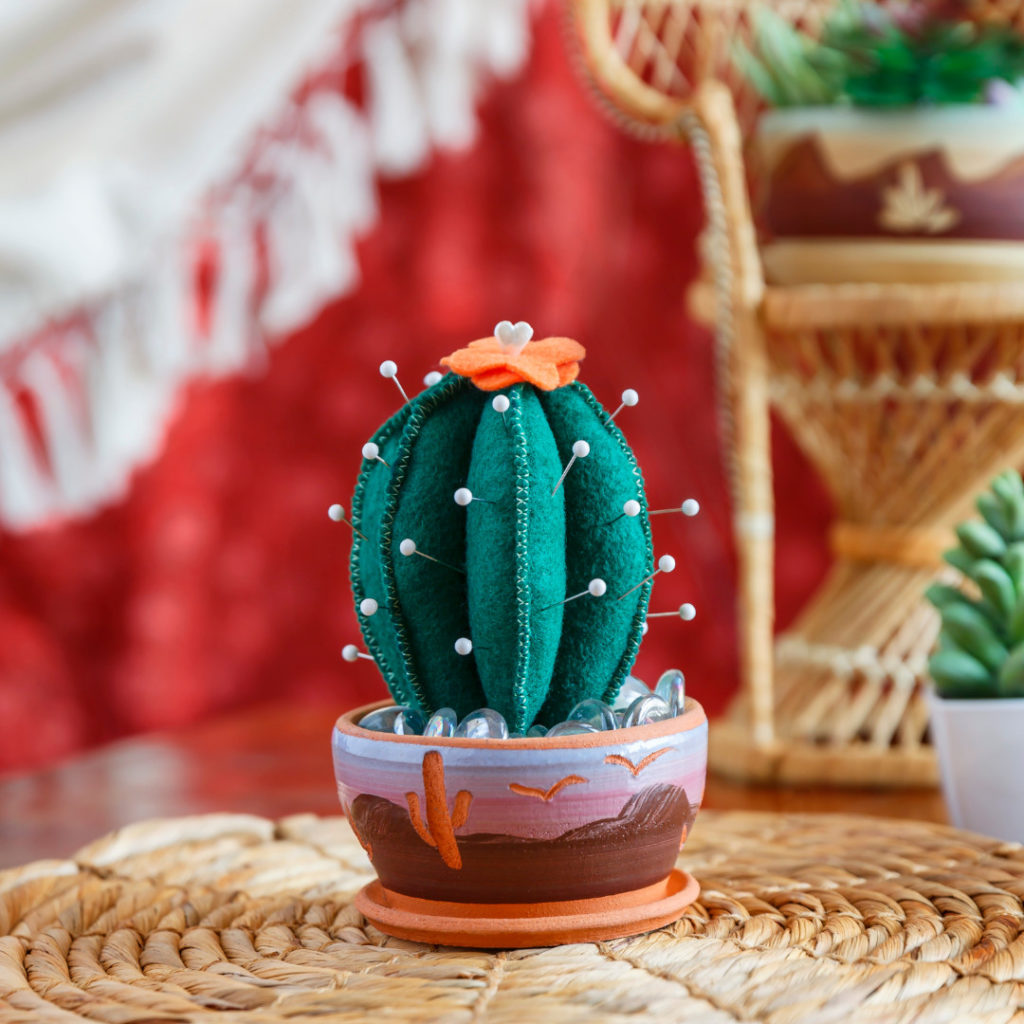
We are absolutely in love with this cute cactus pincushions (and they look mighty fine planted in a Missouri Star Thimble Container too)! While this project might look slightly more advanced than the others, that couldn’t be father from the truth. Grab a little green felt and your favorite pot to plant this project in and you’ll be ready to store and sharpen your pins in no time!

Watch the Live Replay >

Don’t Forget the Crushed Walnut Shells >

Which pincushion will you create? Share with us by using #msqcshowandtell on Facebook and Instagram!

Thimble Container Cactus Shaped Pincushion

The Missouri Star Thimble Container Cactus Pincushion from Missouri Star LIVE!
The Cactus Pincushion from Missouri Star Live displayed in a terracotta pot.

Long gone are the days of your grandmother’s red tomato pincushion! In the latest installment of Missouri Star LIVE, Courtenay demonstrates how to make a unique cactus shaped pincushion that will not only add a modern elegance to your sewing room, but will keep all of your pins safely tucked away for future use. Whether you’re “planting” your cactus pincushion in a traditional terracotta pot, or celebrating your love for Missouri Star by using a Thimble Container, this handy project is a must-have addition to your sewing studio.

PROJECT SUPPLIES

• (1) 9″ x 12″ green felt square
• Felt scrap for blossom—approximately 1½” x 3″
Fiberfill
Missouri Star Thimble Container or terracotta pot
• 3½” – 4″ styrofoam cube
• Gorilla Glue or similar glue for styrofoam
Wonder clips or binder clips—optional
• Aquarium rock—optional

The Missouri Star Thimble Container Cactus Pincushion from Missouri Star LIVE!
Add your pincushion to a Missouri Star Thimble Container and share your love of Missouri Star!

CUTTING

  1. Use the petal template to trace and cut 6 petal shapes from the green felt.
  2. Cut out the paper cactus blossom template. Use the template to trace and cut 2 cactus blossoms from the accent felt scrap. Set these aside for the moment.
    • Hint: Because you are sewing through layers of felt, you may need to change your needle to a larger size and sew slowly to ensure even stitching.
  3. Lay 1 petal shape atop another, right sides out. Using a medium zigzag stitch, sew around the curved edges, leaving the bottom edge open. Repeat with pairs of the remaining petal shapes to make 3 units.
  4. On only 1 of the sewn units, measure 1¾” from the widest point of the curved edges and mark a vertical center line.
  5. Stack the 3 sewn units, aligning the edges, with the marked unit on top. Use Wonder Clips, binder clips, or pin as needed to hold the stack together. Sew the 3 units together along the marked center line, backstitching at the beginning and end.
The Missouri Star Thimble Container Cactus Pincushion from Missouri Star LIVE!
Pin a fabric flower to the top of your Cactus Pincushion for a beautiful final touch.

FINISHING

  1. Stuff each of the 6 tubes you just created with fiberfill.
    • Hint: The eraser end of a pencil or small dowel comes in handy to stuff the skinny tubes (Don’t forget you may find a wooden rod in your Poly-fil bag!).
  2. Lay 1 cactus blossom atop the other at a 45° angle so that the ends of all 8 petals are visible.
  3. Sew the blossoms together by hand, slightly gathering the top petals so they have 3 dimensions.
  4. Sew the cactus blossom to the top of the cactus.
  5. Cut the styrofoam cube as needed to fit inside the thimble container. Use the glue to adhere the sytrofoam to the inside of the pot. Use additional glue to adhere the cactus to the top of the styrofoam. You can fill the pot around the styrofoam with aquarium rock or even glue some rocks around the base of the cactus to finish “planting” your cactus.
  6. Stick in some of your favorite pins and your cactus pincushion is sure to prickle your fancy!
Watch the Latest Tutorial from Missouri Star Quilt Co!

Needing some more help? Download our Free Printable Pattern or Join Missouri Star’s very own Courtenay Hughes as she demonstrates how to create this adorable, quick and easy project on the replay of Missouri Star LIVE!