…a tissue holder for your purse! These are so cute and much easier to make than you think!
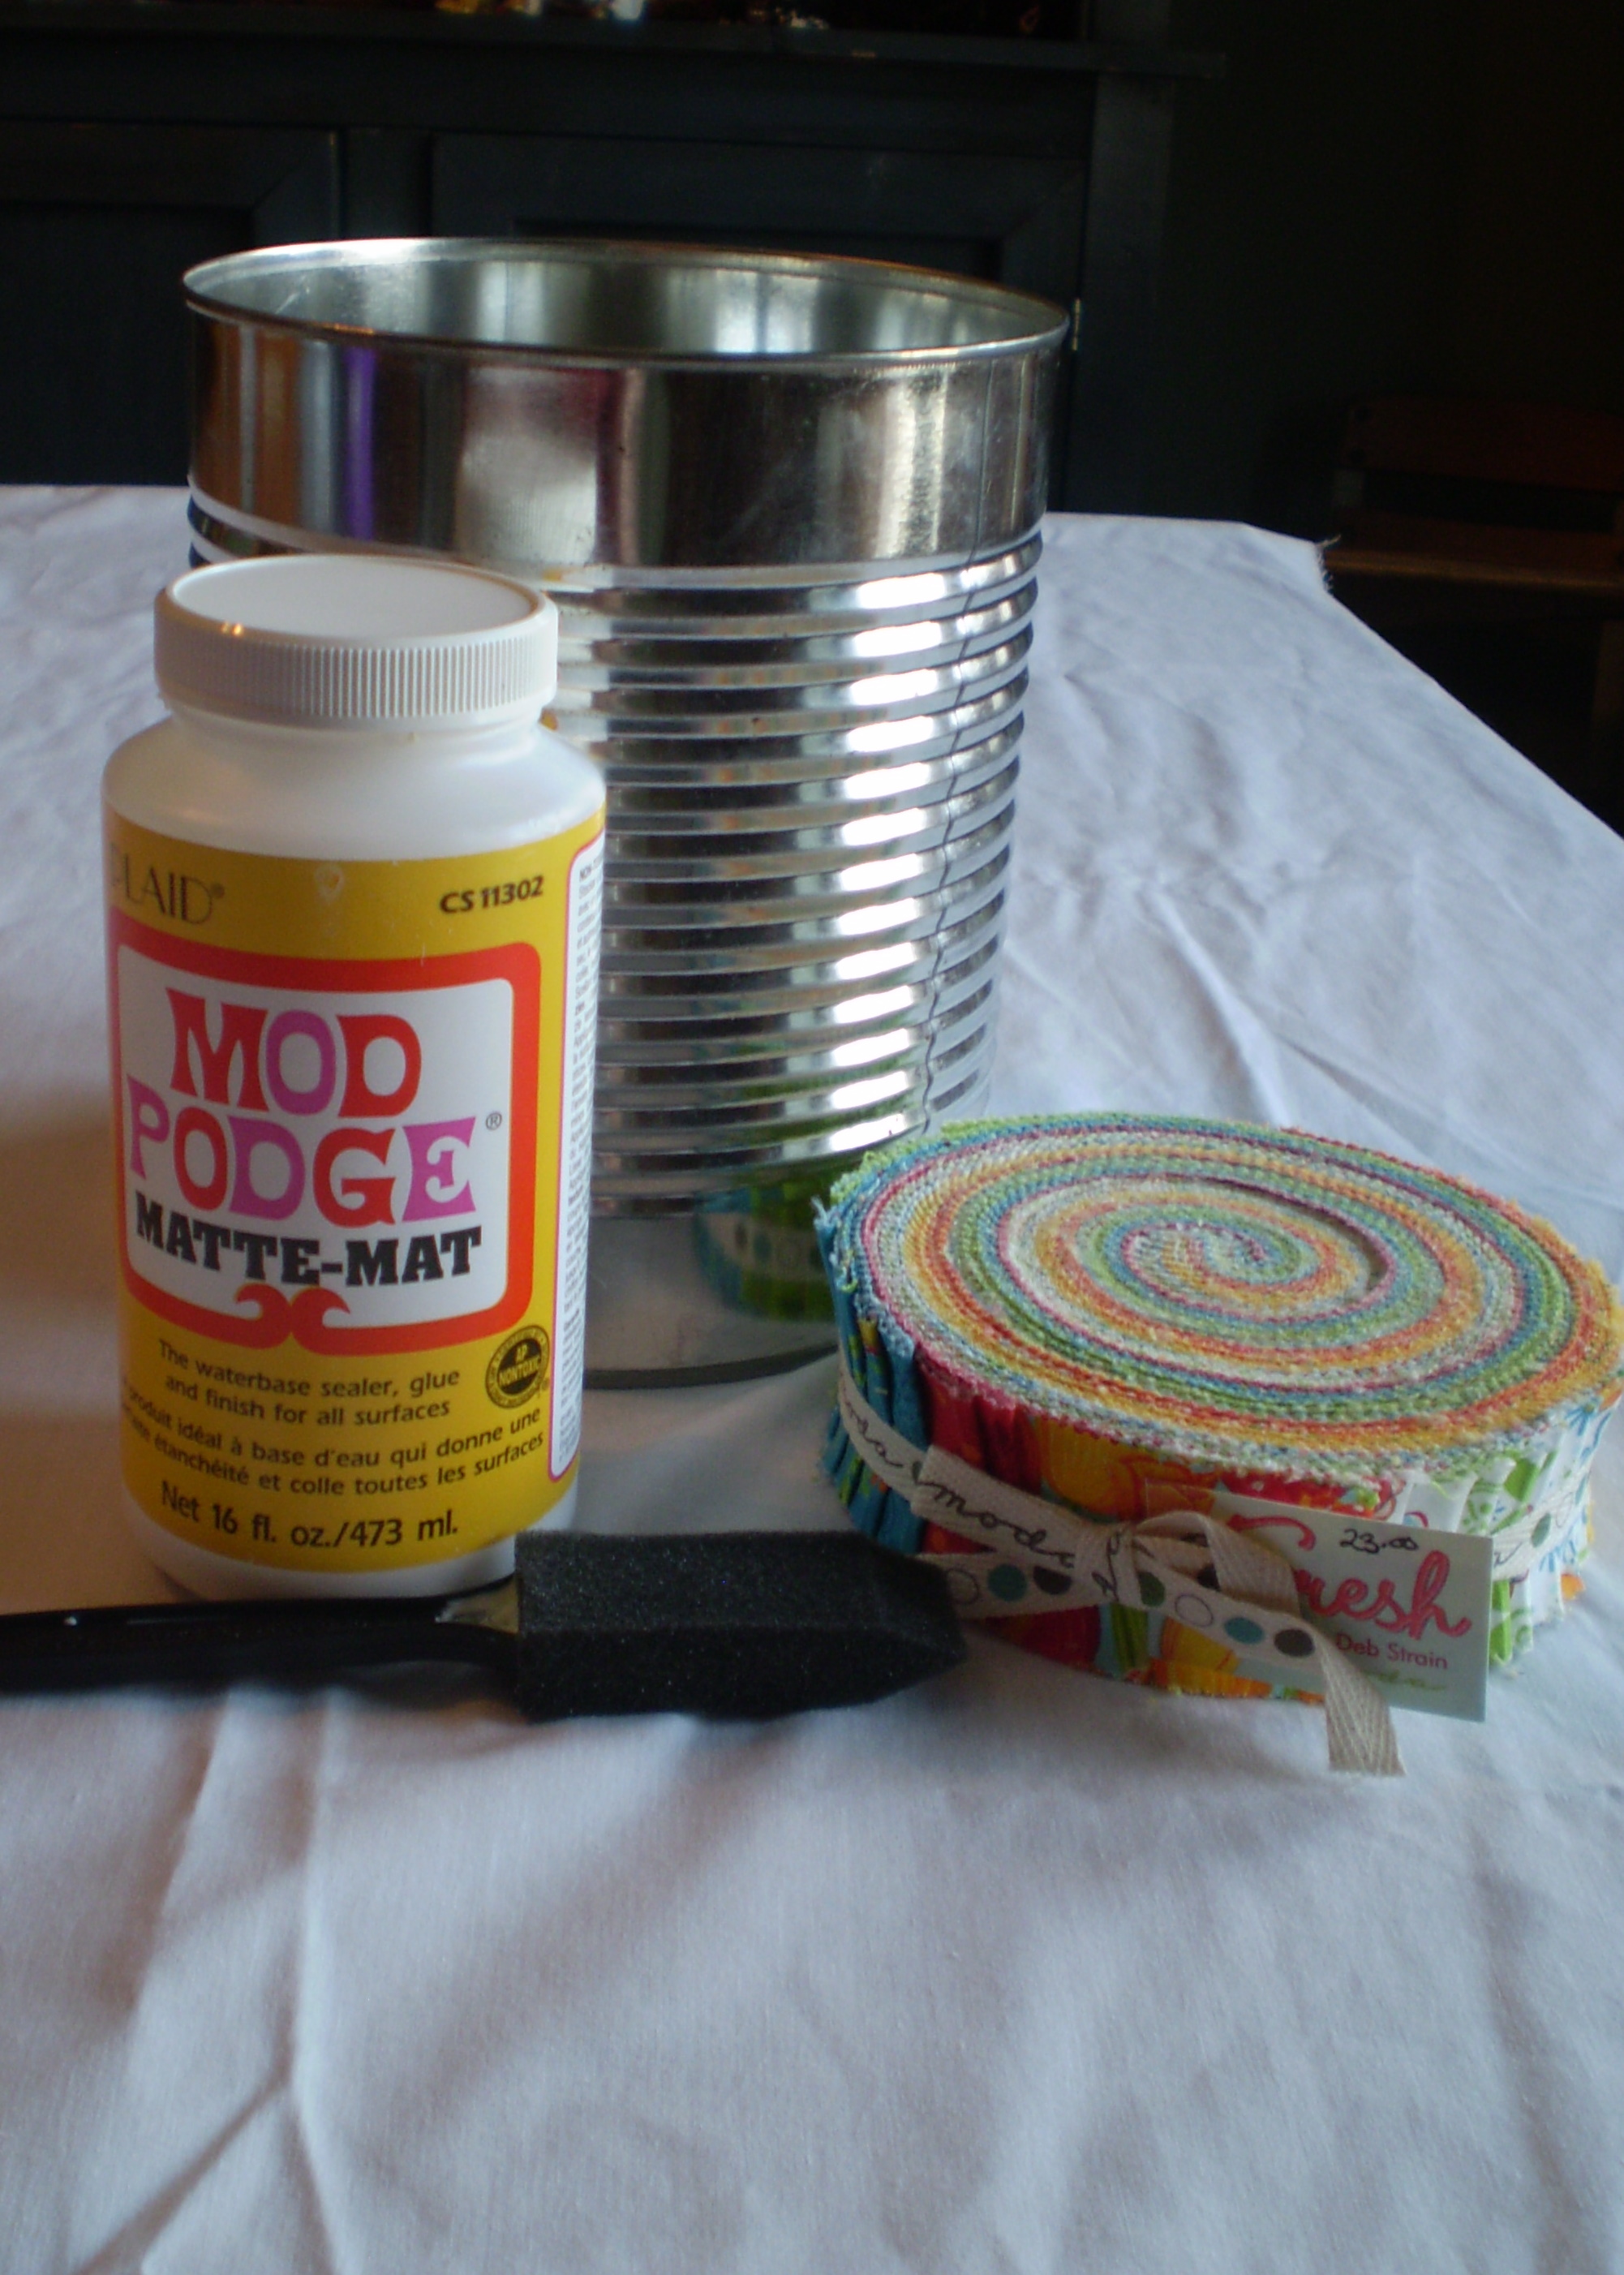
What you’ll need:
1) six strips of fabric from your favorite honey bun
2)a coordinating piece of fabric for the lining that measures 9″ x 6″
First choose six of your favorite strips from your favorite honey bun. I am still using Fresh by Deb Strain. (Just so you know, I will be making all of my projects out of ONE honey bun!)
Line them up until you like the order, then cut them down to 8″.
 Next, sew your strips together. Press your seams to one side. Your six strips should now make a block that measures 7 1/4″ x 6″.
Then measure and cut your lining fabric to 9″ x 6″
Now you will line up your outer(strips)fabric with your liner fabric RIGHT sides together and sew a 1/4″ seam on each of the 6″ sides. It will look a little funny as the lining is larger than your outer fabric. Don’t worry you are doing just fine.  Okay, now flip your fabric right side out and press making sure to center the outer fabric…It will look like this:
See how the lining makes a cool little accent? (love tricks like this)
okay with your lining as the outside turn the sides toward the middle. (Mine measures approx. 1 3/4″ on each side of the center line.) PIN! This one can be slippery!
Stitch the side seams closed. You may want to serge them or zig zag to prevent fraying.
Then you pop it right side out, pushing out those corners, and you are DONE!!!  Is that not the cutest tissue holder that you’ve ever seen?
Yes indeed, it is that simple…Easily done in under an hour! This one would make a great gift for just about anyone on your list, as most of us will eventually need a Kleenex! Fill er up and toss it into your purse! Your ready for whatever comes your way! (please excuse the horrific lighting…I just wanted to show it filled with lovely Kleenex!) Oh, and check back in a few days to see what I’ve come up with next!
Have a lovely day!