

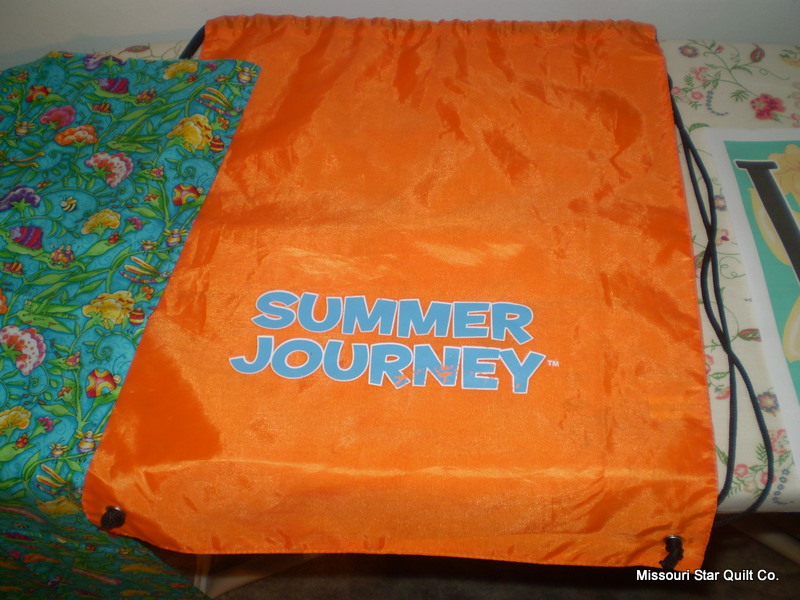

My kids got these great lightweight backpacks for free from their summer school program. They are not very attractive though, and every other kid at school will be carrying the same backpack! So, I thought it would be fun to try some embellishments!For the first one, I tried adding a monogram. I just found a cute letter on the computer. Enlarged it to the full sheet size (8 1/2 X 11″) Then I printed it. Most printers have the option to print in reverse. It is smart to go ahead and print your letter in reverse so that you can trace it easily onto the back of your fabric. This way when you flip your letter over it will be facing the right direction! Then trace your letter onto some iron on backing…
 I also took a 12″ square of fabric and ironed it down. Then I added her letter H, and a cute little heart (at her request!) Once they were all ironed down, I just satin stitched around the edges and we were done!
")
Free backpack + Stash Fabric+ very easy = One happy kiddo with a backpack like no one else!
Of course, having four of these little freebies, I couldn’t stop with just one! So, I thought about all the little floating blocks I have…you know the one block that didn’t fit into your quilt top. Well, I thought this would be so cute to dress up with some left over blocks…Just like before, take your block and iron it to the fusible web. Square it up so your edges are nice and clean. Peel off the back and line it up. Then Press it down!
 Can you see the writing through the white fabric? Well, I can too! and it bothered me so, I added some things! a second block, and a little flower. I did a simple zig zag stitch around the entire thing and I LOVE this one! It turned out even better than I imagined!
 Necessity is the mother of invention right? and don’t we all LOVE a happy accident??!! This will become our new library book bag. So, I don’t have to pay another $5.00 in fines when we go back! 🙂 oops! I was also thinking that this would be a fabulous way to dress up those $1.00 reusable grocery bags that you can get at most grocery stores. Someone once mentioned that they felt weird taking a Walmart grocery bag into a Target. Well, if your bag is all dressed up and you cover the store name with a quilt block, then you are good to go! Take that bag into any store you like with no discomfort whatsoever! Either way, keep your eyes peeled for fun things that can be made over in a jiffy. They are closer and more abundant than you think! Enjoy!

 I find that small to mediums work best. If you want to use larger T-shirts you would either have a very big bag (not a bad thing!) or you would need to cut and sew the side seams. (Confused?) You’ll see in a minute.
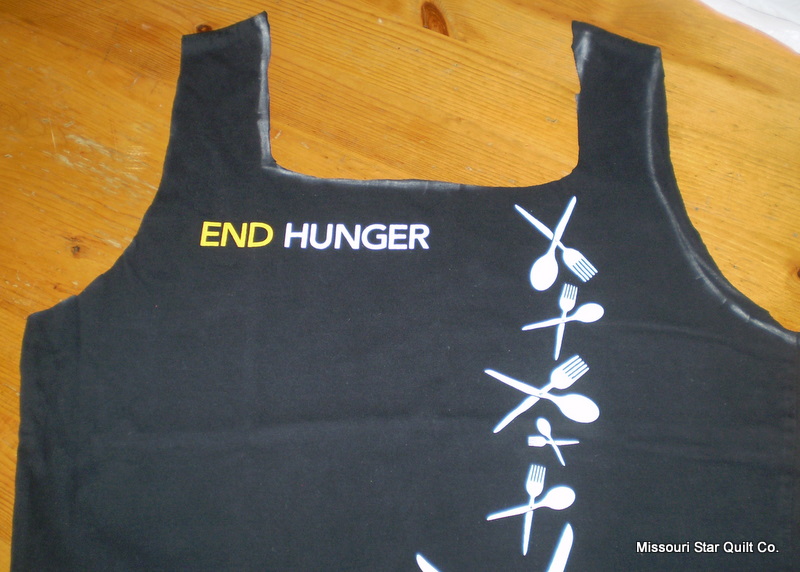
 then lay your template…(any grocery bag will do. Pick one that has a size and shape you like.) on top pf your T-shirt.
 When that is done, cut off the bottom of the shirt. Again I use my walmart bag as a guide but, remember, your bag can be as big or small as you like. When you have decided on a good length, cut it, then turn the shirt inside out, Sew or serge the bottom seam shut.
 (If using a regular sewing machine do a straight stitch and a zig zag to make it nice and sturdy) If desired, you can also sew or serge around the handles.
 ..you will have a little triangle, measure about 1 1/2 inches from the point and place a pin. (do this for both sides) sew a straight seam from pin to pin. You can leave this on or cut it off, its up to you. When you flip your bag right side out, you should have a nice squared bottom to your bag. And, its done! Nice job!
 Here is your finished product!
  You can roll them up and keep them in your purse or under the seat of your car. You can tie them with hemp cord and give them as gifts! They’re great! Have a happy day!