


Hi all! This is Hillary and I’m excited to share a little 4th of July project with you! I love Independence Day! Ever since I was a kid summer time and freedom go hand in hand! I remember sunny Independence days with special programs and fireworks for the whole family! I still make my moms flag cheesecake every year and, of course, decorating is half the fun of any holiday 🙂 Strangely enough I only have a few 4th of July decorations, so, this year I upped the freedom feeling in our house by making a bouquet of primitive flags!
I love them and they’re so easy! To make one of these little freedom flyers you’ll need –
 Muslin – 1 – 6″ x 9″ piece
2 – 1/2″ x 5″ – 6″ long strips
Red Fabric – 4 – 3/4″ x 9″ strips or 1 WOF strip a few inches wide if tearing the fabric (I tore mine instead of cutting for a more primitive look)
Stars on Blue background Fabric – 1 – 3″ x 4″ piece
1 stick – 2 – 4 ft tall
Clear spray paint
Neutral colored embroidery floss or thick thread and a needle with a large enough eye to thread the floss through

1) Start with your sticks I took a wire brush to mine and otherwise scrubbed, rubbed, and flaked off anything I could till everything left was pretty stuck to it. Then I took them into the front yard and sprayed them down with clear spray paint so that anything left would have a coat of sealant on it and it wouldn’t end up all over my floor.
2) Then cut your fabric. You only need one Width of Fabric strip to get your 4 – 9″ pieces and to tear the red strips simply make a couple little snips 3/4″ apart along one edge of the red fabric and pull them apart. It will probably look like it’s tearing crooked but it’s tearing right along the grain, trust me and tear down the fabric on the second snip and you’ll have a strip of fabric 3/4″ wide torn on both edges. Easy and done!

There will probably be lots of hanging strings from the sides just pull them off and toss them. Iron the edges flat and trim off 4 – 9″ long sections. You should be able to get 5 pieces from each strip. Just set aside the 5th one you can use it for extra flags later!
 3) It’s time to put your flag together. Pin your red stripes to the 6″ x 9″ Muslin rectangle. Using the floss and a big running stitch sew down the center of each stripe. My stitches have approximately 1/4″ – 3/8″ showing and in between. So, Big!
 Use basic knots on the back of the flag to start and end each row.

4) After the stripes are attached, line up your stars fabric in the corner and stitch it down in the same manner,  only this time you sew all around the edge.
 5) Make 2 small cuts in the top corner of the blue stars and in the muslin between the bottom two red stripes. Thread your muslin strips half way through.
 6) Last step is to tea dye them! OK I didn’t actually use tea. All I had was peppermint and I didn’t know if that would work or how long it would take because it’s not as strong as a standard tea. (I think. really I just didn’t know) So after browsing the Internet I found that Tan Rit dye is another good option to achieve the same affect. I didn’t follow the box instructions so I’ll tell you what I did just in case it helps you.
I filled the bottom of my clean sink with super hot tap water. Only a couple inches deep. Then I poured in half the bottle of dye and maybe half a cup of salt. This is a stronger solution than they suggest for dying things, but I didn’t want to end up with a solid tan color so I made it strong. 🙂
Then I wet the flags with hot water and wadded them up before putting them in the dye. The wadded material helped give it a mottled color when they came out. I didn’t have to leave them in long. The darkest flags were in just over a minute and the lightest were just under a minute.
Take them out of the dye. Rinse them and dry them.
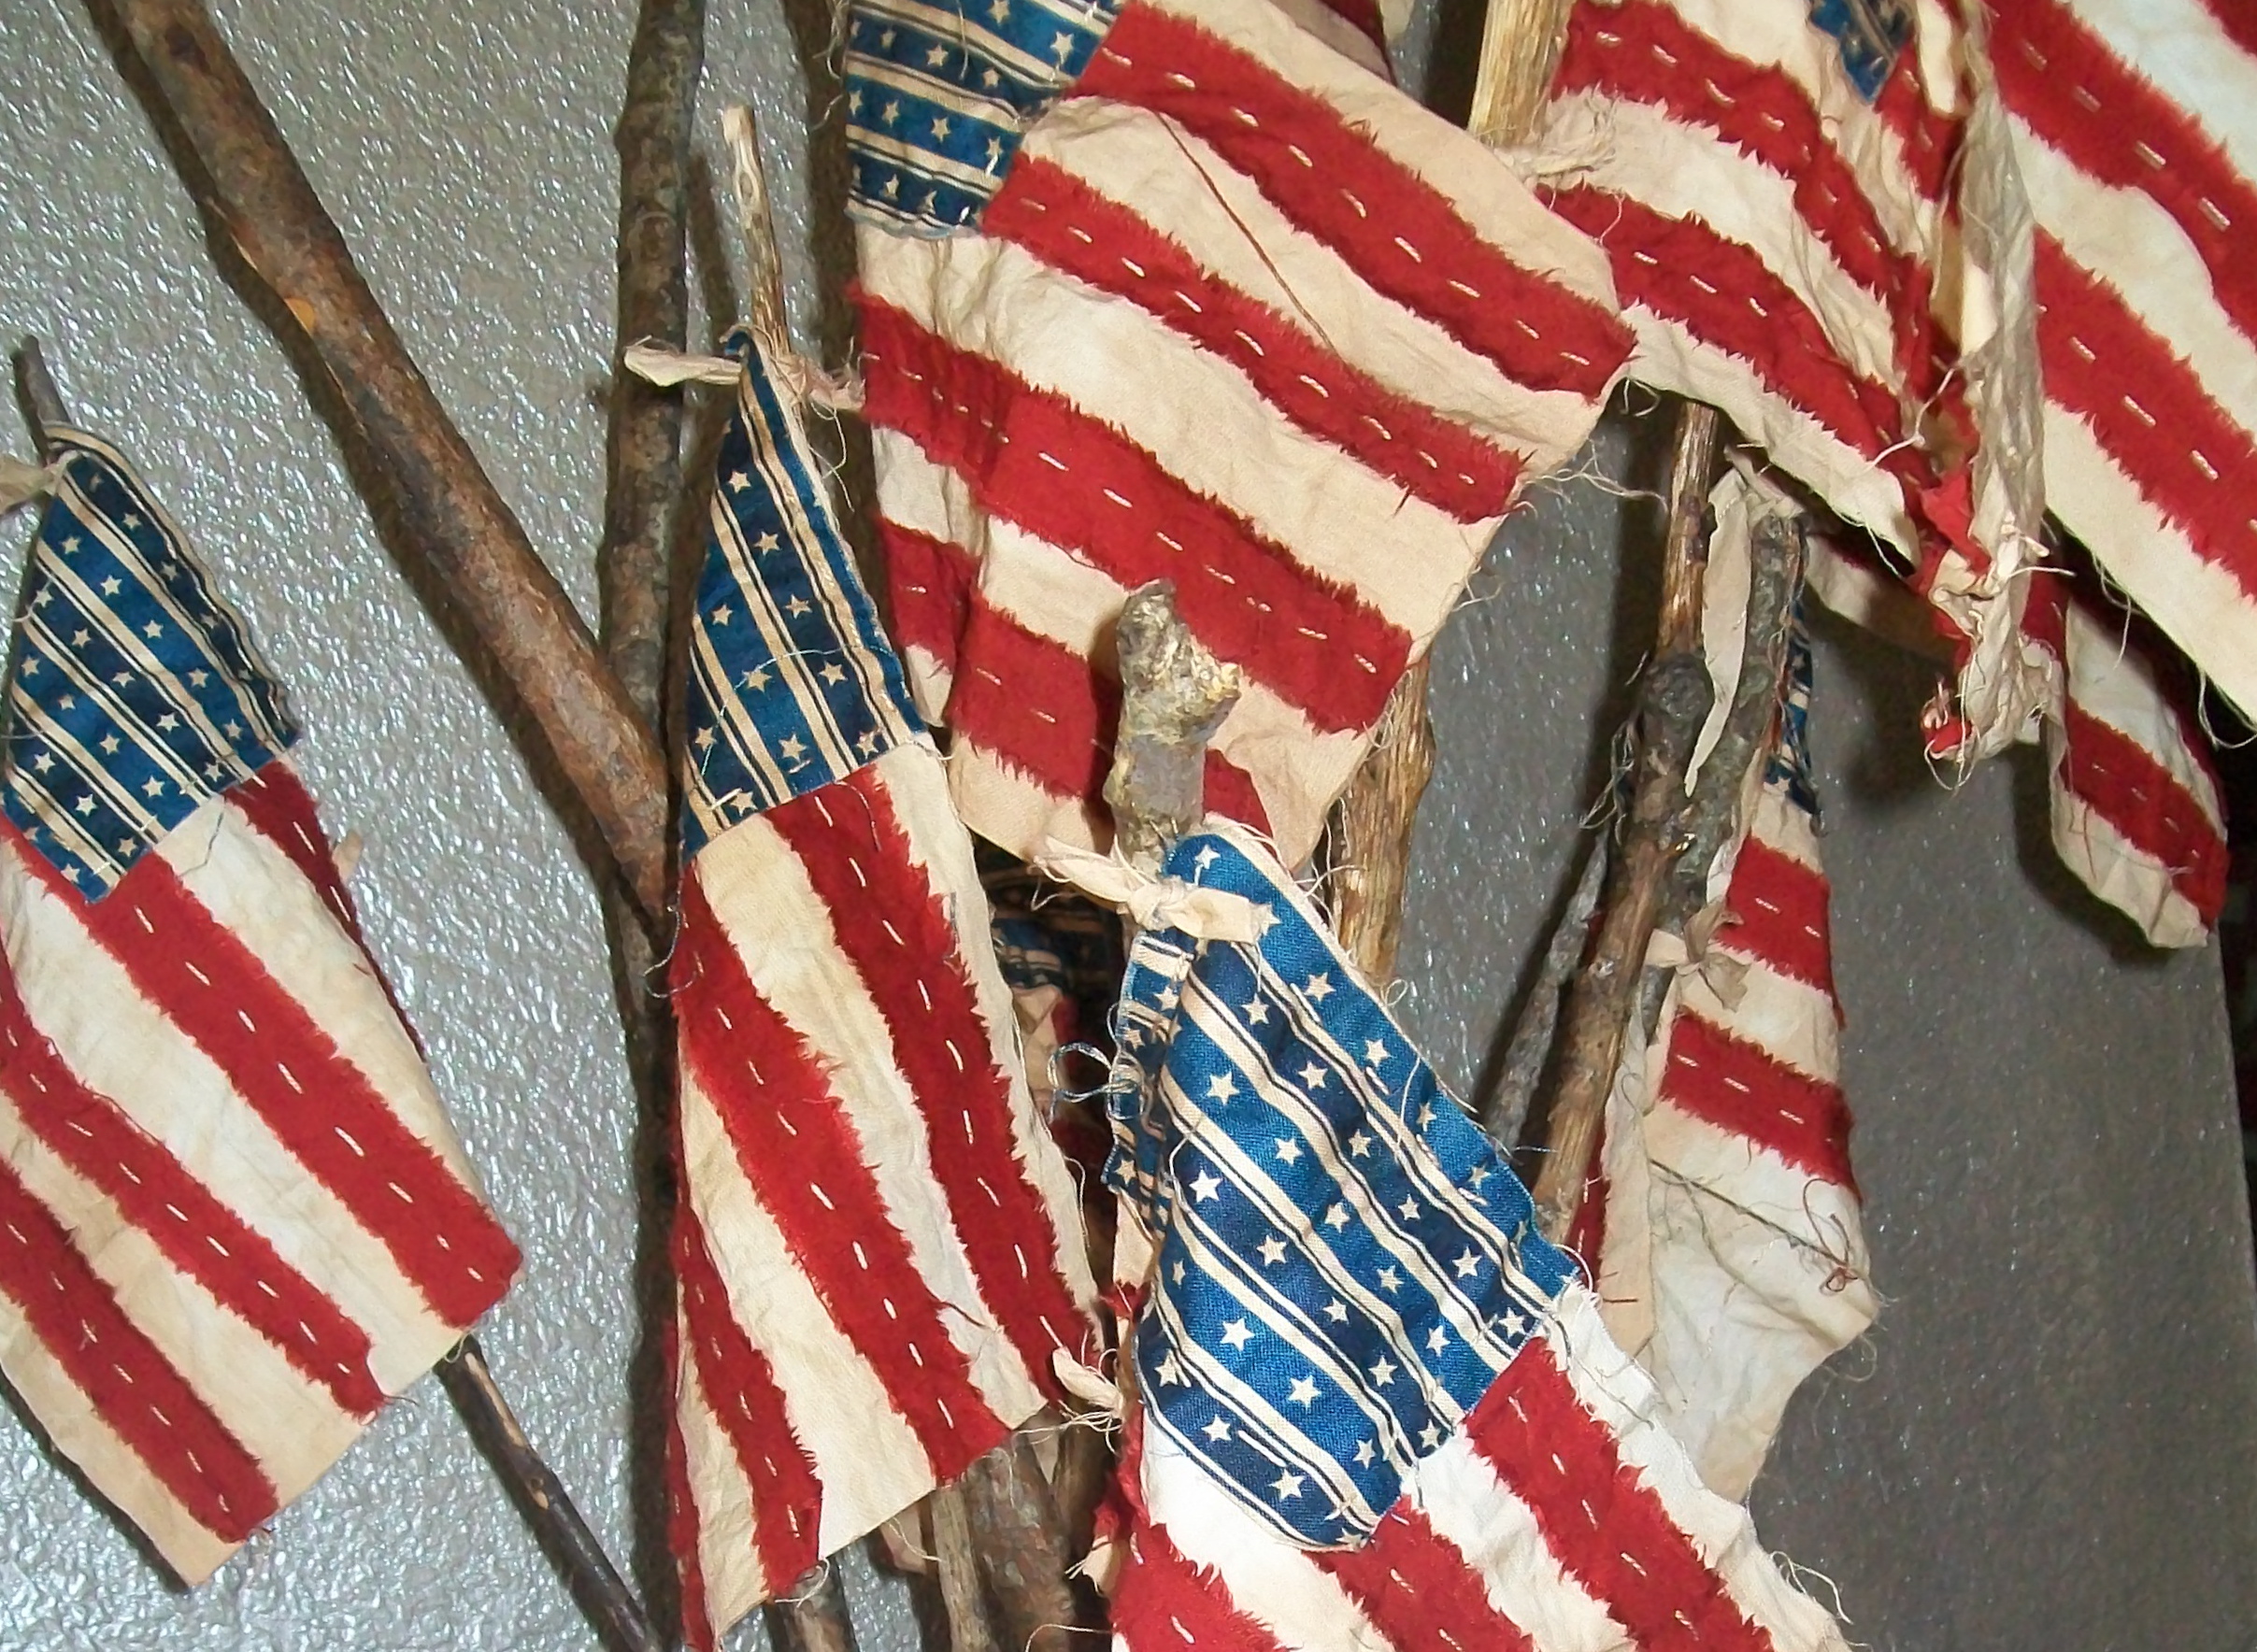
 7) Last step tie them to a stick using the little muslin strips. That’s it!
I love this! Such a simple project and several together make a big impact! Happy 4th of July!
Hillary from the Missouri Star Quilt Company