So do you or someone you love have a thing for Pirates!!?!? If so, you have probably been looking EVERYWHERE for some adorable Pirate fabric, only to come up short. I know, because I have been searching everywhere! Well, Ladies and Gentlemen…It is here! Riley Blake has done it for us! With help of course from the amazing designer, Emily Taylor! {her blog here, go and tell her we said hi}
I know that the picture I posted might scare you, but have no fear. Our shop has not been taken over by mean pirates. No money grubbers and thievery going on, It’s just crazy Jenny dressing up for the occasion! (once a costumer always a costumer. Or is it, once a fun Mom always a fun one? I think both of those fit her)
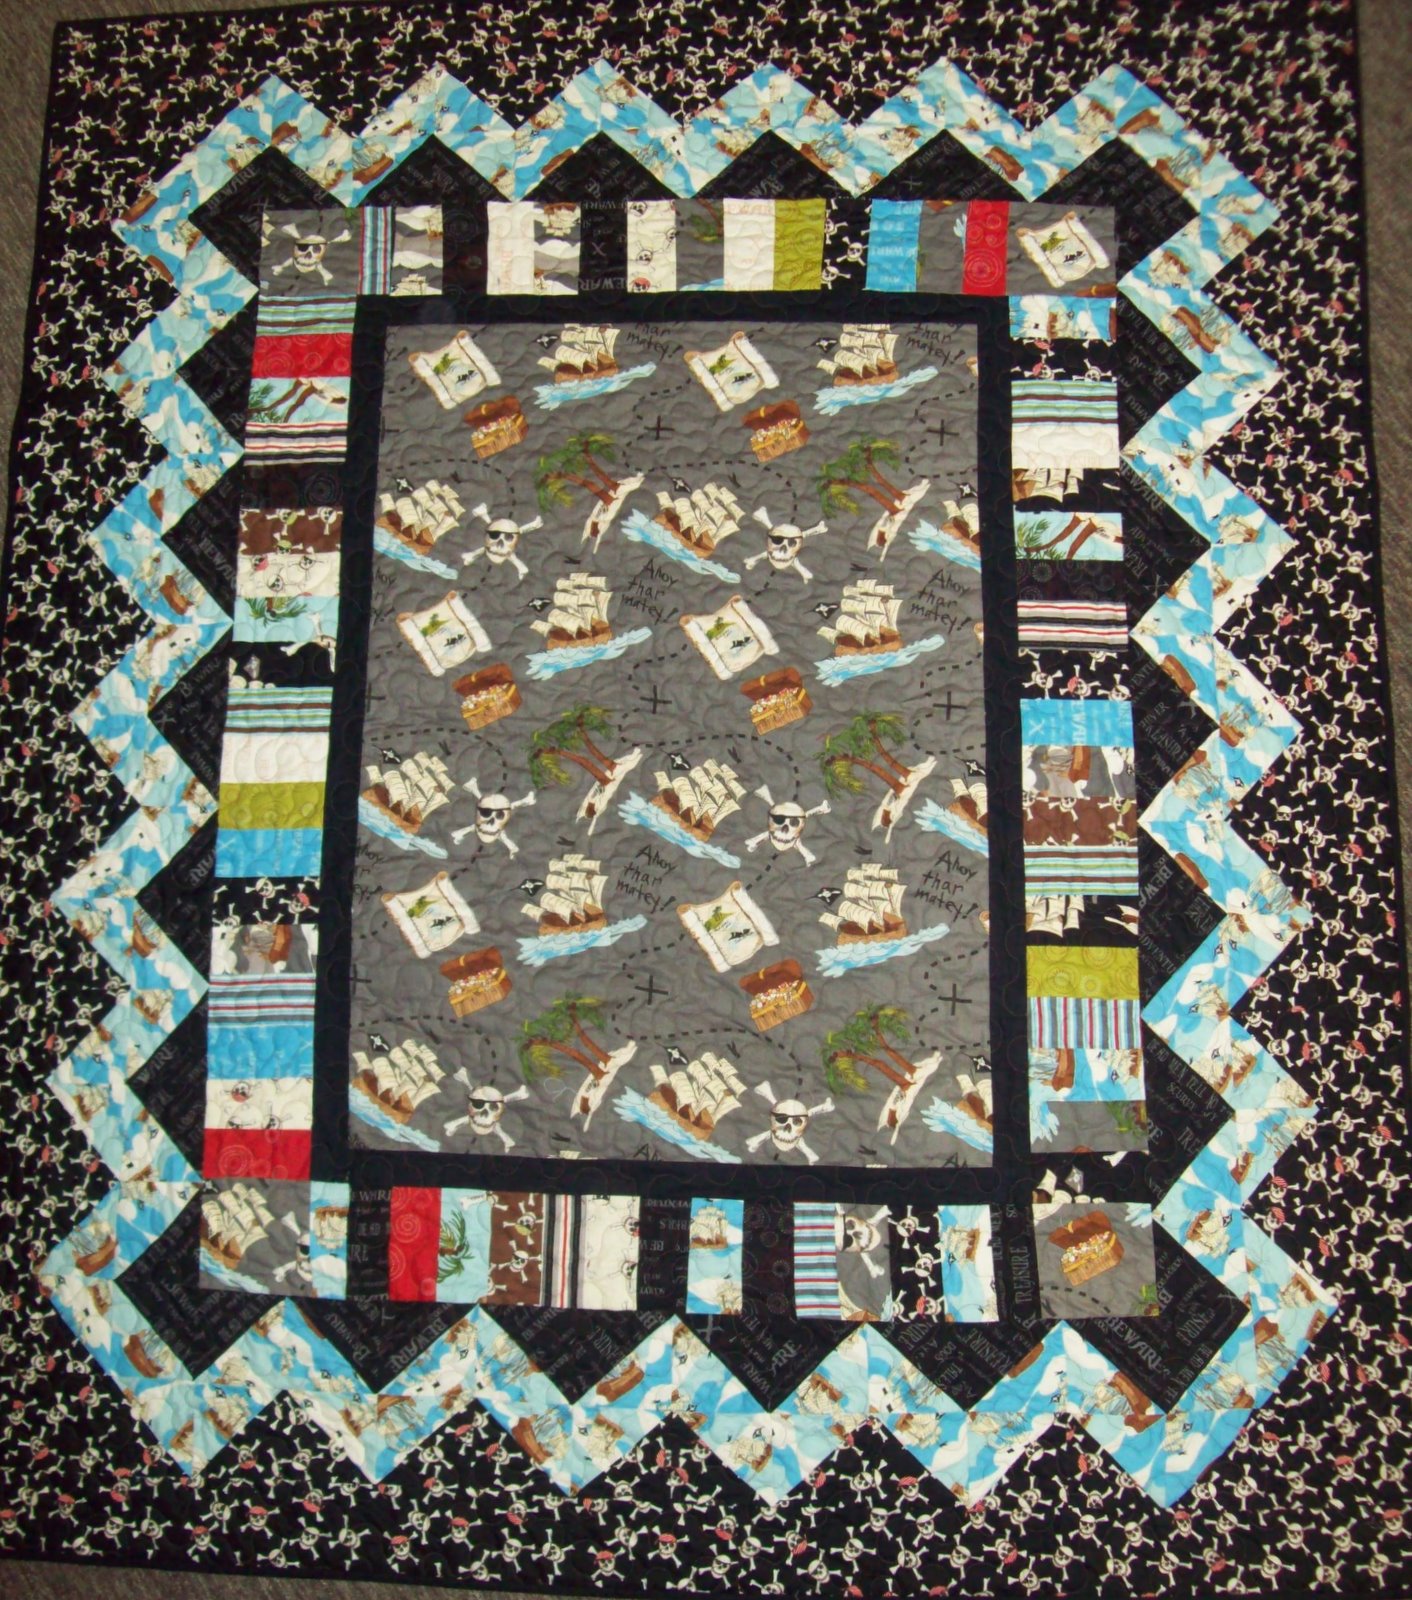
Anyway here is the quilt {without any distraction}

If you want-need-just have to make one yourself, here is how you do it!
You will need:
3/4 yards of Black fabric {we used Bella solid Black 9900-99} for inner border and binding
1 yard of Map Fabric {main center panel}
1.5 yards of the Skull fabric
1 yard of the Blue Boat Fabric
1/2 yard of the Pirate word fabric
Directions:
Take the one yard of the {map fabric} and cut it down to 25″X 36″
Out of the leftover fabric, fussy cut 4- 5 inch square pieces
Then, with the Black fabric cut 4- 2inch strips and border the main fabric.
Take one charm pack and cut it in half. {2.5 inch rectangles} Sew together on the long side, making coin strips. Attach the coin strips to the quilt, using the fussy cut blocks in the corners.
For the zig-zag border cut 12 squares {of each fabric. Skulls and words} 6.5 inches X 6.5 inches
Then cut 24- 6.5 inch squares out of the Blue Boat fabric.
TO make the half square triangles, pair the skull and black fabric with a blue boat fabric. Sew all around each square {like we do the pinwheels} matching up the squares and cutting them both ways diagonally, to make half square triangles.
Put them together, alternating to make the zig-zag design for the border. {refer back to the picture if needed}
Now, you are almost done!! For the last border {the outer border} cut 8- 4.5 inch strips of the Skull fabric and attach to quilt!
And you are DONE! Easy- peasy! All you need now is some backing fabric! {4 yds}
Finished Size: 59 X 67
Have a wonderful-happy-exciting day!
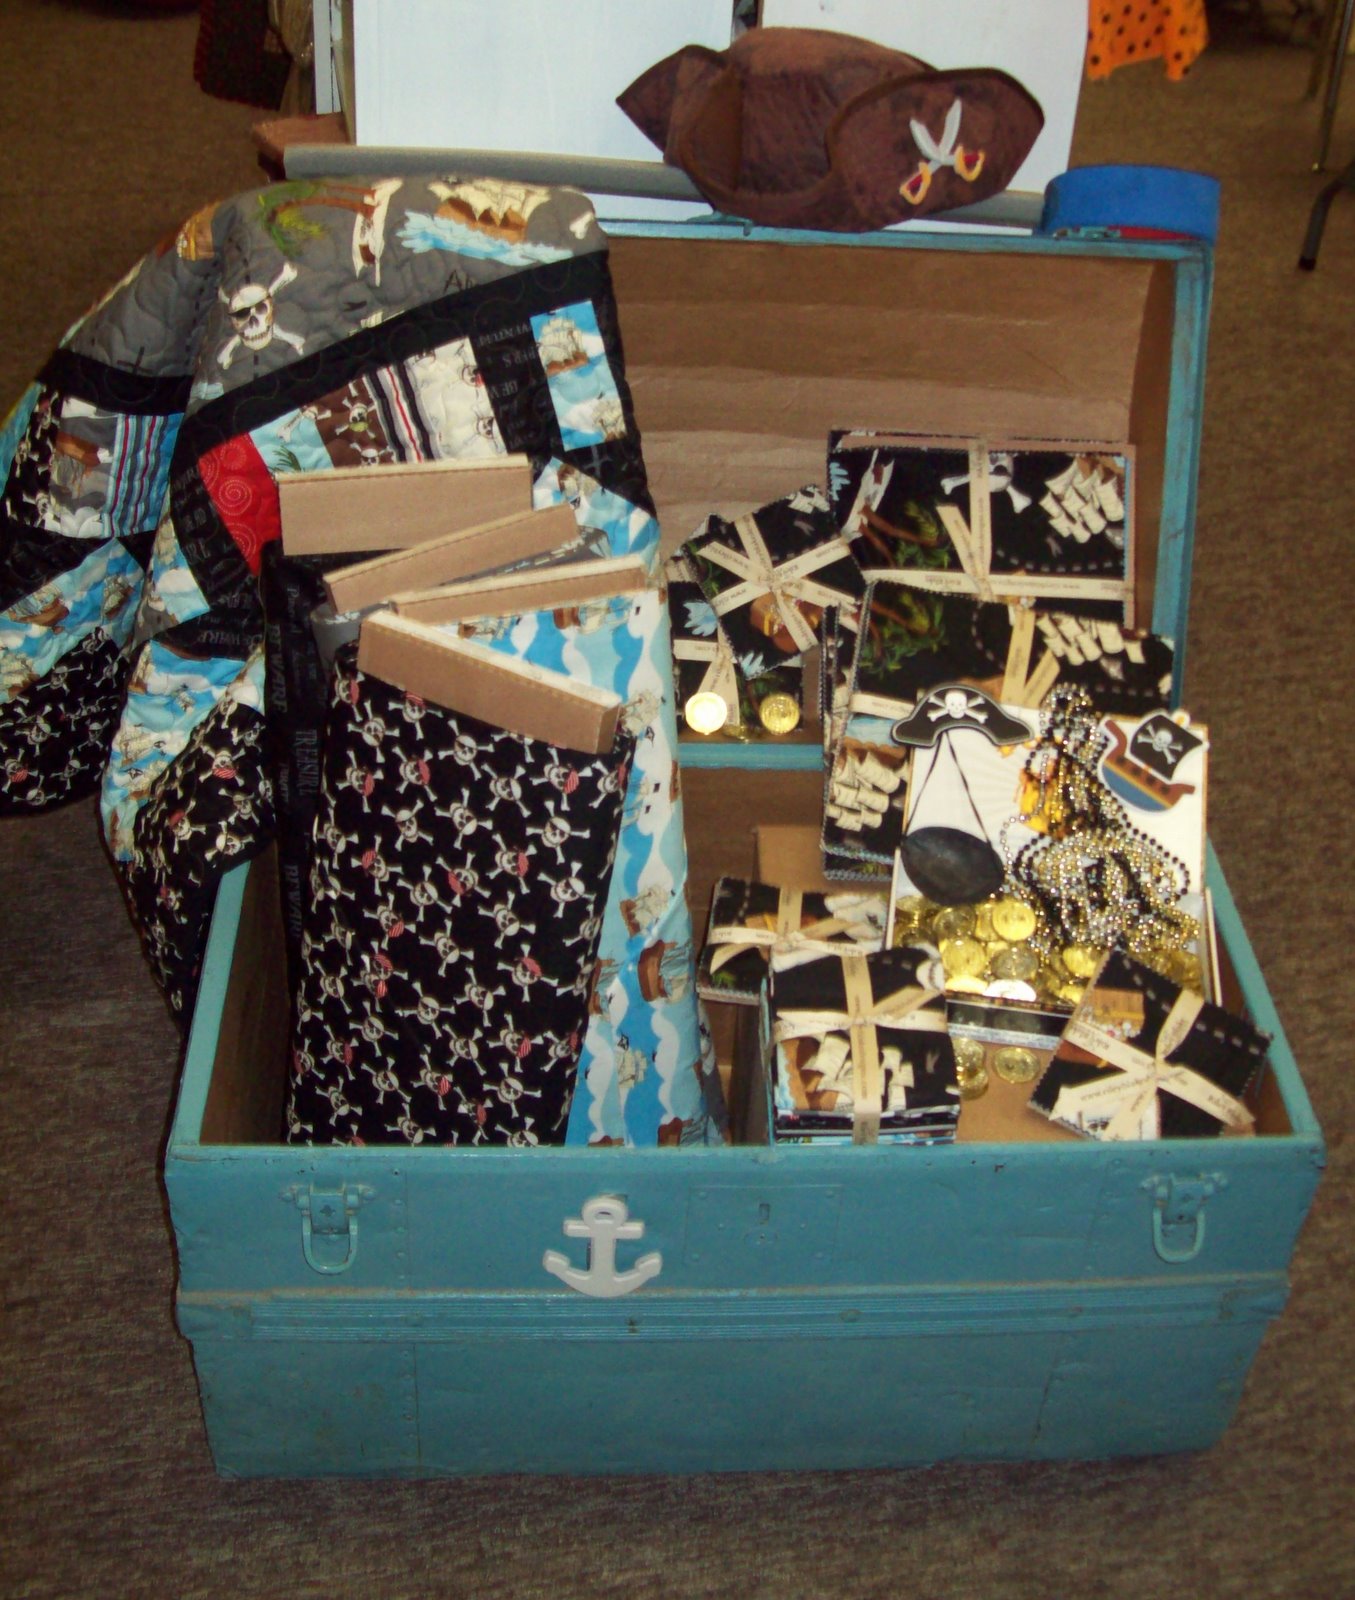
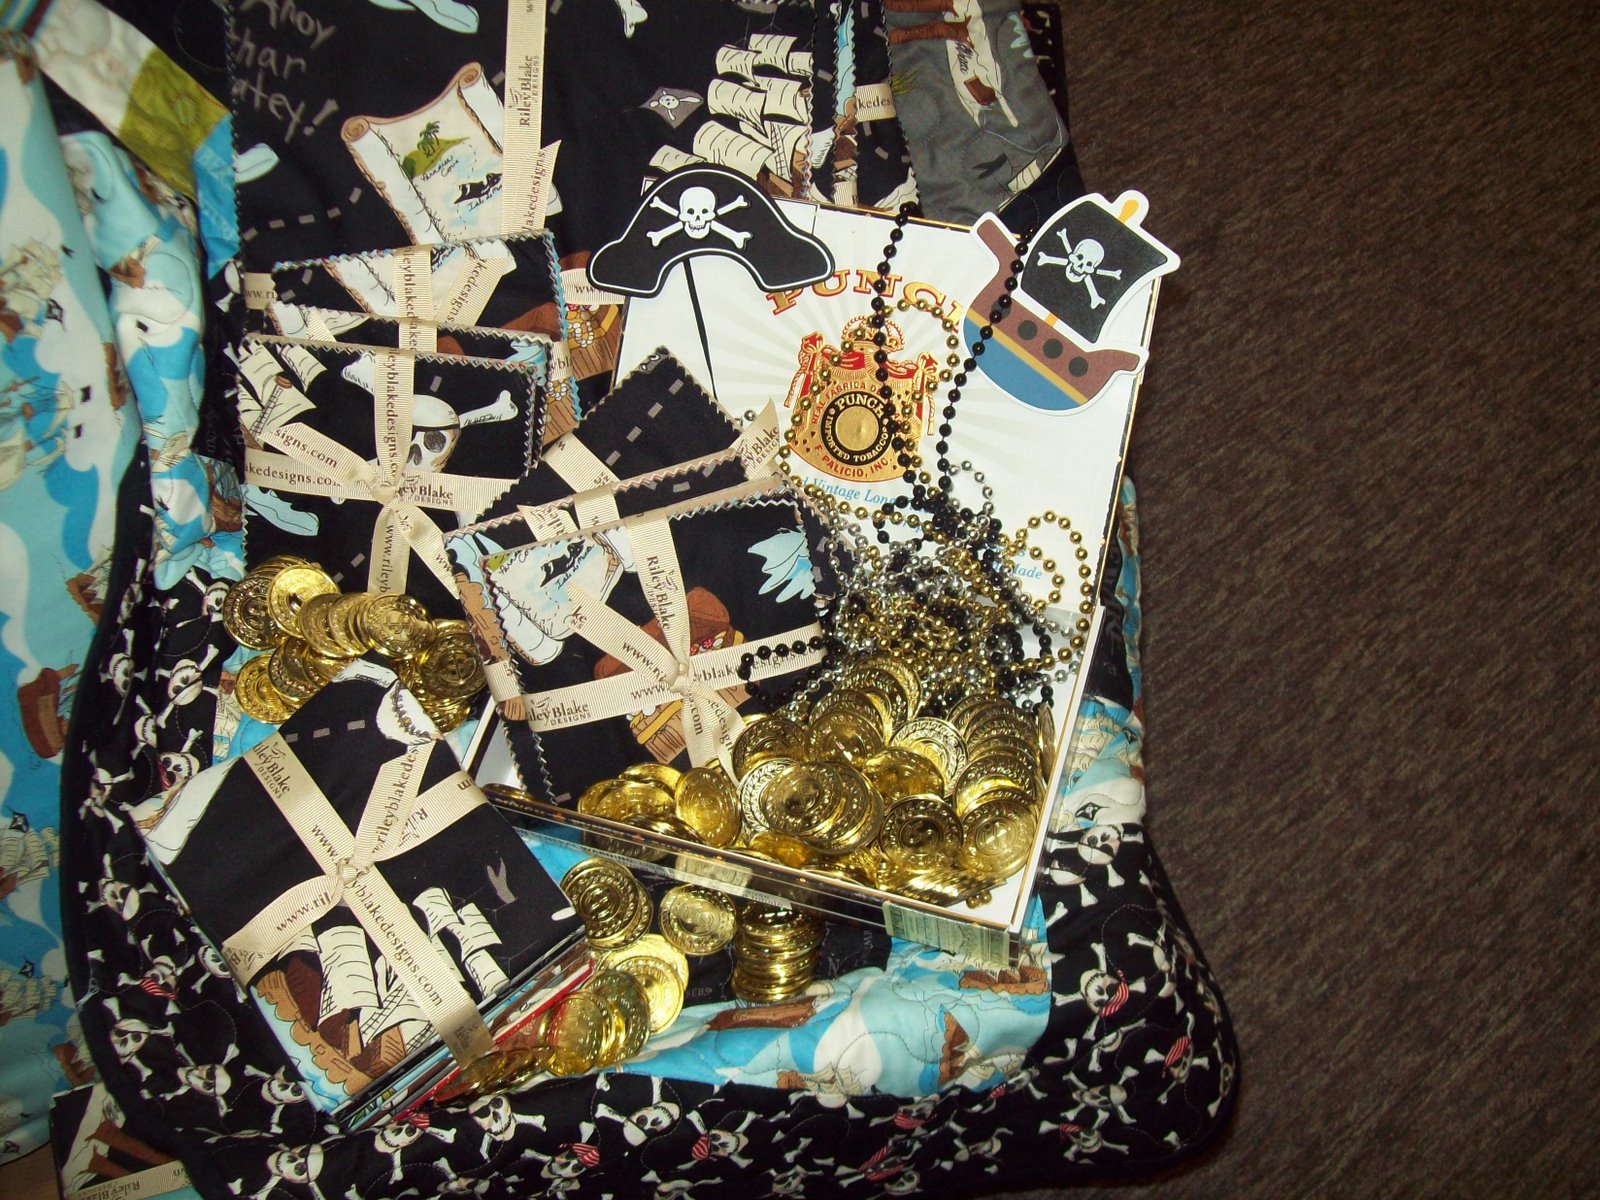
Here’s some cute shots of our display in the Shop!