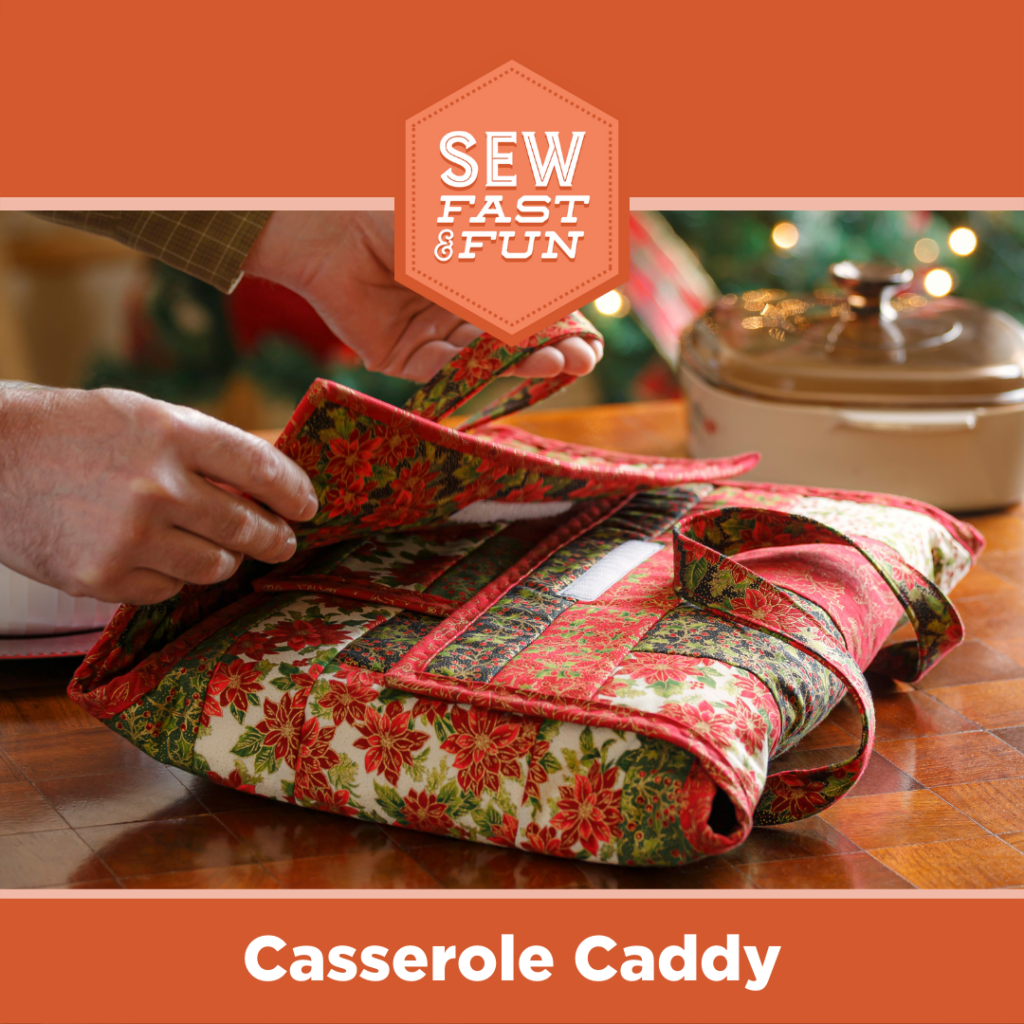
The holidays are coming and it’s time to show off your new found sewing skills at all your family gatherings! If you’re anything like us, your Christmas list is filled with handmade holiday projects that you may or may not have started (don’t panic just yet, there’s still plenty of time). Instead of trying to squeeze in a quilt for each and every person close to you, consider a small yet functional project like the Casserole Caddy that will not only be a beautiful handmade gift, but a handy accessory that will be used for years to come!
This quilt as you go project comes together before you know it using no more than just a little scrap yardage and some products which you most likely already have in your sewing room. Need it before the holidays? No worries! Pick up The Casserole Caddy Quilt as you Go Kit by June Tailor Company to make this project easy to finish in a hurry, too!
Not your style? We’ve got you covered there as well! Flex your creativity and create this gorgeous kitchen accessory with some circle magic! Get the full pattern and instructions to stitch up a Circle Magic Casserole Cozy that’s just as darling and creative as the original Casserole Caddy! This is a great project to practice your circular quilting (we promise it’s not that difficult)! Be sure to check out Courtenay’s full tutorial on the Casserole Caddy below for even more guided instruction to help make your holidays handmade!
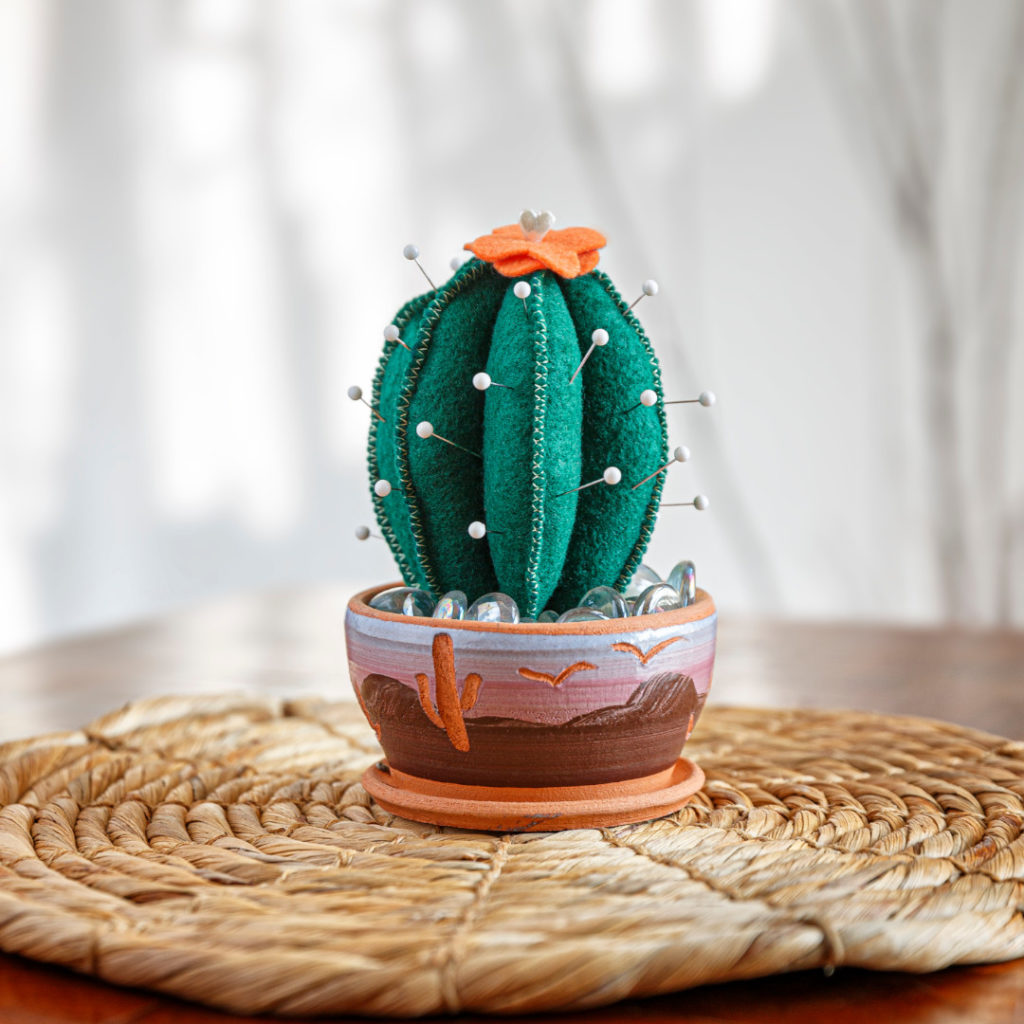
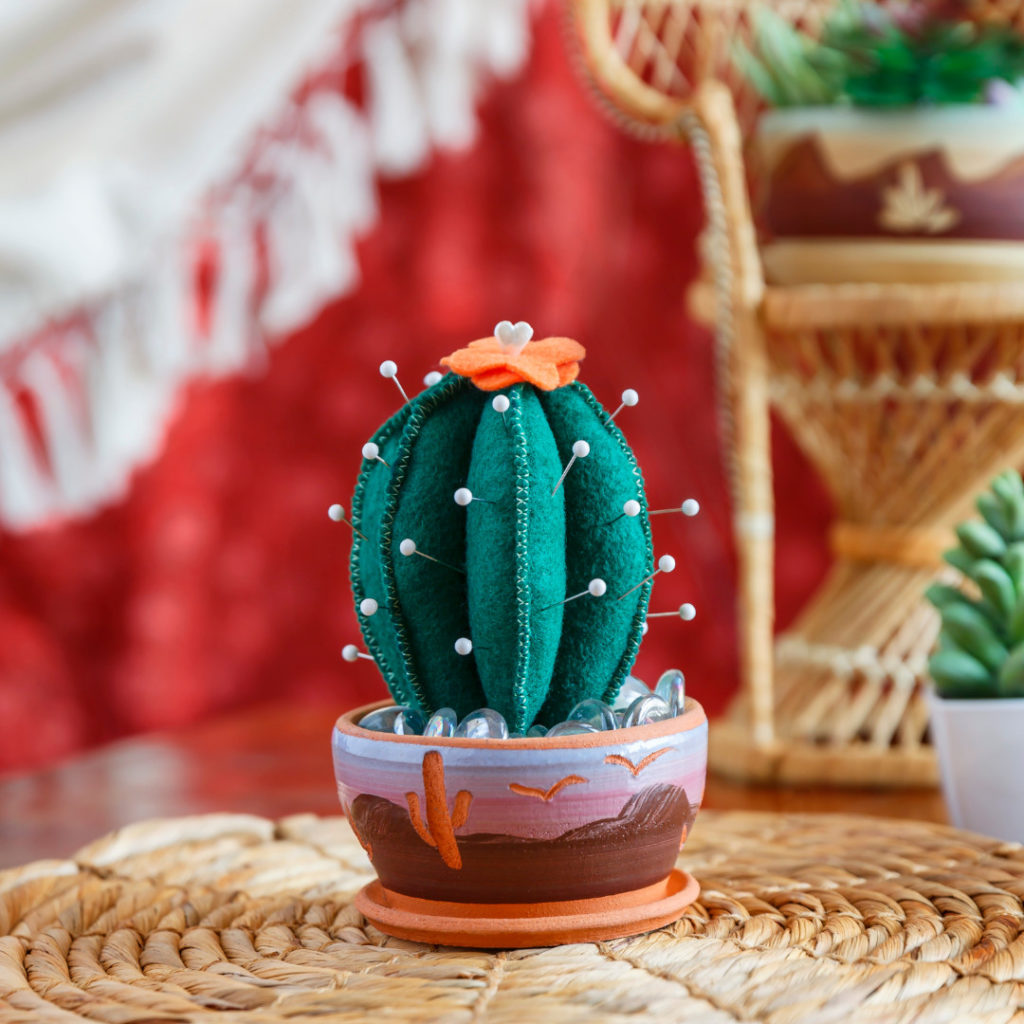
The Cactus Pincushion from Missouri Star Live displayed in a terracotta pot.
Long gone are the days of your grandmother’s red tomato pincushion! In the latest installment of Missouri Star LIVE, Courtenay demonstrates how to make a unique cactus shaped pincushion that will not only add a modern elegance to your sewing room, but will keep all of your pins safely tucked away for future use. Whether you’re “planting” your cactus pincushion in a traditional terracotta pot, or celebrating your love for Missouri Star by using a Thimble Container, this handy project is a must-have addition to your sewing studio.
Cut out the paper cactus blossom template. Use the template to trace and cut 2 cactus blossoms from the accent felt scrap. Set these aside for the moment.
Hint: Because you are sewing through layers of felt, you may need to change your needle to a larger size and sew slowly to ensure even stitching.
Lay 1 petal shape atop another, right sides out. Using a medium zigzag stitch, sew around the curved edges, leaving the bottom edge open. Repeat with pairs of the remaining petal shapes to make 3 units.
On only 1 of the sewn units, measure 1¾” from the widest point of the curved edges and mark a vertical center line.
Stack the 3 sewn units, aligning the edges, with the marked unit on top. Use Wonder Clips, binder clips, or pin as needed to hold the stack together. Sew the 3 units together along the marked center line, backstitching at the beginning and end.
Pin a fabric flower to the top of your Cactus Pincushion for a beautiful final touch.
FINISHING
Stuff each of the 6 tubes you just created with fiberfill.
Hint: The eraser end of a pencil or small dowel comes in handy to stuff the skinny tubes (Don’t forget you may find a wooden rod in your Poly-fil bag!).
Lay 1 cactus blossom atop the other at a 45° angle so that the ends of all 8 petals are visible.
Sew the blossoms together by hand, slightly gathering the top petals so they have 3 dimensions.
Sew the cactus blossom to the top of the cactus.
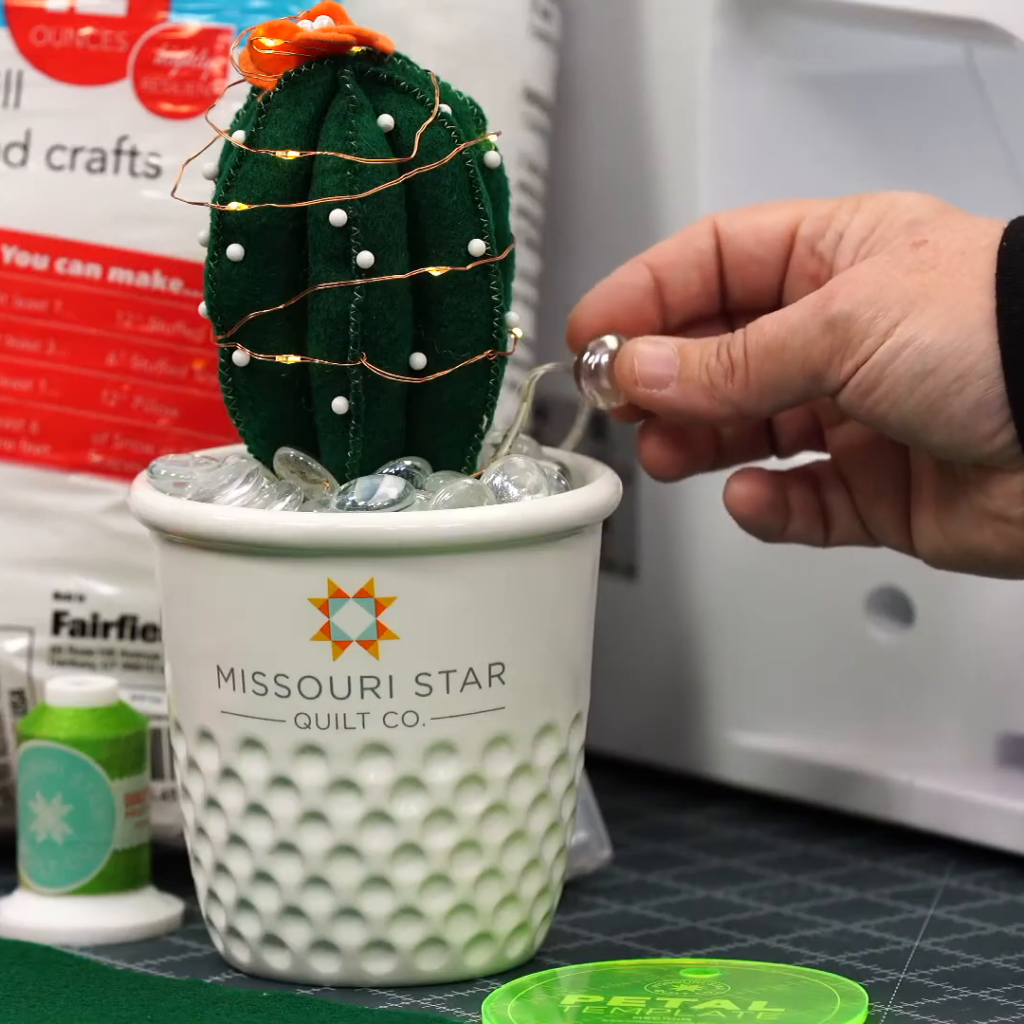
Cut the styrofoam cube as needed to fit inside the thimble container. Use the glue to adhere the sytrofoam to the inside of the pot. Use additional glue to adhere the cactus to the top of the styrofoam. You can fill the pot around the styrofoam with aquarium rock or even glue some rocks around the base of the cactus to finish “planting” your cactus.
Stick in some of your favorite pins and your cactus pincushion is sure to prickle your fancy!
Needing some more help? Download our Free Printable Pattern or Join Missouri Star’s very own Courtenay Hughes as she demonstrates how to create this adorable, quick and easy project on the replay of Missouri Star LIVE!
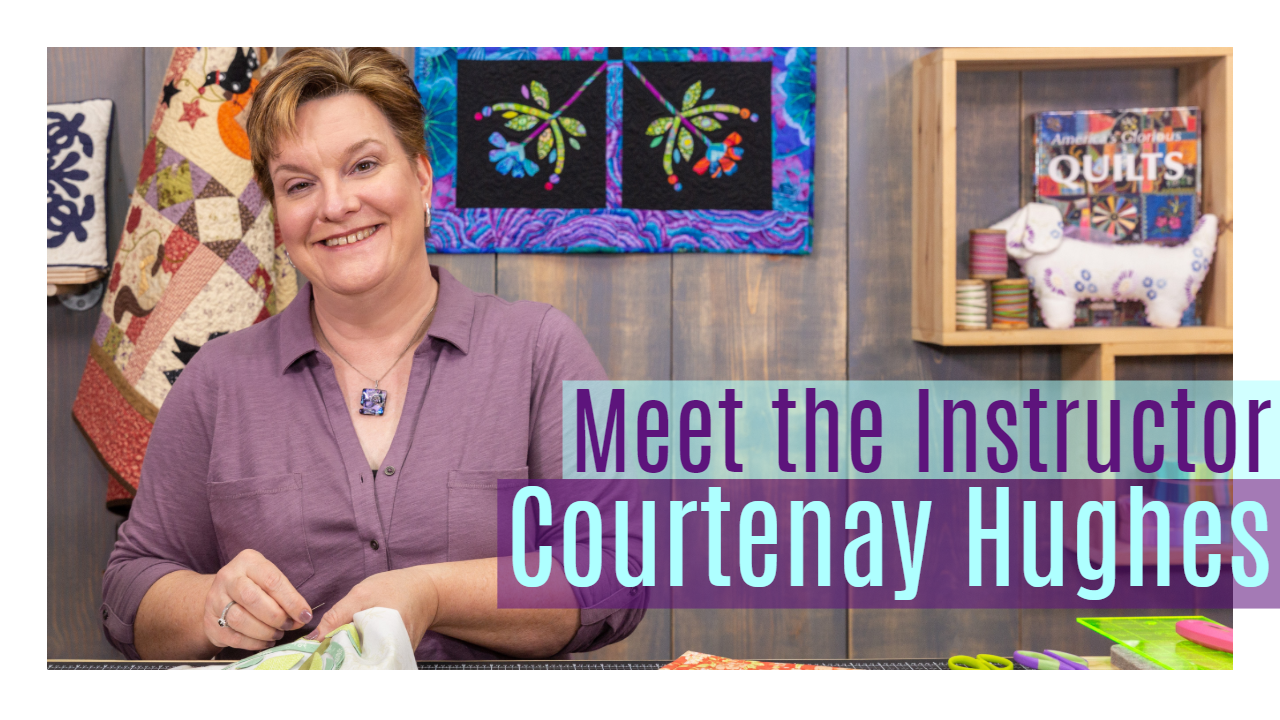
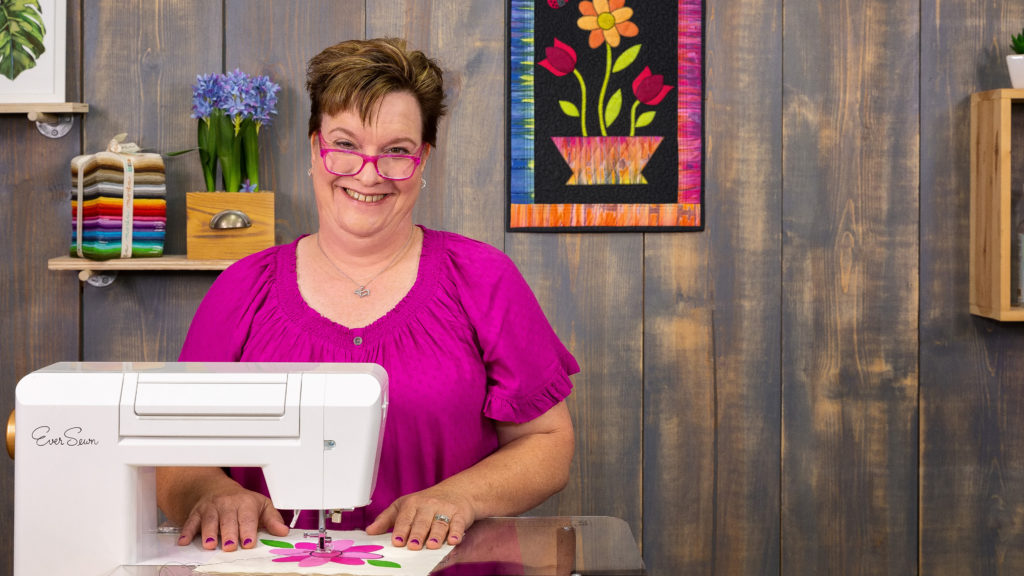
Courtenay Hughes is one of our talented instructors here at Missouri Star. As part of our education team, Courtenay teaches quilting, embroidery, and appliqué classes through Missouri Star Academy. This includes our online courses, in-town classes, and some of our free tutorials!
“I want to say I LOVE her teaching style! She is so funny, and I felt like I was spending an afternoon with a good friend. I really enjoyed this video.”
– Customer Review
Courtenay’s Creations
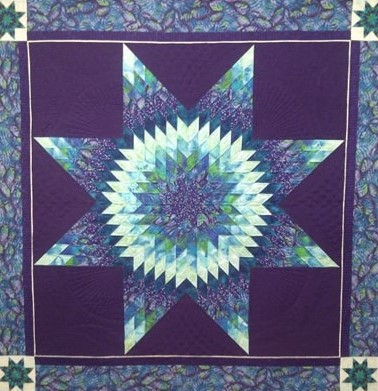
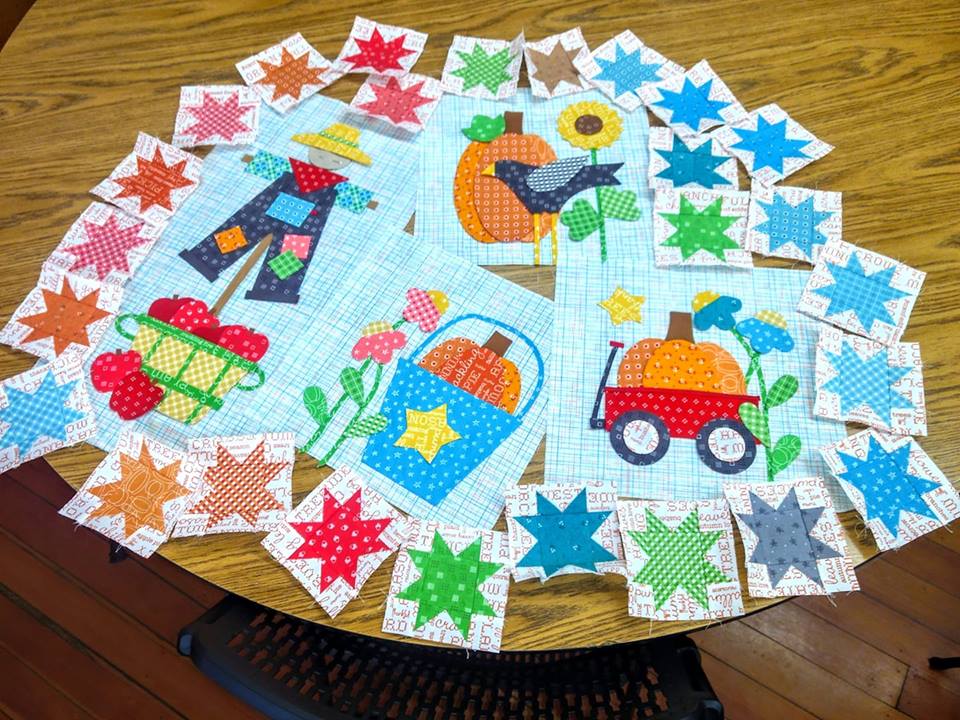
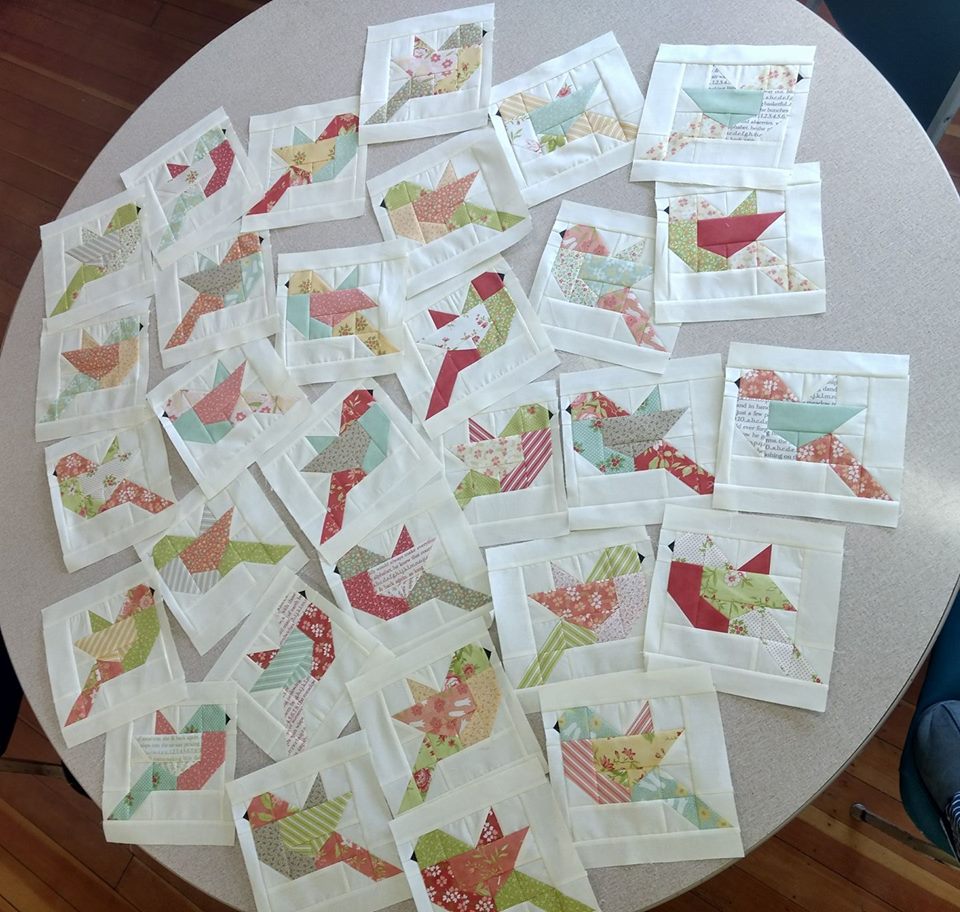
This quilting diva has been a wonderful component to our education team and you can see why! Her gorgeous projects continue to inspire all of us makers!
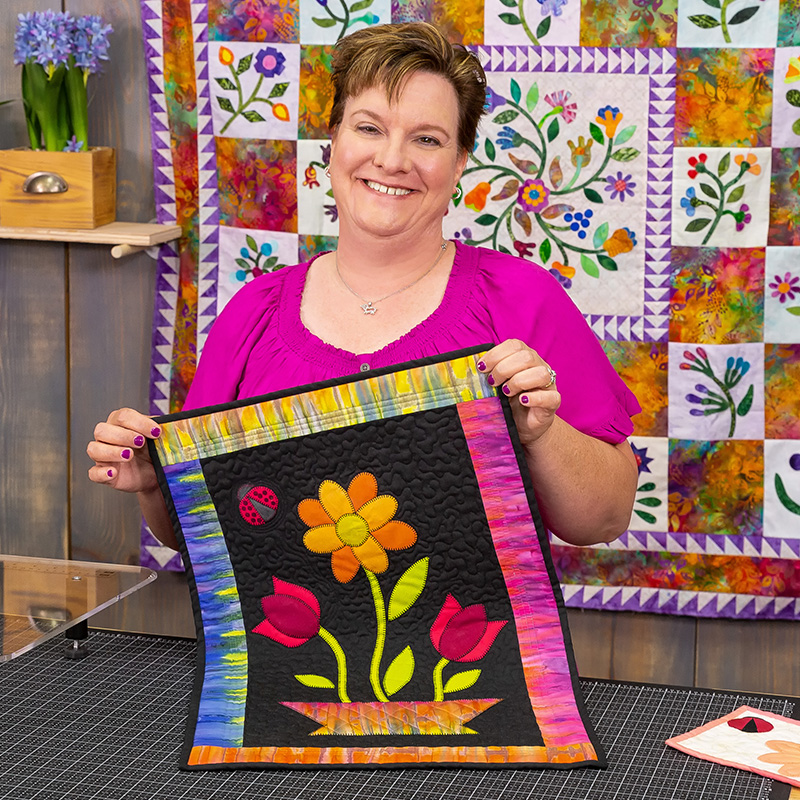
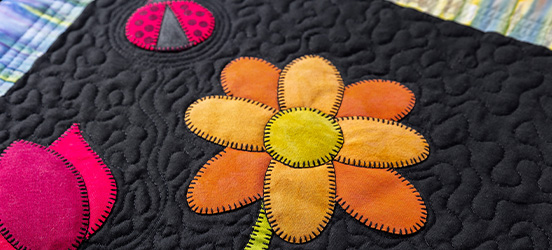
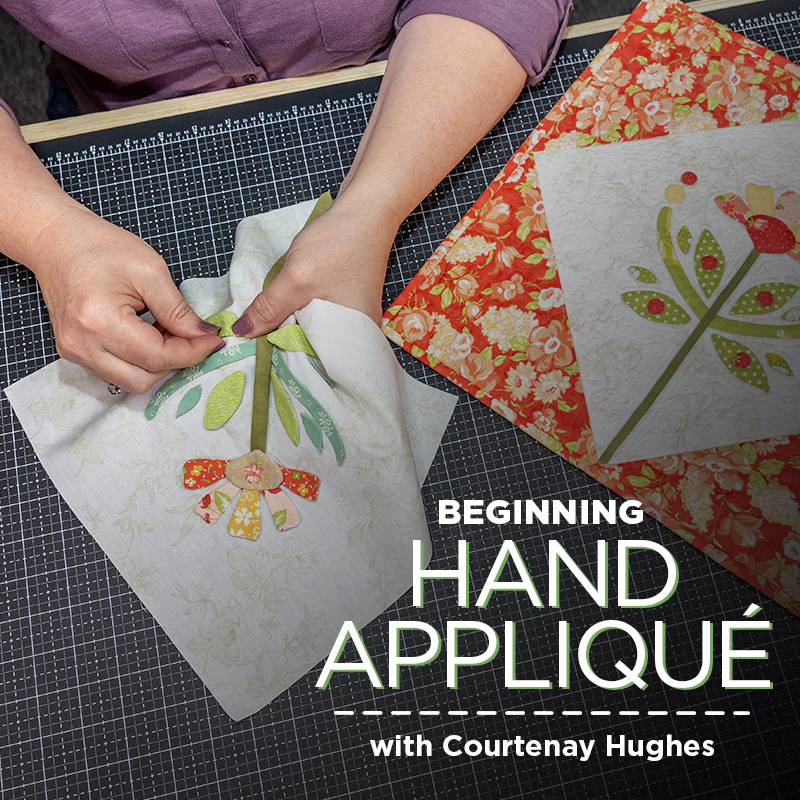
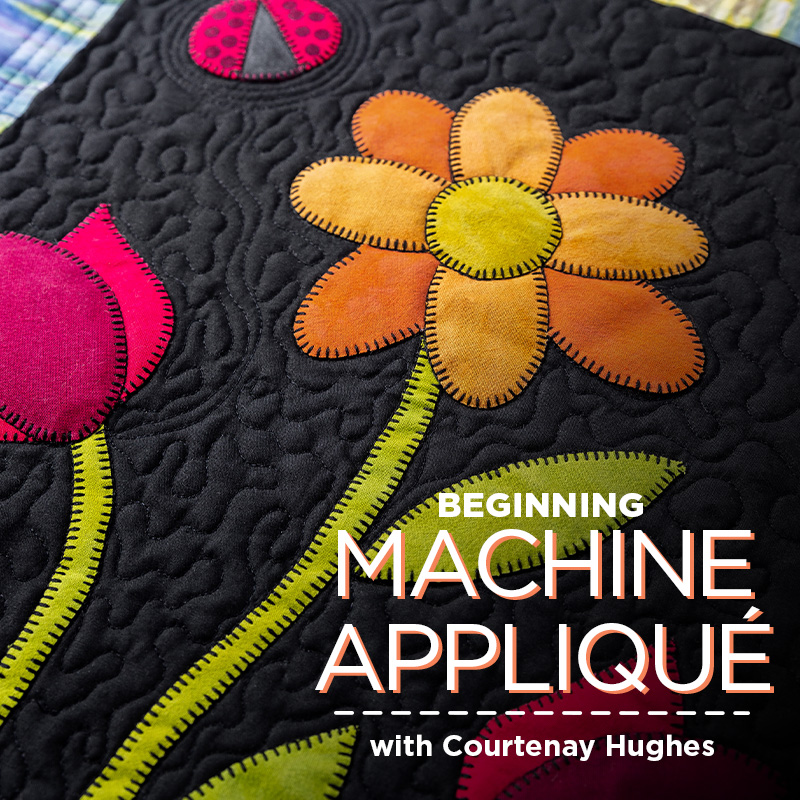
Now, let’s talk about appliqué, Courtenay’s area of expertise! If you’ve always wanted to try it out, but imagined it might be intimidating, we’ve got the tools, techniques, and tips to change your mind. Appliqué is a lot easier than it looks – and it looks pretty spectacular personalizing and decorating your quilt!
We talked to Courtenay about machine appliqué designs and tips…
Q: Courtenay, how long have you been sewing machine appliqué? A: I have been quilting for over 25 years. I’ve had about 20 odd years of practice at machine appliqué. And I am really looking forward to sharing some of that with you
Q: What’s your favorite part of teaching appliqué for beginners? A: My favorite part of teaching is when students who aren’t sure they can complete their projects get to the point where they realize that, yes, they can make them—and they will be beautiful! Whether that’s how to machine appliqué small pieces, how to hand appliqué in the car on road trips, or how to let loose and try something completely new, like a free-motion zig-zag “heartbeat” stitch that looks complicated but is actually very freeing, I love seeing students succeed!
Q: What shapes can you make with machine appliqué? A: Anything you can imagine – and any pattern in your library, really. I like to show you tips for leaves, stems, circles, stars, hearts, petals, and working in layers. While a lot of my patterns are flowers or animals – ask me about placing bunny ears – the sky is the limit. You can decorate any quilt with appliqué, in blocks, borders, even your quilt label.
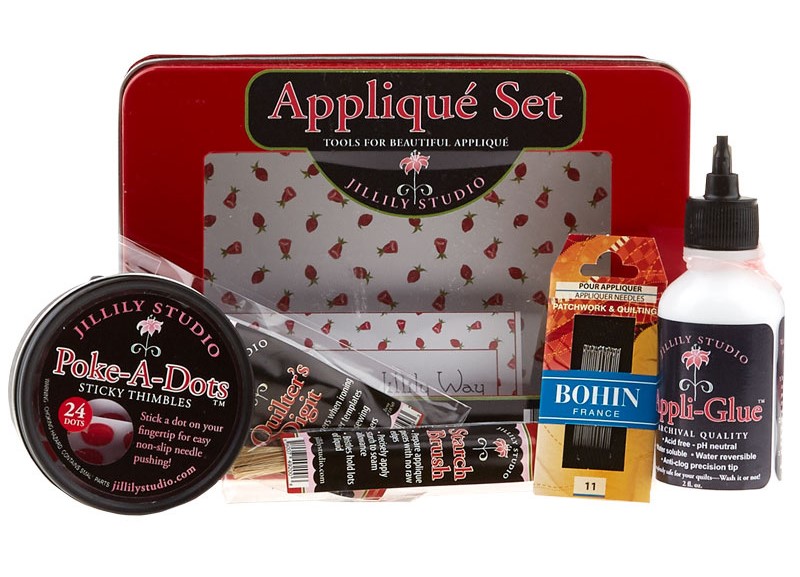
Q: What are some tools you recommend for appliqué? A: This depends a little bit on which method you’re using, but some of the applique essentials are:
For Machine Appliqué:
Fusible Web – Use this to temporarily glue fabric pieces in place while machine stitching.
Appliqué Pressing Sheet – Place over the project diagram to use as a guide while layering fabric shapes.
Marking Pen – Use a fine sharpie or marking pen to trace designs onto projects.
Scissors– A good pair of scissors come in handy for cutting fusible and fabric pieces.
Machine Needles – A sharp needle that is great for stitching through layers of applique pieces.
50wt Thread – A strong thread that blends with fabric shapes. Or black thread for a “folk art” look.
Self-Threading Needles – An easy way to bury threads after stitching pieces to background.
Iron and Iron Cleaner– An iron for fusing paper shapes to fabric, and iron cleaner.
Embroidery Hoop – (optional) These come in handy when stitching pieces in place on background, especially when using the free-motion zig-zag “heartbeat” stitch.
Hand Needles – A smaller point for hand stitching, but also a bit enough needle to prevent hand cramping.
MiniIron – A tiny iron will give more control over tiny fabric pieces.
Appliqué Pins – These come in handy when fitting several pieces into place.
Fusible Web(optional) – Melts to adhere the fabric pieces together.
We think it’s time to give appliqué a try!
We currently have two classes for beginners at Missouri Star Academy. You’ll learn multiple methods, troubleshooting tricks, how to machine appliqué a quilt or how to hand appliqué a quilt. Each class also comes with a FREE quilt pattern so you can show off your newly mastered skills! Try appliqué today!
Don’t forget to check in on our Education Center’s class schedule to see what class Courtenay will be teaching next!
If you’ve taken a class by Courtenay Hughes, show her what you made in the comments below ⬇️