Building Blocks: Your First Quilt Block

Learn how to quilt with easy beginner quilting tutorials and quilt patterns from Missouri Star Quilt Co!
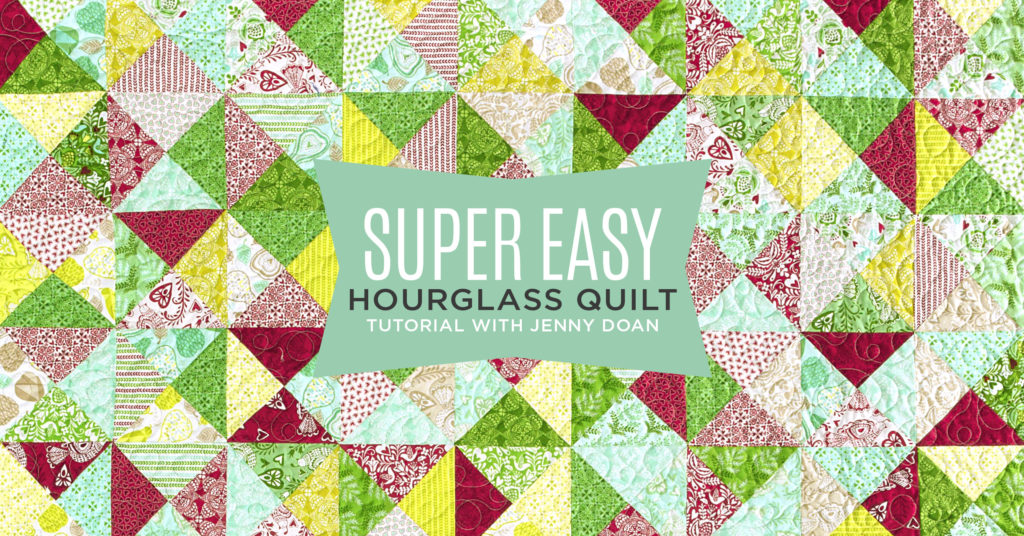
The Super Easy Hourglass Quilt is a great place to start learning your first quilt block! This project comes together easily using Charm Packs (5″ squares of precut fabric).

You’ve finally made it! You have your supplies in hand and you have a great knowledge of precut quilting fabrics so it’s time to create your very first quilt block! Before we begin, remember Jenny’s favorite phrase, “finished is better than perfect”. Your first quilt block might not be perfect (maybe it will!) but what is most important is that you learned new skills along the way and have a finished block that YOU created!

If you’re more of a visual learner and would like a video tutorial to follow along with as you create your first blocks, you can find all of the information on the Hourglass Quilt included in this blog post in Jenny’s Super Easy Hourglass Quilt tutorial and, for a quicker version, our Quilt Snips mini tutorial! 

In today’s post, we are focusing on creating the first few blocks of the Hourglass quilt. We won’t be finishing the entire quilt top today, but if you continue your block making, you’ll soon have enough to create a finished quilt! We’ll get into binding, backing, and quilting later, but for now, let’s piece our first block!
Learn how to quilt with easy beginner quilting tutorials and quilt patterns from Missouri Star Quilt Co!
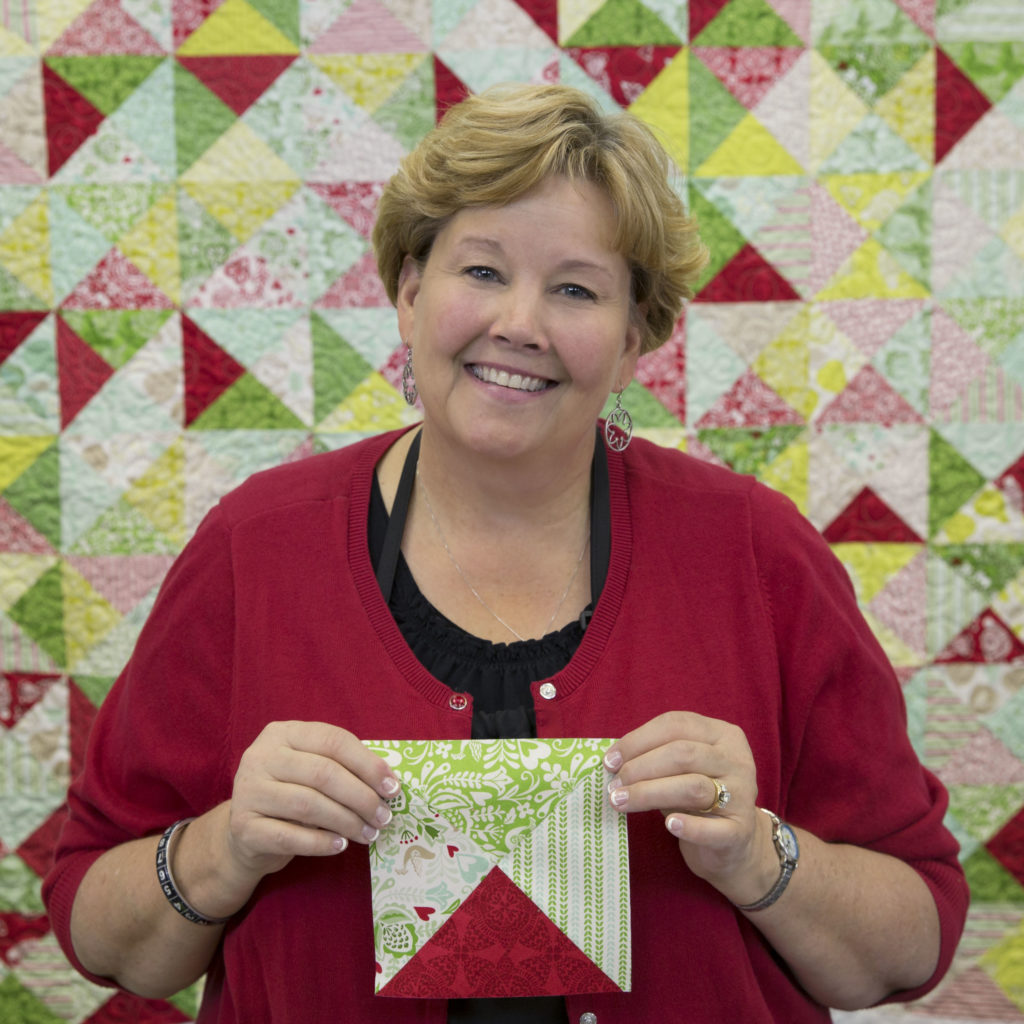
The Super Easy Hourglass quilt block will measure 5″ x 5″ when complete.

For this project we’re going to be working with Charm Packs. If you haven’t already read Building Blocks: All About Precut Fabric, take some time to get to know your materials before diving into creating your first block. Once you’re ready, grab your favorite Charm Pack and let’s get stitching! You will need:

Supply List

One Charm Pack of 5″ precut squares

A Rotary Cutter & Cutting Mat

A 5″ x 15″ Inch Ruler

An Iron for Pressing

A Sewing Machine Ready to Sew

Remember we’re not tackling the full quilt today, just the first block. If you’re wanting to push your sewing skills a bit further, gather the supplies for the Super Easy Hourglass Quilt from the list HERE.

Creating Your First Block
Learn how to quilt with easy beginner quilting tutorials and quilt patterns from Missouri Star Quilt Co!
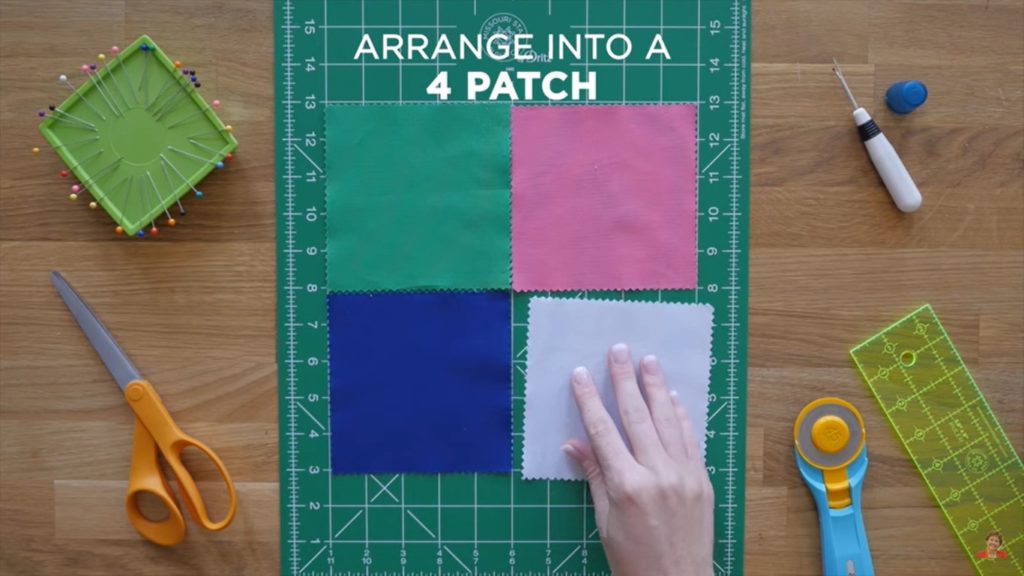
Arrange four 5″ squares of precut fabric together to create a large square.

Start by arranging four 5″ squares from your Charm Pack into a Four-Patch. This is a very simple and basic quilt block style and a great place to get started! Select four 5″ squares that vary in color or design and remember—we’ll be cutting these four-patches up very shortly so the layout will change as the hourglass block develops.

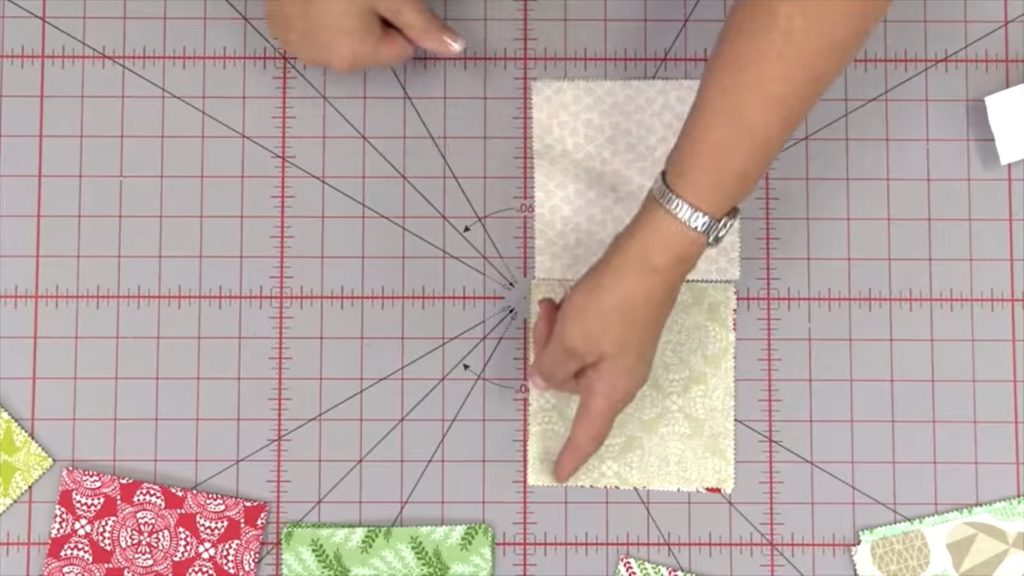
Once you have laid out four squares (hard work so far, right?) all you need to do is sew them together! Flip two squares of your four-patch over so that the right sides of the fabric are touching, as shown below.
Learn how to quilt with easy beginner quilting tutorials and quilt patterns from Missouri Star Quilt Co!
Sew the side seams together by sewing down the side of the two squares on top of each other)

Next, sew straight down one side of each set of squares, creating two sets of two squares, using a 1/4 inch seam. Open and press the two sets flat, then line them up on top of each other with right sides facing. Match up the middle seams and sew the two sets together to create a four-patch.
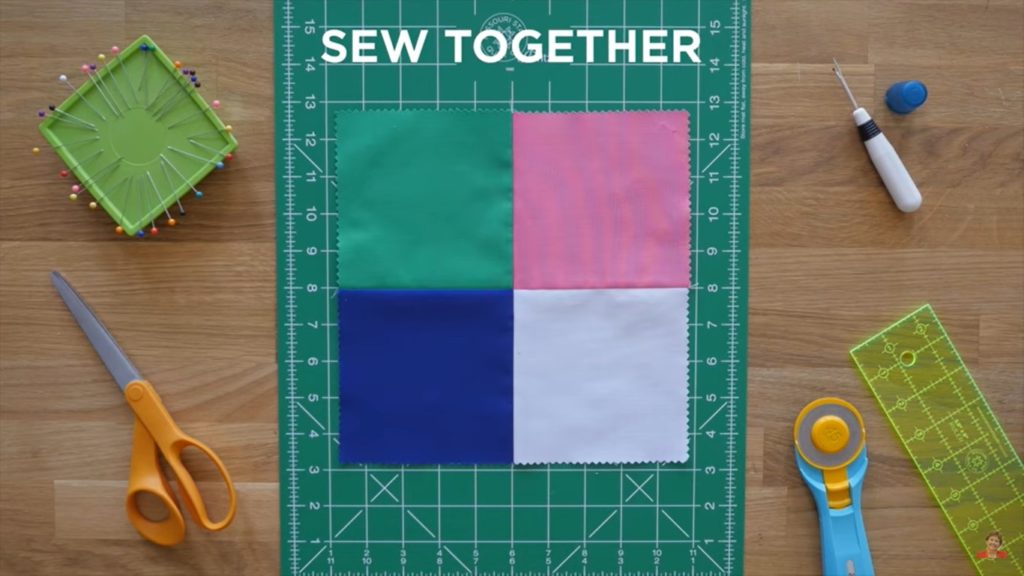
Learn how to quilt with easy beginner quilting tutorials and quilt patterns from Missouri Star Quilt Co!
Sew all four squares together to create a Four-Patch quilt block!

Once your four squares are sewn together, press your block flat with your iron. Believe it or not, you’ve created your first quilt block! This Four-Patch block is oh-so simple and versatile on its own, but with a little more creative energy, we can turn it into a simple Hourglass block! To do so, follow the instructions above to create a second Four-Patch block, just be sure to mix up your fabric choices! Once the second Four-Patch block is complete, press it flat and lay it on top of your first Four-Patch block with the right sides of the fabrics facing each other.
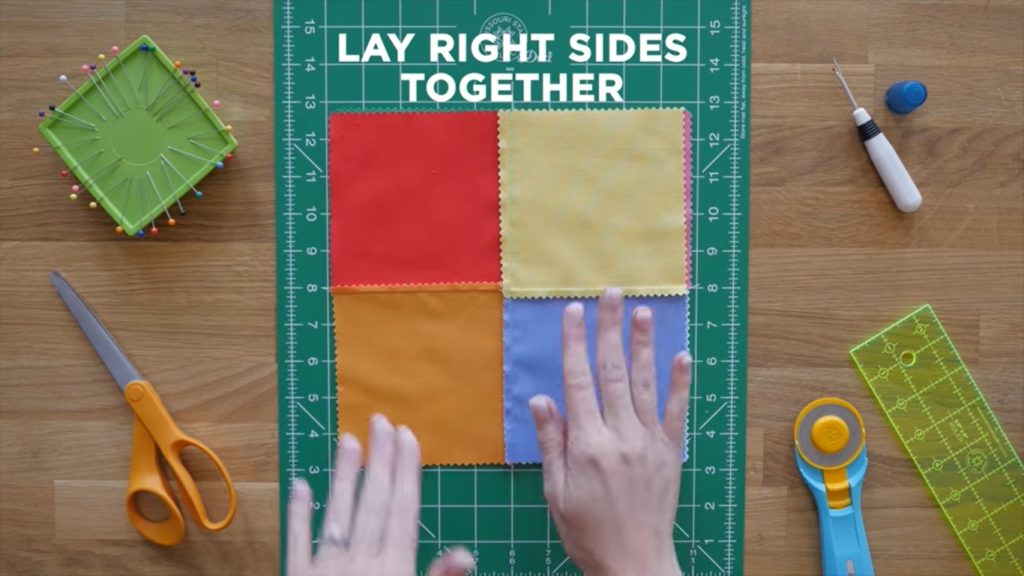
Learn how to quilt with easy beginner quilting tutorials and quilt patterns from Missouri Star Quilt Co!
Lay the newly created second Four-Patch on top of the original (right sides facing).

Take your blocks over to your sewing machine, keeping them lined up (you can stick a few pins into your blocks to hold them together if needed), and begin to sew all the way around the squares with a 1/4″ seam.
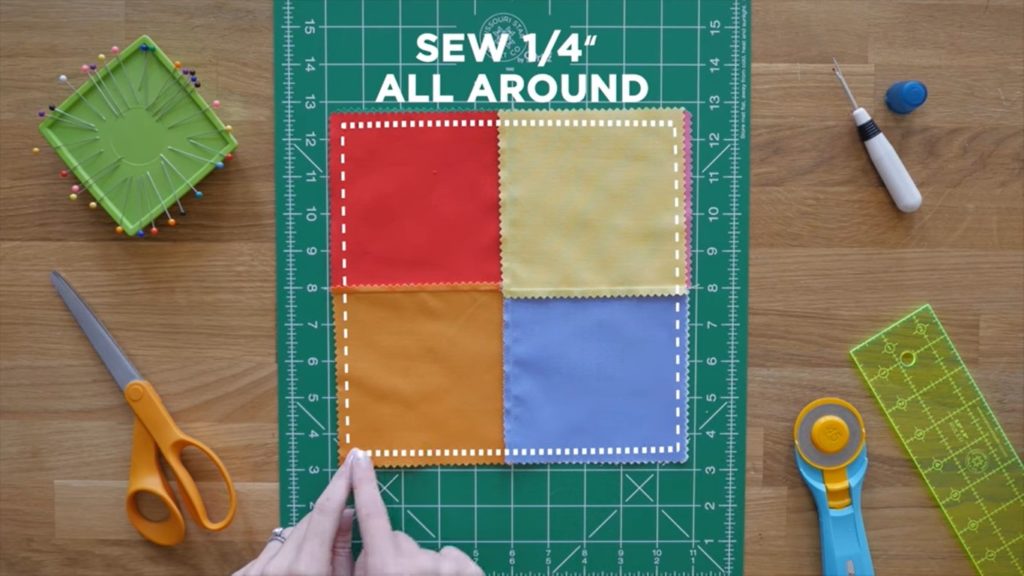
Learn how to quilt with easy beginner quilting tutorials and quilt patterns from Missouri Star Quilt Co!
Sew all the way around the two blocks to bind them together.

Your two Four-Patch blocks should be sewn together now and held tight. Now comes the fun part! Grab your rotary cutter and ruler and make two diagonal cuts from corner to corner on both sides of the sewn-together block. Use extra care when crossing over the middle of your block as the seams will be slightly more difficult to cut. Use your 5″ x 15″ ruler as a guide to ensure that your cuts are straight and even!
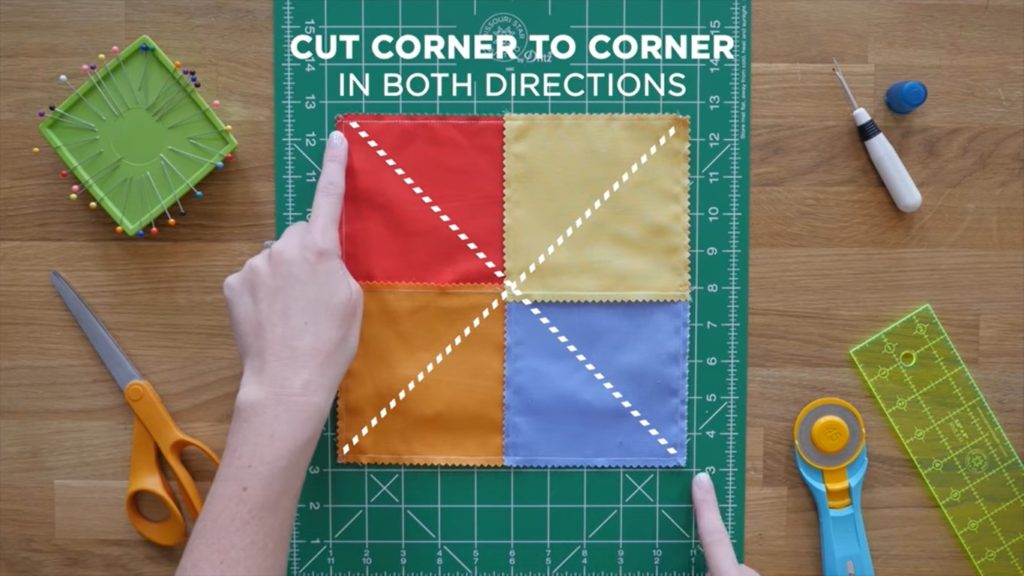
Learn how to quilt with easy beginner quilting tutorials and quilt patterns from Missouri Star Quilt Co!
Cut corner to corner in both directions using your rotary cutter, cutting mat and ruler

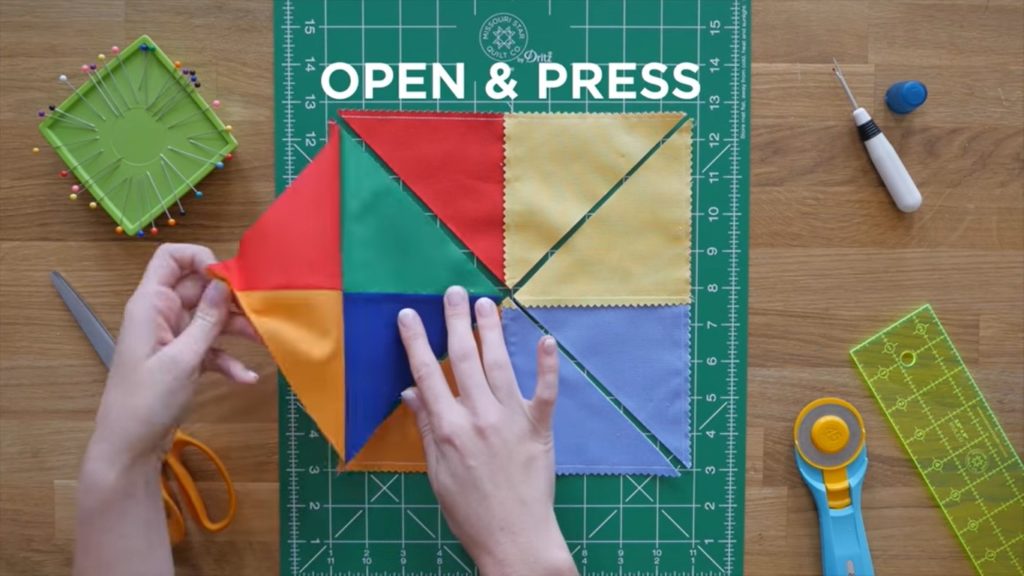
Now all that’s left is to open your newly created Hourglass blocks and press them flat! Using this method, you’ll actually create FOUR hourglass blocks at a time.
Learn how to quilt with easy beginner quilting tutorials and quilt patterns from Missouri Star Quilt Co!
Open and press your newly created Hourglass blocks!

Take a moment to admire your work and be proud of what you’ve accomplished, you’ve not only created your first quilt block, but you altered that block to create four more unique quilt blocks! At this point you’re ready to tackle your very first quilt. If you need a little extra help, don’t panic! Check out Jenny’s full tutorial or the Quilt Snips mini tutorial below for some extra visual aids. Not everyone learns in the same way or at the same speed, so take your time and have fun!

Building Blocks: All About Precut Fabric

Precut fabric saves time and effort when creating quilting projects.

Precut fabric revolutionized the quilting world. The quilting skill was historically passed down through teaching – one would learn the intricate and mathematical approach of measuring and cutting fabric by hand from the generation that came before. Anyone who has pieced a quilt knows it’s difficult work! Before you could even consider your project or layout, all the fabrics must be cut from bolts or repurposed from used materials. The margin for error was extraordinary, a single miscalculation could jeopardize an entire quilting project.

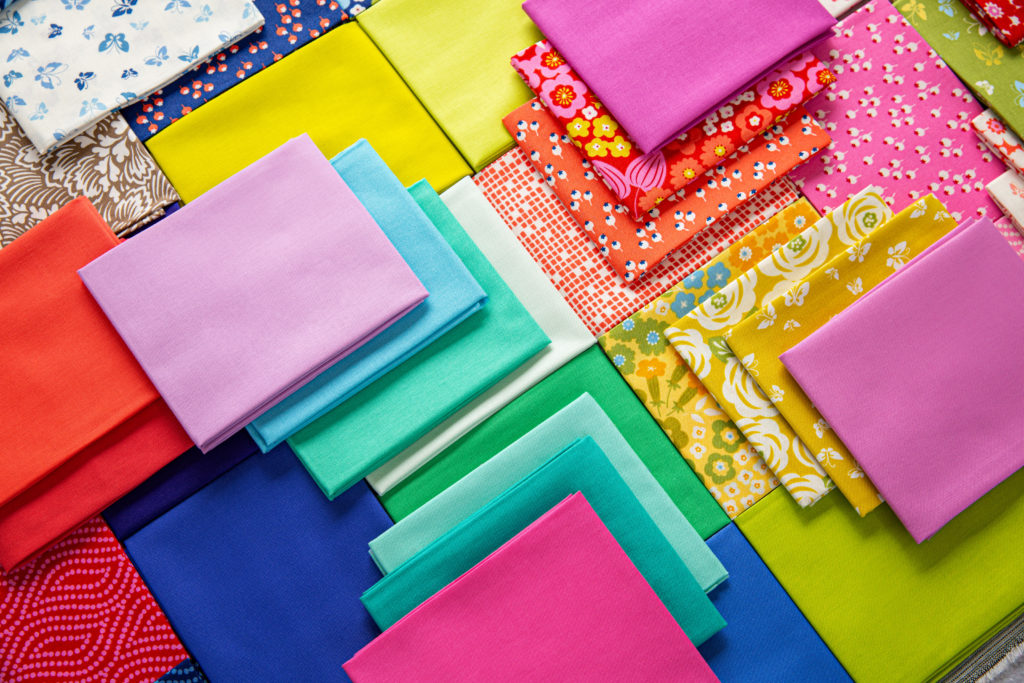
Quilting is now easier and more approachable thanks to precut fabrics. Precuts are perfect for beginners (that’s why Jenny uses them to teach!). If you don’t know what exactly a fat quarter is, or if you never heard of a honey bun, we hope this guide kicks off your quilting journey with confidence.

Layer Cakes (10″ Squares)

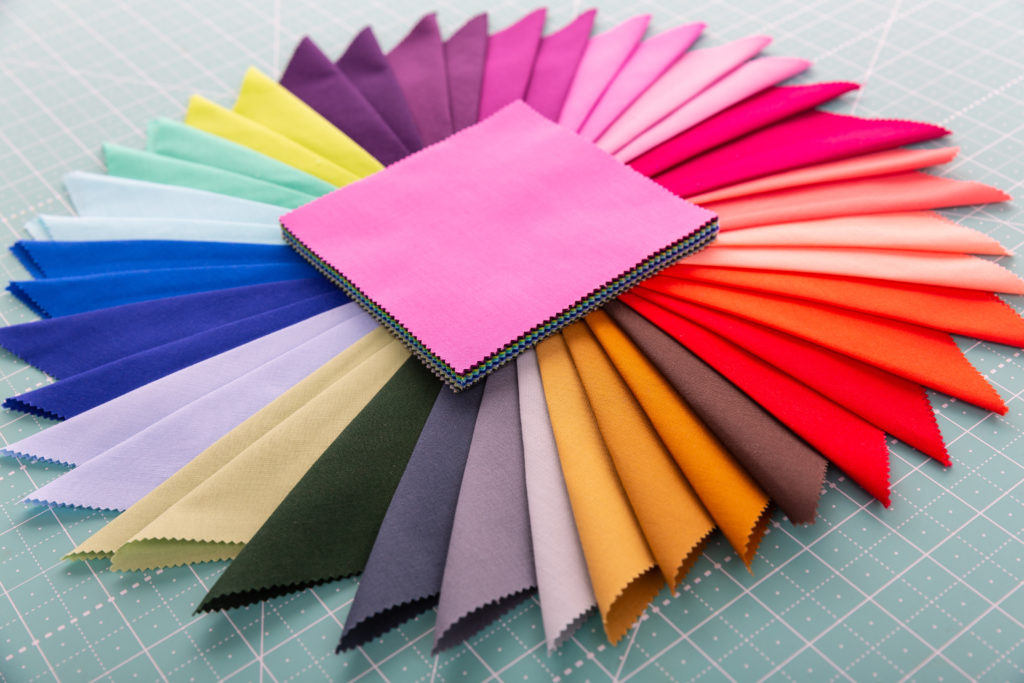
Layer cake bundles contain forty-two 10 inch squares of precut quilting fabric.

A Layer Cake is a curated bundle of 10″ squares of coordinating precut quilt fabric from a designer’s collection. These versatile packs can be used for a number of projects. Their larger size allows them to be to cut into strips or smaller squares if needed! A typical layer cake contains 42 squares of precut 10″ fabric, enough for a small quilt top. Depending on the distributor, layer cakes are also called ’10 stackers,’ ’10 squares,’ ’tiles,’ and ’10 karat crystals.’

With such a big cut of fabric, layer cakes can dazzle because the printed design catches the eye first. If you want to showcase a gorgeous fabric, consider Jenny’s spin on tradition and create the Irish Change quilt. The Layer Cakes in this project are left completely whole and highlighted with fabric strips to create a beautiful showcase of 10″ squares!

Browse Layer Cakes Here >

Learn More About The Irish Change Quilt >

Charm Packs (5″ Squares)

Charm Packs contain forty-two 5 inch squares of precut quilting fabric.

Think of Charm Packs as Layer Cakes smaller sidekick! A Charm Pack is a bundle of 5″ squares of precut fabric. Charm packs are a fast, fun way to bring a quilt together like magic and, like Layer Cakes, Charm Packs are often sold in bundles of 42. These fabric bundles are also called ‘5″ stackers,’ ‘single scoops,’ and ‘stamps.’

For an easy introduction to the world of Charm Packs, use the pack as it is and create the Charm Quilt on Point! This simple creation turns the Charm Pack fabrics on point before sewing them together to create a beautiful layout with little effort! Select your favorite Charm Pack (much like in the Irish Change quilt, your Charm Pack fabric will be the focal point), add a border and a back – you just created the easiest quilt you ever made!

Browse Charm Packs Here >

Learn More About The Charm Quilt on Point >

Mini Charm Pack (2.5″ Squares)

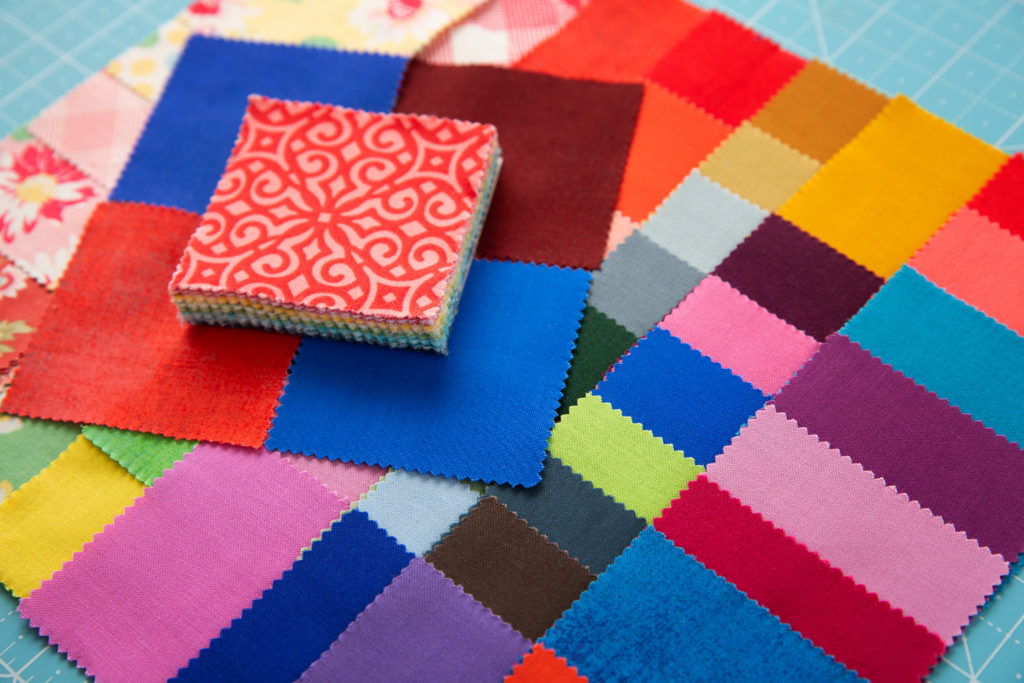
Mini Charm Packs contain forty-two 2.5 inch squares of precut fabric.

Have you heard the saying “there’s always a bigger fish”? How about “there’s always a smaller square”? As you probably guessed, a Mini Charm Pack is exactly that – a smaller version of a Charm Pack! These fabric bundles contain forty-two 2.5″ squares of precut fabric, half the size of their larger counterpart! With a name as specific as Mini Charm Pack, it’s difficult find this precut under a different name (but let us know if you do!).

Think small when using this precut, it’s better used as a compliment than a feature! Mini Charm Packs create intricate and impressive designs, even though it’s really no different than sewing a larger square. The 2.5″ Mini Tumbler Quilt is a great option if you want to play with these mighty minis, but you can add creative flair to any quilt with a 2.5″ square as a cornerstone!

Browse Mini Charm Packs Here >

Learn More About The 2.5″ Mini Tumbler Quilt >

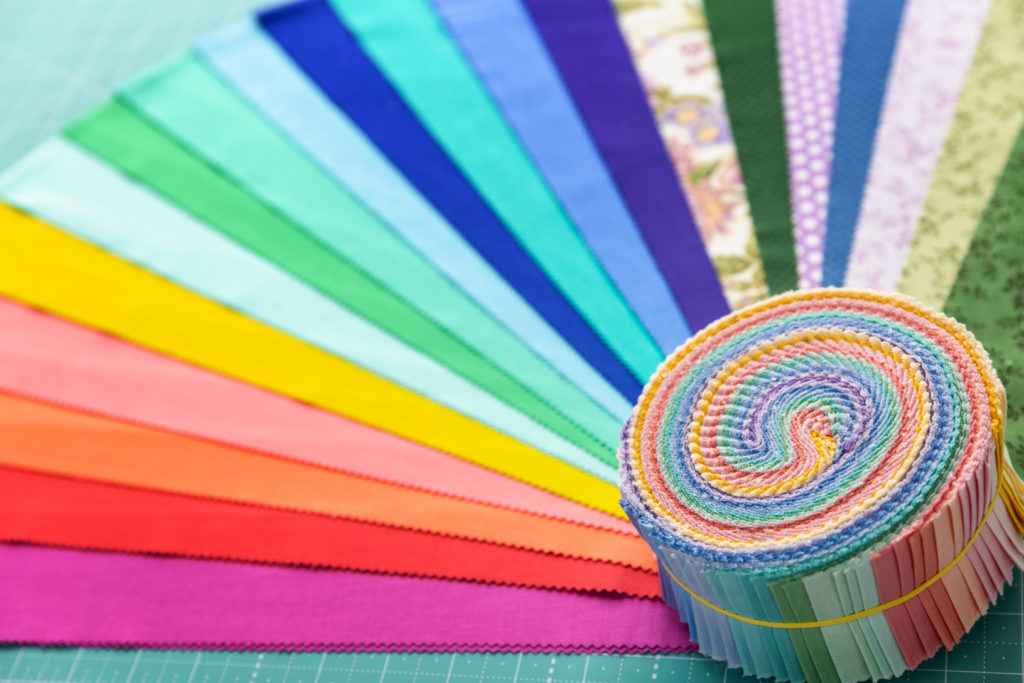
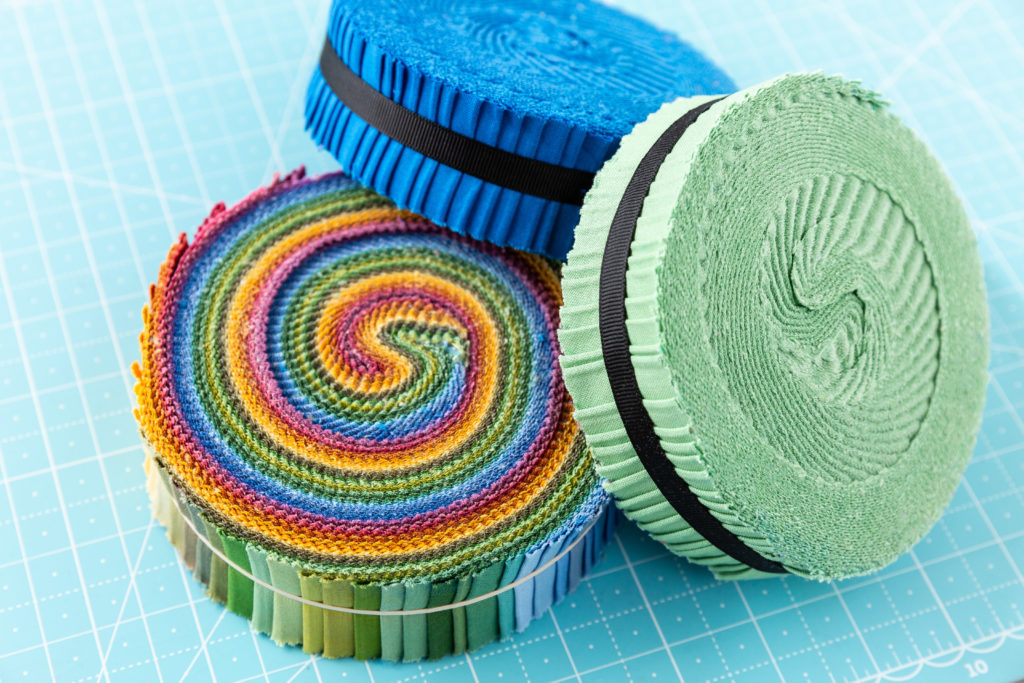
Jelly Rolls (2.5″ Strips)

Jelly Rolls contain forty 2.5 inch strips of precut fabric.

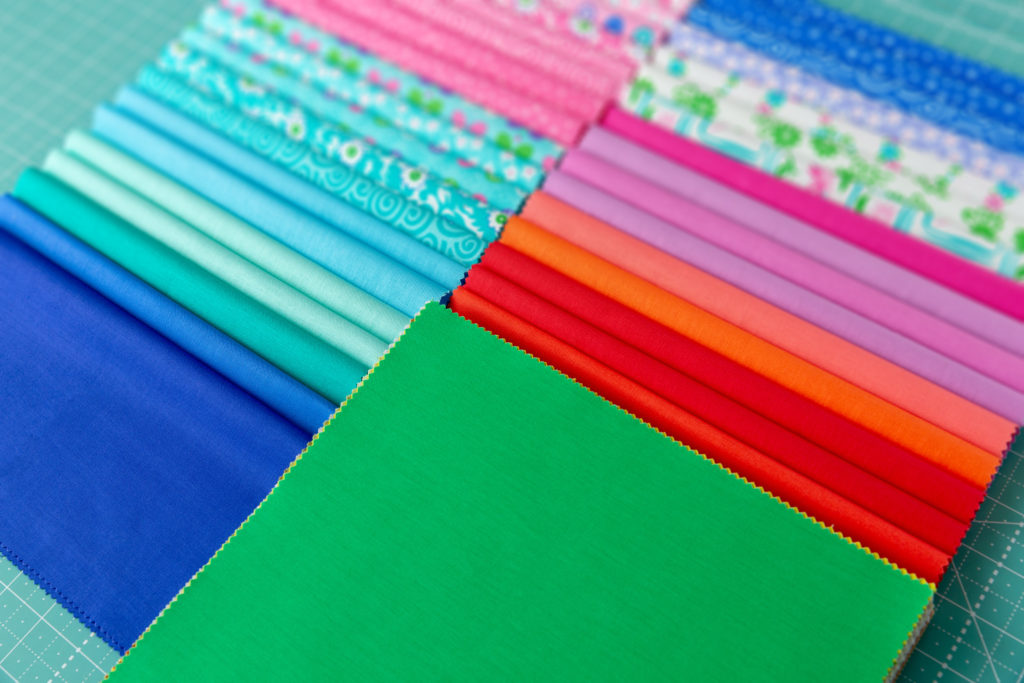
Let’s get away from squares and focus on strips! A Jelly Roll is a bundle of 2.5″ strips of precut quilt fabric, featuring an array of coordinating fabric from a designer’s collection. Jelly rolls make sewing up a cute strip quilt a snap. Not only are there countless patterns that use only a Jelly Roll, but you’ll find these strips so handy you may use them with other precuts. A standard Jelly Roll contains forty 2.5″ x 44″ strips of fabric and is also called a ‘rolie polie,’ ‘strip-pies,’ ‘roll ups’ or even just ‘2.5″ strips.’

One of the easiest quilts for beginners is the standard Jelly Roll Race quilt! Piece your Jelly Roll strip by strip, and you can stitch up 1,600 inches of fabric in less than an hour! This pattern can be wildly colorful, with constantly changing colors and designs – so be bold with your Jelly Roll choice!

Browse Jelly Rolls Here >

Learn More About The Jelly Roll Race Quilt >

Honey Buns (1.5″ Strips)

Honey Buns contain forty 1.5 inch strips of precut fabric.

The Honey Bun is the Jan to the Jelly Roll‘s Marcia. Have you ever heard of it? This slender roll is perfect for sashing and strip quilting. The Honey Bun is a bundle of forty 1.5″ strips of coordinated, precut fabric. When piecing a quilt top, it’s more common to use a Jelly Roll, but don’t count the Honey Bun out. Whether creating a small quilt top or an intricate design, the Honey Bun will serves up loads of versatility. If you can’t find a Honey Bun, try looking for it’s alter ego – Skinny Strips!

Jenny’s very first quilt was a Log Cabin quilt, so they’re near and dear to her heart. If you want to feature a Honey Bun in your next project (and not just for sashing), a simple log cabin block is the way to go. You can get 21 log cabin blocks from a single Honey Bun!

Browse Honey Buns here >

Learn More About The Log Cabin Block >

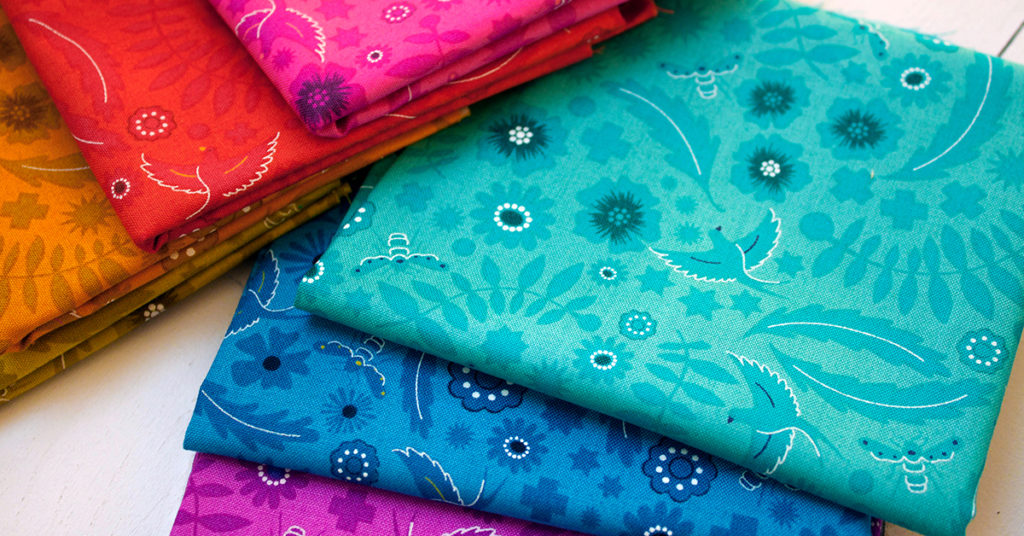
Fat Quarters (22″ x 18″ Cuts)

Fat Quarters are 22″ x 18″ cuts of Fabric.

If you absolutely adore a line of fabric, the answer is the Fat Quarter! A fat quarter bundle is a stack of fat quarters (quarter yards of fabric, cut wide) of coordinating quilt fabric from a designer’s collection, and of all the precuts, it gives you the most fabric! Fat quarters measure 18″ x 21″ and make it easy to build a quilt with your fabric lines. With just a little extra cutting, the possibilities are endless for this precut bundle. Fat Quarters are sold in bundles called Fat Quarter Bundles, but sometimes they are also advertised as “rolls.”

Precuts are the perfect way to round out your stash, as you can grab one for all sorts of projects. Feeling inspired now? Try a fabric basket with Misty. She uses two fat quarters to create the A Tisket A Tasket… 2 Fat Quarter Basket from Me & My Sister Designs. Fat Quarters are an easy way to stock up on your favorite fabrics in bulk, but expect a little extra cutting or piecing in your Fat Quarter projects!

Browse Fat Quarter Bundles Here >

Learn More About The A Ticket A Tasket… 2 Fat Quarter Basket >

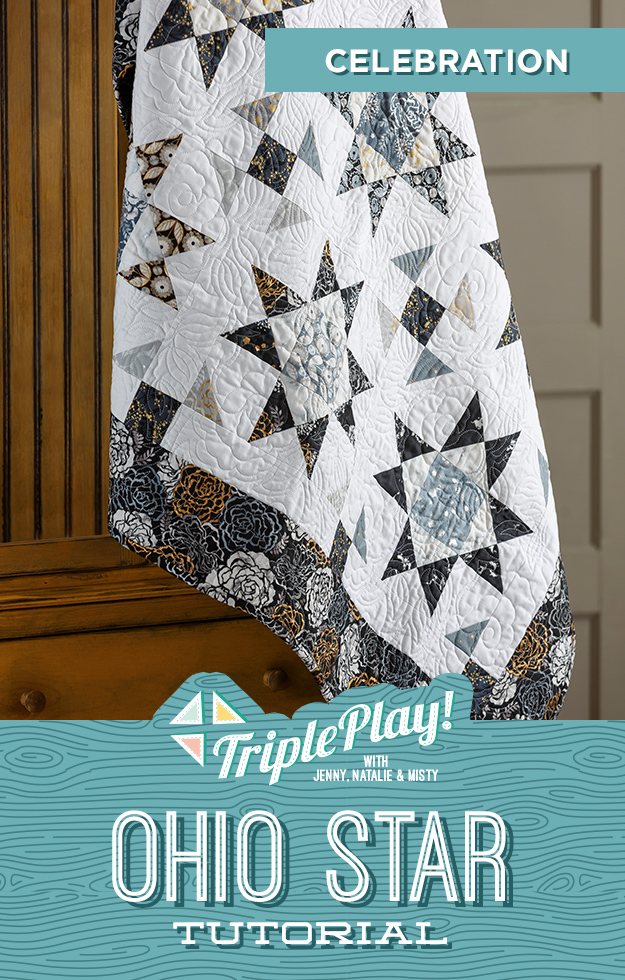
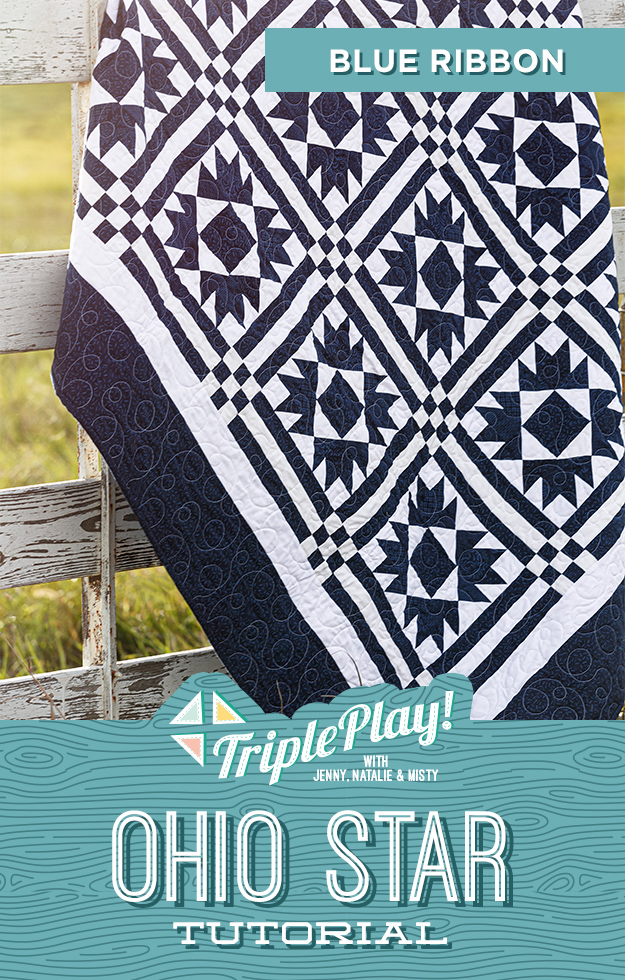
Triple Play! Ohio Star

Triple Play! Ohio Quilts from Missouri Star Quilt Co. Watch the free quilt tutorials today.

Did you know Pablo Picasso was a classically trained artist? His traditional realism was as beautiful as any on earth.

Jenny’s Design

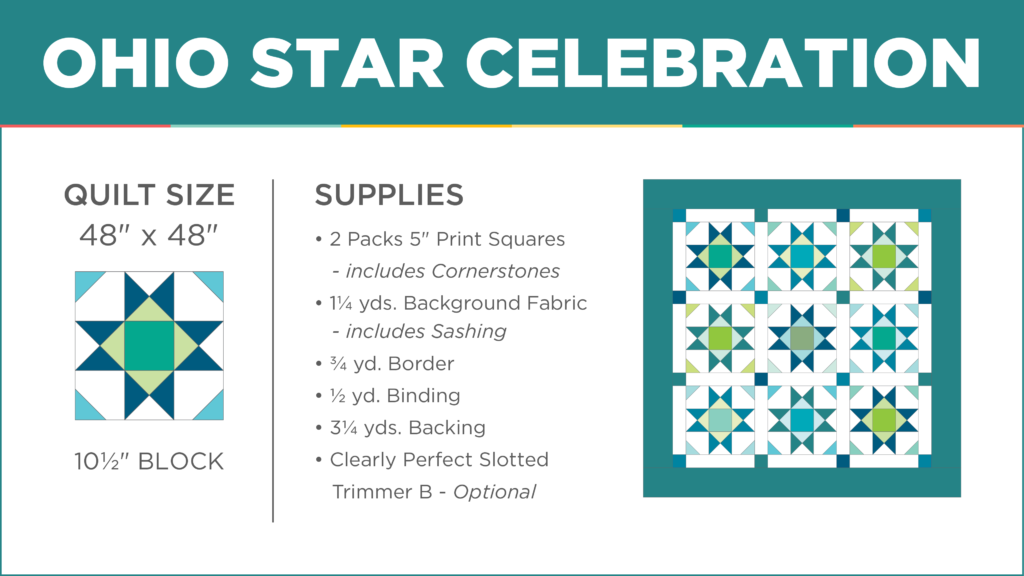
The Celebration Quilt from Missouri Star Quilt Co. Watch the free quilt tutorial today.

But, early in his career, he started to experiment—and that’s how he became one of the most famous artists of all time. Picasso said, “Learn the rules like a pro, so you can break them like an artist.”

The Celebration Quilt from Missouri Star Quilt Co. Watch the free quilt tutorial today.

Misty’s Design

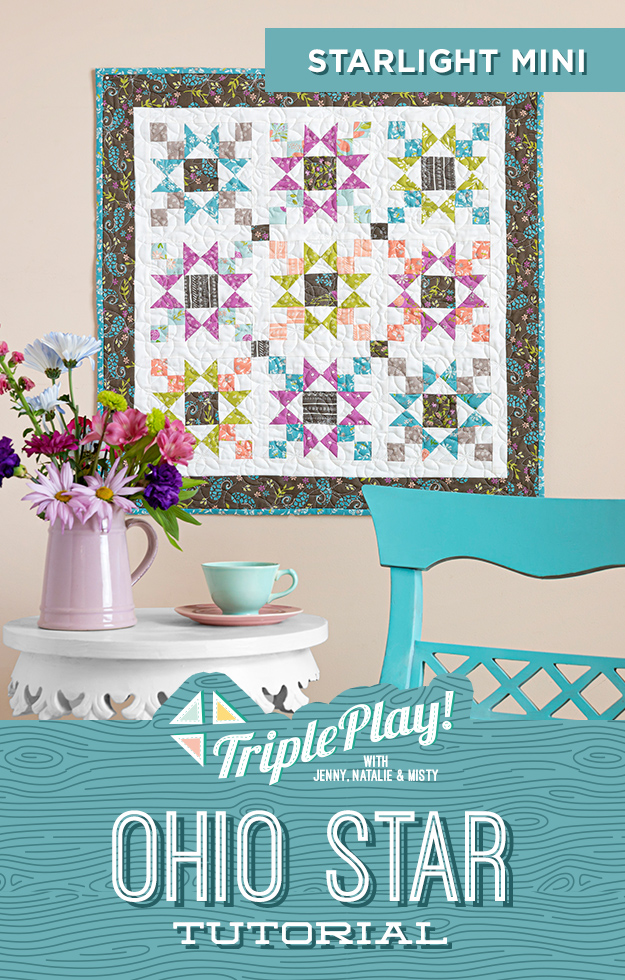
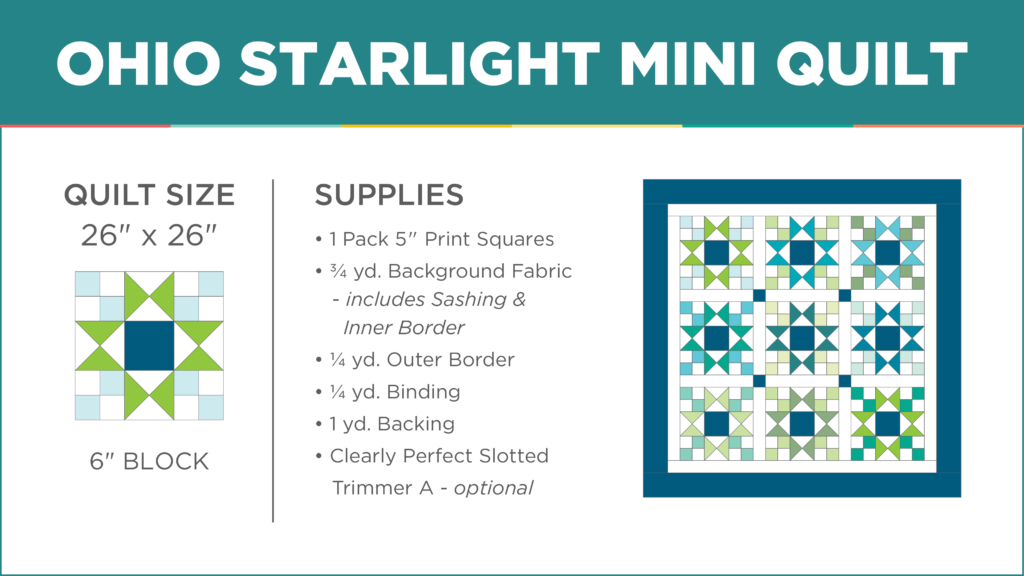
The Starlight Mini Quilt from Missouri Star Quilt Co. Watch the free quilt tutorial today.

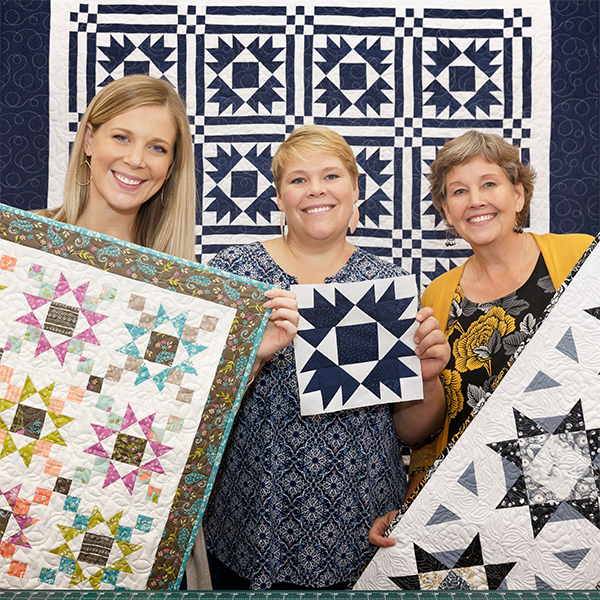
In this month’s Triple Play tutorial, the Doan ladies are “breaking the rules” with the Ohio Star.

The Starlight Mini Quilt from Missouri Star Quilt Co. Watch the free quilt tutorial today.

Natalie’s Design

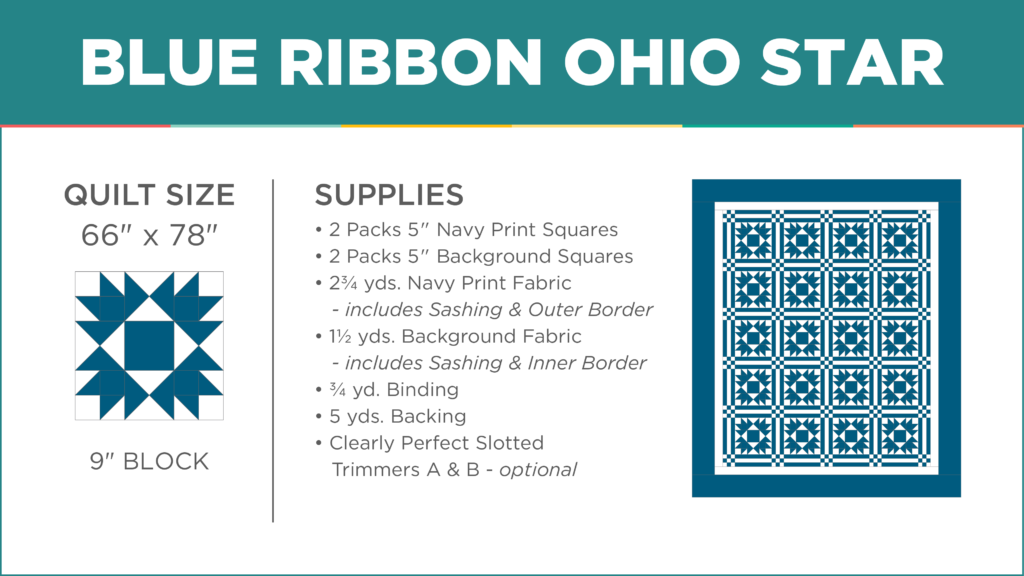
The Blue Ribbon Quilt from Missouri Star Quilt Co. Watch the free quilt tutorial today.

You will be amazed at the magic they create with the addition of a cornerstone here and a snowballed corner there. From an itty-bitty mini quilt to a big ol showstopper, these projects are true works of art! Click HERE to watch the tutorial! 

The Blue Ribbon Quilt from Missouri Star Quilt Co. Watch the free quilt tutorial today.
Watch the Latest Tutorial from Missouri Star Quilt Co!

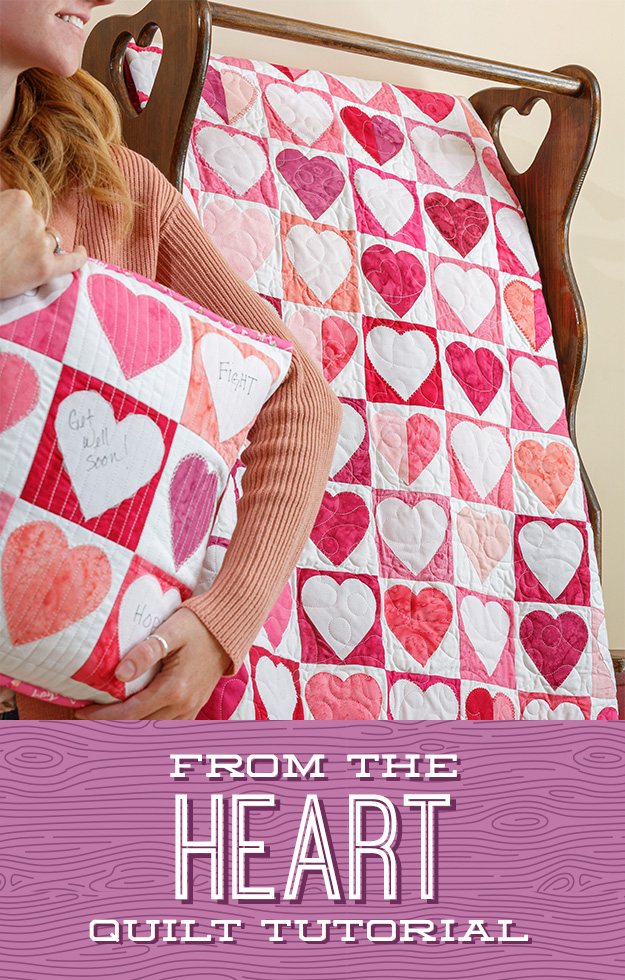
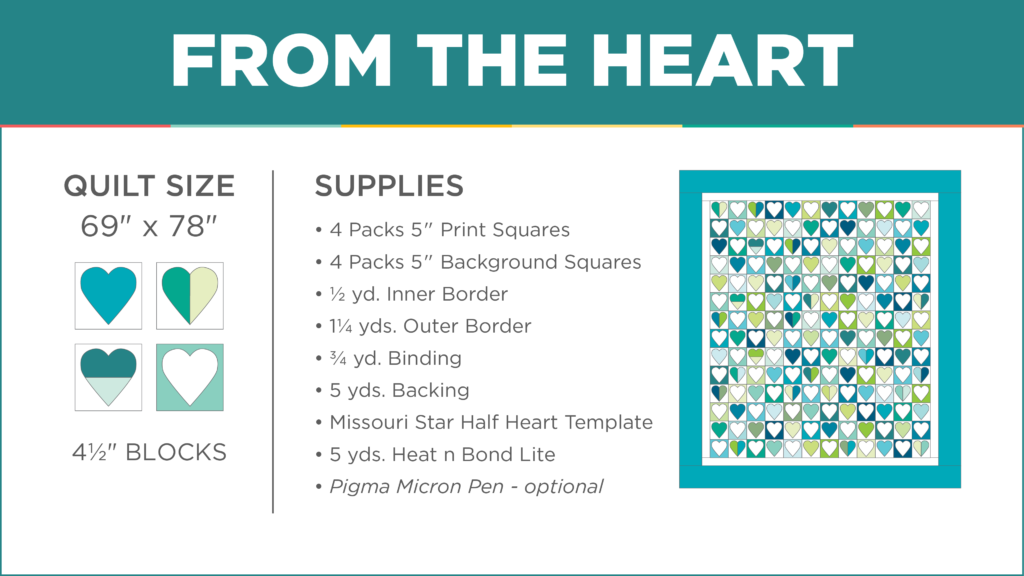
From the Heart Quilt

The From the Heart Quilt from Missouri Star Quilt Co. Watch the free quilt tutorial today.

I met a young quilter whose mother was diagnosed with cancer. Right away, this sweet daughter began to put together a special “chemo quilt.” Each of the kids and grandkids contributed a block. The quilt was completed the day before the first treatment, and this brave grandmother was able to face her new journey wrapped in the love of her family.

The From the Heart Quilt from Missouri Star Quilt Co. Watch the free quilt tutorial today.

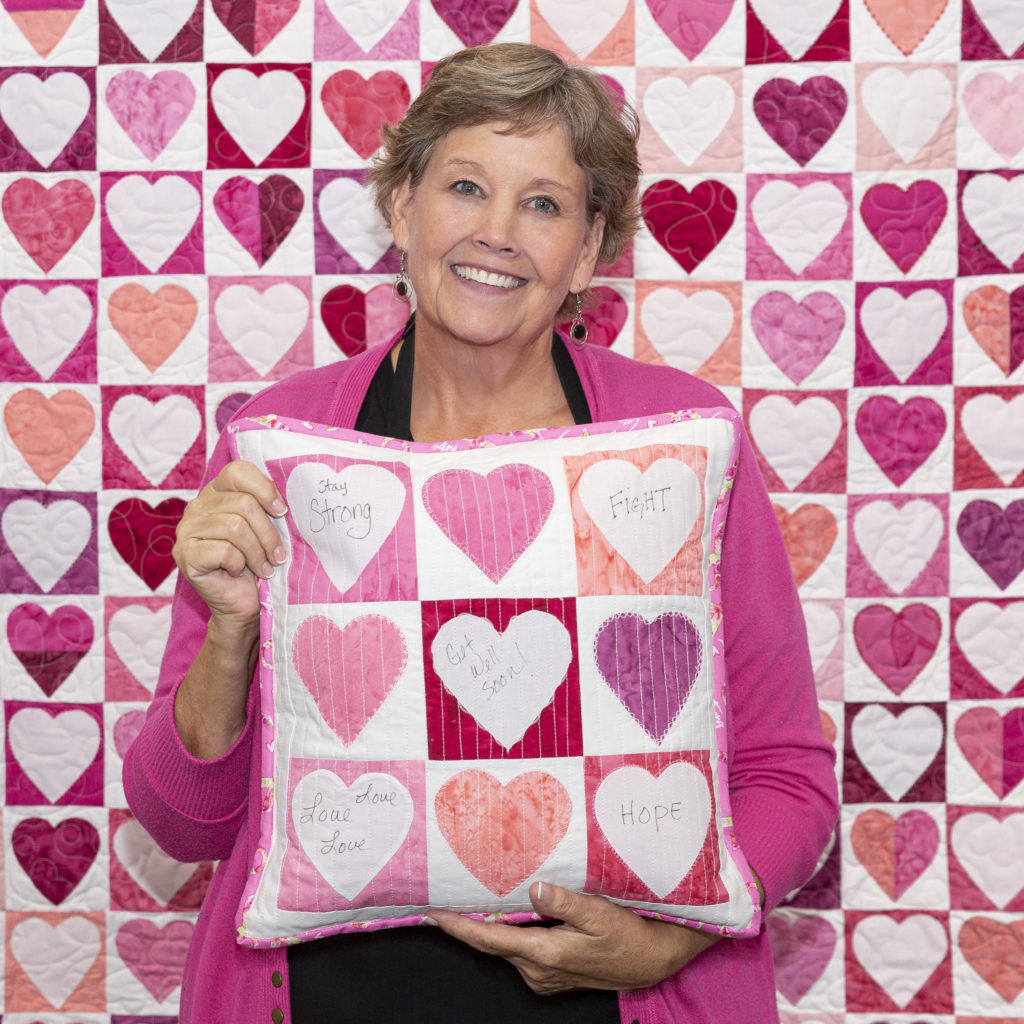
In honor of Breast Cancer Awareness Month, Jenny designed a gorgeous “From the Heart” quilt. This pretty little heart applique quilt can be personalized with hand-written messages of encouragement of love. It is so fun to put together and makes such a tender gift.

Click HERE to watch the tutorial!

The From the Heart Quilt from Missouri Star Quilt Co. Watch the free quilt tutorial today.
Watch the Latest Tutorial from Missouri Star Quilt Co!

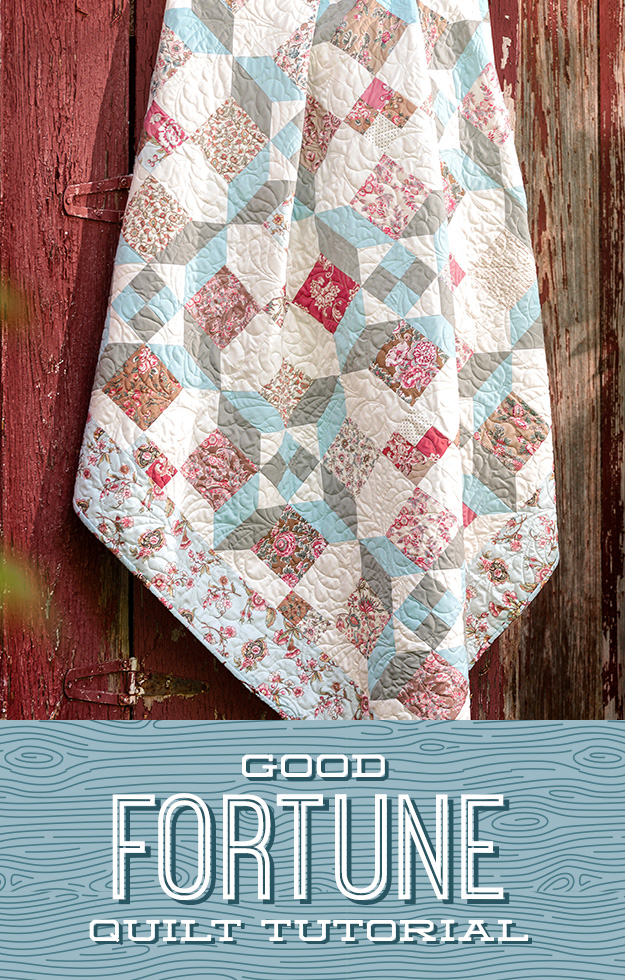
Good Fortune Quilt

The Good Fortune Quilt from Missouri Star Quilt Co. Watch the free quilt tutorial today.

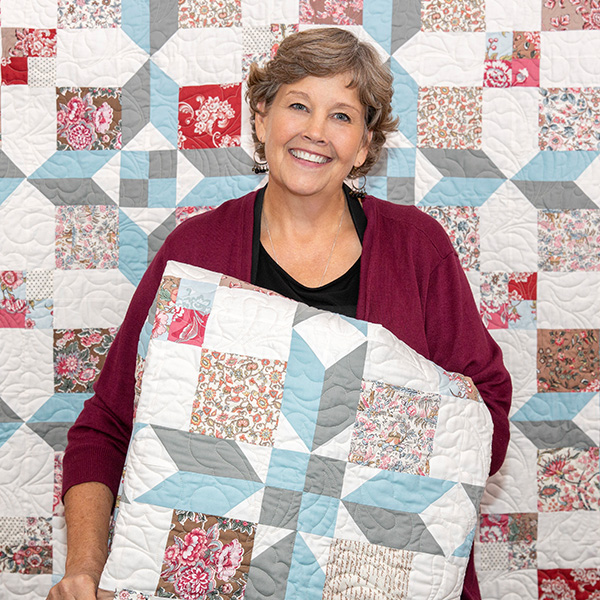
I could stare at Jenny’s Good Fortune quilt for a hundred years and never realize…it’s a simple disappearing 9 patch!

The Good Fortune Quilt from Missouri Star Quilt Co. Watch the free quilt tutorial today.

It’s true! All those cute little pieces are nothing more than a chopped-up 9 patch with one fun twist: a snowballed sashing.

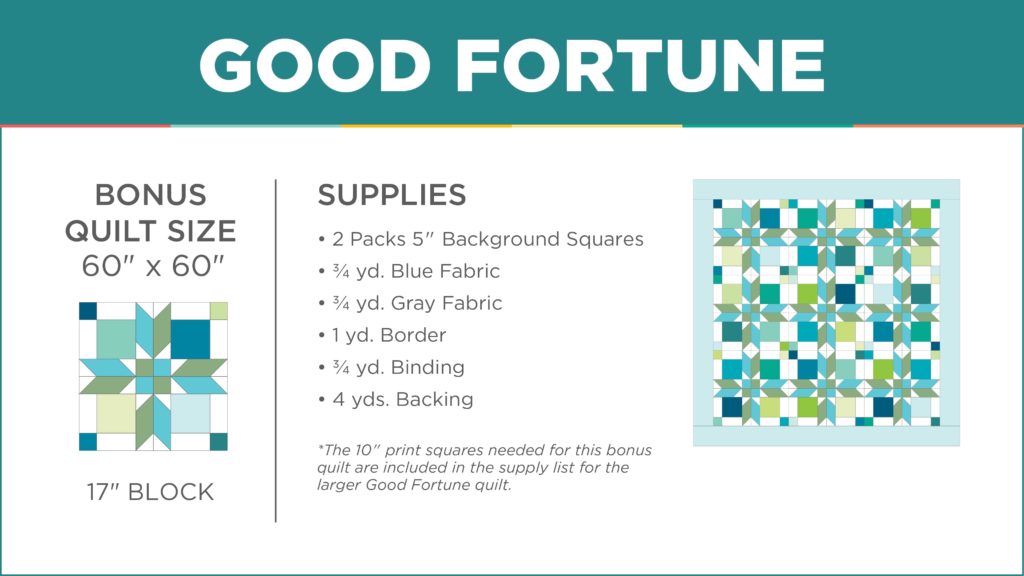
And the best part? You can use the leftover fabric to make a 2nd quilt with a whole new layout! (Watch all the way to the end of the tutorial to see how it looks!)

The Good Fortune Quilt from Missouri Star Quilt Co. Watch the free quilt tutorial today.
Watch the Latest Tutorial from Missouri Star Quilt Co!