There’s something so fantastic about the lifecycle of a butterfly. He starts his journey as an inconsequential little caterpillar with a huge appetite. After weeks of glorious gluttony, he takes one massive, cozy nap. And then? He wakes up magnificently elegant and graceful! Why doesn’t that work for me? Just once in my life I’d love to binge all day on a quart of rocky road, take an epic nap on the sofa, and wake up as glorious as a butterfly!
For now, I’ll settle for the super-easy Butterfly Blossom Quilt. This quilt is incredibly beautiful, and it’s a breeze to make!
This sweet pattern is made with 2 charm packs and the MSQC Periwinkle Template. Isn’t it so cute?
Click on the button below to watch the tutorial with Jenny and learn how to make your own Butterfly Blossom Quilt!
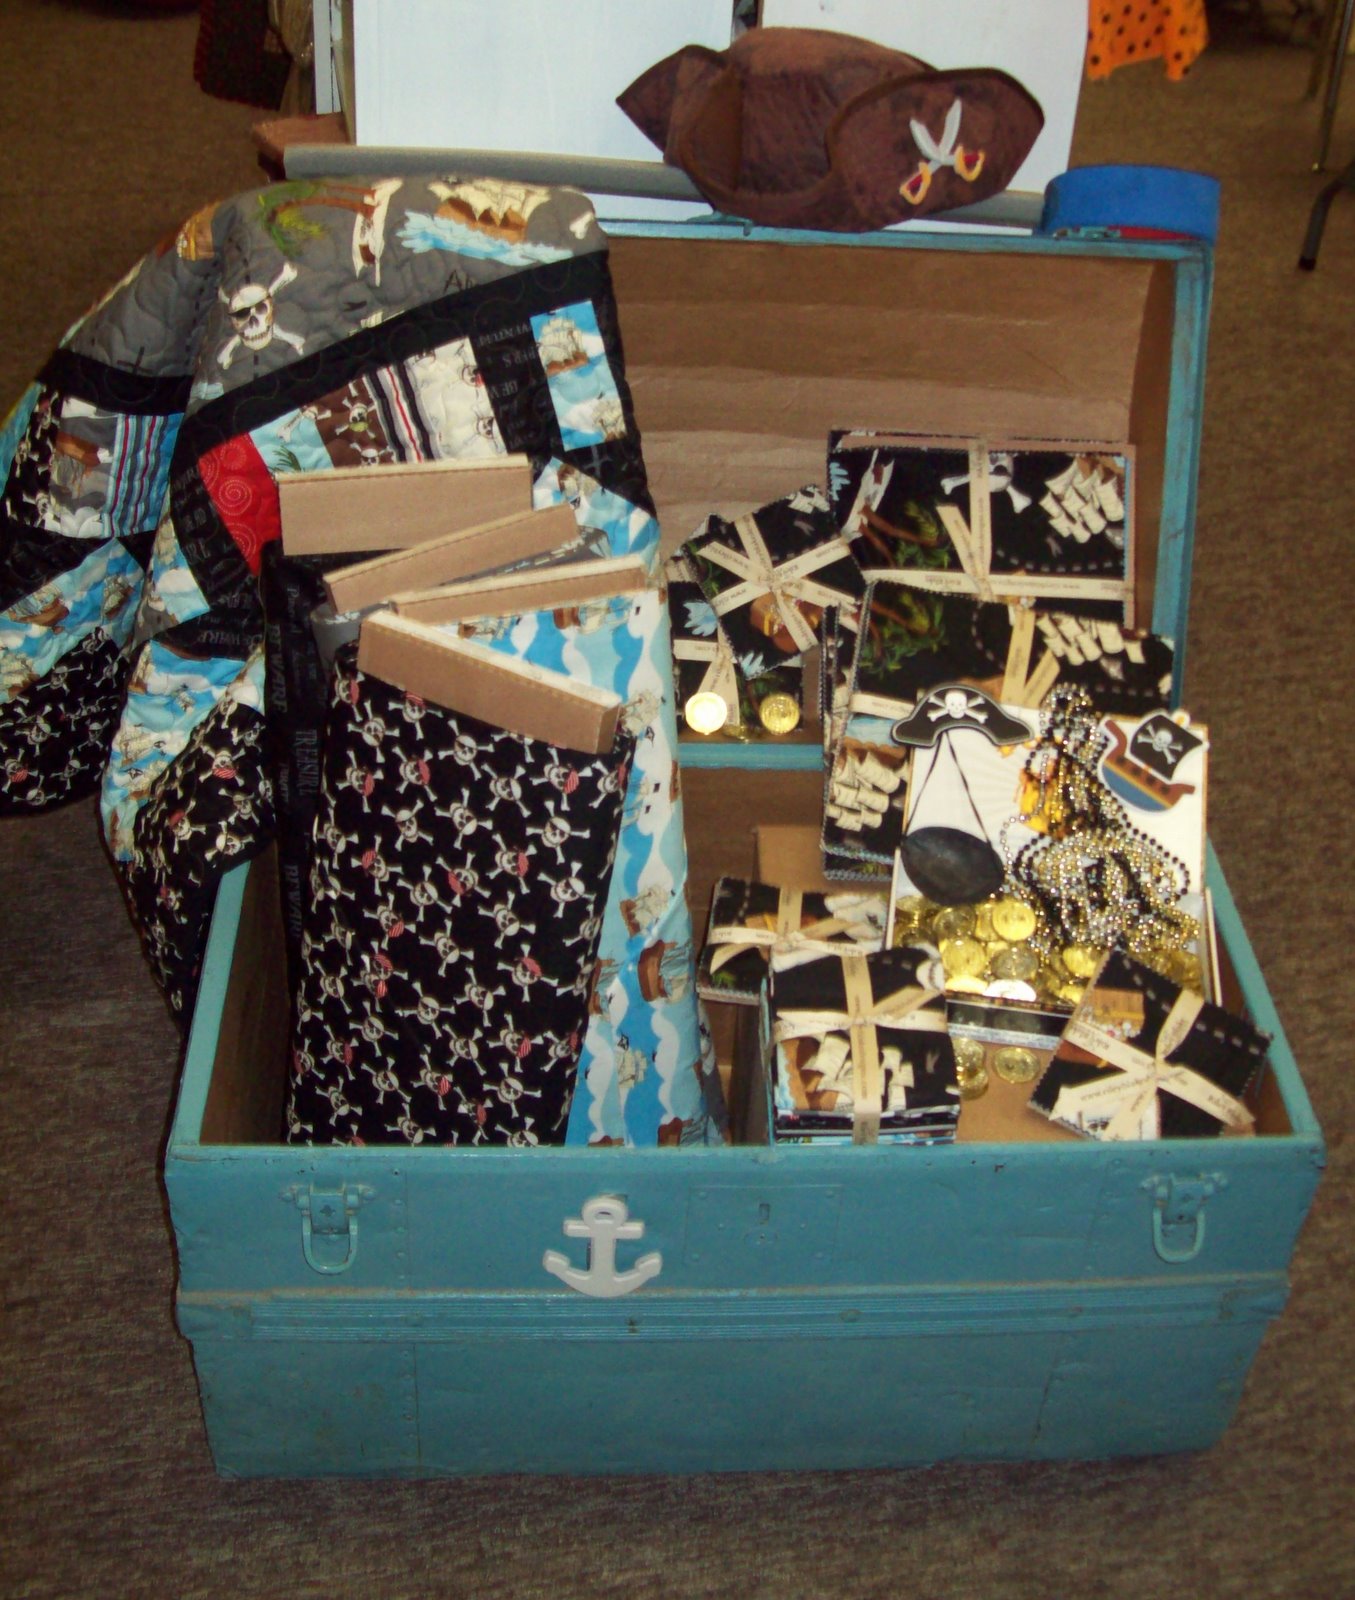
Arrgh! Mom’s done it again. Stole the pattern right out of me head!
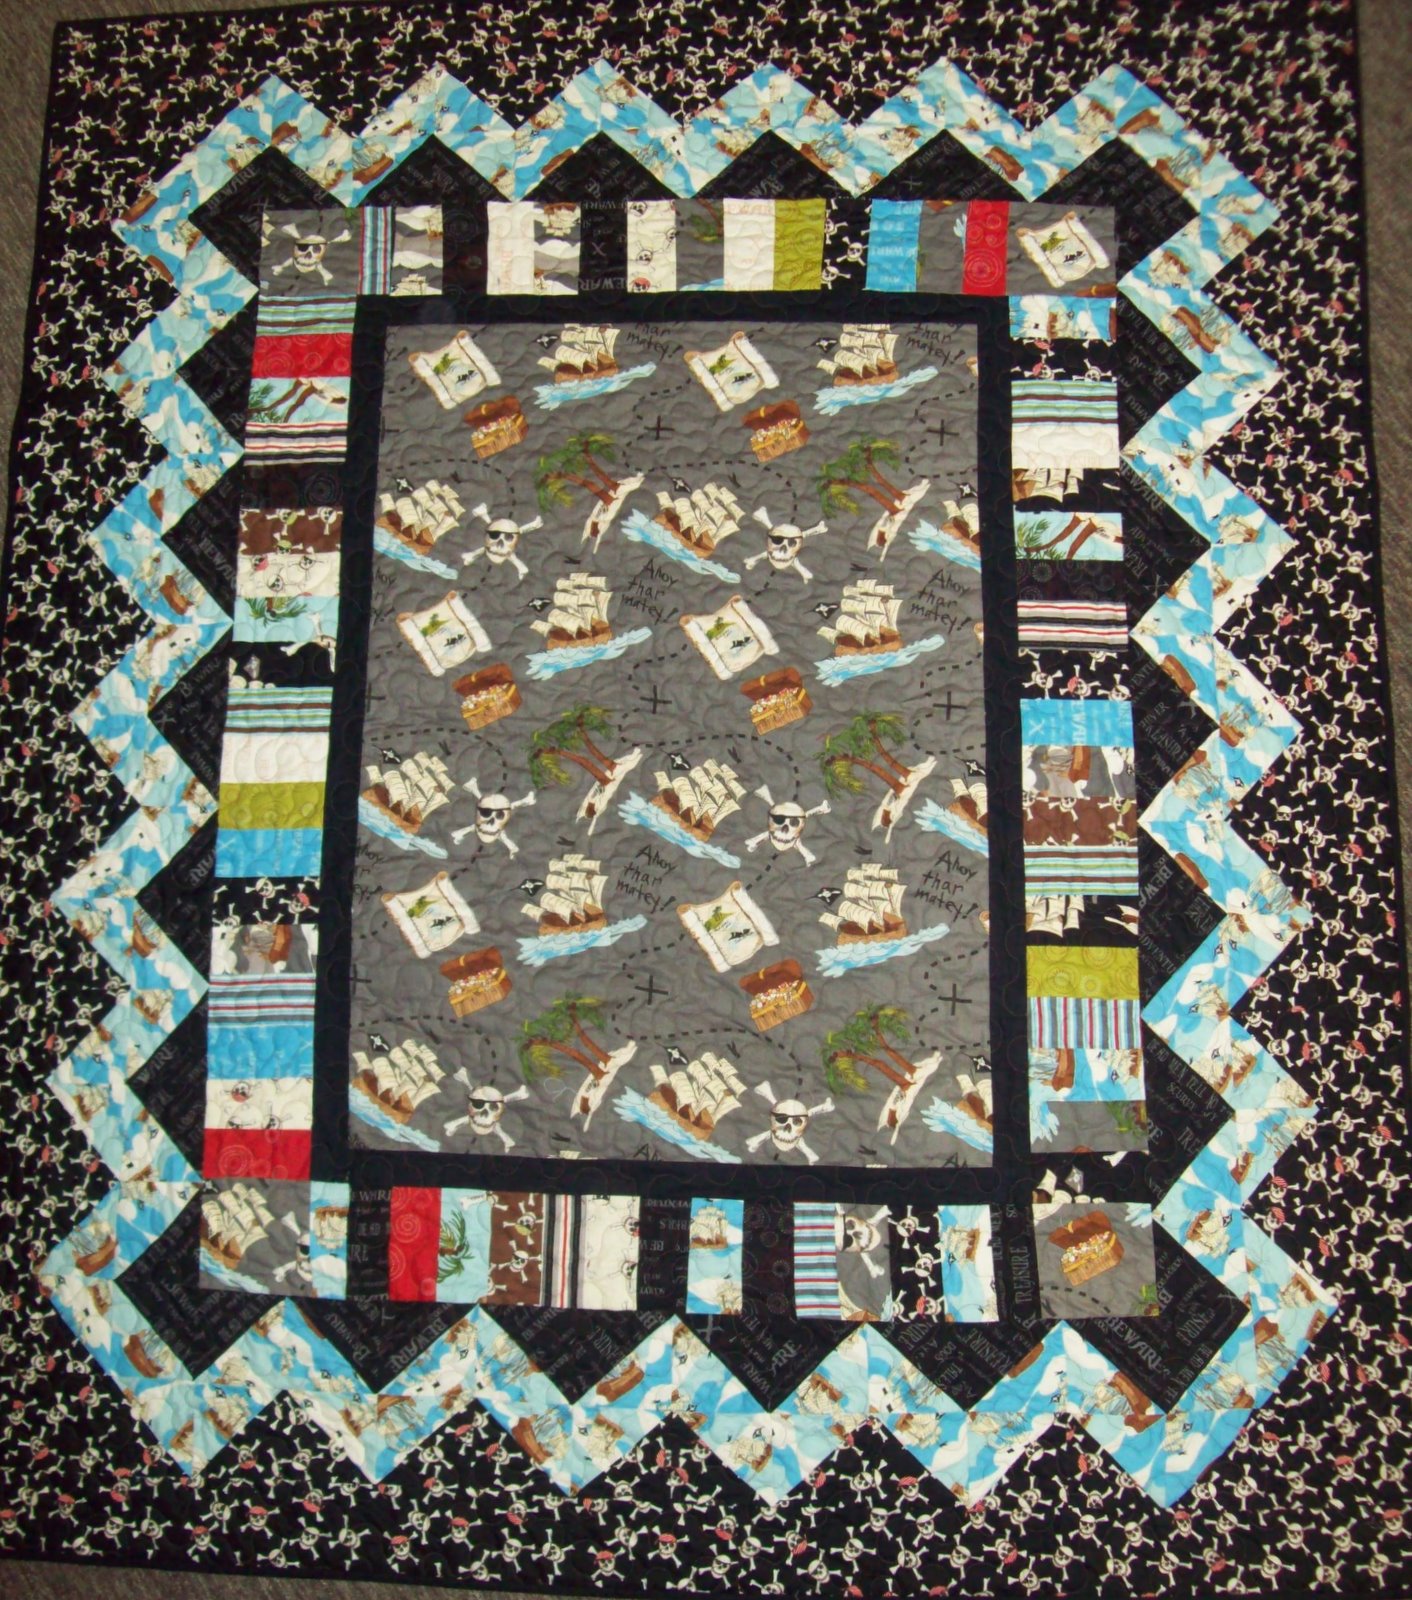
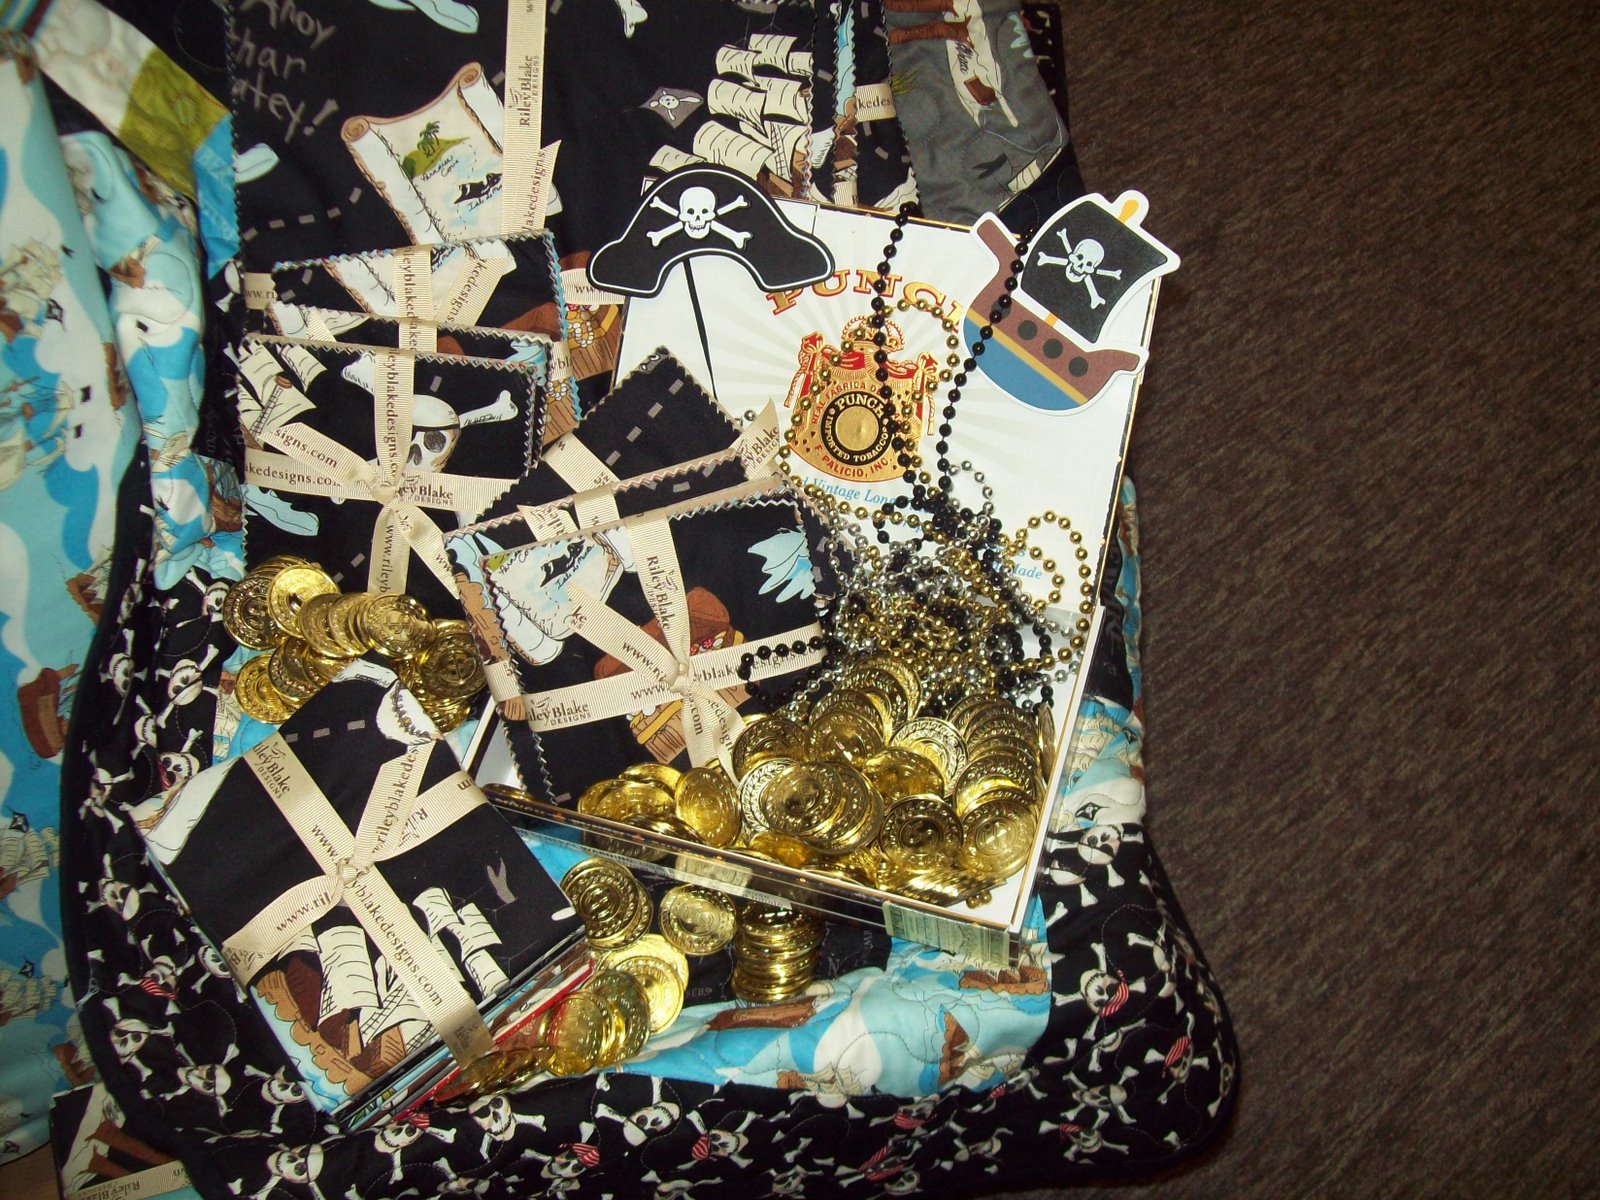
So do you or someone you love have a thing for Pirates!!?!? If so, you have probably been looking EVERYWHERE for some adorable Pirate fabric, only to come up short. I know, because I have been searching everywhere! Well, Ladies and Gentlemen…It is here! Riley Blake has done it for us! With help of course from the amazing designer, Emily Taylor! {her blog here, go and tell her we said hi}
I know that the picture I posted might scare you, but have no fear. Our shop has not been taken over by mean pirates. No money grubbers and thievery going on, It’s just crazy Jenny dressing up for the occasion! (once a costumer always a costumer. Or is it, once a fun Mom always a fun one? I think both of those fit her)
Anyway here is the quilt {without any distraction}
Just darling, right!?
If you want-need-just have to make one yourself, here is how you do it!
You will need:
3/4 yards of Black fabric {we used Bella solid Black 9900-99} for inner border and binding
Take the one yard of the {map fabric} and cut it down to 25″X 36″
Out of the leftover fabric, fussy cut 4- 5 inch square pieces
Then, with the Black fabric cut 4- 2inch strips and border the main fabric.
Take one charm pack and cut it in half. {2.5 inch rectangles} Sew together on the long side, making coin strips. Attach the coin strips to the quilt, using the fussy cut blocks in the corners.
For the zig-zag border cut 12 squares {of each fabric. Skulls and words} 6.5 inches X 6.5 inches
TO make the half square triangles, pair the skull and black fabric with a blue boat fabric. Sew all around each square {like we do the pinwheels} matching up the squares and cutting them both ways diagonally, to make half square triangles.
Mom has been busy as a bee, whipping out quilts left and right! We are continuing to get more and more new patterns in the shop {that we ordered from Quilt Market} daily and have been keeping the sewing machines running on FULL BLAST!
When we met Karen Bennet (and her family) at Market, we couldn’t have been more thrilled with her patterns. She is a sweetheart and if you haven’t sewn with one of her patterns yet, you are surely missing out! The pattern I am going to show you today is called ‘Freedom’ and it is darling! It has 3 different projects to make in it and goes together so {sew} fast using Jelly roll strips and iron on applique. We cut up some kits for this quilt, because it is just that darling!
Perfect for the Holiday coming up, to give as a hostess gift, use as a table topper, a picnic blanket or hanging as a decoration!
We do have a few kits left if you want to call the Shop and one of the girls will add one to your order! {1-888-571-1122}
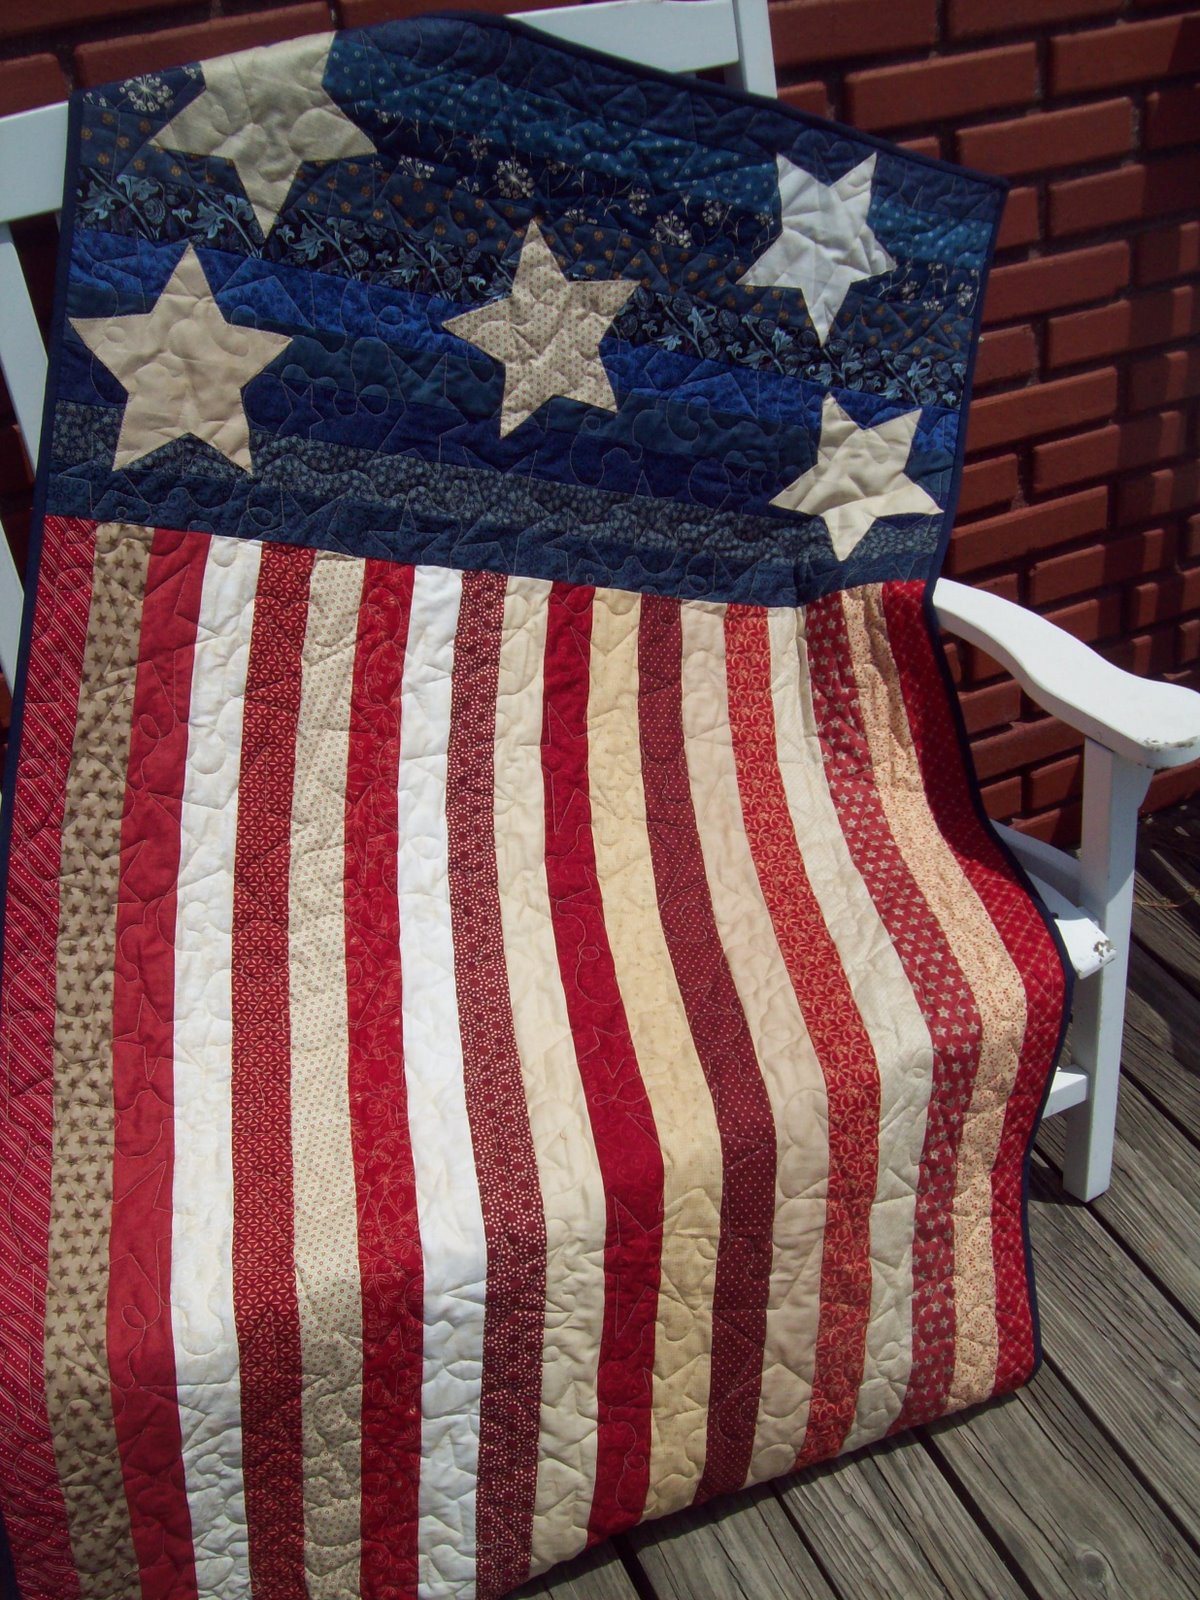
The next “patriotic” themed quilt project I wanted to show you is from one of our Local Ladies {and if you went on the bus trip, you’d know her. She was the bus trip coordinator} Carolyn and her Sister formed a company called ‘In Stitches’ and they love the Charm Packs as much as we do! Here is her adorable and very versatile pattern called ‘Star Lit USA’
If you notice, we have two made up…One in Patriotic colors and one in Christmas colors! Don’t limit yourself to those two holidays either. This pattern in one of my favorites, just because it is great with any color combo or style of fabric. Think about how cute it would be in batiks. {okay, so I DO have a thing for stars}
Have a wonderful weekend enjoying yourself wherever you are. Take a moment to give thanks for our Freedom. I for one am beyond grateful to live in this beautiful Country.
God Bless the USA!
PS. We are having the most fun ‘Patriotic Parade’ on facebook! Please join us by sharing your project there!
How are you?!!? I have so much to show you today!! I have gotten SO {sew} many emails with your pictures of quilts and I am more excited than ever to show them to you!
Such a great quilt Sarah!! Love it!
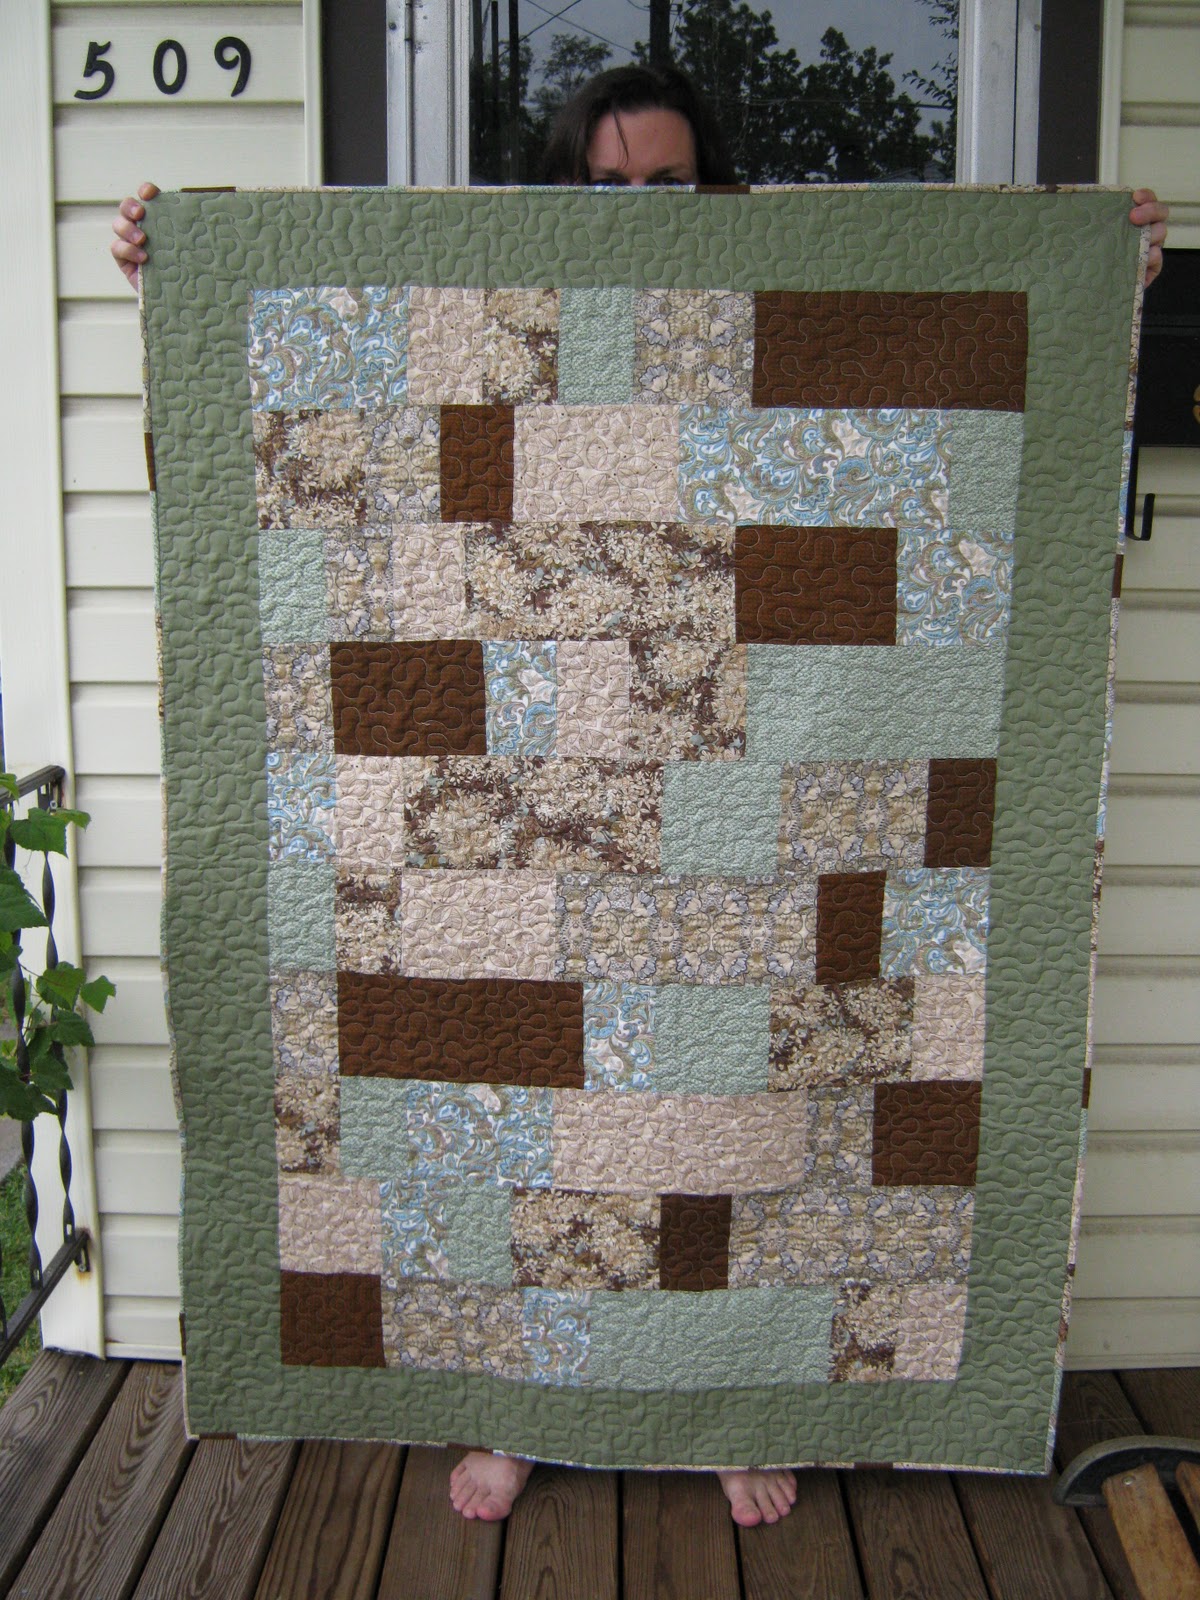
First off Sarah sent me this picture of the first quilt she has ever made!!! What a great quilt! {you can’t even tell it was a first. You should have seen the first thing I tried to sew. YIKES.} I just love the colors, so soothing.
Then…Check out this awesome table runner Kelly made for her Mom for Mother’s Day.
I love love love this line…and it looks so cheery as a table runner!
Kelly used our tutorial here and a Breath of Avignon charm pack. Thanks so much for sharing this with us Kelly!
Next up: I got a sweet email from Barbara who had followed Mom’s video tutorial on making a baby quilt.
Barbara used a charm pack by MOMO from Moda fabric. Isn’t it darling!? You did such a fabulous job Barbara!! Thanks for sharing.
Last but certainly NOT least is a sweet ‘Summer in the Park‘ quilt that Maria {from Australia} made using this tutorial.
How pretty!!
I love how sweet and simple the two tones of color makes it.
Thank you ALL for all the awesome quilts you make. I am so glad that you have taken the time to email pictures to me! I really LOVE seeing what you all make. I love hearing the stories behind the quilts….
I hope that you are all having a great week.
I am gearing up for Market! CAN NOT believe I will be ‘outta here’ in only a week. Where has the year already gone?!?!
Over a year ago I spoke with Carolyn on the phone. I tried to help her make her first quilt with a few suggestions and such. I received an email from her with pictures of the quilt she made and I couldn’t be more thrilled to share it with you!
Here is the email I received from her:
Hi Sarah,
As you can see from the date of your message to me (2/5/10), you helped me by answering some questions I had about making my first quilt! I had bought some charm packs of California Dreamin’ from your store and wanted to make a quilt for my sister’s birthday. You were kind enough to answer some of my questions over the phone, and then you sent me two pictures as suggestions of what I could do with the charm packs.
I am proud and excited to tell you that I finally finished the quilt!! I really wanted to show you what I did. (I think two of the pictures are sideways but I don’t know how to rotate them on here!) I added a white border around the charm square and then alternated a pink or green border around that. I also had bought material for the backing before I really knew what I was doing. When it was time to do the back, I found out it was only 42″ wide and the quilt was 54″ wide. So I had to make a border around the backing.
I also tried to stipple the quilt. I had taken a class on free motion quilting, but hadn’t been practicing. So, 30 minutes of stippling one section, ended up being 3 DAYS of ripping it out!! I then went with the grid pattern. I used 1″ painters tape and followed the line. After about 5 rows of that, I thought 1″ was too small so I ripped THAT out and used the 1.5″ tape. I used variegated quilting thread that matched the colors perfectly. My other sister noticed that right away which made me happy! I had no idea the quilting part would be so time consuming!
I made my own binding and followed your tutorial and that went fine. I also made a label with my embroidery machine. (I’m also new to that so it wasn’t the best!)
I presented it to my sister this weekend and she absolutely loved it! It was only one year, one month and a few weeks passed her birthday!
So THANK YOU so much for all your help and guidance. Your encouragement help give me courage to finish my very first quilt!!
Sincerely,
Carolyn
I can NOT even express how much it means to us, to hear back from you all. The stories, successes and failures {which always turn out to be successes too} are what keeps us going. We appreciate all of you. You are the reason why we are doing what we are doing.