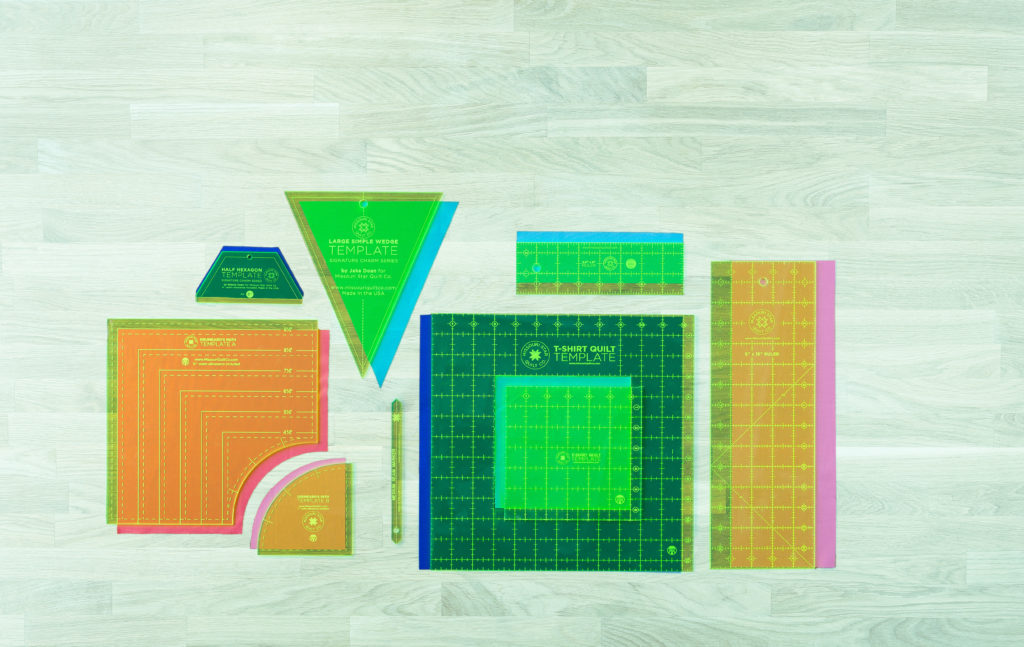
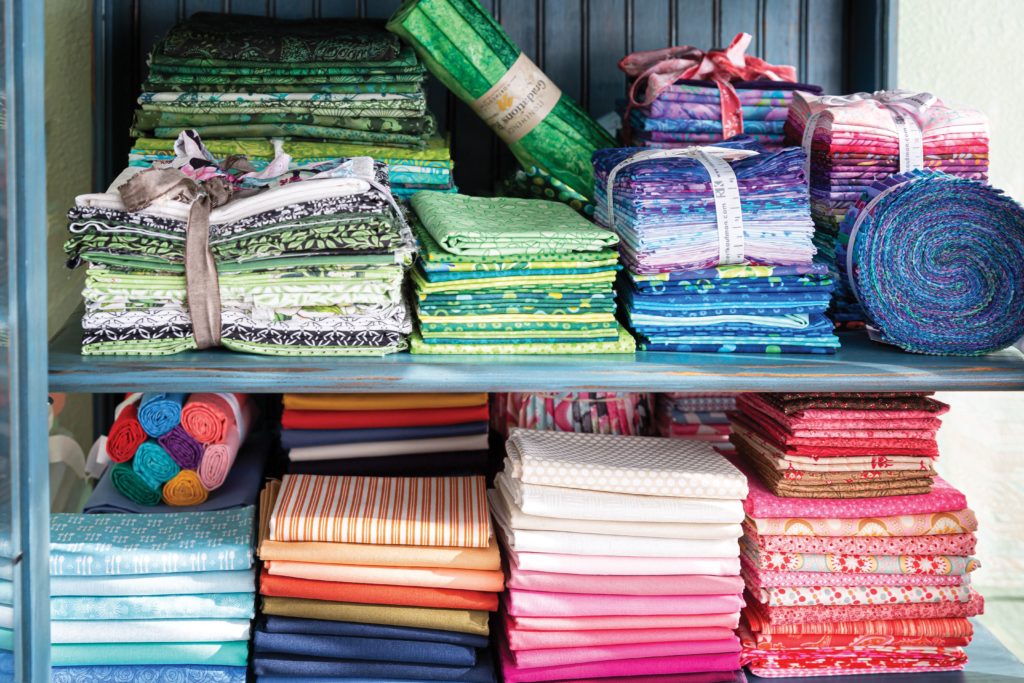
A variety of Missouri Star exclusive templates and notions.
You’ve gathered your supplies, you’ve studied your basic skills, and you’ve even put together your first quilt block, but what comes next? Using templates and notions to create one-of-a-kind quilting designs is even more simple than you may have imagined. In fact, if you’re using a ruler to line up your cuts, then you’re already experience in the process! The Merriam-Webster dictionary defines a template as “something that establishes or serves as a pattern”, so that handy ruler you’ve been using is the first step in mastering the template process!
The most familiar template for all of us is the trusty 5″ x 15″ ruler. This simple straight line device is used in quilting to cut an even and straight line, but they come in a variety of different sizes! If you’re sewing a big project, consider using a bigger ruler. Many quilting rulers are designed exclusively to feature one inch blocks in a transparent plastic so you will always be certain that you’re cutting and measuring precisely.
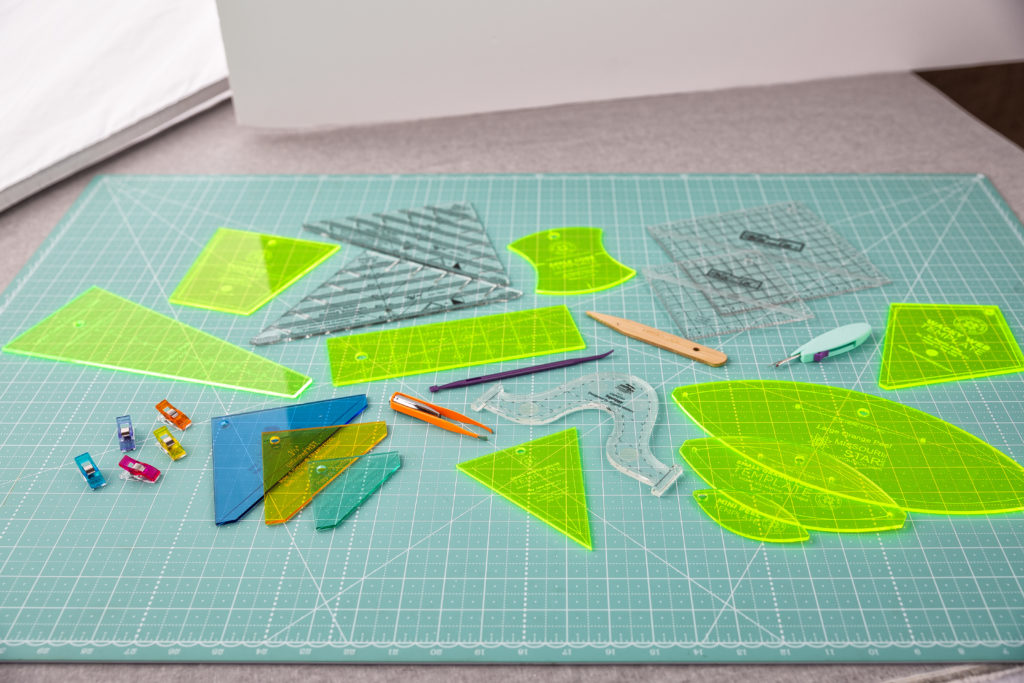
An assortment of templates and notions displayed upon a gridded mat for quilting.
This is just the beginning of the world of templates and notions! Consider the Dresden Plate block for example, it’s a time-honored traditional quilt block that demonstrates expertise in crafting and has long been a staple of the quilt world:
“The popular name for this quilt, Dresden Plate, reflects the romance of the Victorian Era with its love of elaborate decoration on household items and décor. Dresden, Germany was a center of 19th century romanticism movement in art, one that included the fine decoration of porcelain. The plates were embellished with elaborate design using flowers, fruits and foliage. The beautiful plates would surely have been admired by women of the early 20th century.”
Thanks to new quilting innovations however, the Dresden Plate has never been easier to create with a template. Using the Missouri Star Large Dresden Plate Template for 10″ Squares, Jenny demonstrates how to create this gorgeous vintage block in her Dresden Blooms quilt tutorial.
The Dresden Blooms quilt created with the Missouri Star Large Dresden Plate Template for 10″ Squares.
The fun doesn’t stop at just dresdens! Templates and notions are designed to make your quilting career easy and approachable. Whether you’re quilting with curves or using a notion to push out the corners of your project, take some time to research the available options to streamline the process. There is no limit to the ingenuity being utilized within the crafting world, so the next time you’re dreaming up some inspiration for your next project, consider challenging yourself to improve your skills by adding a new element to your quilting with a template.
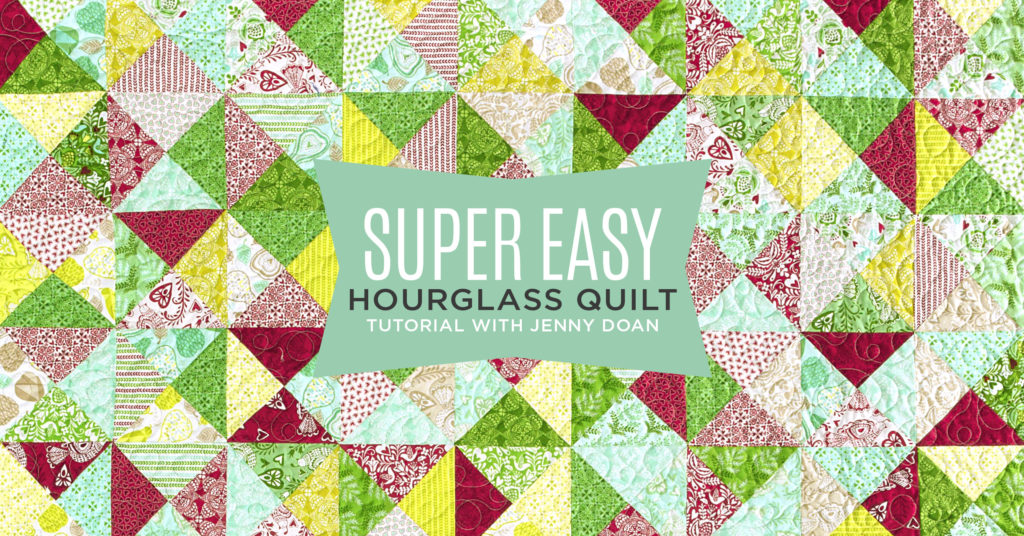
The Super Easy Hourglass Quilt is a great place to start learning your first quilt block! This project comes together easily using Charm Packs (5″ squares of precut fabric).
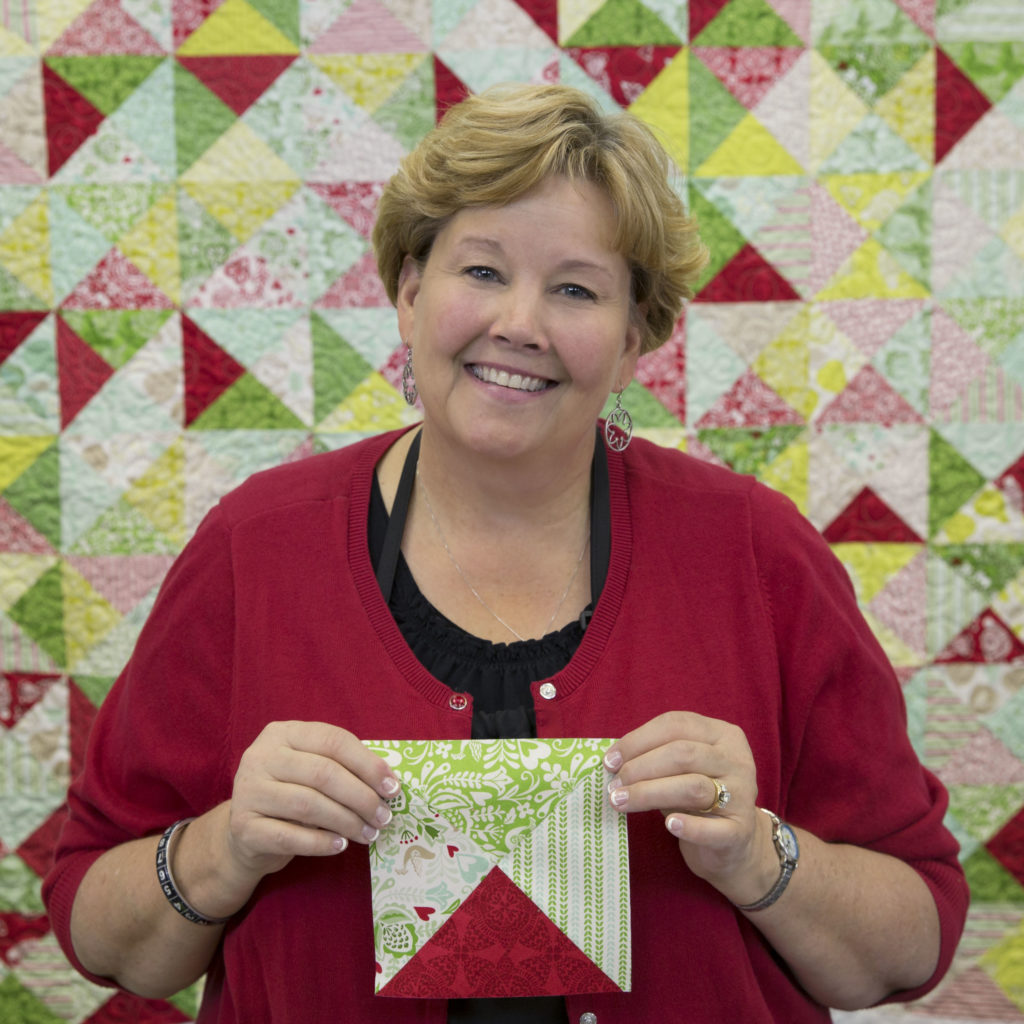
You’ve finally made it! You have your supplies in hand and you have a great knowledge of precut quilting fabrics so it’s time to create your very first quilt block! Before we begin, remember Jenny’s favorite phrase, “finished is better than perfect”. Your first quilt block might not be perfect (maybe it will!) but what is most important is that you learned new skills along the way and have a finished block that YOU created!
If you’re more of a visual learner and would like a video tutorial to follow along with as you create your first blocks, you can find all of the information on the Hourglass Quilt included in this blog post in Jenny’s Super Easy Hourglass Quilt tutorial and, for a quicker version, our Quilt Snips mini tutorial!
In today’s post, we are focusing on creating the first few blocks of the Hourglass quilt. We won’t be finishing the entire quilt top today, but if you continue your block making, you’ll soon have enough to create a finished quilt! We’ll get into binding, backing, and quilting later, but for now, let’s piece our first block!
The Super Easy Hourglass quilt block will measure 5″ x 5″ when complete.
For this project we’re going to be working with Charm Packs. If you haven’t already read Building Blocks: All About Precut Fabric, take some time to get to know your materials before diving into creating your first block. Once you’re ready, grab your favorite Charm Pack and let’s get stitching! You will need:
Remember we’re not tackling the full quilt today, just the first block. If you’re wanting to push your sewing skills a bit further, gather the supplies for the Super Easy Hourglass Quilt from the list HERE.
Creating Your First Block
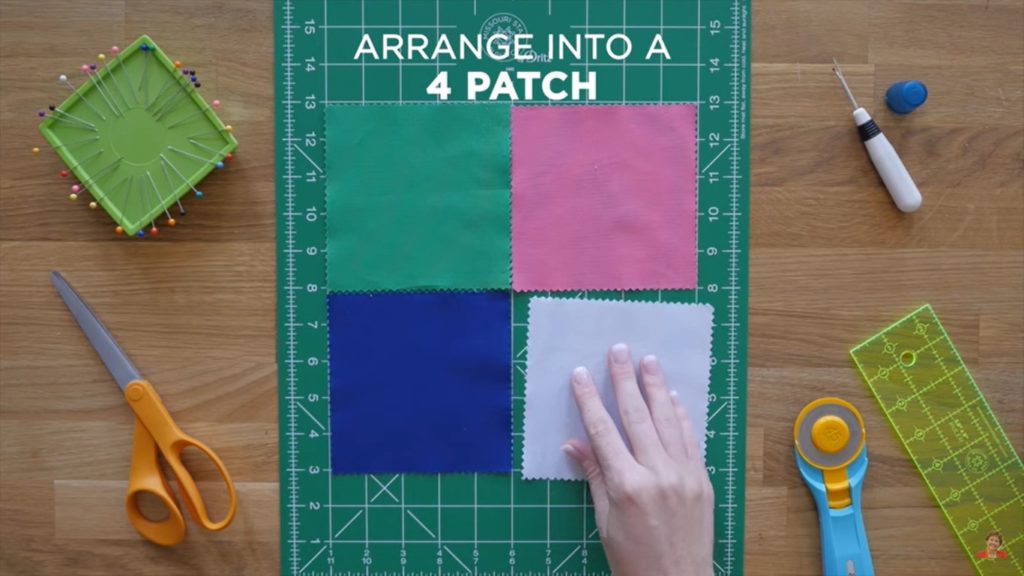
Arrange four 5″ squares of precut fabric together to create a large square.
Start by arranging four 5″ squares from your Charm Pack into a Four-Patch. This is a very simple and basic quilt block style and a great place to get started! Select four 5″ squares that vary in color or design and remember—we’ll be cutting these four-patches up very shortly so the layout will change as the hourglass block develops.
Once you have laid out four squares (hard work so far, right?) all you need to do is sew them together! Flip two squares of your four-patch over so that the right sides of the fabric are touching, as shown below.
Sew the side seams together by sewing down the side of the two squares on top of each other)
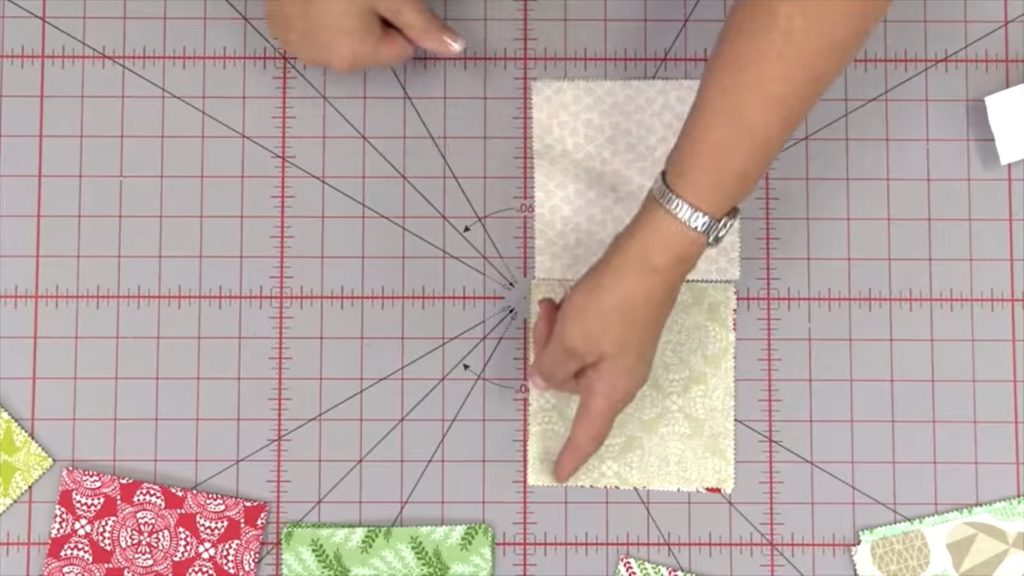
Next, sew straight down one side of each set of squares, creating two sets of two squares, using a 1/4 inch seam. Open and press the two sets flat, then line them up on top of each other with right sides facing. Match up the middle seams and sew the two sets together to create a four-patch.
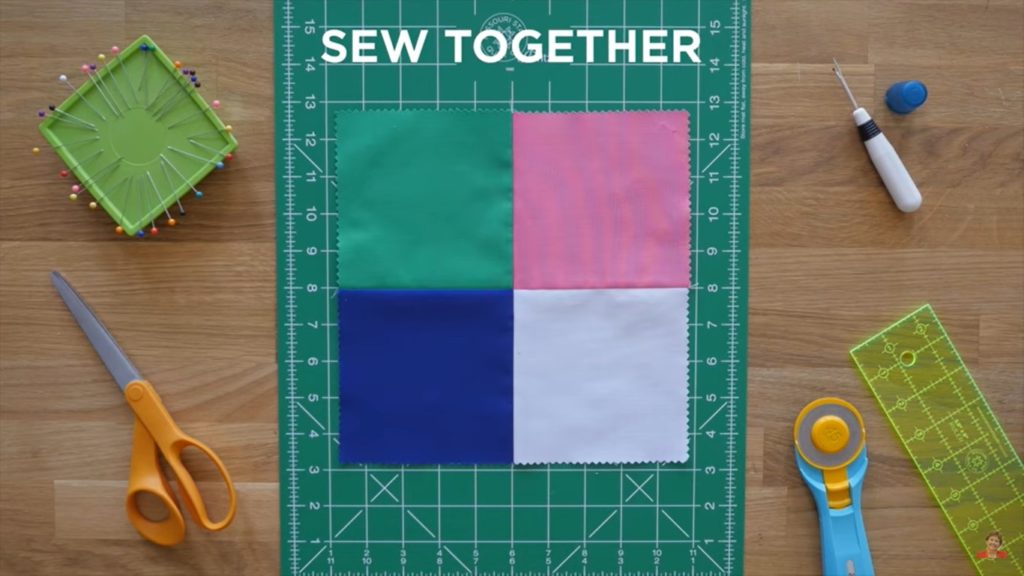
Sew all four squares together to create a Four-Patch quilt block!
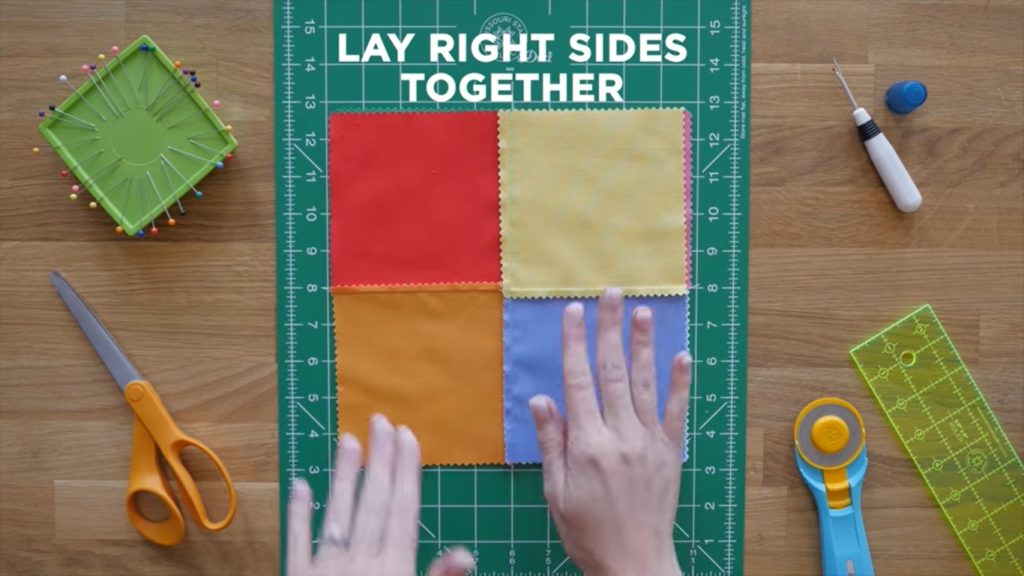
Once your four squares are sewn together, press your block flat with your iron. Believe it or not, you’ve created your first quilt block! This Four-Patch block is oh-so simple and versatile on its own, but with a little more creative energy, we can turn it into a simple Hourglass block! To do so, follow the instructions above to create a second Four-Patch block, just be sure to mix up your fabric choices! Once the second Four-Patch block is complete, press it flat and lay it on top of your first Four-Patch block with the right sides of the fabrics facing each other.
Lay the newly created second Four-Patch on top of the original (right sides facing).
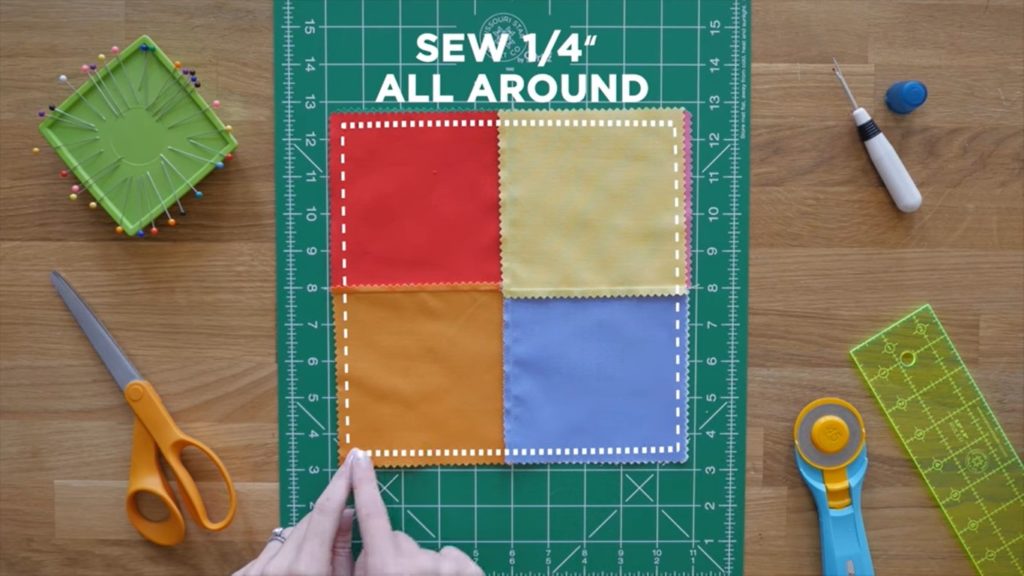
Take your blocks over to your sewing machine, keeping them lined up (you can stick a few pins into your blocks to hold them together if needed), and begin to sew all the way around the squares with a 1/4″ seam.
Sew all the way around the two blocks to bind them together.
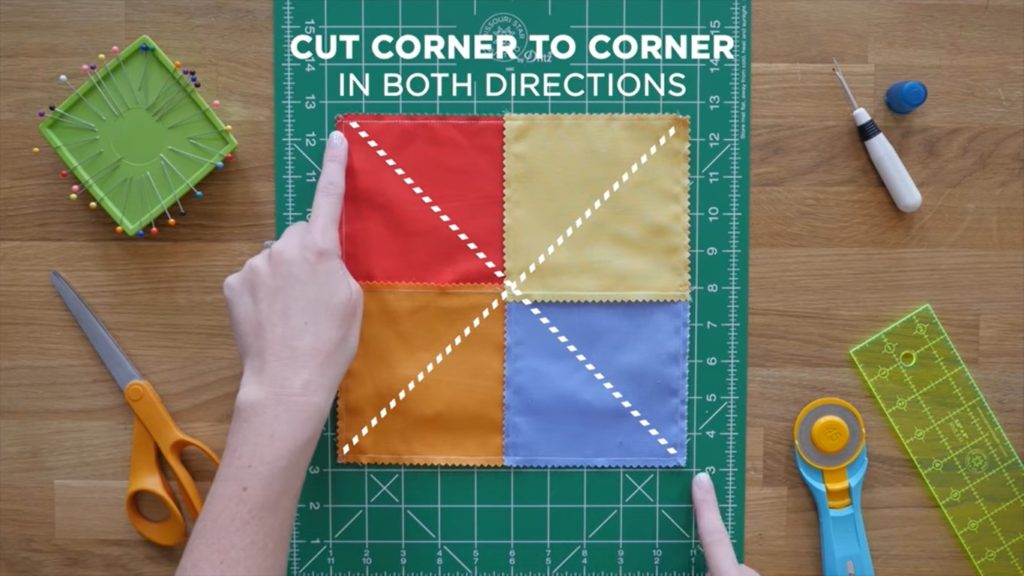
Your two Four-Patch blocks should be sewn together now and held tight. Now comes the fun part! Grab your rotary cutter and ruler and make two diagonal cuts from corner to corner on both sides of the sewn-together block. Use extra care when crossing over the middle of your block as the seams will be slightly more difficult to cut. Use your 5″ x 15″ ruler as a guide to ensure that your cuts are straight and even!
Cut corner to corner in both directions using your rotary cutter, cutting mat and ruler
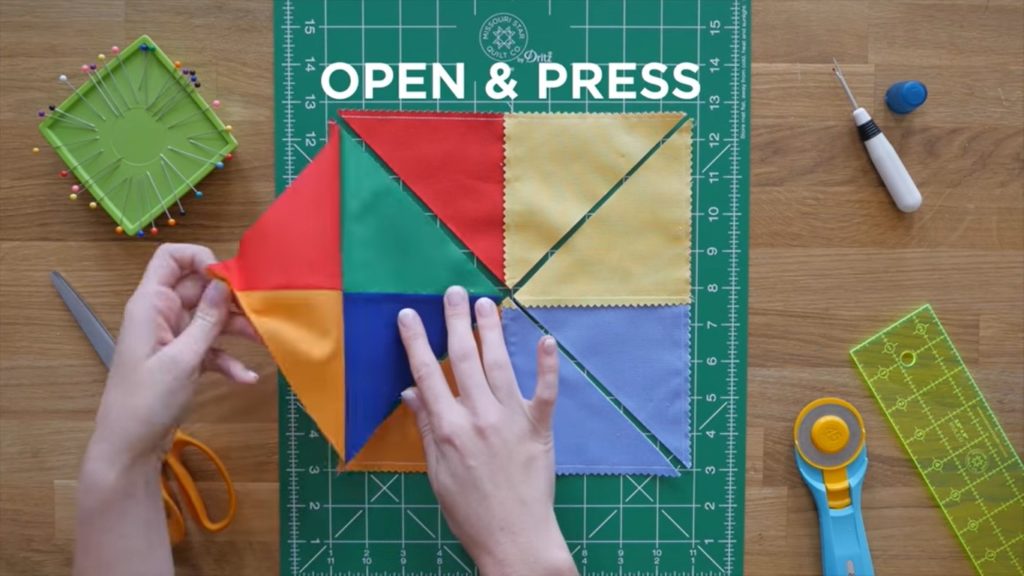
Now all that’s left is to open your newly created Hourglass blocks and press them flat! Using this method, you’ll actually create FOUR hourglass blocks at a time.
Open and press your newly created Hourglass blocks!
Take a moment to admire your work and be proud of what you’ve accomplished, you’ve not only created your first quilt block, but you altered that block to create four more unique quilt blocks! At this point you’re ready to tackle your very first quilt. If you need a little extra help, don’t panic! Check out Jenny’s full tutorial or the Quilt Snips mini tutorial below for some extra visual aids. Not everyone learns in the same way or at the same speed, so take your time and have fun!
A sewing machine in action from BLOCK Magazine Volume 7 Issue 3.
If you’re interested in learning about the basics of quilting, then you’re in the right place!
Getting started with something new is usually the hardest part. Quilting can be a laborious process — it requires many steps that can seem really overwhelming when you’re new to it all! Many beginner quilters can get stuck when thinking about piecing together their first blocks, but we’re here to help! Today we’re going to be talking about the steps before you start piecing. A good foundation is the key to success, so before you dive in and start stitching up your first creation, let’s learn about the very first steps in your quilting journey!
Jenny Doan always says “finished is better than perfect” and we can’t agree more! No one will notice if you lost a point or if you had to add back fabric with an extra seam after a cutting mistake or if you had to rip out the stitches in your block one too many times with your handy seam ripper (we’ll learn more about this tool soon!). Finishing a quilt or project is a huge accomplishment and you should never let your fear of imperfection get in the way of creating! So, let’s start with the basics and build our foundation and you’ll be sewing confidently in no time!
Fabrics
Fabric comes in all kinds of shapes, colors, cuts and styles. Photo from BLOCK Magazine Volume 7 Issue 1.
When it comes to buying fabric for your first quilt, pre-cuts are a good place to start! They come ready to go in various sizes in bundles of fabrics that coordinate with one another. If you haven’t had the chance, you can learn more about pre-cuts in our previous Building Blocks blog post. If you aren’t ready to take the leap into buying pre-cuts yet or you have other fabrics in mind for your project, have no worries! Virtually any fabric can be used for a quilting project.
The Memory quilt, for example, utilizes old neckties and shirts to create a quilt to honor a dear one’s existence. These materials are not designed for quilting projects, but with a little creative energy and ingenuity they come together to make a fantastic project that makes a truly powerful gift to honor the memory of a loved one. Old denim jeans, fabric scraps, recycled materials, t-shirts, and more can be materials used in your projects! So the next time you open your closet, keep in mind what you can repurpose to add a unique and modern touch to your quilting project.
You have many options for materials to use in your projects, but keep in mind that some materials are trickier to use than others. If you are just entering the world of sewing, we recommend choosing a material that is 100% cotton!
Cutting & Measuring
A selection of Rotary Cutters in various shapes and sizes on top of a gridded cutting mat.
Now that you are getting comfortable with choosing fabric and learning about all the choices you have, let’s talk cutting that fabric! The old adage “measure twice, cut once” has never been so pertinent. In many projects, the fabric measurements are very important to get right, so that the rest of the work goes by smoothly! Quilting can be a precise art form, so it’s best to get used to measuring out your fabrics and cutting as accurately as possible in order to get the best results. There are a few handy tools that can aid in making this process the easiest it can be!
You’ll need a rotary cutter, a cutting mat, and a ruler. Scissors are very helpful in the sewing process, but when cutting up fabric as accurately and quickly as possible, rotary cutters are our go to — especially when paired with a gridded cutting mat. These mats come blocked out in one inch squares to assist in your fabric measuring and cutting! By learning how to sandwich your fabric between your mat and ruler and using the marked, premeasured guides on those tools, you can soon become comfortable with using your rotary cutter and making as accurate cuts as you can! It takes practice, so don’t be discouraged if you make mistakes along the way. No one is a master in the beginning!
Pressing
Irons and pressing mats come in a variety of styles and designs.
The last item that we suggest getting familiar with that will help in the quilting process is something that you likely already have in your house – an iron! Irons are an integral part of the entire quilting process — they are with us almost every step of the way! You may already be comfortable with the iron you have at home and if you are not, don’t fret! They usually are pretty quick to learn and may just take a little studying and practice to find the settings that work best for you. Ironing makes many steps of the quilting process easier and soon you’ll figure out how much or how little ironing you like to do during your quilting process! Everyone is a little different — some people utilize the steam feature on their iron often, some people iron every little piece, and some iron rarely. It’s all personal and a part of the learning process!
Remember to always iron on a safe surface — an ironing board is great if you have one, but if you want a space closer to your sewing area, you can always purchase an ironing mat or even make your own! You’ll be ready to press in no time and create beautiful smooth fabric that’s ready for the next step, piecing!
In our next segment, we will be talking all about piecing. Take this time to familiarize yourself with your quilting tools and measuring and cutting fabric. Remember, these basic steps, although simple, will make all the difference when creating your first quilt project. We can’t wait to see what you create!