
This is a super fast and fun way to create a Butterfly and Blossoms Quilt using your Periwinkle Template from Missouri Star Quilt Co! Click HERE to watch the short clip and get your supplies!
Quilt Snips Mini Tutorial – Butterfly Blossoms


Inspire. Empower. Create.
This is a super fast and fun way to create a Butterfly and Blossoms Quilt using your Periwinkle Template from Missouri Star Quilt Co! Click HERE to watch the short clip and get your supplies!


When Jenny is designing a new quilt, she always asks herself, “What happens if…?”

What happens if she rotates every other block? What happens if she snowballs two corners? What happens if she uses solids instead of prints?

Today’s new quilt came to life when Jenny found out what happens if HALF square triangles are cut in HALF. Click HERE to learn how to make the Half and Half quilt!


This fun Falling Triangles design not only makes a large quilt but also a gorgeous one. This is also an excellent pattern to do in masculine prints. The possibilities are endless. Click HERE to watch the full tutorial!
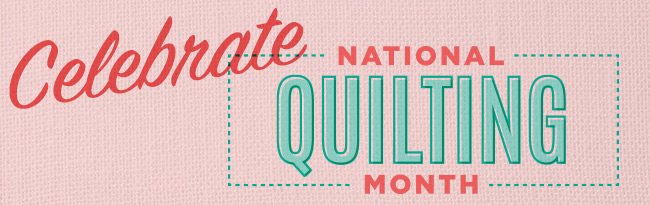
It wouldn’t be National Quilting Month without a visit from our favorite quilting mascot, Chuck the Duck! He is always here to offer words…ahem, quacks of encouragement, and a helpful hint or two. This week, we are sewing up a fun, flat-ish version of Chuck just in time for spring.

To get started, download the FREE Chuck the Duck printable HERE! Follow along with Misty as she shows us how to create one of these soft, fabric friends. Watch the replay of our Missouri Star Live Video below:
Supplies:
Directions:
Have fun sewing, friends! Be sure to share your creations with us on Facebook and Instagram throughout National Quilting Month using #makesomethingtoday and #msqcshowandtell!

What do you do to relax? Do put together jigsaw puzzles or work on crosswords? Do you enjoy pulling weeds or folding laundry? We all have our quirks, but the truth is, creating order out of chaos is the most satisfying feeling in the world. It’s what draws us to quilting and keeps us coming back for more.

This week’s new quilt is made with stacks and stacks of little pieces. This is the kind of project that just melts away my stress. Stitch by stitch, block by block, those pieces come together into a beautiful quilt and I am left feeling peaceful and accomplished and pretty darn proud of myself!