How To Figure Yardage For Quilt Backing

How to Figure Yardage For Backing

Once you’ve pieced your beautiful quilt top, it’s time to choose your backing! There are so many fabrics out there and using 108″ wide backing does make things easier, but we will help you know how much fabric you need when using standard 42″ wide fabric.

Here are some items you’ll be needing:

  • Pencil
  • Paper
  • Calculator
  • Your finished quilt top
  • A measuring tape or template

Step 1: Measure the length and width of your quilt top.

Step 2: Add an extra 8 inches to both the length and width of your quilt if it’s going to be machine quilted, that’s 4 inches on each side and 4 on the top and bottom.

Step 3: Take your measurements, add them both together, and divide it by 36. This is the amount of yardage you will need.

  • If your quilt is less than the backing width, congratulations! You can simply cut your backing to the same length you figured in Step 2. But, if your quilt is wider than your fabric, you’ll need to figure out how many fabric widths you’ll need to piece together and then multiply that number by the quilt backing length from Step 2. That’s the number of inches of fabric you need to buy.
  • If your quilt is more than about 42 inches wide, which is the typical width of a yard of fabric, you will need to keep in mind that you will have a seam in the backing, unless you use 108” inch wide backing.

Step 4: Cut the fabric to your backing length and piece together with 1/2″ seam allowances.

Now you are ready to quilt!
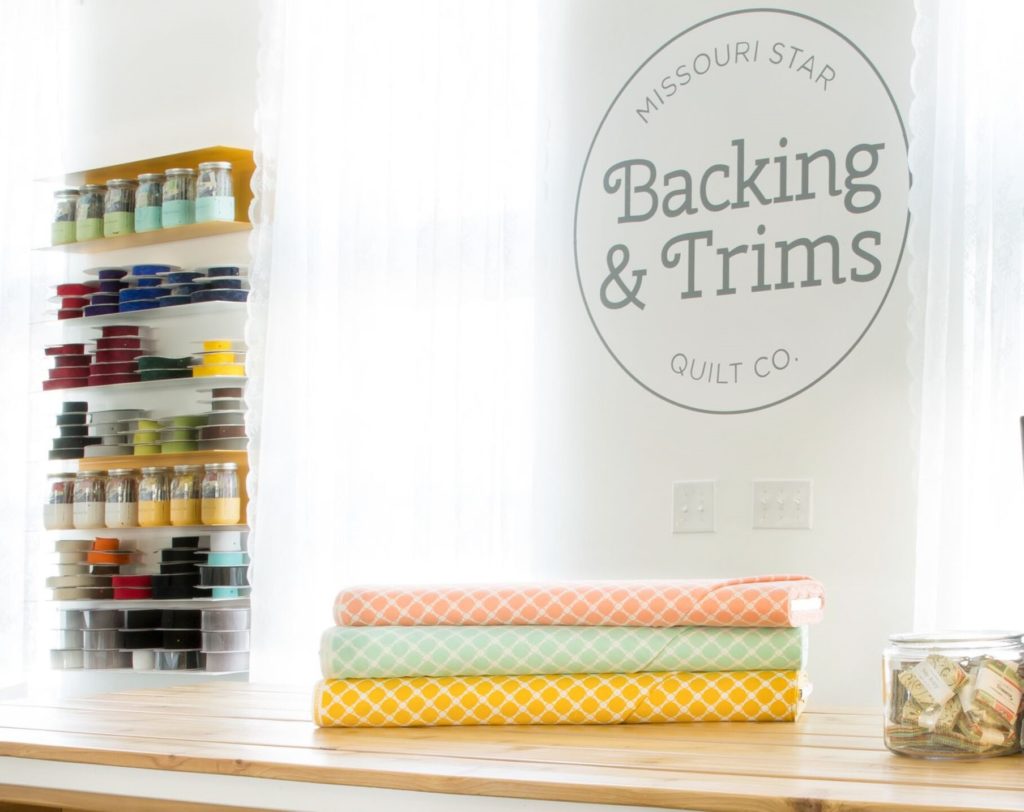
Wide fabrics make backing a quilt seamless. Visit our Backing & Trims store to find your next quilt’s back!

Tips and Tricks for Backing:

  • Measure your quilt top vertically and horizontally. Add 8 inches to both measurements to make sure you have an extra 4 inches all the way around to make allowance for the fabric that is taken up in the quilting process as well as having adequate fabric for the quilting frame.
  • Trim off all selvages and use a 1/2″ seam allowance when piecing the backing. Sew the pieces together along the longest edge. Press the seam allowance open to decrease bulk.
  • Use horizontal seams for smaller quilts (under 60″ wide) and vertical seams for larger quilts.
  • Don’t hesitate to cut a length of fabric in half along the fold line if it means saving fabric and makes the quilt easier to handle. Note: large quilts might require 3 lengths.
  • Choose a backing layout that best suits your quilt. Think about the direction of the pattern and pattern matching.

Example Quilt:

Once borders are added, the finished quilt top dimension is 58″ x 66″
Take quilt top width + 8″ = backing width
58″ + 8″ = 66″
Take quilt top length + 8″ = backing length
66″ + 8″ = 74″
Determine the number of Widths of Fabric (WOFs) you need for your backing by dividing your width measurement by 40″
66″ divided by 40″ = 1.65 
Round up to 2. You need 2 WOFs to make your backing.
Take your backing length measurement and multiply it by the number of WOFs you need.
74″ x 2 = 148″ This is how many inches of fabric you need.
Now, divide that number by 36″ to get how much yardage you need.
148 divided by 36″ = 4.1
Round up to the nearest ¼ yard and you get 4 ¼ yards.

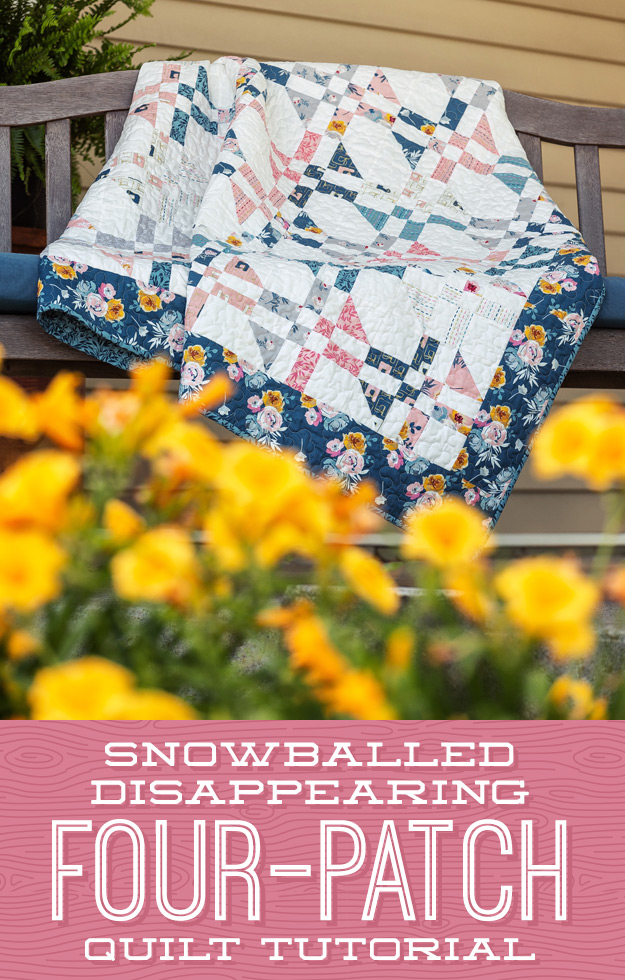
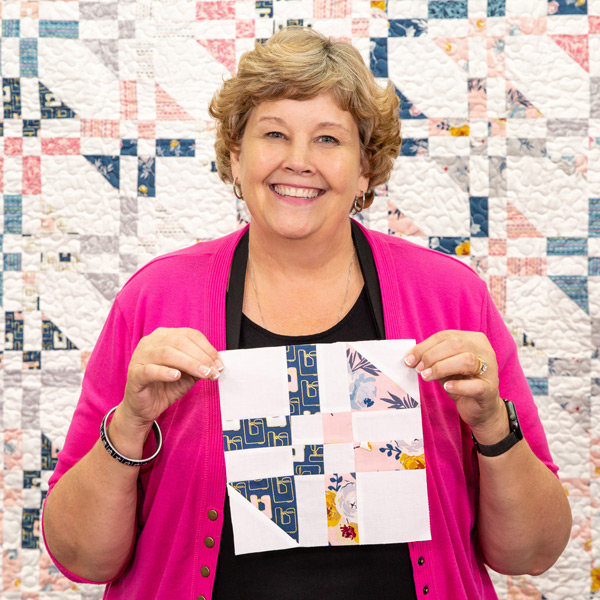
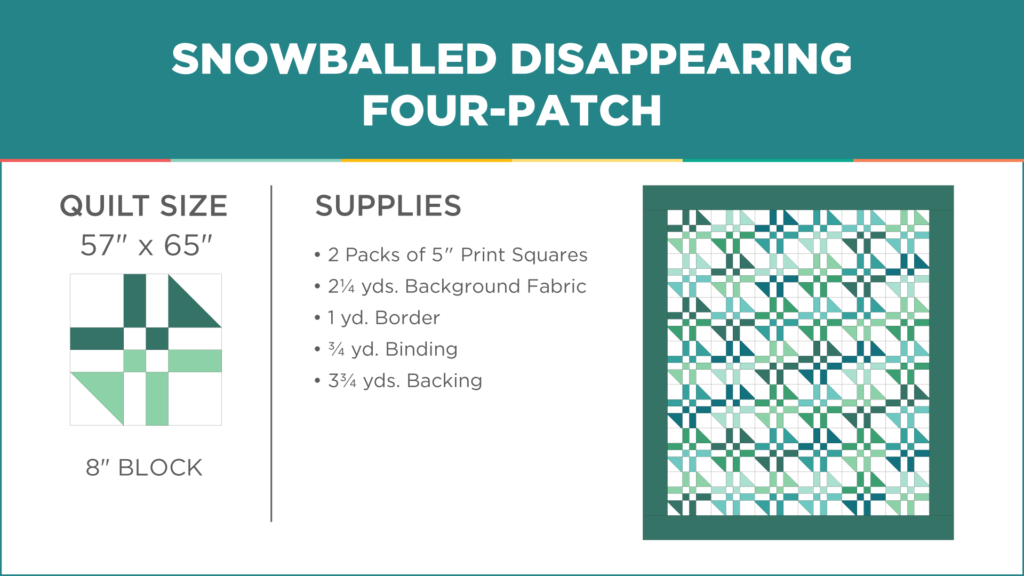
Snowballed Disappearing Four Patch Quilt

MSQC New Tutorial on the Blog!

In the middle of summer, it’s nice to daydream about a refreshing snowfall. The kind that covers the landscape with a nice layer of the white fluffy stuff, like a decadent cake.

Though stranger things have happened, the chances of a July snowfall in the middle of Missouri are slim to none, so this week Jenny is adding a touch of snowy fun to our newest quilt, the refreshing Snowballed Disappearing Four Patch Quilt!

Click HERE to watch those little snowballs completely transform one of our favorite disappearing blocks!

Watch the Latest Tutorial from Missouri Star Quilt Co!

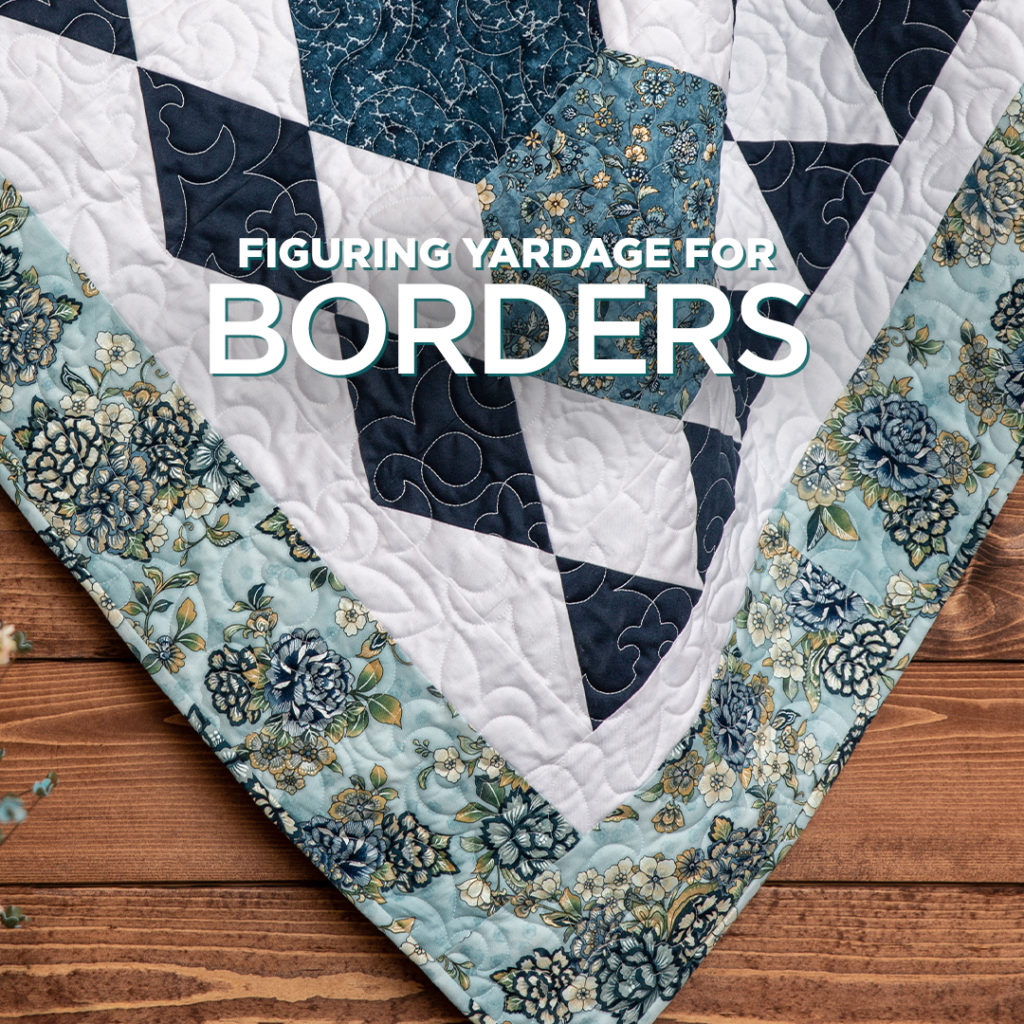
How to Figure Yardage for Quilt Borders

How to Figure Quilt Borders

For many of us, quilt patterns are a jumping off point for our own designs. Adding a border can give your quilt added oomph, just like framing a picture can make it pop.

Follow this handy guide to be sure you’re getting the right amount of yardage for your borders!

How to Figure Quilt Borders

Here are some items you’ll be needing:

  • Pencil
  • Paper
  • Calculator
  • Your quilt top
  • A measuring tape or template

Step 1: Decide how wide you want your borders. 

Step 2: Measure the length of your quilt top.

Always measure your quilt top in 3 different places vertically before cutting side borders to make sure you have accurate measurements. Start measuring about 4″ in from the sides.

  • Take the average of those 3 measurements to figure your length.
  • Because there are two long sides, double your border measurement.
  • Remember your ¼” seam allowance and add 1″ to that number.

Step 3: Measure the width of your quilt top with side borders.

Always measure your quilt top in 3 different places horizontally before cutting top borders to make sure you have accurate measurements. Start measuring about 4″ in from the top and bottom.

  • Take the average of those 3 measurements to figure your width.
  • Because there is a top and a bottom to your quilt, double your border measurement.
  • Then, take that number and add on the width of your borders because you’ll sew the top and bottom borders on after your side borders.
  • Remember your ¼” seam allowance and add 1″ to that number.

Step 4: Add the measurements for the side, top, and bottom borders together.

Step 5: Take your total measurement, and divide it by 40″ to get the number of strips necessary for your borders.

Step 6: After you get the number of strips needed, you need to multiply the number of strips by the width of border. That’ll give you the number of inches of fabric to buy to cut for your borders. 

Step 7: Divide the number determined in step 6 by 36″ to calculate the yardage. Round this number up to the next 1/4 yard increment and you’ll have your total yardage number!

Tips and Tricks for Borders:

  • Cut 2 border strips to that size. Piece strips together if needed.
  • Attach one to either side of the quilt. Position the border fabric on top as you sew to prevent waviness and to keep the quilt straight.
  • Repeat this process for the top and bottom borders, measuring the width 3 times. Include the newly attached side borders in your measurements.

Example:

8″ finished quilt blocks on a 6 x 7 Grid
Center of quilt without borders is 48″ x 56″
Borders are 5″ wide (plus 1/2″ for seam allowance)
Finished quilt top dimension is 58″ x 66″
Seam Allowance = 1/4″ throughout

(Side Measurement + Seam Allowance) x 2 = 113″
(Top or Bottom Measurement + 2 Seam Allowances + 2 Border Widths ) x 2 = 117″
Add both numbers together and you get: 230″ total inches
Divide by 40″ to get the number of strips you need: 5.75
Round up to the next whole strip and you get: 6 strips
Number of strips x width of the strips = inches of fabric you need
6 strips x 5.5 width (this includes seam allowance) = 33″
33″ divided by 36″ (typical fabric width) = .91 
Round up to whole yard
You need 1 yard of fabric for this quilt’s borders

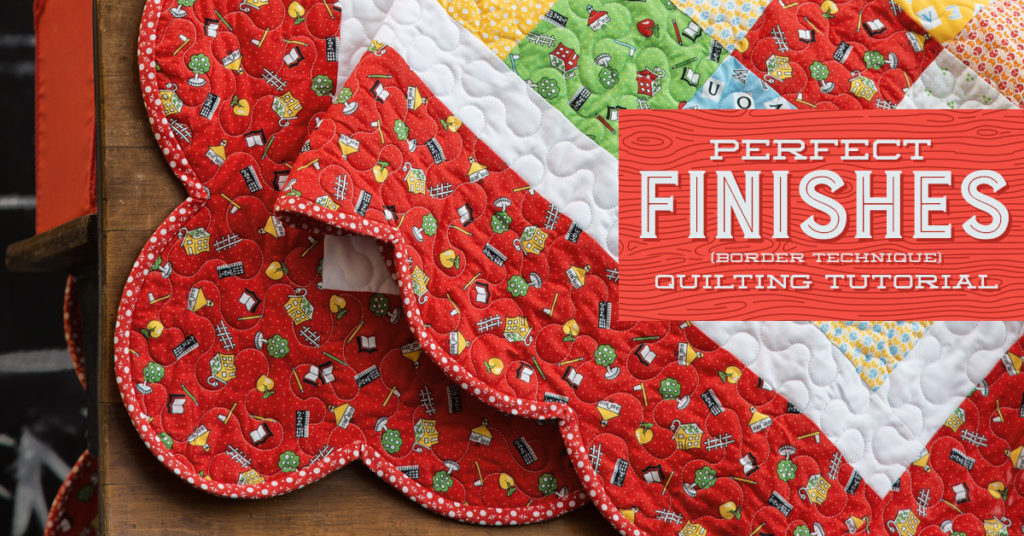
Watch Jenny and Darlene Zimmerman go over some pretty border techniques for more!

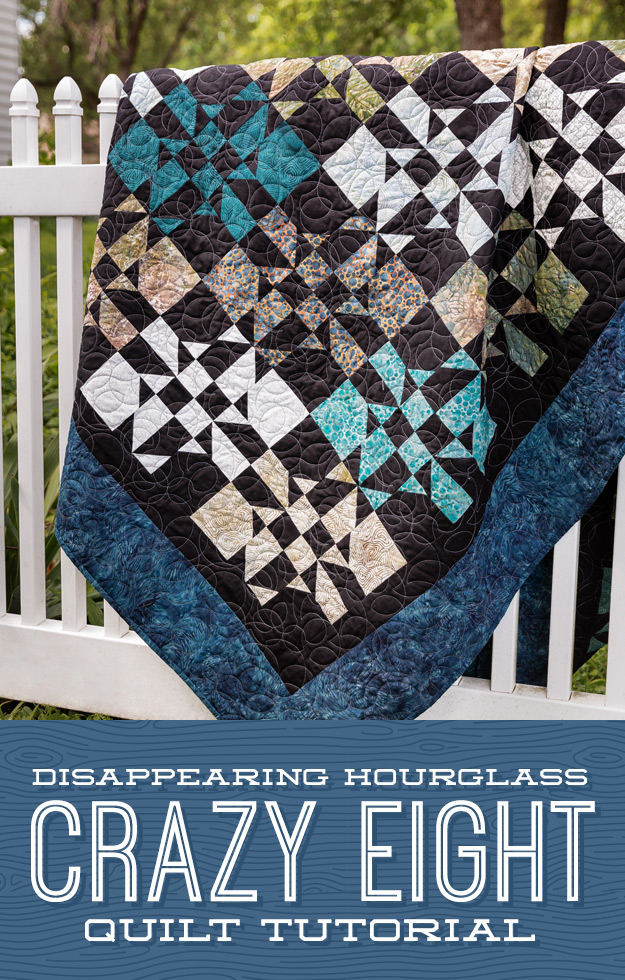
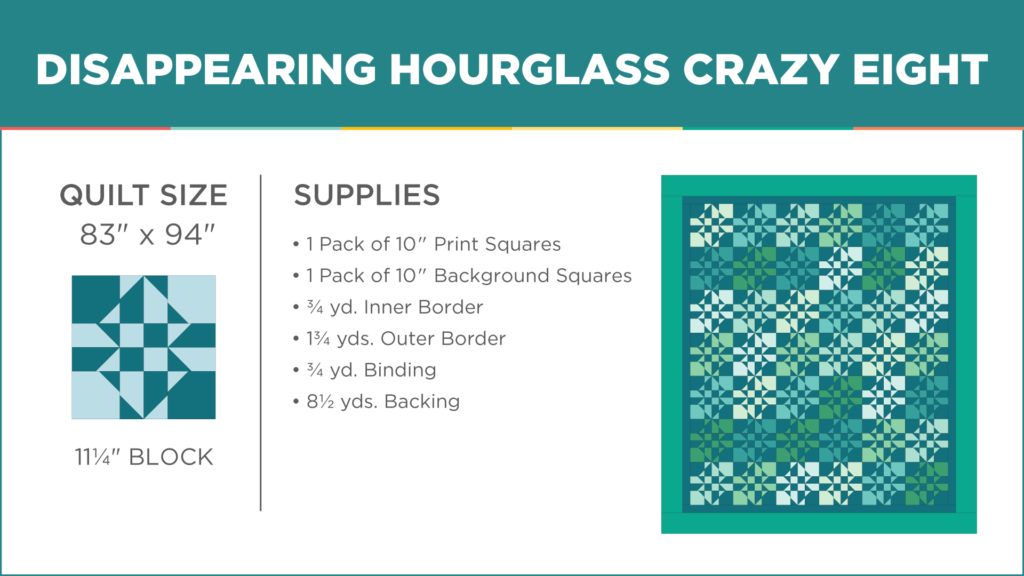
Disappearing Hourglass Crazy Eight Quilt

MSQC New Tutorial on the Blog!

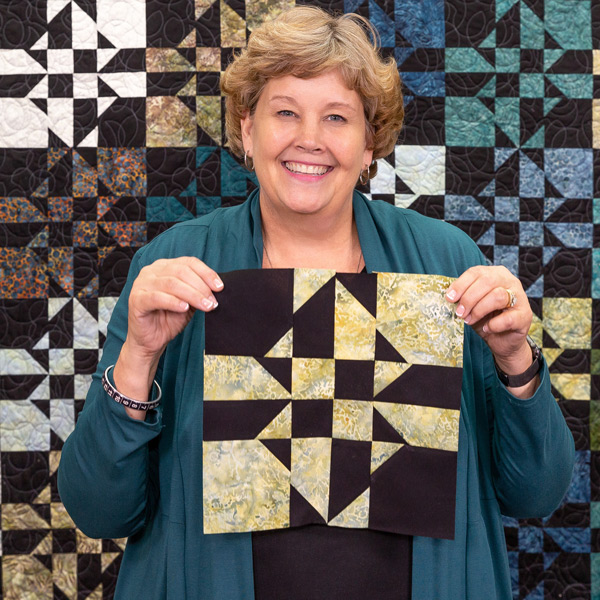
Let’s say you’ve just stitched up a nice, basic hourglass block. The ¼” seams are flawless and it’s pressed to perfection. What do you do next? Slice that block to bits, of course! Because when those pieces are rearranged and stitched back together, you’ll have a gorgeous, super-intricate block that looks like a million bucks!

Click HERE to learn how to make the easy-as-pie Disappearing Pinwheel Crazy Eight quilt!

Watch the Latest Tutorial from Missouri Star Quilt Co!

Local Business Spotlight: The Hangout

Local Business Spotlight: The Hangout
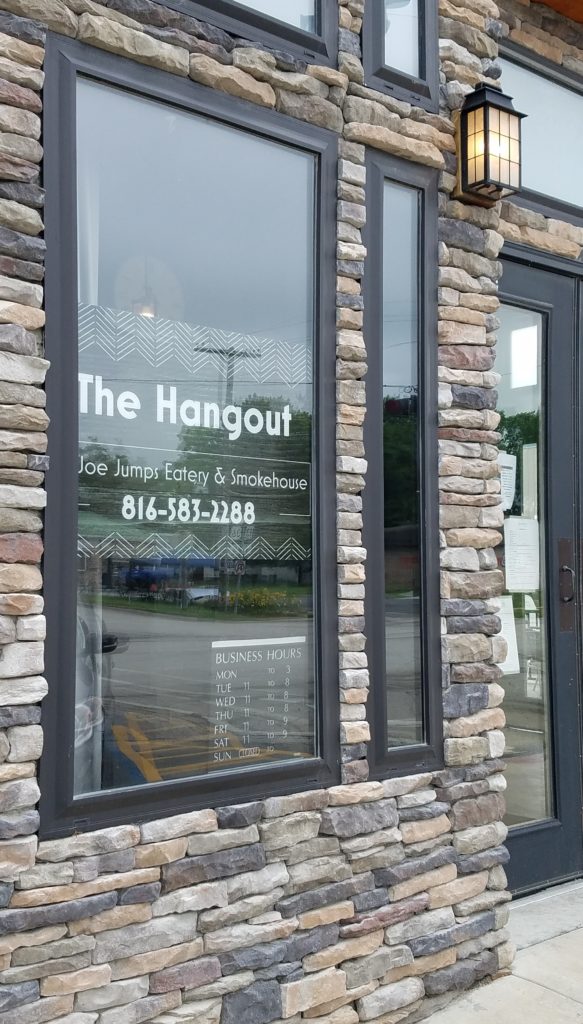
The Hangout by Joe Jumps

Former Kansas City entrepreneurs, Stephanie and Tim Champagne opened Joe Jumps Eatery and Smokehouse in Gallatin, MO in the fall of 2018. Luckily for us, they decided to create a sister restaurant right here in Hamilton! The Hangout by Joe Jumps recently opened in May of this year. The building has been quite the busy place ever since which is no surprise when you take a look at their amazing menu options and relaxing atmosphere.

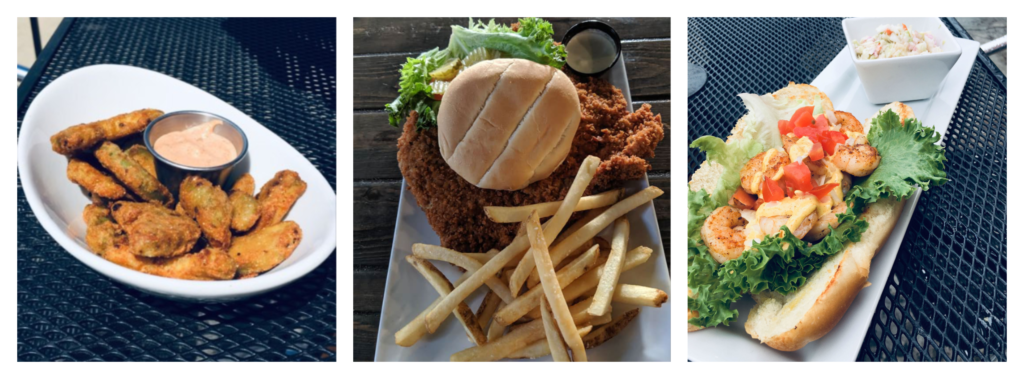
Here’s just a few of their signature, must-try meals…

Lunch

Must-try: Deep fried avocados (appetizer), Joe’s Massive Tenderloin Sandwich, and the Shrimp Po Boy

The Hangout by Joe Jumps

Dinner

Must-try: Shrimp & Grits, Chicken and Waffles, or the Reverse Pot Pie

The Hangout by Joe Jumps

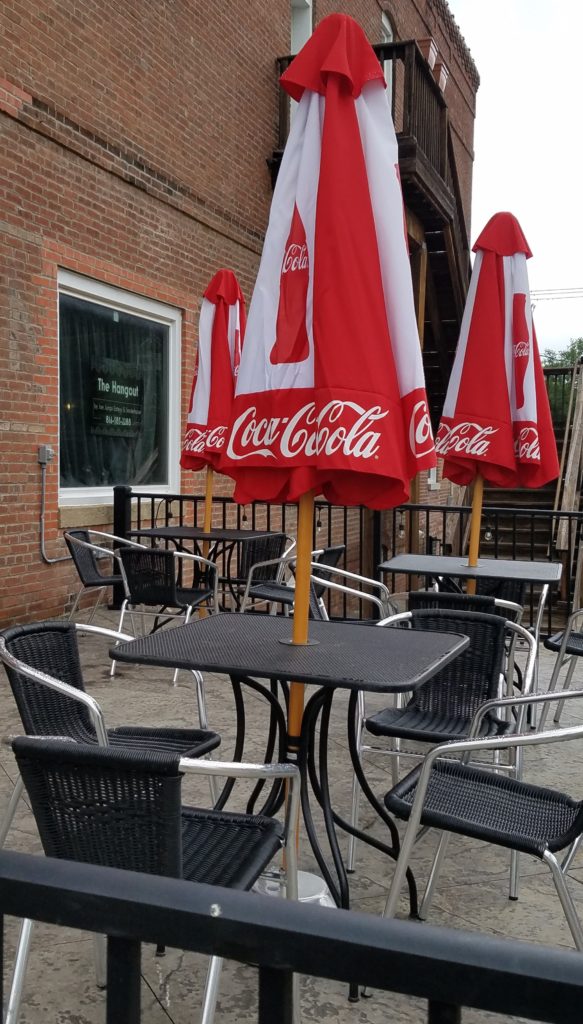
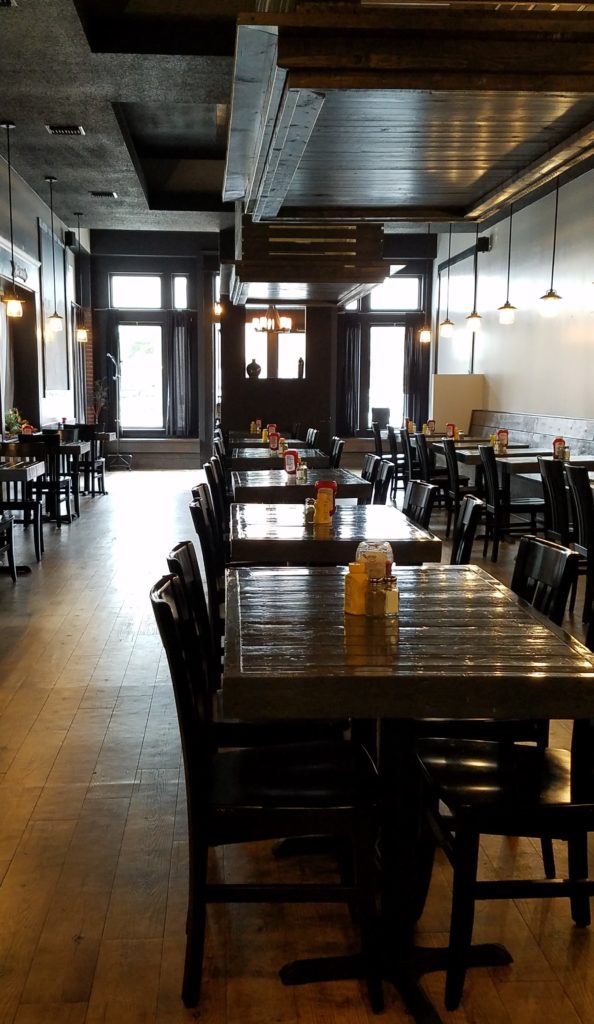
The Hangout is such a fitting name for the restaurant. Cozy, warm lighting and rustic wooden benches will make you feel right at home during your meal with friends or family. In the summertime, eat out on the patio for a more refreshing experience or romantic date night. The Hangout is definitely one of our new favorite hang-outs!

Not only have people been raving about the food at the hangout, but the staff as well! These friendly faces are happy to cook you a great meal or serve you anything you may need during your visit here!

The Hangout by Joe Jumps


“You have to get the tenderloin sandwich. My husband and I did share the tenderloin and we both brought some home . My son had a big cheeseburger… daughter-in-law and granddaughter had the chicken tenders. Everything was excellent. Our server was really friendly and kept up with refills. We all walked out full and said we will be back. 5 stars all the way.”

Mindy Loyd, local resident

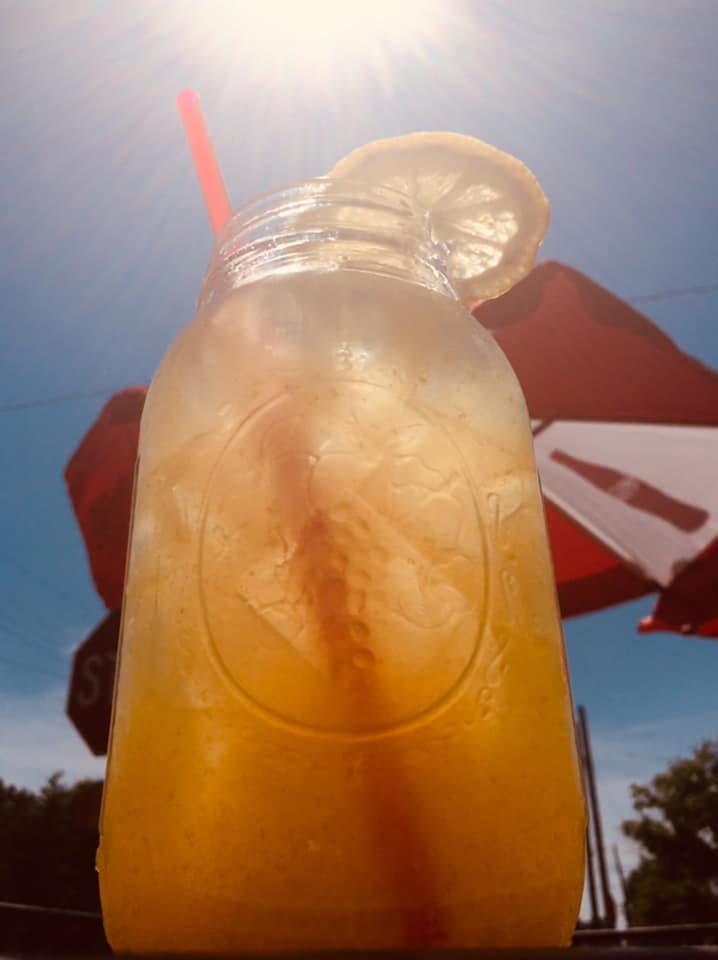
As if you need another reason to stop in, The Hangout now serves peach, strawberry, and regular lemonade! Yum!
Also, you can pair your meal with a fine wine or choose your favorite liquor or beer!

Go to their website to check for opening hours when you plan your next visit to Hamilton. Like their Facebook page to keep up with any yummy menu changes or closings!