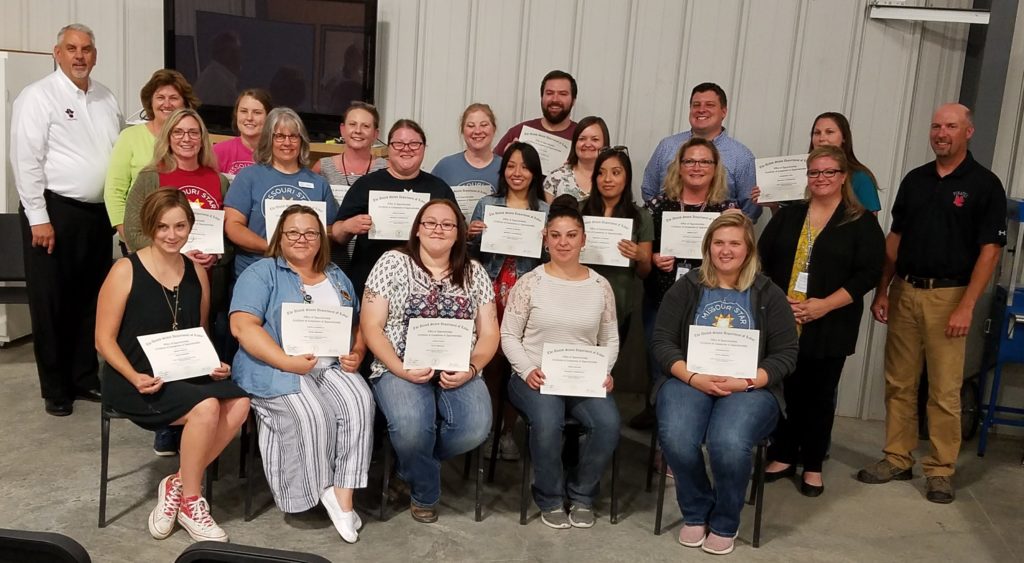
We are excited to announce that our first year’s partnership with North Central Missouri College (NCMC)was a huge success! The collaboration between Missouri Star Quilt Company and North Central Missouri College on this apprenticeship program culminated with 21 team members completing a registered apprenticeship program through the US Department of Labor, with 20 of those individuals earning a Business Management Essentials certificate through the college.
Front row (from left to right):Amanda Gray, Ana DeJesus Gutierrez, Sarah Garland, Jennifer Souza, Kelly Gallion,Estella Granville, Adriana DeJesus Gutierrez, Brooke Barnett, Brenda Glidewell (Missouri Star Apprenticeship Coordinator) Middle row (from left to right):Sarah Harvey, Sara Thomas, Andrea Kinzler, Teresa Kinzler, Kaitlyn Cooley Back row (from left to right):Julia Birkeness (Missouri Star Apprenticeship Coordinator),Kristeana Reed, Kelsey Stollings, Beth Snow, Kassandra Carr, Keslie Hays, Lisa Gray, Corey Adams
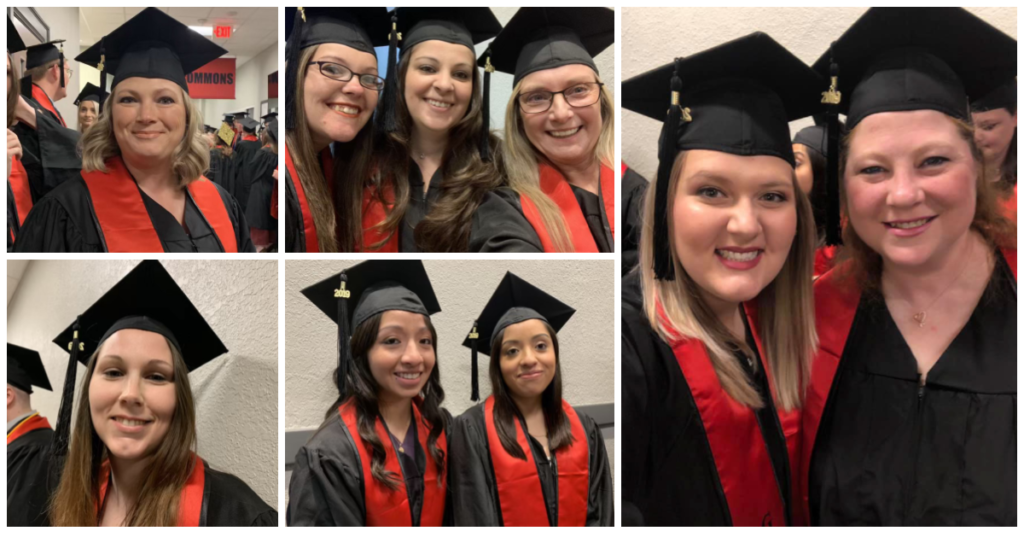
The students were invited to walk during the commencement ceremony in their caps and gowns at North Central Missouri College in Trenton, MO.
Certificates were handed out in the classroom space of Missouri Star’s warehouse by the president of NCMC, Dr. Lenny Klaver (back far left), Director of Business and Industry Partnerships at NCMC, Jason Helton (back far right) and Missouri Star’s CEO, Mike Mifsud (back, third from right)
Before handing out the Apprenticeship Completion certificates from the US Department of Labor, Director of Business and Industry Partnerships at NCMC, Jason Helton, said with enthusiasm, “This is a formal credential, it’s kind of a big deal. You should be proud of what you are about to receive.” Afterward, the students cheered, the Missouri Star leadership and management teams clapped proudly, and Missouri Star’s Apprenticeship Coordinator was brought to tears!
Between academic training by professors from NCMC AND on-the-job training here at Missouri Star, we are incredibly proud of our team members who have worked so hard to enhance their skills, both personally and professionally throughout this past year! Way to go, graduates! 🎓
Comment below or head on over to our Facebook page to congratulate this amazing team! ⇩
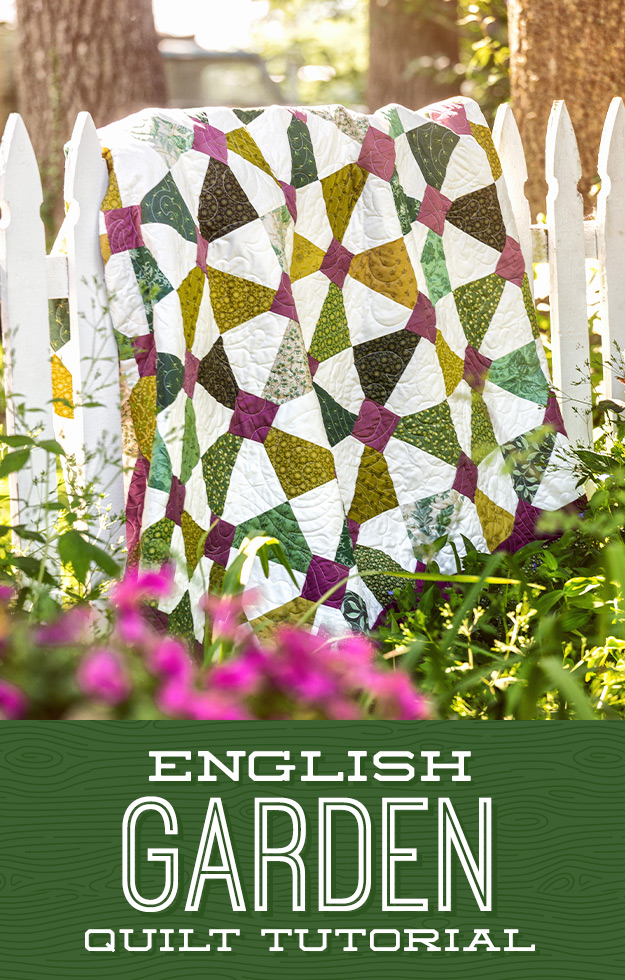
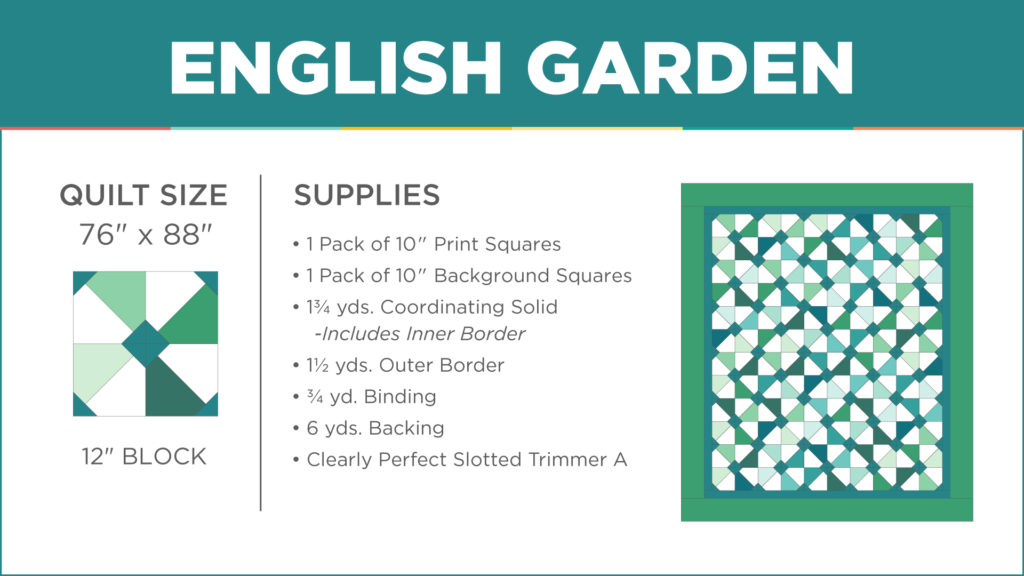
When I think of an English garden, I picture quaint gravel paths that divide shrubs and hedges like strips of sashing on a quilt. I picture drizzly afternoons and neat rows of pretty blooms. I picture cozy cups of tea sipped on quiet garden patios. I picture peace, order, and beauty.
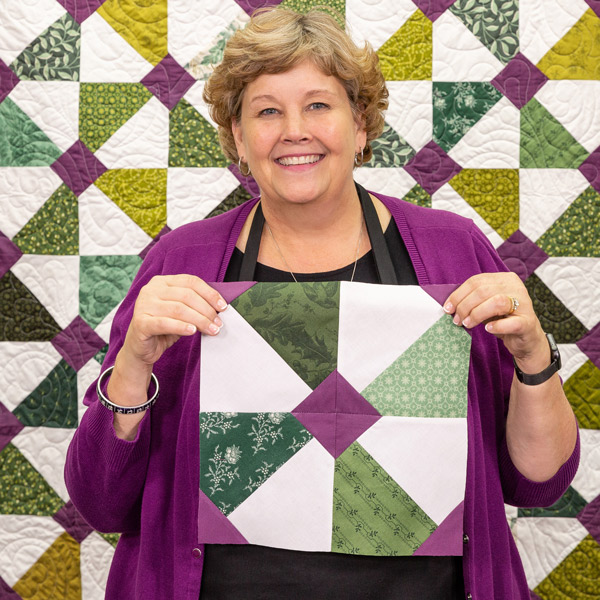
This week Jenny has packed all the charm of a real English garden in her newest quilt. Click HERE to watch the tutorial!
The final step of making a quilt may seem like the most intimidating, but have no fear! Adding binding can be a really enjoyable process when you know how much you need and how easy it is to make and stitch on your quilt.
Supplies needed:
Pencil
Paper
Calculator
Your finished quilted project
A measuring tape or template
Finally, choose a lovely fabric, bias, or precut for binding and load it into your Missouri Star Quilt Co. shopping cart!
Step 1: Find the perimeter of your quilt. Measure each of the four sides and add them together. Step 2: Add 20 inches to your total. Step 3: Choose your binding width. We recommend using 2 ½” wide strips. Step 4: Divide the total length of binding needed for your quilt by 40″. This gives you the number of width of fabric strips needed to create your binding. Step 5: Round up to the nearest whole number of strips. Multiply the number of strips by the width of binding you decided in step 3. That will give you the number of inches required to cut the necessary number of binding strips for your quilt. Step 6: Divide the number determined in step 5 by 36″ to calculate the yardage. Round this number up to the next 1/4 yard increment and you’ll have your total yardage number!
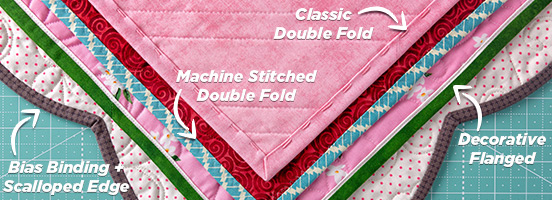
Tips and Tricks for Binding:
Watch our machine binding tutorial right HERE or buy our in-depth class “Create Better Bindings” with Natalie Earnheart.
Precut strips work great for binding as they are already 2 ½” wide.
Sew strips together end-to-end on a 45 degree angle into one long strip using diagonal seams. Press seams open to reduce bulk.
Fold strips in half lengthwise with wrong sides together and press.
The entire length of your binding should be equal to the perimeter of the quilt plus 15 to 20 inches.
Using a Binding Tool makes the process even easier!
Example Quilt: (Quilt length + quilt width) x 2 = perimeter of quilt (66″ + 58″) x 2 = 248″ This is the total perimeter of your quilt Add 20″ to that number = 268″ needed of total binding length Take the total inches and divide by 40″ to get the number of strips you need 268″ divided by 40″ = 6.7 Round up. You’ll need 7 strips of fabric for your binding. Take the number of strips you need and multiply by your binding width. In this case, it’s 2 ½”. 7 x 2 1/2″ = 17 ½” Divide the number of inches needed by 36″. 17 ½” divided by 36″ = .48 Round up to the nearest ¼ yard and you get ½ yard.
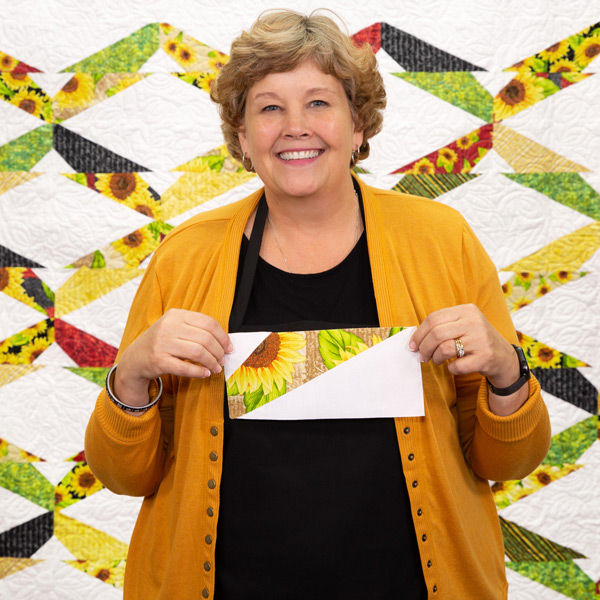
The same tune can be played by a 70-piece orchestra or a honky-tonk band. The melody is identical, but boy, oh boy! It sure sounds different!
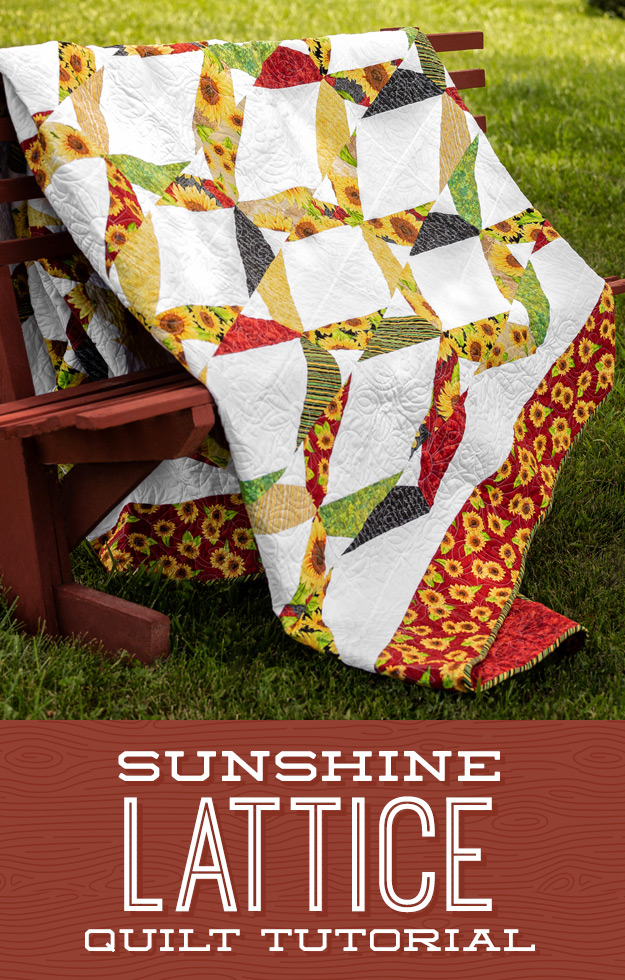
The same goes for quilts, you know. This week’s new quilt is classically pretty with the sunflowers of “Jardin Dy Soleil” by Lola Molina for Wilmington Prints. But guess what? If you use solids instead, the pattern instantly becomes fresh and modern! The possibilities are endless! Click HERE to watch the tutorial!
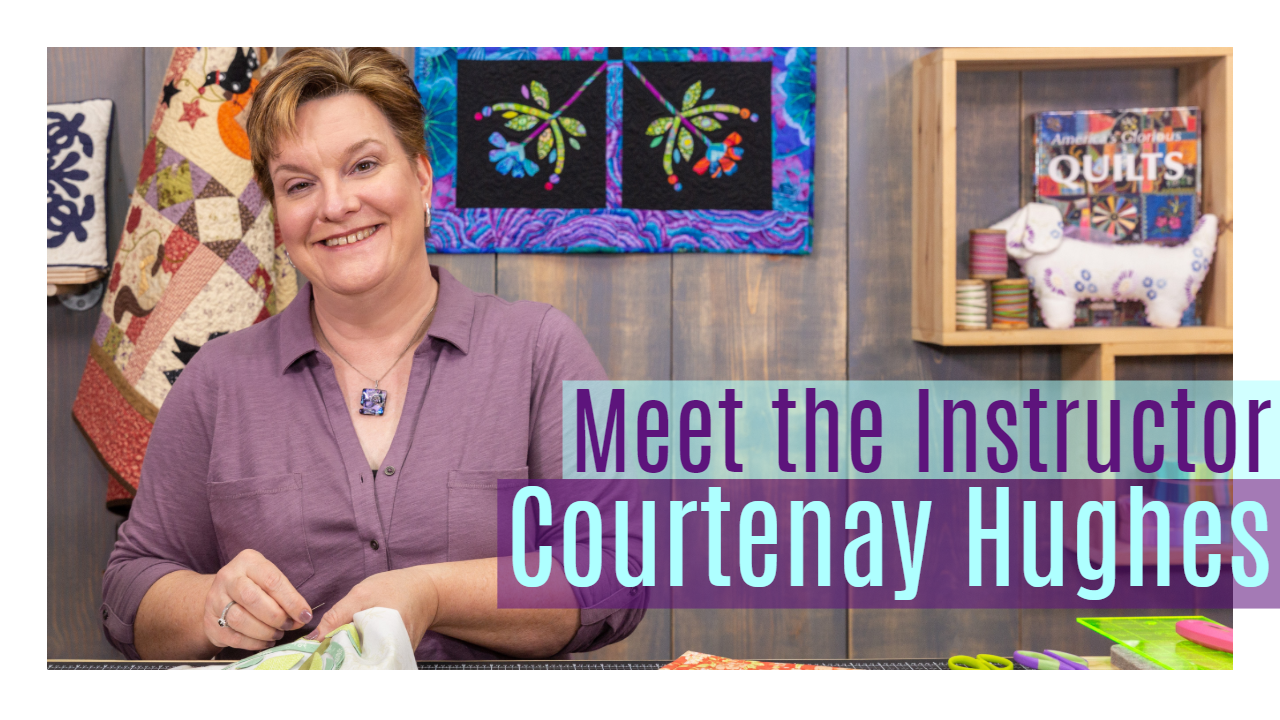
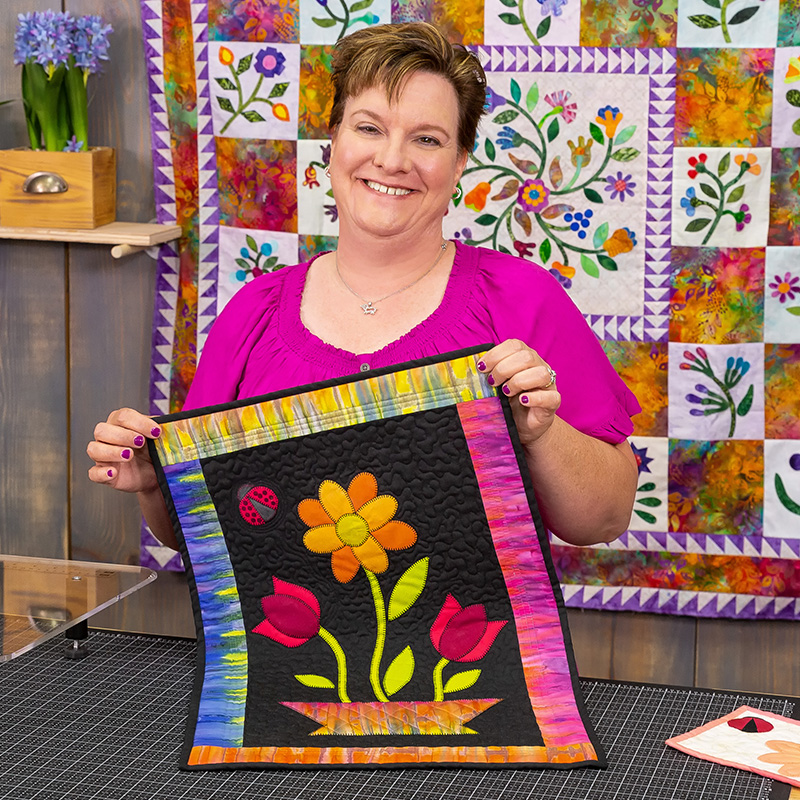
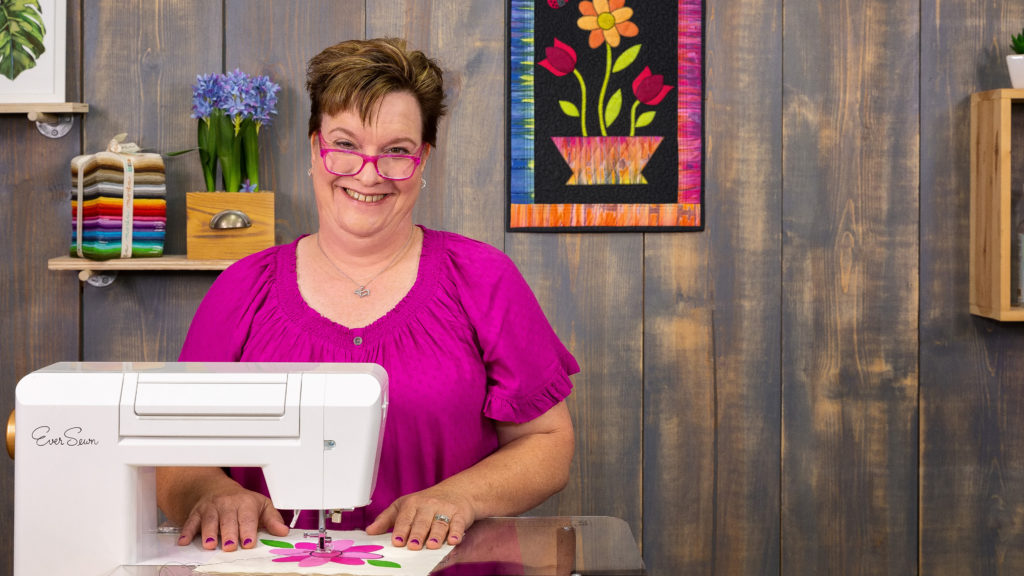
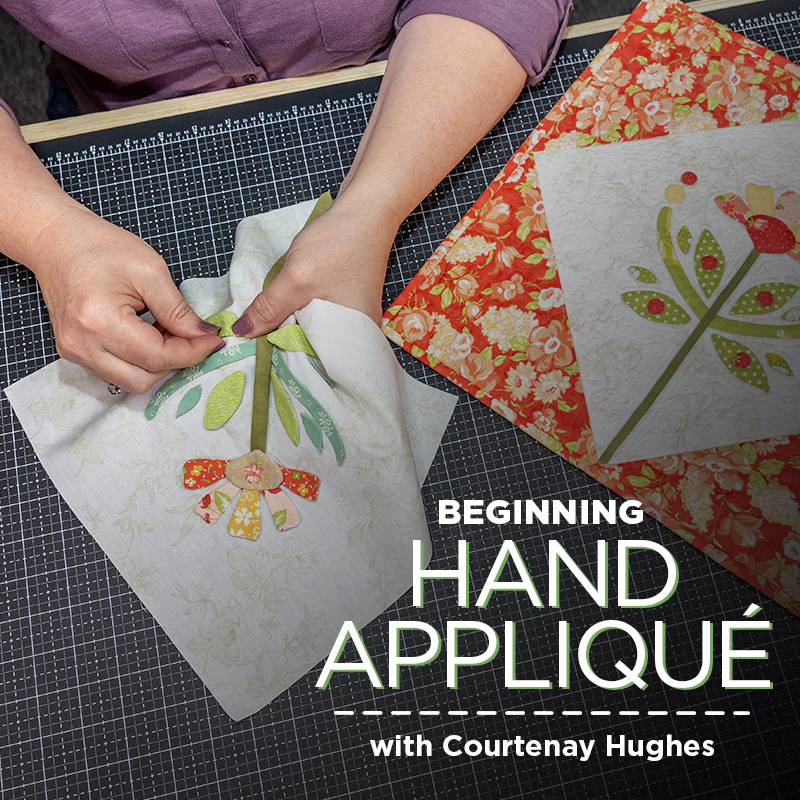
Courtenay Hughes is one of our talented instructors here at Missouri Star. As part of our education team, Courtenay teaches quilting, embroidery, and appliqué classes through Missouri Star Academy. This includes our online courses, in-town classes, and some of our free tutorials!
“I want to say I LOVE her teaching style! She is so funny, and I felt like I was spending an afternoon with a good friend. I really enjoyed this video.”
– Customer Review
Courtenay’s Creations
This quilting diva has been a wonderful component to our education team and you can see why! Her gorgeous projects continue to inspire all of us makers!
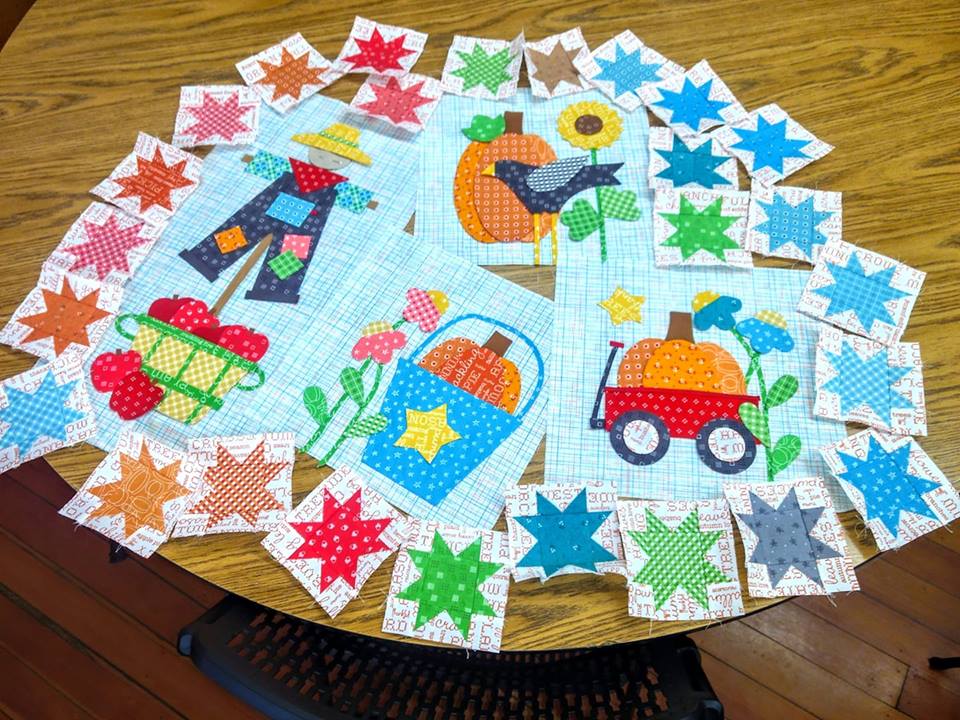
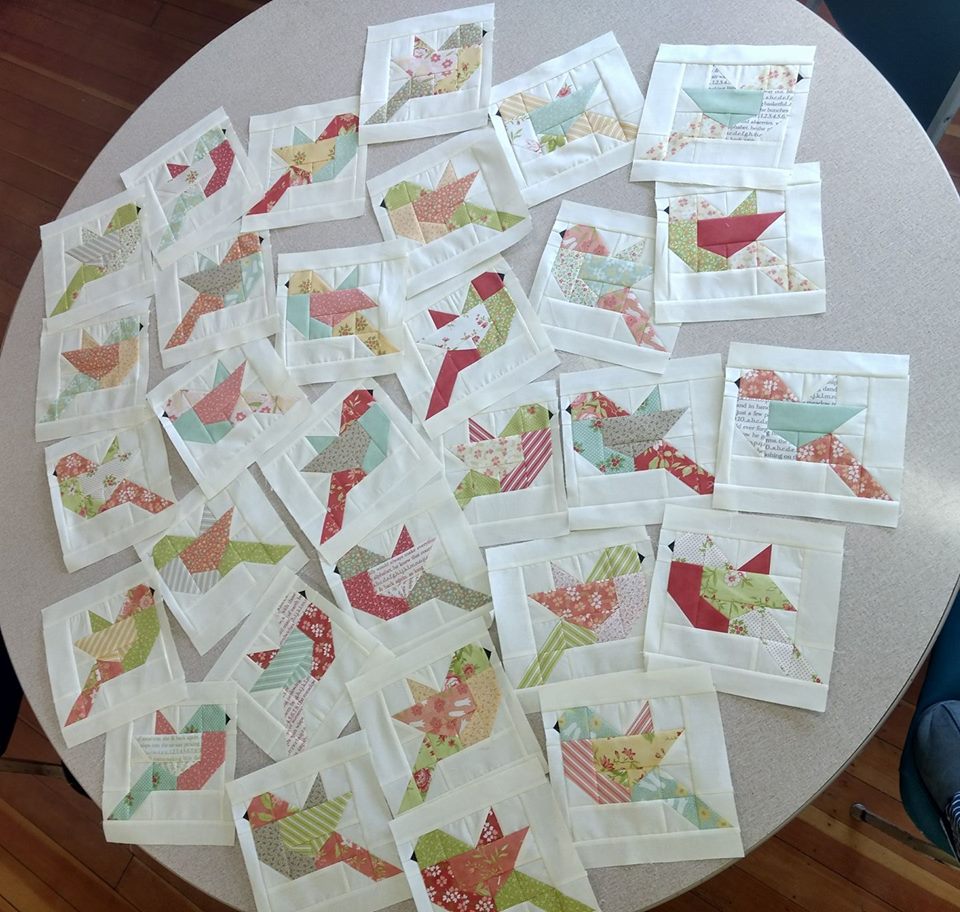
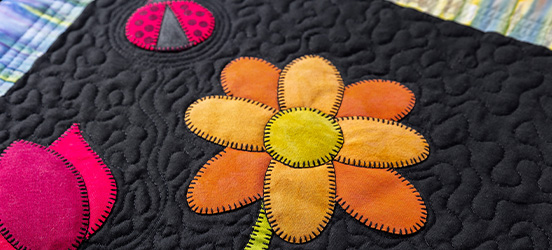
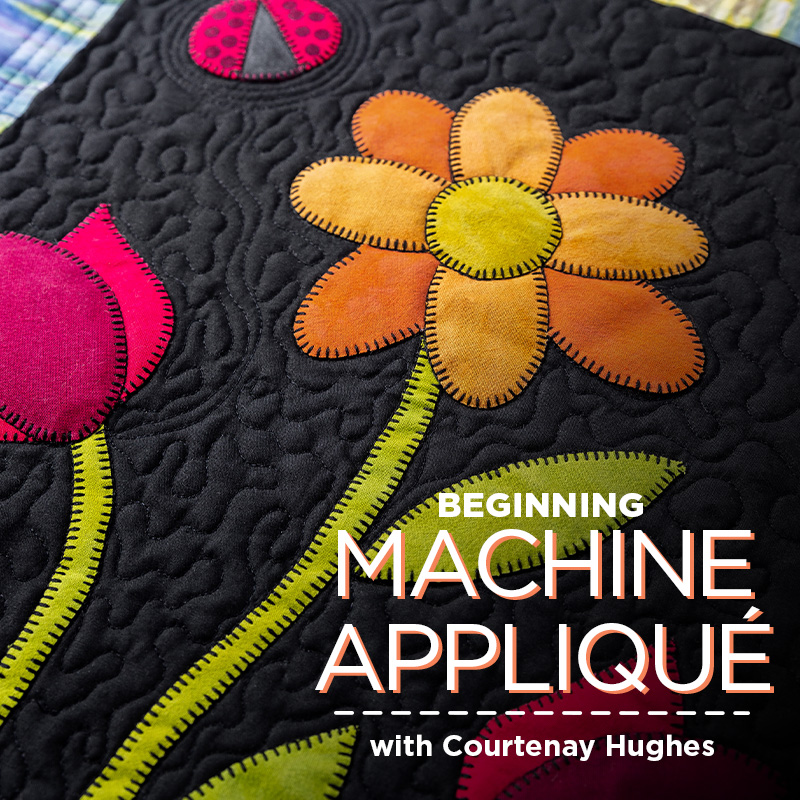
Now, let’s talk about appliqué, Courtenay’s area of expertise! If you’ve always wanted to try it out, but imagined it might be intimidating, we’ve got the tools, techniques, and tips to change your mind. Appliqué is a lot easier than it looks – and it looks pretty spectacular personalizing and decorating your quilt!
We talked to Courtenay about machine appliqué designs and tips…
Q: Courtenay, how long have you been sewing machine appliqué? A: I have been quilting for over 25 years. I’ve had about 20 odd years of practice at machine appliqué. And I am really looking forward to sharing some of that with you
Q: What’s your favorite part of teaching appliqué for beginners? A: My favorite part of teaching is when students who aren’t sure they can complete their projects get to the point where they realize that, yes, they can make them—and they will be beautiful! Whether that’s how to machine appliqué small pieces, how to hand appliqué in the car on road trips, or how to let loose and try something completely new, like a free-motion zig-zag “heartbeat” stitch that looks complicated but is actually very freeing, I love seeing students succeed!
Q: What shapes can you make with machine appliqué? A: Anything you can imagine – and any pattern in your library, really. I like to show you tips for leaves, stems, circles, stars, hearts, petals, and working in layers. While a lot of my patterns are flowers or animals – ask me about placing bunny ears – the sky is the limit. You can decorate any quilt with appliqué, in blocks, borders, even your quilt label.
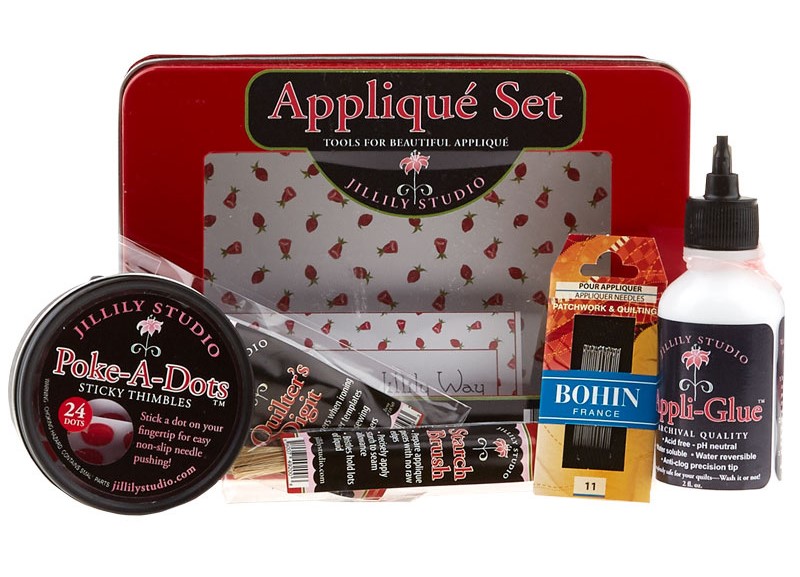
Q: What are some tools you recommend for appliqué? A: This depends a little bit on which method you’re using, but some of the applique essentials are:
For Machine Appliqué:
Fusible Web – Use this to temporarily glue fabric pieces in place while machine stitching.
Appliqué Pressing Sheet – Place over the project diagram to use as a guide while layering fabric shapes.
Marking Pen – Use a fine sharpie or marking pen to trace designs onto projects.
Scissors– A good pair of scissors come in handy for cutting fusible and fabric pieces.
Machine Needles – A sharp needle that is great for stitching through layers of applique pieces.
50wt Thread – A strong thread that blends with fabric shapes. Or black thread for a “folk art” look.
Self-Threading Needles – An easy way to bury threads after stitching pieces to background.
Iron and Iron Cleaner– An iron for fusing paper shapes to fabric, and iron cleaner.
Embroidery Hoop – (optional) These come in handy when stitching pieces in place on background, especially when using the free-motion zig-zag “heartbeat” stitch.
Hand Needles – A smaller point for hand stitching, but also a bit enough needle to prevent hand cramping.
MiniIron – A tiny iron will give more control over tiny fabric pieces.
Appliqué Pins – These come in handy when fitting several pieces into place.
Fusible Web(optional) – Melts to adhere the fabric pieces together.
We think it’s time to give appliqué a try!
We currently have two classes for beginners at Missouri Star Academy. You’ll learn multiple methods, troubleshooting tricks, how to machine appliqué a quilt or how to hand appliqué a quilt. Each class also comes with a FREE quilt pattern so you can show off your newly mastered skills! Try appliqué today!
Don’t forget to check in on our Education Center’s class schedule to see what class Courtenay will be teaching next!
If you’ve taken a class by Courtenay Hughes, show her what you made in the comments below ⬇️