October Printables – Quilty Party Games Part II!

September was Missouri Star Quilt Co.’s Birthday Month and we were thrilled to be able to celebrate 8 years as a company. It wouldn’t be possible without all of our amazing fans like yourself. Thank you for all the support! You deserve to celebrate your quilty awesomeness with your very own quilting party and we’ve got all the free printables you’ll need to throw one! Click HERE to download these fun Quilty Party Games and don’t forget the printables from part one of this post HERE.


Download this free Quilty Games Printable and throw your own fun quilt party!

You can donate the quilt tops from these fun games to your favorite charity! See a list of charities that we’ve compiled HERE. Happy quilting!

Quilting for a Cause: Charitable Organizations That Need Your Quilts!

Quilting for a Cause: Where to Donate Your Charity Quilts!

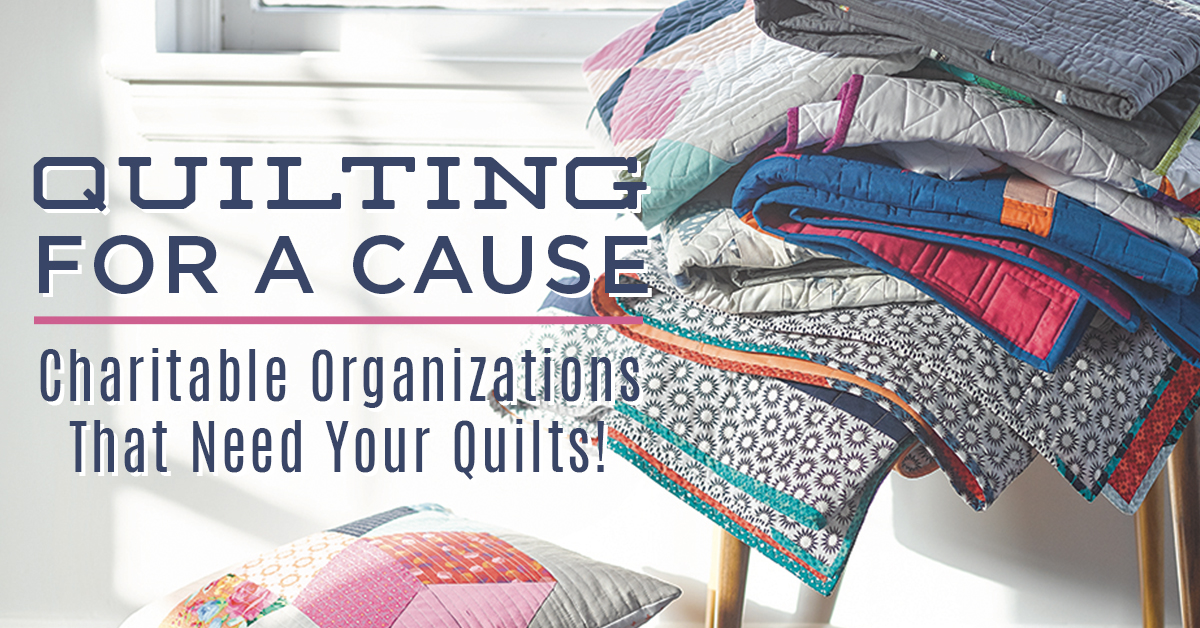
Once you catch the quilting bug, you just can’t stop sewing! Soon, every bed in your home is dressed to the nines. Then you start gifting quilts to family and friends. And when all your loved ones have received as many quilts as they can handle, do you stop there? Of course not! You start looking for strangers in need of a beautiful, cozy quilt. After all, there’s just nothing that compares to the comfort of a handmade quilt that has been pieced with love.

Quilting for a Cause: Where to Donate Your Charity Quilts!

Looking for a place to donate your quilts? Here are a few ideas:

Give Quilts to Veterans/Active Military

  • Quilts of Valor // Donate a quilt or even donate your longarm quilting services. You can even choose a specific person to give your QOV to if you like. Just make sure to check on size requirements before you start! (Ideal size: 60”x80”) Review their  guidelines HERE.
  • Quilts of Honor // This organization was created to “honor members of our active military and veterans by showing them how much we appreciate their sacrifice and service with our “Quilted Hugs of Gratitude.” You can contribute by donating finished quilts, fabric and other quilting supplies, or donate monetarily.

Give Quilts to Children in Need

  • Project Linus // Donate blankets (not just quilts) to children in need… there are chapters in all 50 states. You can donate $$ online, but if you want to donate finished blankets and quilts, you can contact your nearest Project Linus Chapter HERE.
  • Snuggled in Hope Quilts // This is a group that provides quilts to Flying Horse Farms Camp for kids with serious illness and they provide a quilt to each member of the camp each summer… over 400 quilts each summer. Donate finished quilts (ideal size 55×65”), complete quilt tops, fabric, other supplies. Find their Wish List HERE.
  • Wrap Them in Love // Accept donated quilts, fabric, batting, or other quilting supplies, so if you don’t have time to make a quilt, but want to share your stash, this is a good one for you. Find the details on how you can help HERE.
  • Quilts for Kids // Quilts are given to children who suffer from abuse or life-threatening illnesses. Send in a complete quilt (ideal size: Approximately 38″- 40″ x 45″- 46″) or request a kit to donate your time (you supply love, time, binding, batting and thread): https://www.quiltsforkids.org/shop.htm Can also donate monetarily.

A quilt is a special gift, one that can spread comfort to those in need. We encourage you to take a look around your own community. Who needs a quilt? Homeless shelters, women’s shelters, and hospitals are always a great place to start. Leave a comment and let us know where you like to donate your quilts. Happy quilting for a cause!

New Friday Tutorial: The Missouri Crossroads Quilt Tutorial

MSQC New Tutorial on the Blog!

A crossroads is the meeting of four roads. It brings to mind some lovely deep thoughts about life choices and such, doesn’t it? (I’m a sucker for a good metaphor!) I can look back through the years and see how various decisions have changed the course of life forever: Who to marry. (Luckily, I chose well) What career to pursue. (When you love what you do, it never feels like work!) Whether to wash the laundry or spend the afternoon in the sewing room. (Always choose the sewing room!)

Free Missouri Crossroads Quilt Tutorial!

Today’s Missouri Crossroads Quilt is a gorgeous pattern made up of many small pieces (Don’t worry, they’re so, so quick to put together.) And just like all those little life decisions, they come together to create one beautiful whole.

Free Missouri Crossroads Quilt Tutorial with Jenny Doan!

Free Missouri Crossroads Quilt Tutorial!

Click on the button below to watch the tutorial and get all the supplies you need to make this stunning quilt!

Watch the Latest Tutorial from Missouri Star Quilt Co!


New Friday Tutorial: The Flying Home Quilt

MSQC New Tutorial on the Blog!

Make the Flying Home Quilt with Jenny Doan of MSQC!There truly is no place like home. At the end of a long, busy day, I love to crawl under the covers and snuggle up in the familiar coziness of my very own bed.  

Make the Flying Home Quilt with Jenny Doan of MSQC!

No matter how hectic it is outside, I always feel peaceful in my home. It’s not fancy, but it’s mine. Today’s new quilt, Flying Home, brings to mind the simple beauty of my very favorite safe haven: home.

Make the Flying Home Quilt with Jenny Doan of Missouri Star Quilt Co!

Click on the button below to watch the tutorial and get everything you need to make your own Flying Home Quilt!

Watch the Flying Home Quilt Tutorial with Jenny Doan of MSQC!

5 Basic Tips on How to Photograph Your Quilts!

How to Photograph Your Quilts
How to Photograph Your Quilts!
Photo Credit: Megan Pitz (Canoe Ridge Creations)

Have you ever taken a selfie?  If you don’t know what a selfie is, just ask any teenager or better yet, let them show you… they’re guaranteed to have at least a dozen on their cell phones from the past week alone!  The ultimate goal of a selfie is to show off your best self (or in some cases your best duck impersonation #ducklips).  You’re going to do whatever it takes to find that ideal lighting that makes your skin glow and the perfect angle that makes you look a little thinner or a little taller.

Even if you’re not taking daily selfies and posting them all over social media, I’ll bet you DO want to take some awesome photos of your quilts to share with all of your friends, don’t you?? After all, you did put your heart and soul into them! Here are a few simple steps to taking a successful photo of your quilts and sewing projects:

  1. Natural light is your best friend.  The number one reason a photo doesn’t turn out right is bad lighting.  Unless you have a professional photography studio in your home, then natural light will give you the best detail and the most accurate colors to show your beautiful craftsmanship in the best light (see what I did there?). So, open a window or go outside… more on this to come!
Chopped Block Quilt Tutorial Featuring Modern Handcraft
Photo Credit: Nicole Daksiewicz (Modern Handcraft)
  1. Look for open shade.  ‘Open shade’ is that sweet spot right between the sun and the shade where you’re illuminated by light, but not actually IN it.  Mid-morning or early evening are perfect times to find beautiful open shade. If you’re taking the photo inside, then open all the windows and let in as much light as possible.  Your project should be facing the brightest light source in the room (most likely the window).  Pick a time of day where the room is filled with light, but the sun isn’t shining directly into the window.  If you don’t have a room in the house with nice natural light, then take your project outside.  Surprisingly, an overcast day is an excellent time to take a photo outside.  Just make sure you’re still looking for that source of light to keep the shadows at bay!
Periwinkle Wacky Web Quilt Tutorial Featuring Rebecca Bryan
Photo Credit: Rebecca Bryan (Bryan House Quilts)
  1. Think about what you are trying to showcase in your photo.  If you’re trying to show the overall design of your quilt, then your angle should be straight on, showing the entire area evenly. If you are folding your quilt or draping it on furniture, make sure it shows enough of the repeated block pattern that people can get a good idea of the design!
Sunny Skies Quilt Tutorial Featuring Canoe Ridge Creations!
Photo Credit: Megan Pitz (Canoe Ridge Creations)

If you want to show the detail of the stitching, then you can be more creative with your angle and get close up to the quilt.

Irish Chain Quilt Tutorial!
Photo Credit: Heather Jones (Heather Jones Studio)
  1. Remove unnecessary distractions.  I understand that the best-lit room in your home might have a treadmill right in the center of it, but you want the primary focus of your photo to be your beautiful quilt and not the dusty workout equipment it’s resting on.  So, get up close and let your project fill the photo without much else in the background.
Valentine Heart Quilt Tutorial!
Photo Credit: Christie Hurst (Lemon Squeezy Home)
  1. Practice, practice, practice! Just like when you’re taking a selfie, commit to practicing and trying it out until you find what works!  Try out different rooms in the house or spots in the yard until you find that sweet spot!

If you follow these basic steps, even your cell phone can take a ‘post-worthy’ photo!

Have you made a quilt using a Missouri Star Quilting Tutorial or pattern? Use #msqcshowandtell to share your creation with us on Instagram or Twitter OR you can post it on our Facebook page! We can’t wait to see what you’ve created!