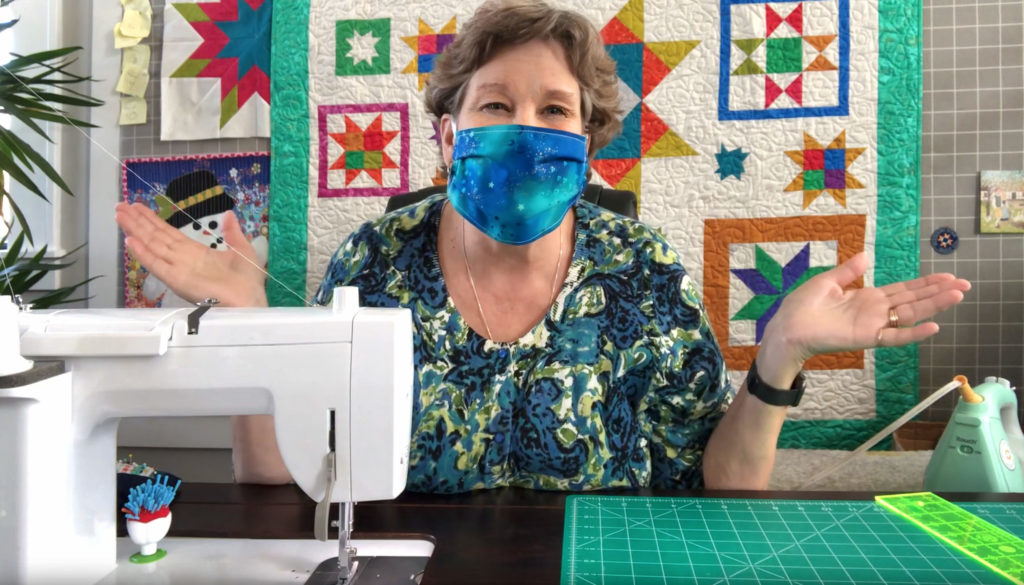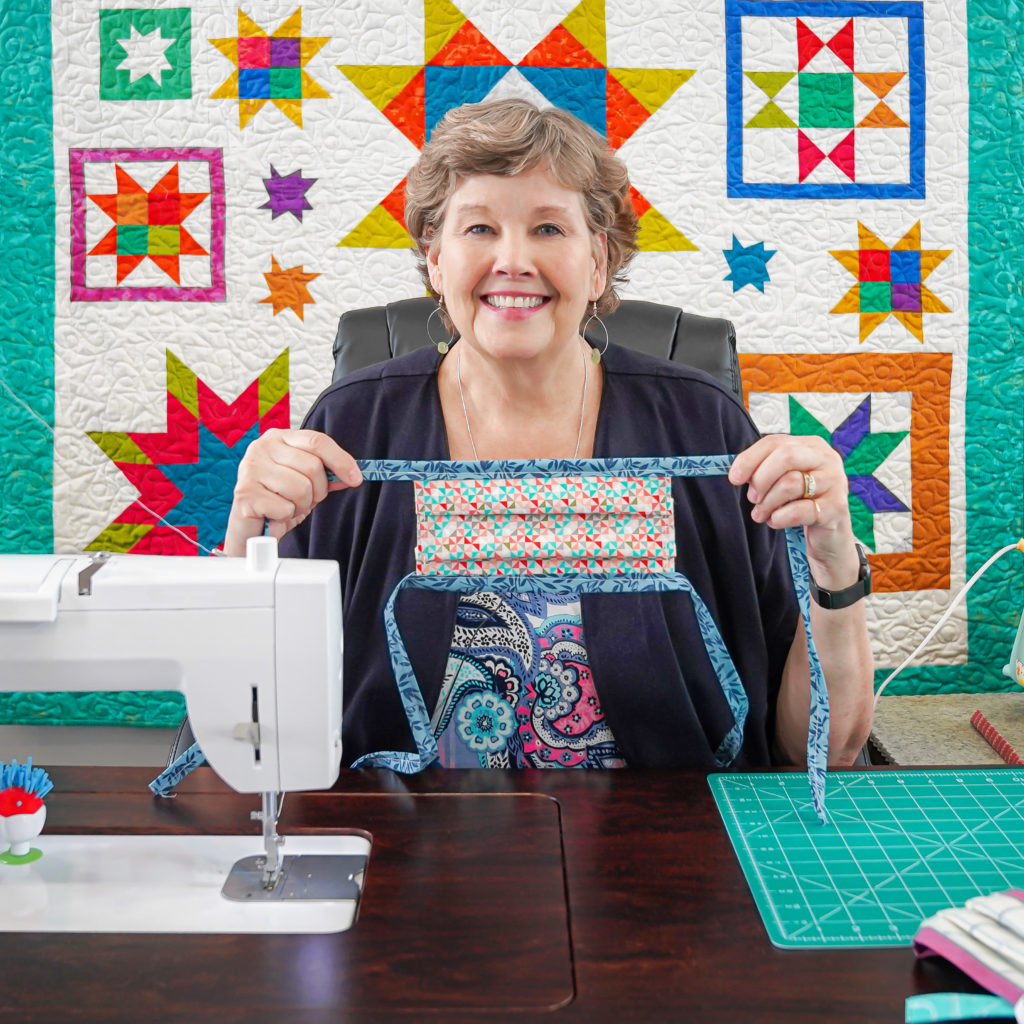
Learn how to make an easy, washable, and reusable face mask with Jenny.
What you’ll need:
- 2 pieces of 6” x 9” fabric
- (1) 6” x 9” piece of iron-on interfacing (optional)
- 2 pieces of ¼ inch elastic cut to 7” each
- Cut out two pieces of fabric to 6” x 9” each.
- Cut out one piece of interfacing to 6” x 9” and iron it onto the back of one of the pieces of fabric.
- Cut elastic into two pieces measuring 7” each.
- Place the two pieces of fabric right sides together.
5. Measure a 3 inch opening in the top so you can turn it right side out when you are finished sewing.
6. Sew the top and bottom edges only.
7. Place the elastic inside the mask and pin it to the top and bottom of each side, keeping it entirely encased in the fabric. It will be on the outside when you turn it later.
8. Sew each side completely closed, back-stitching on the elastic.
9. Turn the mask right side out from the hole you left in the top.
10. Press the mask flat and add 2-3 pleats.
11. Pin the pleats flat.
12. Stitch all around the edge of the mask to enclose it and lock the pleats in place.
Now your mask is ready! Wash it thoroughly and use it or donate it to those in need.
Tips:
- Be sure to use new fabric, not vintage, that is tightly woven. You can even use polyester or moisture-wicking fabric.
- If you wish, you can finish the top edge before you stitch the mask together and leave a small opening in the top so that a filter can be inserted into the mask.
- If you don’t have elastic, you can attach ties to the sides of the mask so that it can be tied on rather than looped around the ears.
- This mask is not as effective as the N95 or P95 masks used by healthcare professionals, but it can help.
- If you want to donate your masks, go to “One Million Mask Challenge” or “Deaconess” and check your local needs. If you wish to donate, follow instructions for drop off, keep social distance, and do not drive up to the hospital unauthorized.

Running out of elastic? Watch this tutorial to learn how to create a face mask using fabric ties!

