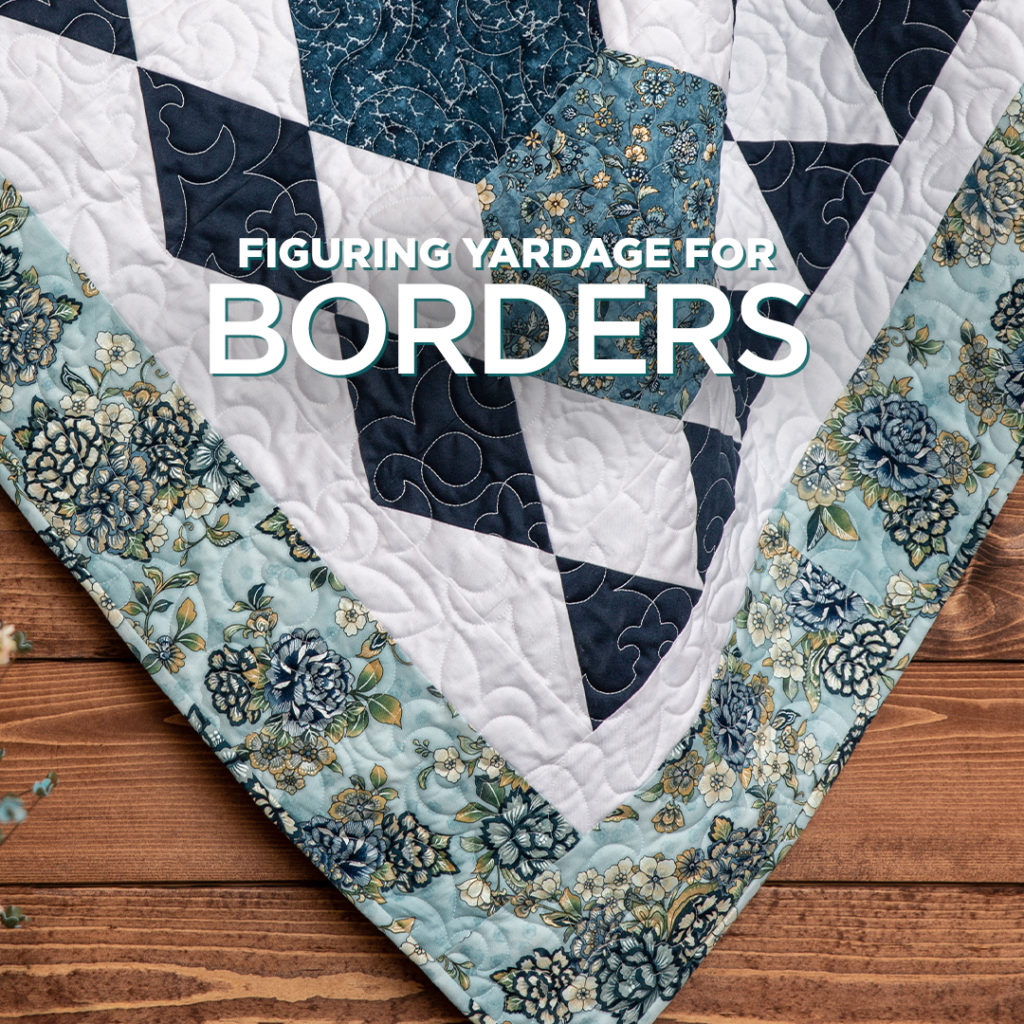
For many of us, quilt patterns are a jumping off point for our own designs. Adding a border can give your quilt added oomph, just like framing a picture can make it pop.
Follow this handy guide to be sure you’re getting the right amount of yardage for your borders!

Here are some items you’ll be needing:
- Pencil
- Paper
- Calculator
- Your quilt top
- A measuring tape or template
Step 1: Decide how wide you want your borders.
Step 2: Measure the length of your quilt top.
Always measure your quilt top in 3 different places vertically before cutting side borders to make sure you have accurate measurements. Start measuring about 4″ in from the sides.
- Take the average of those 3 measurements to figure your length.
- Because there are two long sides, double your border measurement.
- Remember your ¼” seam allowance and add 1″ to that number.
Step 3: Measure the width of your quilt top with side borders.
Always measure your quilt top in 3 different places horizontally before cutting top borders to make sure you have accurate measurements. Start measuring about 4″ in from the top and bottom.
- Take the average of those 3 measurements to figure your width.
- Because there is a top and a bottom to your quilt, double your border measurement.
- Then, take that number and add on the width of your borders because you’ll sew the top and bottom borders on after your side borders.
- Remember your ¼” seam allowance and add 1″ to that number.
Step 4: Add the measurements for the side, top, and bottom borders together.
Step 5: Take your total measurement, and divide it by 40″ to get the number of strips necessary for your borders.
Step 6: After you get the number of strips needed, you need to multiply the number of strips by the width of border. That’ll give you the number of inches of fabric to buy to cut for your borders.
Step 7: Divide the number determined in step 6 by 36″ to calculate the yardage. Round this number up to the next 1/4 yard increment and you’ll have your total yardage number!
Tips and Tricks for Borders:
- Cut 2 border strips to that size. Piece strips together if needed.
- Attach one to either side of the quilt. Position the border fabric on top as you sew to prevent waviness and to keep the quilt straight.
- Repeat this process for the top and bottom borders, measuring the width 3 times. Include the newly attached side borders in your measurements.
Example:
8″ finished quilt blocks on a 6 x 7 Grid
Center of quilt without borders is 48″ x 56″
Borders are 5″ wide (plus 1/2″ for seam allowance)
Finished quilt top dimension is 58″ x 66″
Seam Allowance = 1/4″ throughout
(Side Measurement + Seam Allowance) x 2 = 113″
(Top or Bottom Measurement + 2 Seam Allowances + 2 Border Widths ) x 2 = 117″
Add both numbers together and you get: 230″ total inches
Divide by 40″ to get the number of strips you need: 5.75
Round up to the next whole strip and you get: 6 strips
Number of strips x width of the strips = inches of fabric you need
6 strips x 5.5 width (this includes seam allowance) = 33″
33″ divided by 36″ (typical fabric width) = .91
Round up to whole yard
You need 1 yard of fabric for this quilt’s borders


