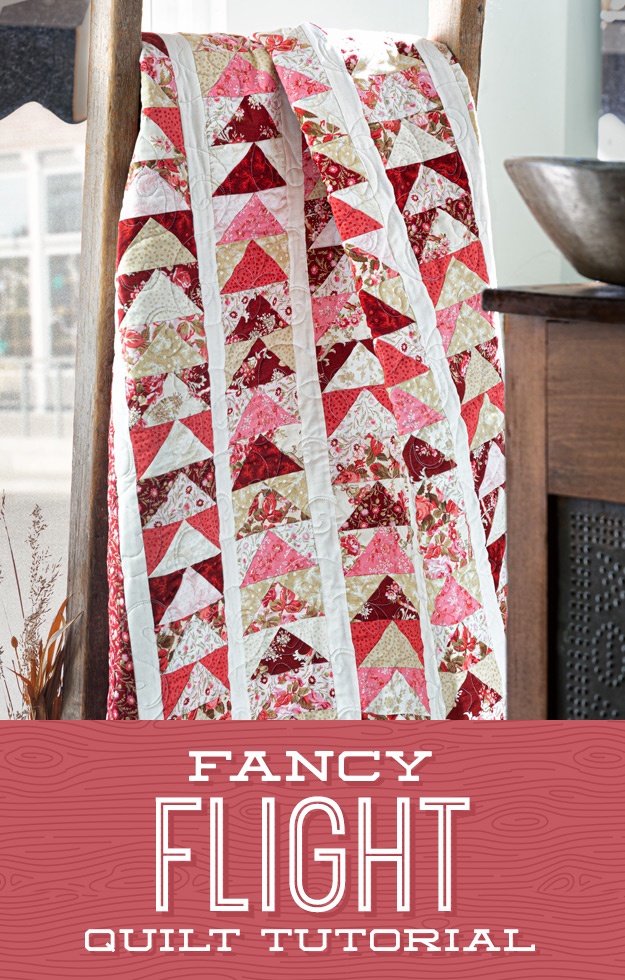
What do quilters dream of? Flying geese with perfectly sharp points, of course! But sometimes those points get lost in the seam allowance, leaving your little geese tragically beakless. What’s a quilter to do?
In this week’s new tutorial, Jenny demonstrates how to preserve those points with one simple tip.
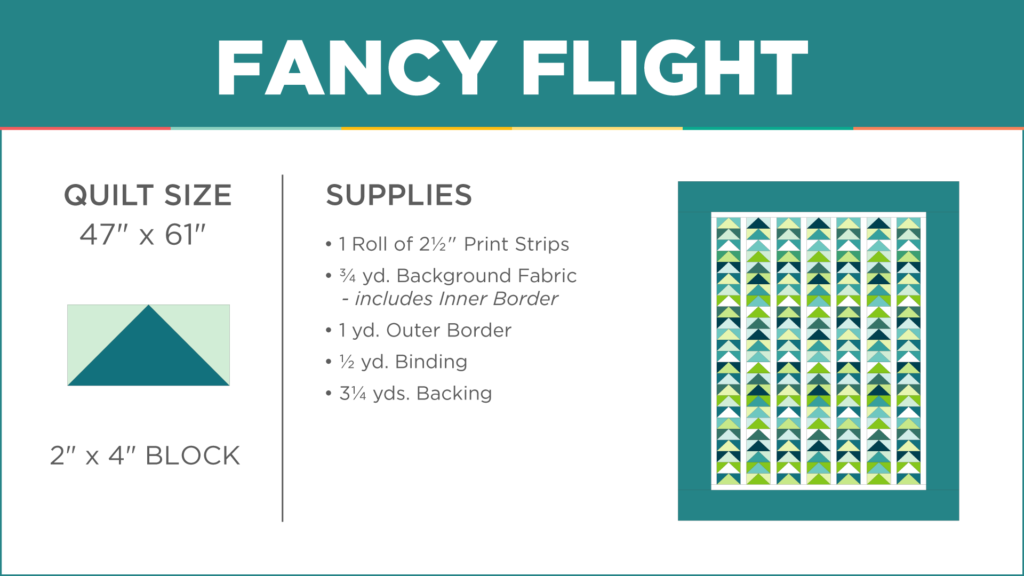
Psst!! This quilt will be featured in the upcoming issue of BLOCK Magazine (volume 6 Issue 5), subscribe to BLOCK Magazine HERE and don’t miss seeing this quilt in another fun colorway!
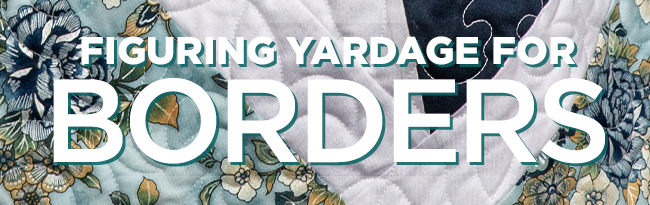
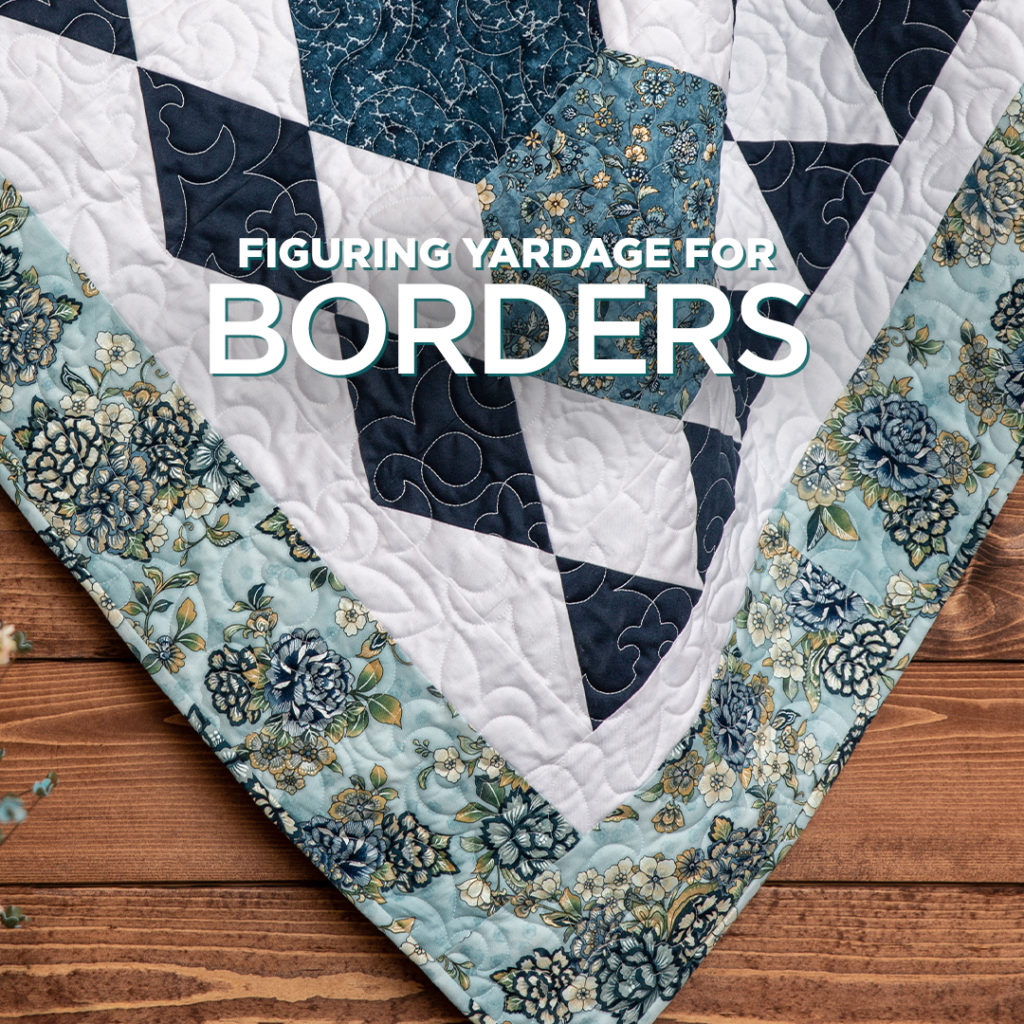
For many of us, quilt patterns are a jumping off point for our own designs. Adding a border can give your quilt added oomph, just like framing a picture can make it pop.
Follow this handy guide to be sure you’re getting the right amount of yardage for your borders!
Here are some items you’ll be needing:
Pencil
Paper
Calculator
Your quilt top
A measuring tape or template
Step 1: Decide how wide you want your borders.
Step 2: Measure the length of your quilt top.
Always measure your quilt top in 3 different places vertically before cutting side borders to make sure you have accurate measurements. Start measuring about 4″ in from the sides.
Take the average of those 3 measurements to figure your length.
Because there are two long sides, double your border measurement.
Remember your ¼” seam allowance and add 1″ to that number.
Step 3: Measure the width of your quilt top with side borders.
Always measure your quilt top in 3 different places horizontally before cutting top borders to make sure you have accurate measurements. Start measuring about 4″ in from the top and bottom.
Take the average of those 3 measurements to figure your width.
Because there is a top and a bottom to your quilt, double your border measurement.
Then, take that number and add on the width of your borders because you’ll sew the top and bottom borders on after your side borders.
Remember your ¼” seam allowance and add 1″ to that number.
Step 4: Add the measurements for the side, top, and bottom borders together.
Step 5: Take your total measurement, and divide it by 40″ to get the number of strips necessary for your borders.
Step 6: After you get the number of strips needed, you need to multiply the number of strips by the width of border. That’ll give you the number of inches of fabric to buy to cut for your borders.
Step 7: Divide the number determined in step 6 by 36″ to calculate the yardage. Round this number up to the next 1/4 yard increment and you’ll have your total yardage number!
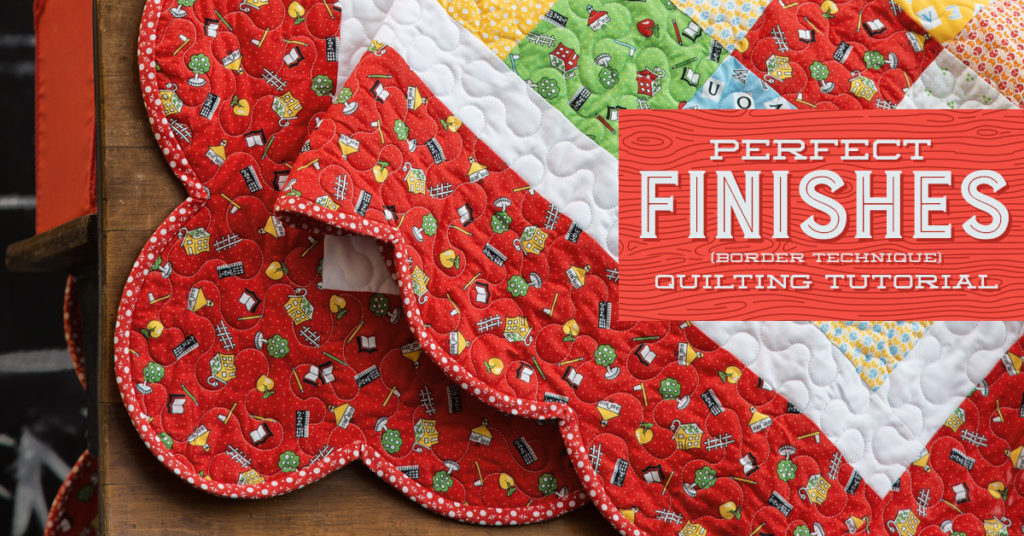
Tips and Tricks for Borders:
Cut 2 border strips to that size. Piece strips together if needed.
Attach one to either side of the quilt. Position the border fabric on top as you sew to prevent waviness and to keep the quilt straight.
Repeat this process for the top and bottom borders, measuring the width 3 times. Include the newly attached side borders in your measurements.
Example:
8″ finished quilt blocks on a 6 x 7 Grid Center of quilt without borders is 48″ x 56″ Borders are 5″ wide (plus 1/2″ for seam allowance) Finished quilt top dimension is 58″ x 66″ Seam Allowance = 1/4″ throughout
(Side Measurement + Seam Allowance) x 2 = 113″ (Top or Bottom Measurement + 2 Seam Allowances + 2 Border Widths ) x 2 = 117″ Add both numbers together and you get: 230″ total inches Divide by 40″ to get the number of strips you need: 5.75 Round up to the next whole strip and you get: 6 strips Number of strips x width of the strips = inches of fabric you need 6 strips x 5.5 width (this includes seam allowance) = 33″ 33″ divided by 36″ (typical fabric width) = .91 Round up to whole yard You need 1 yard of fabric for this quilt’s borders
Are you coming through Missouri this summer? Come and get a taste of Hamilton and pick up your very own Row by Row block pattern in the Main Shop or Penney’s Quilt Shop!
The Row by Row Experience is a wonderful program started in 2011 by Janet Lutz to help quilt shops attract more visitors in what might otherwise be slower summer months. All the quilt shops participating in Row by Row (find all the other participating shops HERE) have their very own free pattern to help you make a quilt block. If you are the first to complete a quilt using at least eight rows from eight different 2019 participating shops, you win a stash of 25 fat quarters, and you win a bonus prize if you use our Missouri Star block and bring it in to our shop!
The theme for Row by Row this year is “Taste the Experience” and we have our very own pattern for you to collect! Below is a sample of our block.
To see what the rest of the pattern looks like, come to the Main Shop or Penney’s Quilt Shop in Hamilton and ask for our Row by Row pattern! Each customer is limited to one pattern. We also have a special Row by Row kit available!
Our Row by Row experience will be available in-store until Sept. 3, which is also the deadline for participants to turn in their quilt to win a prize.
To learn more about the Row by Row Experience and see great projects, watch this video from Amy Barickman for Indigo Junction below!
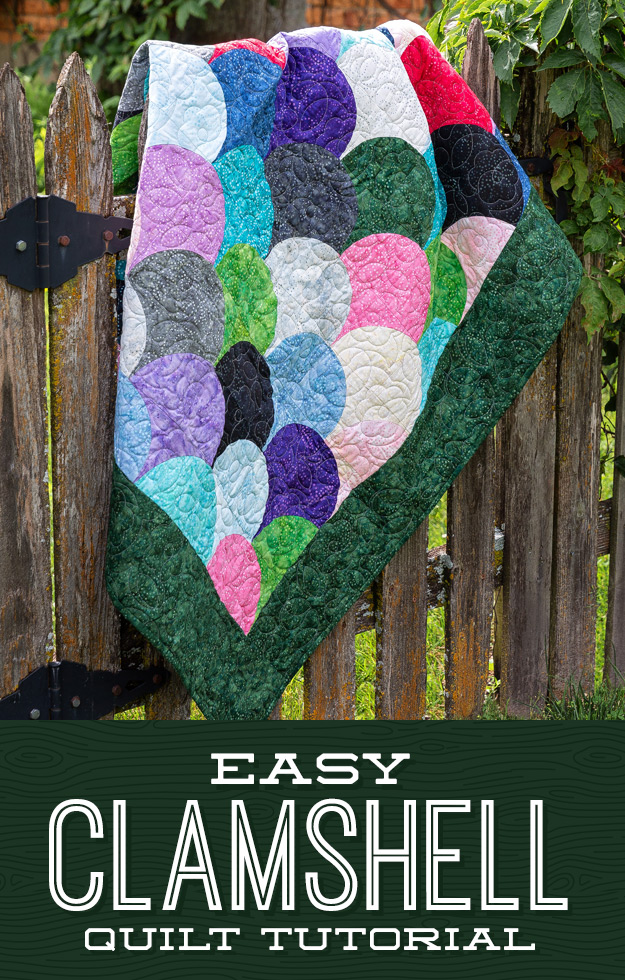
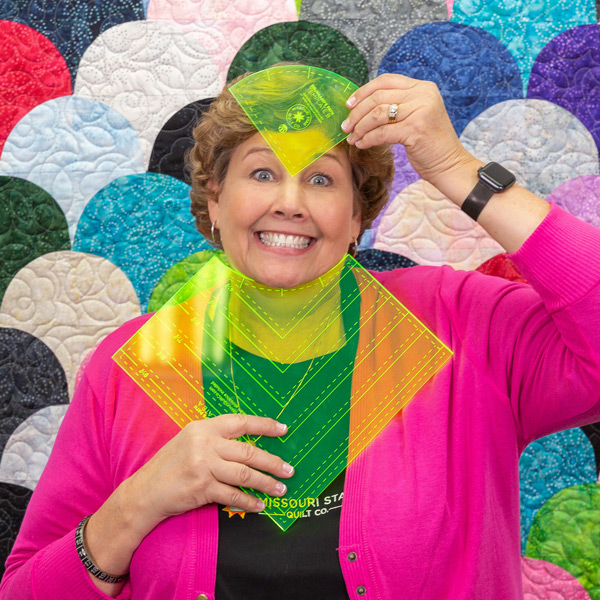
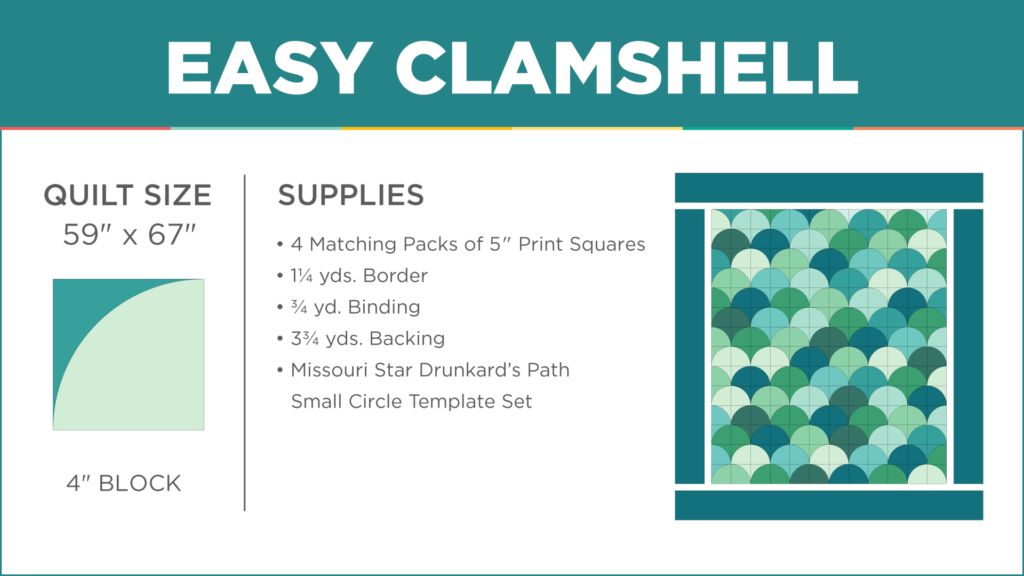
Easy Clamshell? Is that even possible? You betcha! With the right tools and a sprinkling of Missouri Star magic, you’ll be stitching up those gorgeous curves like a pro!
This classic quilt is made using our brand new Drunkard’s Path template set. Jenny used this same template to make the Courtyard Path quilt, and we can’t wait to see what she comes up with next!
Click HERE to learn how to make the Easy Clamshell Quilt!
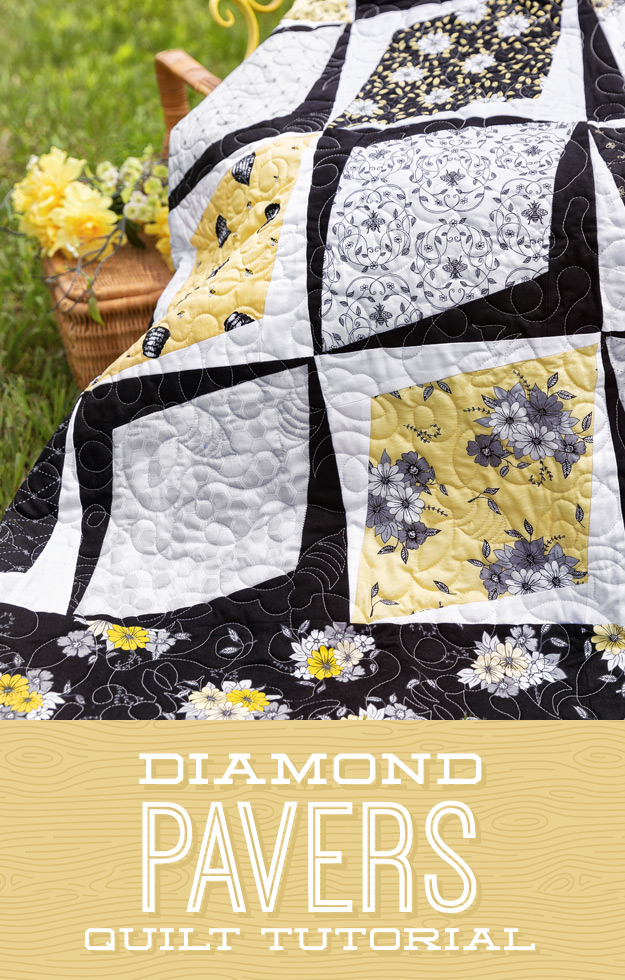
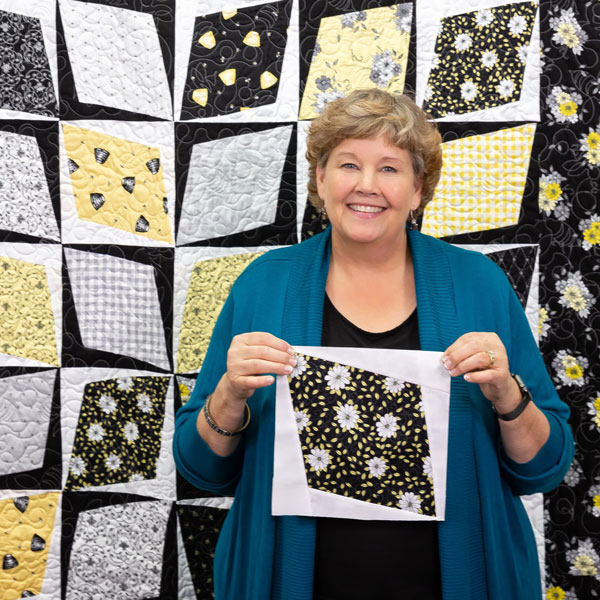
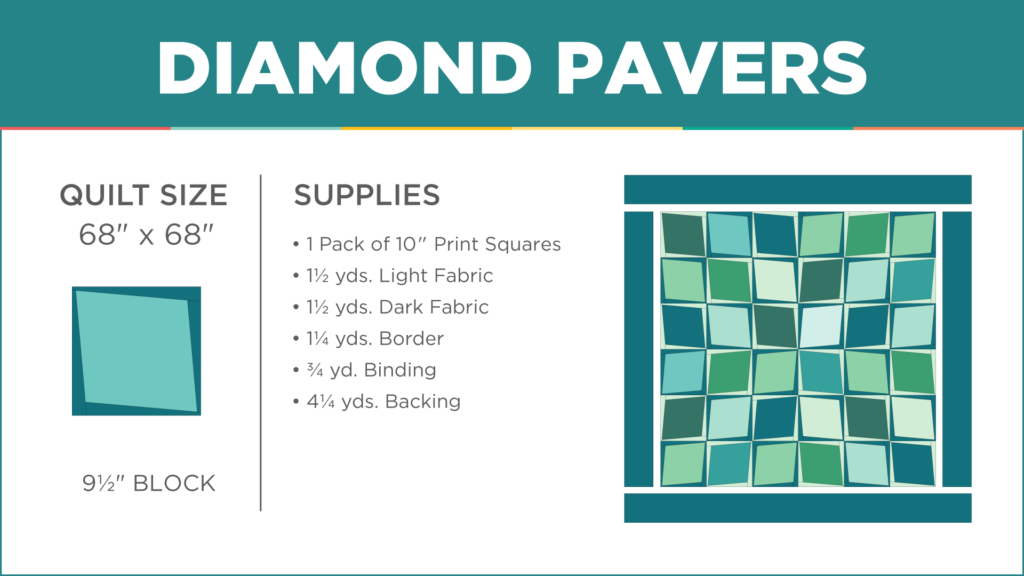
The Diamond Pavers quilt was made for pretty prints. The blocks are so big and simple, patterns have plenty of space to breathe!
For this quilt, Jenny used Honey Run 10” Stackers by Jill Finley for Penny Rose Designs. It’s an adorable collection filled with bees, florals, and delicate geometrics. (Don’t miss the machine quilting on this one! It’s a bee-utiful honey bee stitch!)