
We had the privilege week ago of hosting the girls of the 4-H group here in Hamilton. They came to the shop to learn basic sewing skills, and by the time they left they were almost pro’s. Each girl got to pick out her favorite fabric from any bolt in the shop and then pick out the needed accessories (for this project it was a piece of coordinating jumbo ric rac). After the shopping was done the girls all sat down at their own sewing machine and used the skills they had been taught to put together their
own fun pillow cases.
Mom told the girls that her first experience with sewing happened in 4H for her as well. She said “this is where I learned to sew, and have loved it ever since.” She reminded them that sewing is a learned skill, and it takes practice to be better. Not to get frustrated because it isn’t perfect, just keep trying. In the end, they had fun and so did we!
Where did you have your first sewing experience? What got you into this hobby, anyway? I’d love to know.
You all have a great weekend. I am hoping to get a little cleaning done, some thrifting, and maybe a few paint projects going….oh, and also some sewing. I am STILL working on my disappearing nine patch. (don’t judge) Wish me luck….really. I need it!
to old ratty jeans! I mean really we all want to extend the life of our kids clothes, right!?!!? They wear them out so fast, especially when we are buying them half worn out already! 🙂 tehehehe.
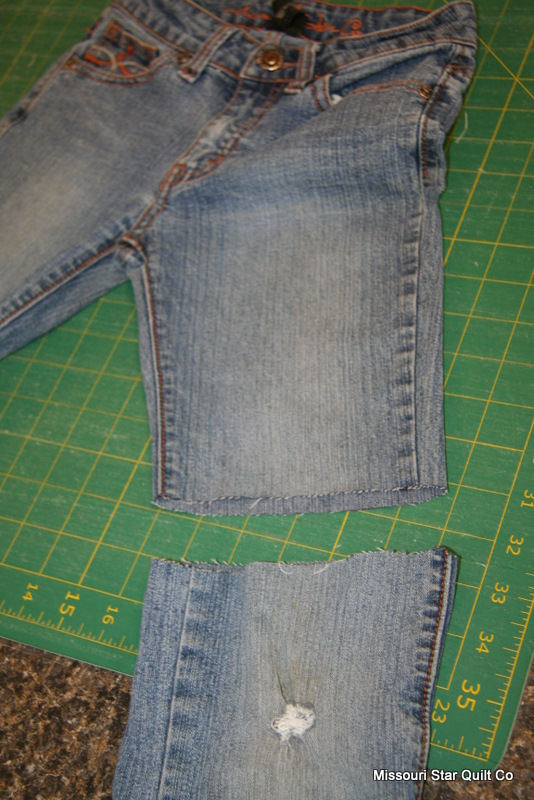
What we had to work with
Today what we did was take a pair of old jeans, and cut them off….
Pretty easy, of course…..But I have issures with things being straight. So, we used the good old rotary cutter and mat for a more precise line!
Straighten the cut
The next thing we did, was fold the end of the shorts up. Yes, I said UP….here let me show you.
Fold the jean up
See, it is gonna make a cute edge at the bottom with a minimal amount of work. (My favorite!!)
Then you pick out the kind of trim you want to use. My crazy girl picked this mini dingle-ball stuff we have in the shop, and I think it turned out darling.
Work the trim in
Next of course, measure your trim…..cut it and get ready to sew it on!!
Sew it all together!
Slip the jeans through the throat of your machine, and we just zig-zag stitched around the whole thing. Rinse and repeat. (uh, skip the rinse part) WHat I mean is, do the same thing to both legs. 🙂
Alakazam!
Badd-A-bing. You are done. The only other step now, is to have your child try them on!
Now we’re stylin’
Now you have one project complete, a happy child and many more ideas of repurposing old clothes running through your head! 🙂
I am SO loving these pink dingle-balls (we have then in white too) that I want to give some away! Mention this blog with your order today and I will throw some (a yard) in your package. (and if you have already ordered just email me…chances are I can still throw some in!)
Hope you are all having a great day, and WHY not!?!?!? It’s Friday!
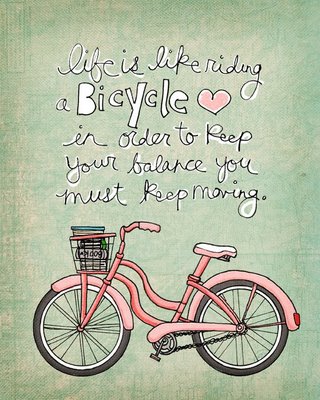
I have been a fan of Vol.25 now for a while. I love her artwork…I love that she combines art with words. When she came out with this latest print, I knew I just had to have it! So cute, and fits so perfectly in my life right now.
Continually moving is what I am doing…..my fingers are crossed that my theoretical bicycle is as cute as that one!! 🙂
So, what is keeping you moving these days? What’s inspiring you? What have you been doing all summer? I’d love to hear. Visit us in the Forums for a good ol’ chat!
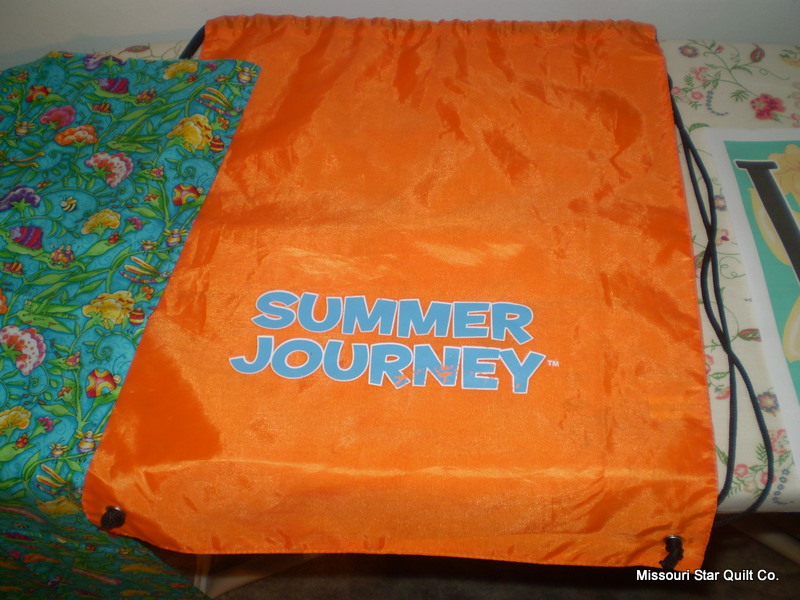
My kids got these great lightweight backpacks for free from their summer school program. They are not very attractive though, and every other kid at school will be carrying the same backpack! So, I thought it would be fun to try some embellishments!For the first one, I tried adding a monogram. I just found a cute letter on the computer. Enlarged it to the full sheet size (8 1/2 X 11″) Then I printed it. Most printers have the option to print in reverse. It is smart to go ahead and print your letter in reverse so that you can trace it easily onto the back of your fabric. This way when you flip your letter over it will be facing the right direction!Then trace your letter onto some iron on backing…I also took a 12″ square of fabric and ironed it down. Then I added her letter H, and a cute little heart (at her request!) Once they were all ironed down, I just satin stitched around the edges and we were done!
Finished Product 🙂
Free backpack + Stash Fabric+ very easy = One happy kiddo with a backpack like no one else!
Of course, having four of these little freebies, I couldn’t stop with just one! So, I thought about all the little floating blocks I have…you know the one block that didn’t fit into your quilt top. Well, I thought this would be so cute to dress up with some left over blocks…Just like before, take your block and iron it to the fusible web. Square it up so your edges are nice and clean.Peel off the back and line it up. Then Press it down!Can you see the writing through the white fabric? Well, I can too! and it bothered me so, I added some things! a second block, and a little flower. I did a simple zig zag stitch around the entire thing and I LOVE this one! It turned out even better than I imagined!Necessity is the mother of invention right? and don’t we all LOVE a happy accident??!! This will become our new library book bag. So, I don’t have to pay another $5.00 in fines when we go back! 🙂 oops! I was also thinking that this would be a fabulous way to dress up those $1.00 reusable grocery bags that you can get at most grocery stores. Someone once mentioned that they felt weird taking a Walmart grocery bag into a Target. Well, if your bag is all dressed up and you cover the store name with a quilt block, then you are good to go! Take that bag into any store you like with no discomfort whatsoever! Either way, keep your eyes peeled for fun things that can be made over in a jiffy. They are closer and more abundant than you think! Enjoy!
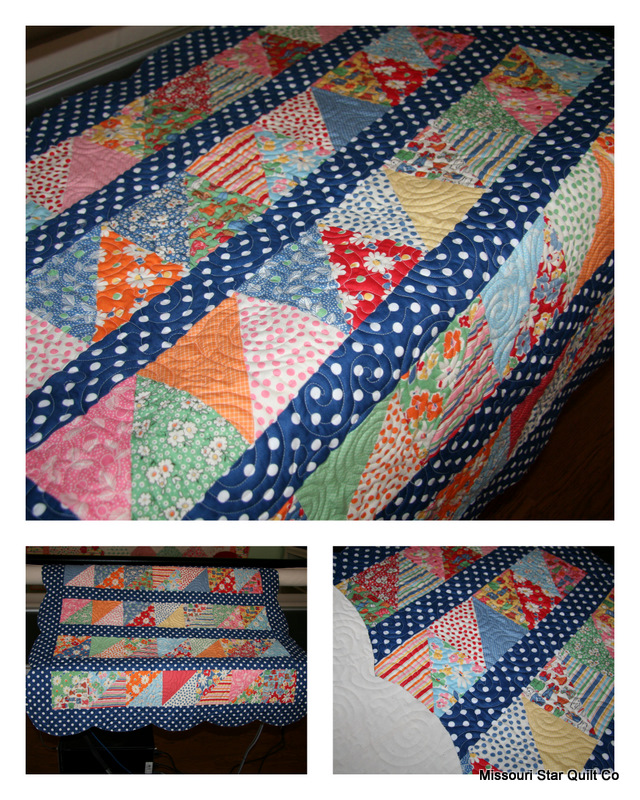
That’s all it took! I am a HUGE fan of Sandy Klopp, (the designer of American Jane fabric) and when we got the Snippets line in the shop I couldn’t wait to try something out.
Since I haven’t played around much with the turnovers I got all excited and (with Mom’s help) we whipped this little baby blanket up in an afternoon!!
We used one turnover, and a yard and a half of the blue dot (moda) and BOOM it was done! Then to top off the whole thing we scalloped the edges, using this scallop edge tool. Mom quilted it and now all that’s left is the binding. (which is happening even as I type this!!)
Seriously, easy and fun! If you haven’t tried the new turnovers yet, you are missing out!! Don’t be afraid. It is easier than you might think.