Quiz: What’s the softest thing in the universe? Teeny baby kittens? Not even close. Downy ducklings? Spring lambs? Puffy white clouds? Nope, nope, nope!
Truth be told, you just don’t know how soft “soft” can be until you wrap a chubby-cheeked baby in Jenny’s new Self Binding Baby Blanket made out of super-fluffy Shannon Cuddle fabric! This blanket is as cute as it is soft, and it can be whipped together in mere minutes! This self binding technique is even easier than in our original Self Binding Baby Blanket tutorial! With Cuddle, they edges don’t fray, so you don’t even have to fold over the edges. It really comes together so quickly!!
Mary Gay Leahy, who is a teacher for Shannon Fabrics and a Cuddle Expert, likes to travel with the first quilt she ever made with Cuddle, which also has flannel on it. The flannel parts are all pilling and faded now, but the Cuddle all still looks as good as new, even after over 150 washes! So, not only is this a quick, easy project, but it will last forever!
Jenny creates this blanket with two layers of Cuddle, but you can also use two layers of Embrace Double Gauze or one layer of Embrace with a layer of Cuddle!
If you’re new to using Cuddle, here are some tips to make life easier: Use a walking foot, a longer stitch length (about 8 stitches per inch), and if you have a stretch needle handy, that will make things go a little smoother. And when you first cut it, it will shed, but if you throw it in the dryer with a clean lint trap, so it can finish shedding, then it will never pill or shed again!
Click on the button to watch the tutorial and get all the supplies you need to make your own Self Binding Baby Blankets!
Years ago, I made a birthday cake for a new neighbor from Cuba. Laura was unfamiliar with boxed cake mix, so when she saw those two mouth-watering layers of chocolatey goodness, she was certain I had spent hours in the kitchen. It just didn’t seem possible that such a decadent dessert could be whipped together in less than 5 minutes! We live in a magical time, my friends, where fabulous cakes – and quilts – can be created with amazing speed and ease!
In the quilting world, it just doesn’t get easier than a four patch made of charms. But add a simple slice of black, and you’ve got the makings of a gorgeously intricate Four Patch Lattice! It’s so easy, and yet it looks like a million bucks (our favorite combination)!
Click on the image below to watch the tutorial and get all the supplies to make your own Four Patch Lattice Quilt!
Hello fellow quilt lovers! My name is Amy Smart. I learned to quilt from my mom when I was growing up, but have been doing it in earnest since the birth of my first baby 17 years ago. I love share my quilting obsession including patterns and tutorials at my site, Diary of a Quilter and recently published a book, Fabulously Fast Quilts.
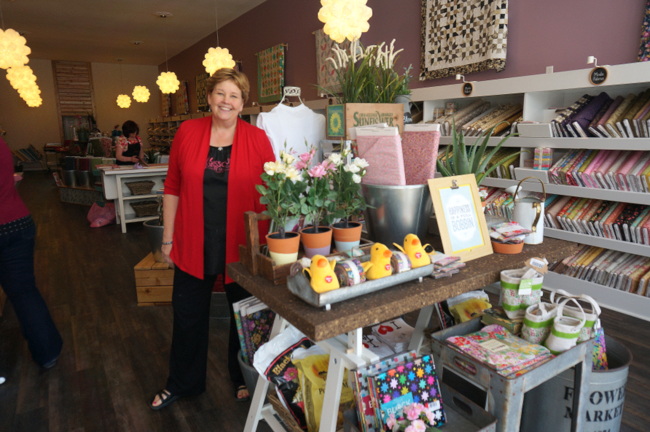
I have been a big fan of Missouri Star Quilt Company and was so excited when they invited me to do an MSQC Tutorial Reboot! Serendipitously, my family had a trip planned to Missouri for Spring Break a few weeks ago and I got to visit Hamilton and the whole Missouri Star Quilt Company extravaganza! You can read more about my adventures in Hamilton in this post, including an amazing grand tour of all the shops by Jenny herself!
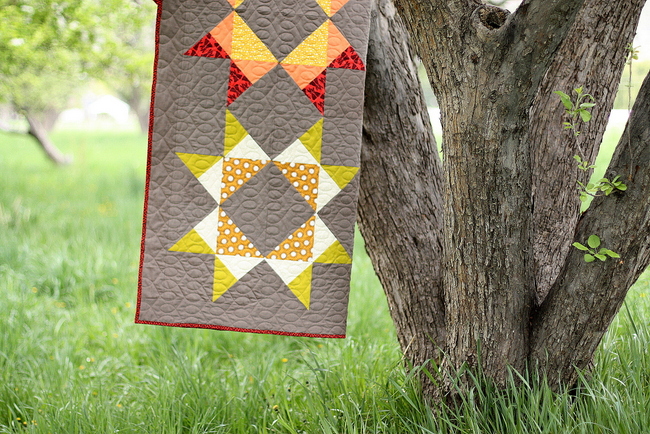
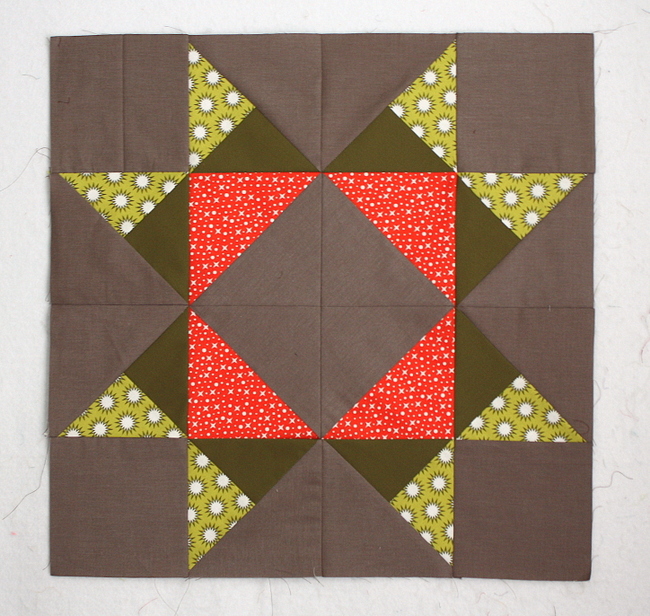
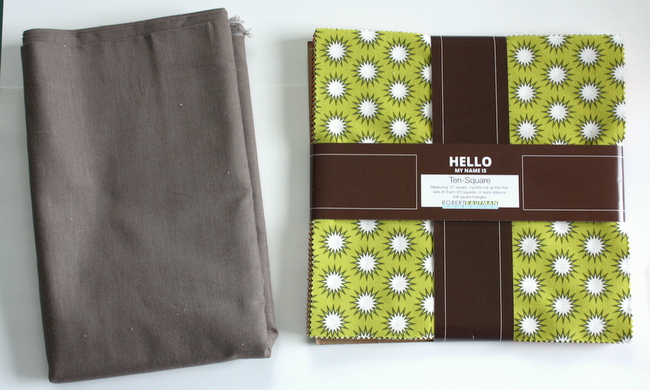
As I looked through the myriad of quilting videos and tutorials from MSQC over the past years, the one I was most excited to make myself was the classic Missouri Star block itself. (Seems appropriate.) I’m a sucker for large quilt blocks, especially stars, and I loved the scale of Jenny’s block. I’m also a big fan of short cuts and quick piecing and I loved Jenny’s method for creating this block quickly using pre-cut 10″ x 10″ squares.
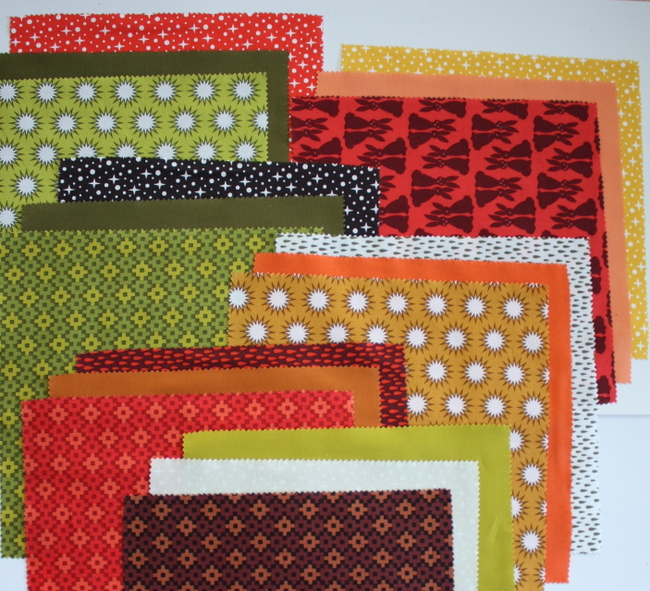
The large scale of the block lends itself so well to a modern, graphic design. I thought I’d pair a darker, woven solid with some bright, modern prints to change the look a little bit.
Each block requires 3 10″ x 10″ squares. So before doing any cutting or piecing, I mixed and matched my 10″ precut squares into 6 sets of contrasting or complementing prints and colors. That way I knew I was getting a nice variety of colors, prints, and combinations.
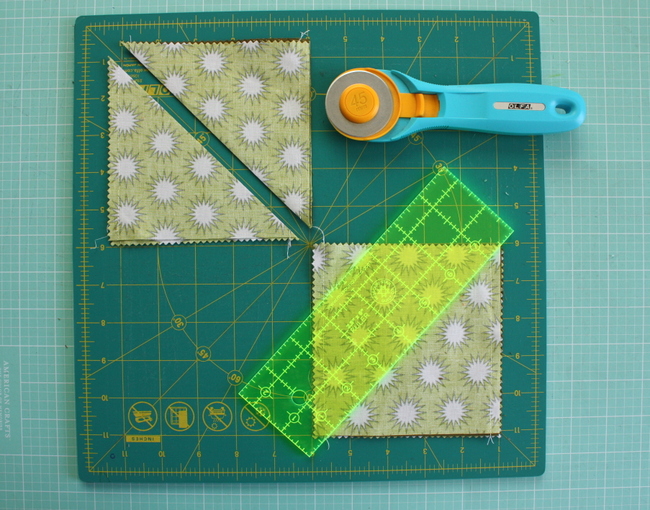
From there I assembly-lined cutting and piecing my blocks. One thing that really helped were these custom rulers from MSQC – they come in 2 1/2″ x 8″ and 5″ x 15″ sizes. They are PERFECT for working with precuts – especially cutting those pre-cut 5″ and 10″ squares on the diagonal, without having to get out a bigger ruler. You can follow along by watching Jenny’s tutorial!
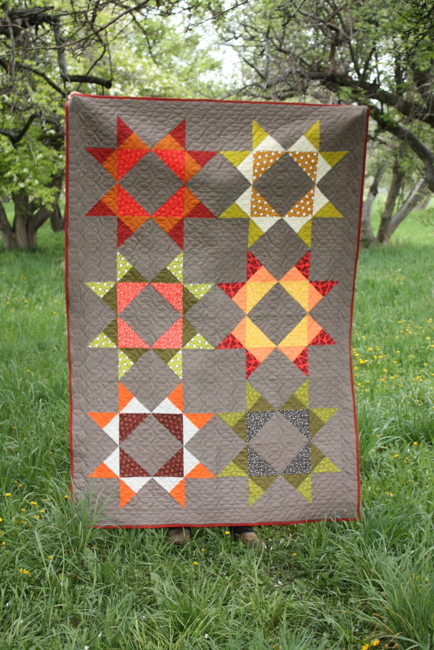
I was originally going to make just a wall size quilt using 4 quilt blocks, but I liked the fabric and the block so much, I added two more blocks for a lap-size quilt. (My quilt finished at 52″ x 75″.) I think I would have kept making more blocks if I’d had more fabric on hand!
I definitely want to make this pattern again – the blocks come together SO quickly – and because the scale of the finished blocks is 23″ x 23″ so you don’t need to make a lot of them. It would be a quick way to make a large bed quilt.
In the meantime, I’m claiming this quilt as my snuggle quilt to carry around to soccer games, picnics, and Sunday afternoon naps. The bold colors make a statement, but the warm, taupe background will hopefully hide some of the evidence of everyday use.
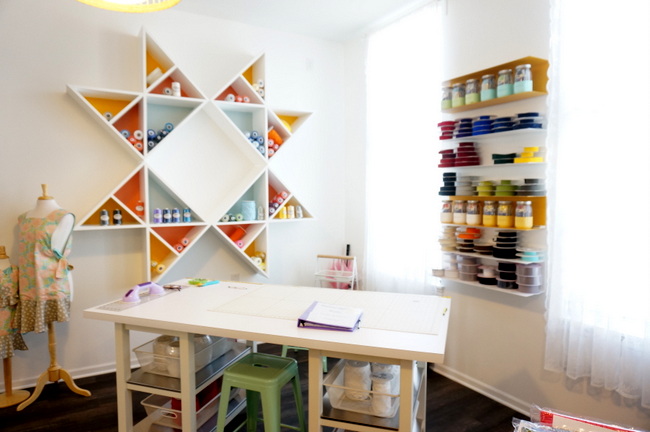
Here’s one more parting shot of the giant Missouri Star in the MSQC trims shop. Appropriate, don’t you think? Thanks so much for having me Missouri Star! It was a blast to visit in person, and I’m so excited to have my Missouri Star Quilt as a reminder.
Cutting corners is usually looked down on. It’s the lazy man’s way out, ease over quality. It’s duct-tape car repairs and “premium” chicken nuggets filled with mystery meat. But when Jenny talks cutting corners, you can bet she’s talking about creating something that is as completely fabulous as it is easy! Today’s Tutorial, Cutting Corners, combines strip sets and half square triangles together into one gorgeously simple design. It’s scrappy and it’s clean at the same time!
Click on the button to watch the tutorial and learn how to cut corners Jenny style!
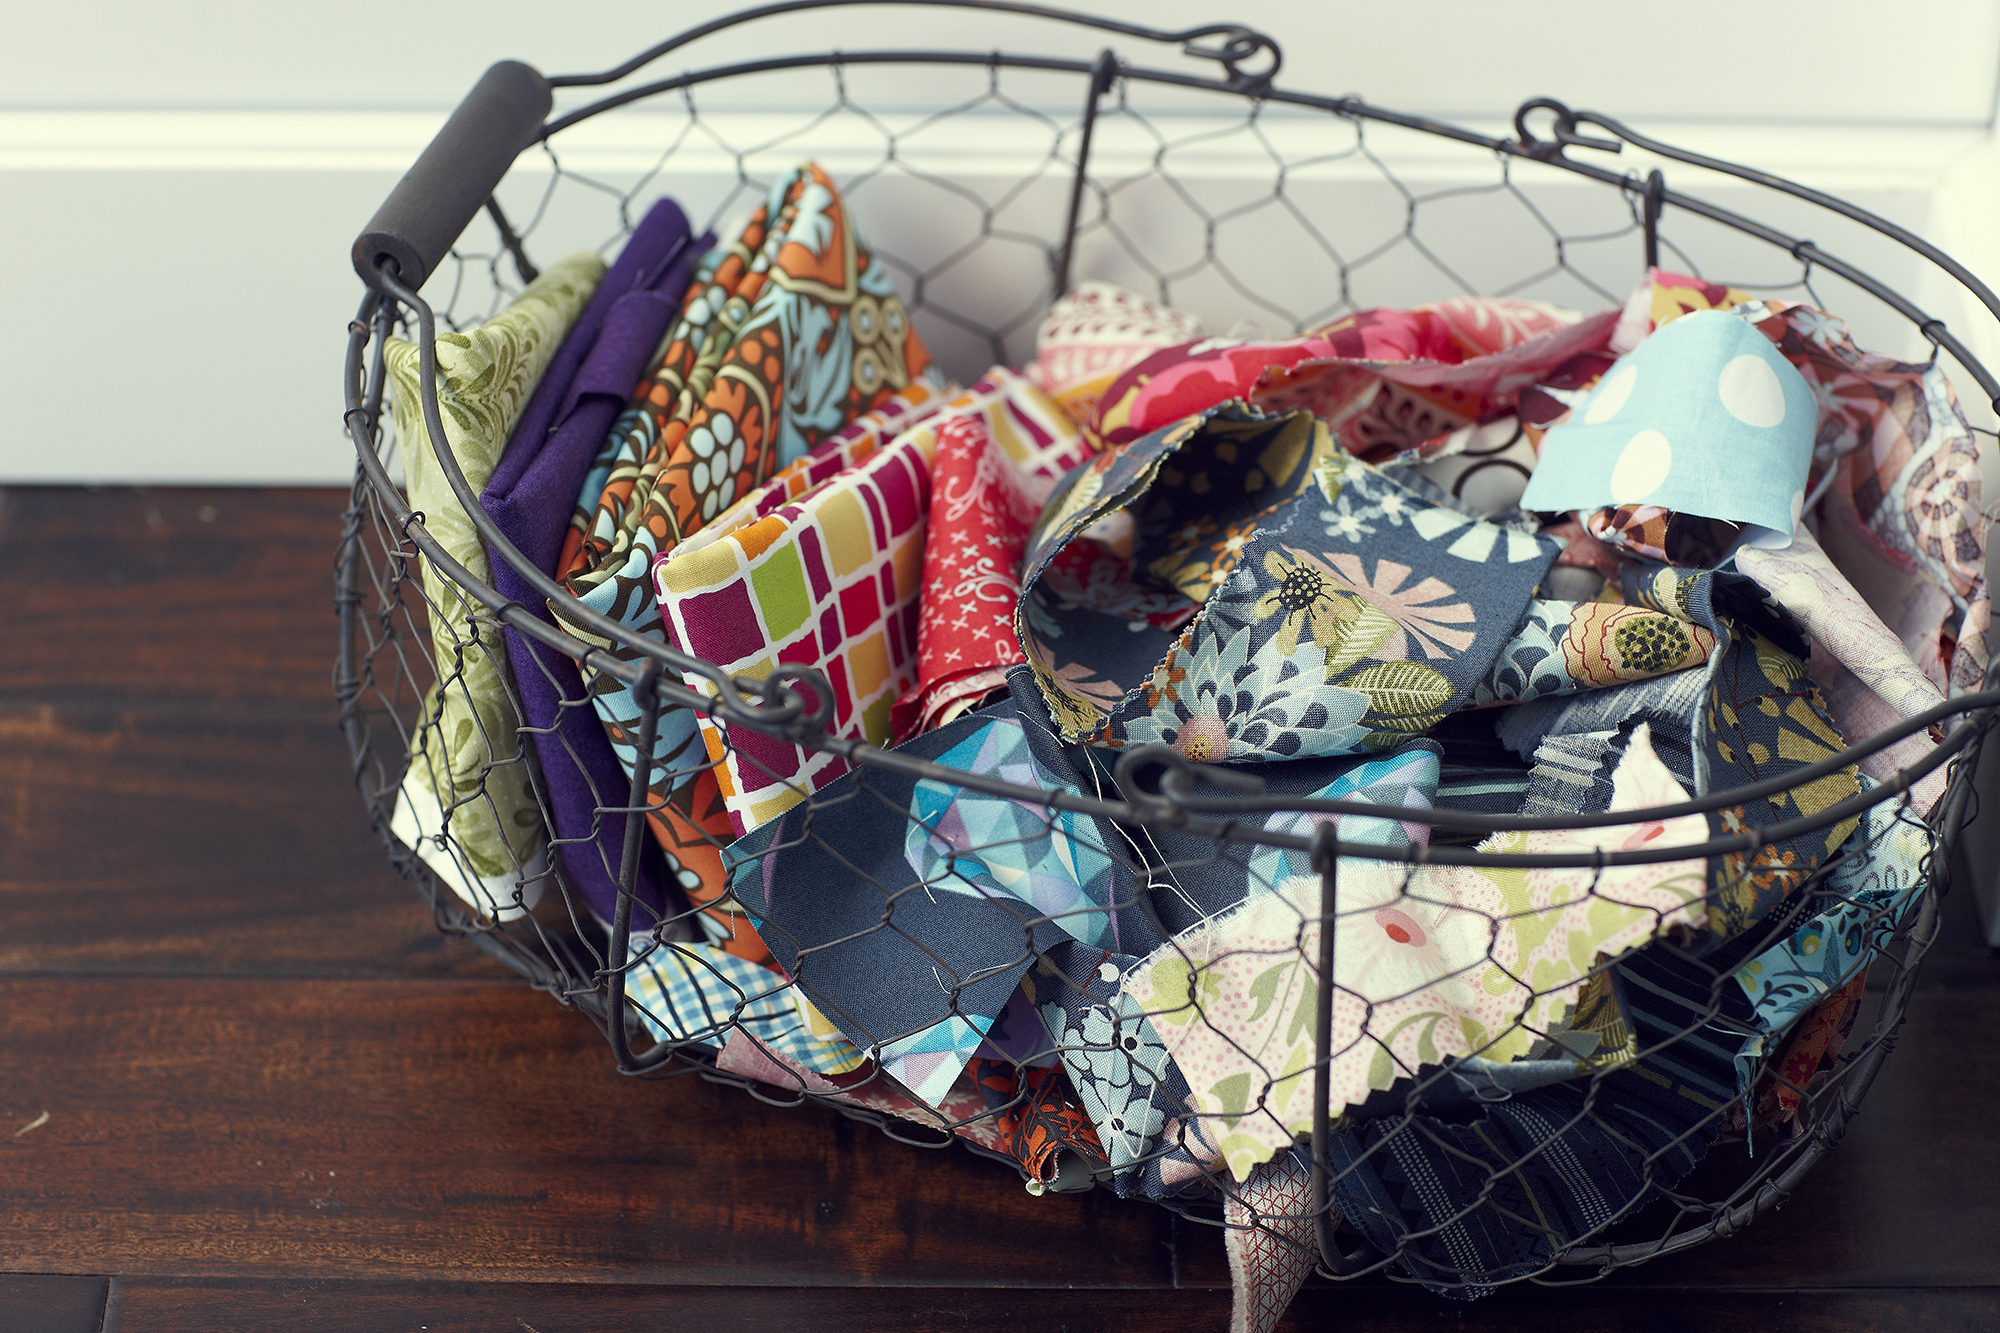
Quilters are resourceful people who are hesitant to throw anything away, after all, fabric scraps are precious. You never know what they might become. Maybe a beautiful crazy quilt, a fun tote, or a cozy bed for your pet. There are so many possibilities!
This Earth Day, we want to show you some fun ways to reduce your stash, reuse those scraps, and recycle them into fabulous, earth-friendly projects! Show the planet a little love and #makesomethingtoday!
When you aren’t using a pattern, you can use more of your scraps! Give improvisational quilting a try and watch your scraps disappear. They’ll become something even more wonderful than you thought they could be: a cozy, beautiful quilt!
Don’t be afraid to go a little crazy! If you have a lot of little trimmings left over from strip quilting, this is the perfect project for you. Just grab our crazy quilt template and stitch away! The fabrics don’t have to match, in fact, they shouldn’t. Just put them together in any way you please.
This table runner is the perfect solution for all the different shapes of scraps you have hanging around. It uses up 10” squares, 2.5” squares, and 2.5” strips too! Gather them all up and make table runners for every season!
Do you hate wasting fabric, but love your pet? Don’t throw away a single scrap of fabric! They’ll all come together into a super-comfy bed to pamper your furry friends in this tutorial.
This tutorial doesn’t have to use one single jelly roll. You could use multiple pieces from projects you’ve finished and come up with something totally new! Then, take this tote to the market and avoid using plastic bags too.
Need a place to store those odds and ends? Don’t go out and buy another plastic container. Stitch up your very own wrapped fabric bowl and organize in an environmentally-friendly way!
Keep your keys on hand and your scrap pile low with this super-cute key fob. You can use some of your smallest scraps with this project. It’s so much fun, you’ll want to make key fobs for all your friends!
If you’re looking for a new challenge, give this amazing tutorial a try! Create a tribute to Mother Earth by turning your favorite landscape photo into a quilt. Give your scraps new life with this applique project.
This is a great quilt for using up all those little skinny pieces you have left over from trimming. Piece them together into a smart string quilt and get them out of the scrap heap!
These great little catch-alls are awesome for organization and storage. There’s no need to go out and buy little boxes and bins. Stitch them up yourself and watch your scrap pile diminish. When you’re done, you’ll have a more organized home and fewer scraps. Whoo hoo!
Enjoy this playlist of our Favorite YouTube Scrap Buster Tutorials!