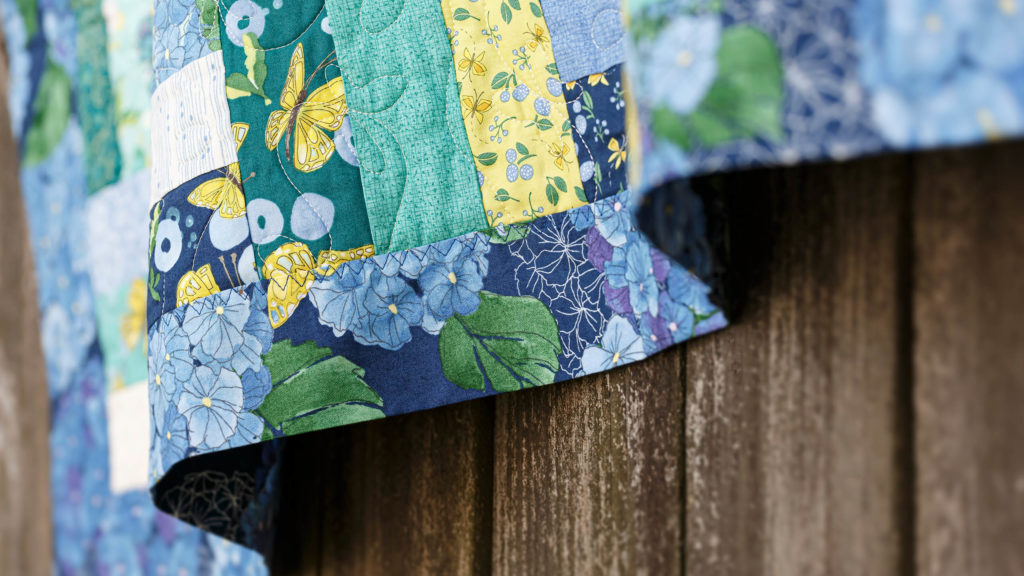
Learn how to self-bind any quilt top in the latest tutorial from Missouri Star Quilt Co.
The first time Jenny Doan made a self-binding baby quilt, her husband was skeptical. “I’m pretty sure this isn’t going to work, dear…”
Undaunted, Jenny replied, “Just you watch!” And guess what? It did work, and it was fab-u-lous!
Jenny Doan demonstrates how to self-bind a quilt in the latest tutorial from Missouri Star.
Over the years, Jenny’s Self-Binding Baby Blanket tutorial has been watched millions of times. (Imagine all the babies who have been wrapped in those sweet little quilts!)
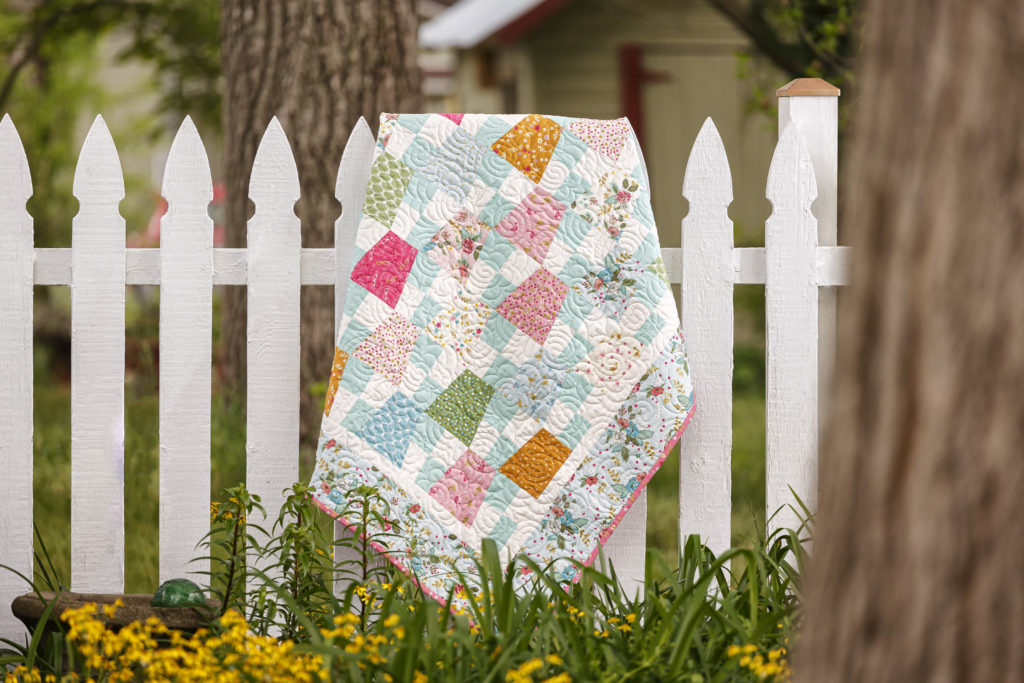
But, after dozens and dozens of easy-peasy baby quilts, Jenny started to wonder…would the self-binding technique work on larger quilts, too? (Spoiler alert: It does!)
In this week’s new tutorial, Jenny demonstrates how to stitch a self-binding backing to any size quilt.
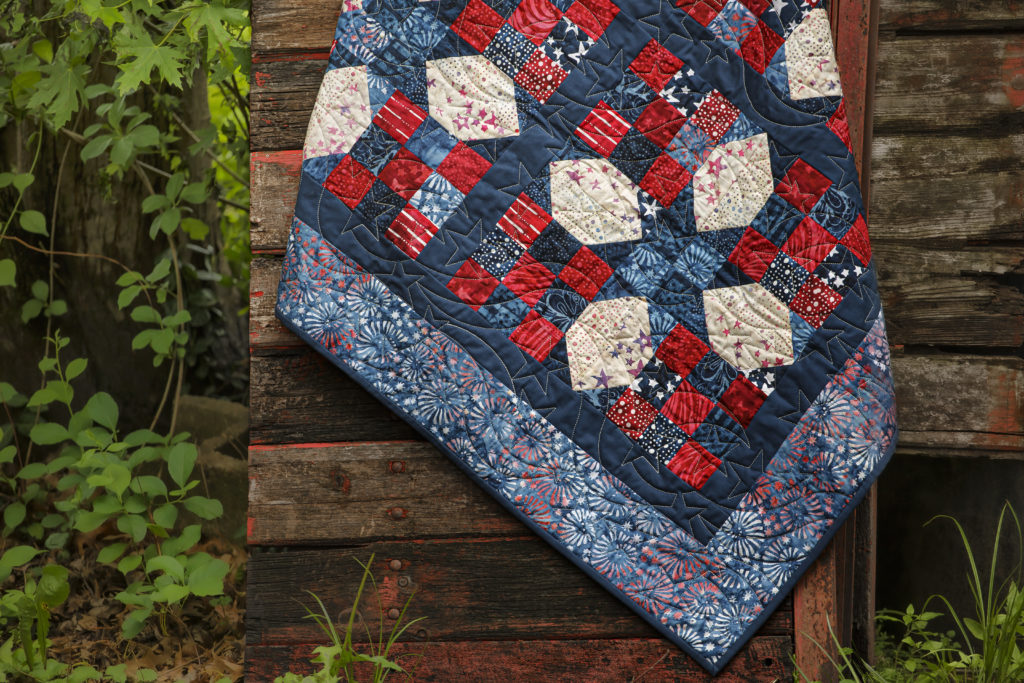
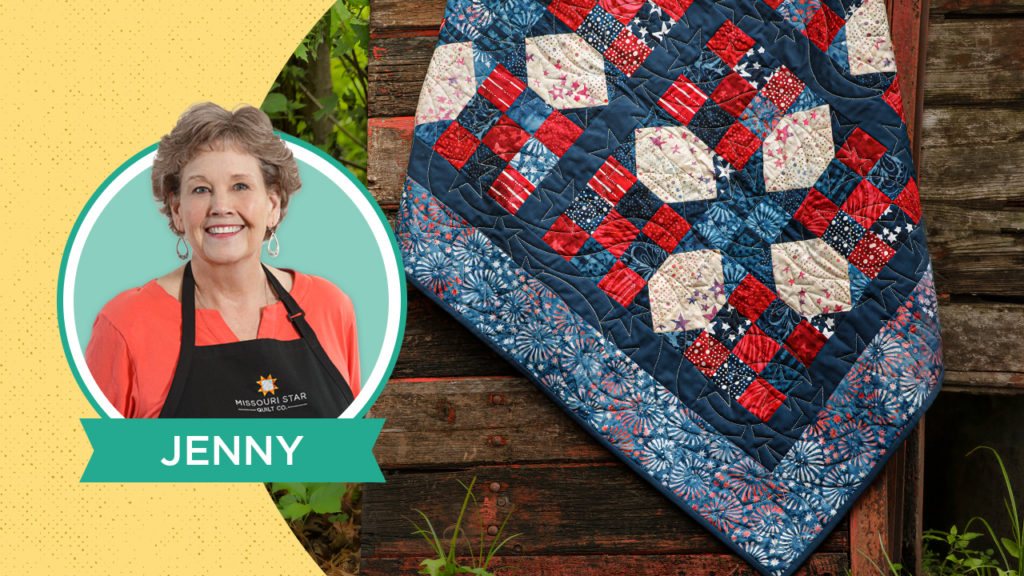
Star Sashed Nine-Patch Quilt by the Missouri Star Quilt Company.
The 4th of July is getting close. Let’s celebrate with stars!
The original American flag had just 13 stars—one for each state, and we’ve added a star with every new state.
Imagine those poor flag makers. Just as they mastered one design, they’d get the news: “Hold up, everyone! Kentucky is now a state! Start unpicking, and rearrange your stars!”
(Sometimes the layout was changed every single year. That’s a lot of star shuffling!)
This week we’re stitching up a Star Sashed Nine-Patch in patriotic shades of red, white, and blue. It’s a quick and easy jelly roll pattern made with 9-patches, 4-patches, and snowballed sashing. Put ‘em all together, and a sea of dazzling stars appears like magic. No fuss, no muss! Click HERE to watch the tutorial!
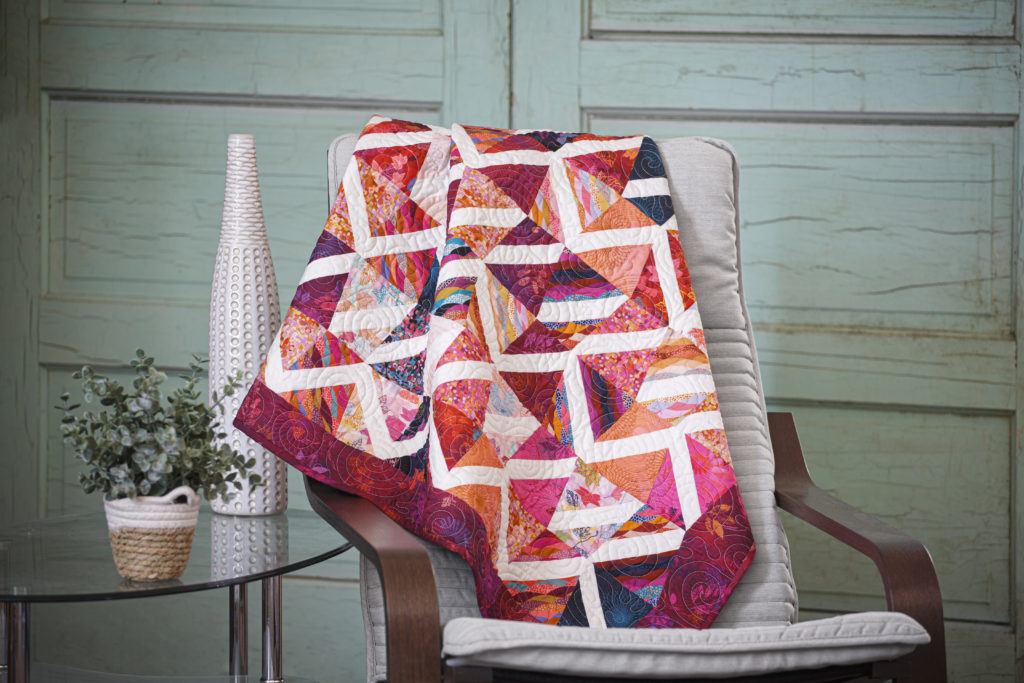
Join Jenny, Natalie and Misty for a Triple Play! featuring three new design of Tumbler quilts.
In the olden days, tumbler quilts were often made with scraps gathered from friends and neighbors. A bit of paisley from Aunt Maude. A stripe or two from Granny. A pretty toile from Jane next door.
The Patchwork Tumbler from Missouri Star Quilt Co.
For this month’s Triple Play tutorial, Jenny and the girls are whipping up 3 new tumbler quilt patterns. They’re using layer cakes, charm packs, strip sets, and four patches to create tumblers like you’ve never seen!
The Cactus Pincushion from Missouri Star Quilt Co.
Did you know today is National Walnut Day? Of course you did, who could ever forget such a major holiday! We here at Missouri Star Quilt Co. are big fans of this special day because walnuts can be your new best friend when it comes to quilting and sewing! Crushed walnut shells are often used as stuffing material for pincushions because, not only do they hold their shape and make a great pincushion, the oil from the walnut shells has restorative properties that keep our needles sharp.
So grab some fabric from your stash (you won’t need much) and check out these three great and unique ideas for a pincushion – each featuring crushed walnut shells as the filling! You may surprise yourself by how creative you get with found materials from around your sewing studio!
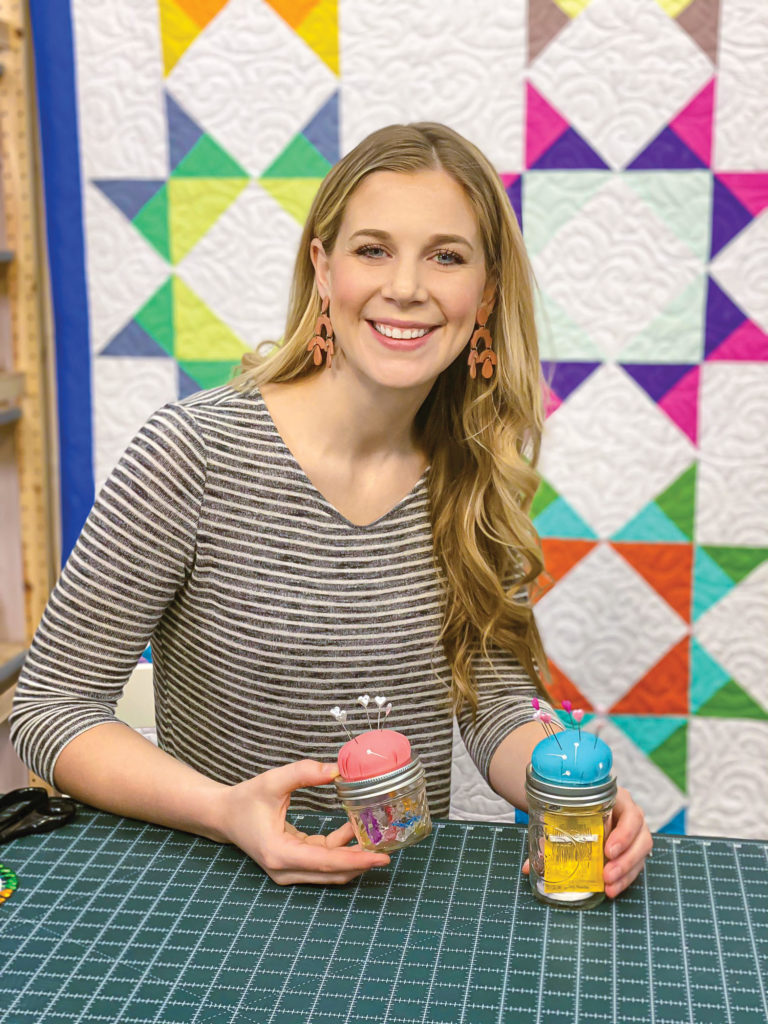
The Mason Jar Pincushion from Missouri Star Quilt Co.
Who doesn’t love repurposing materials from around the house? Not only do you get the opportunity to flex your creative ingenuity, but you make something from scraps that would normally just be discarded. This handy upcycled pincushion not only stores your pins (and keeps them sharp thanks to our friend the walnut) but offers additional storage for bobbins, bits of thread, and whatever you can think of in the jar below!
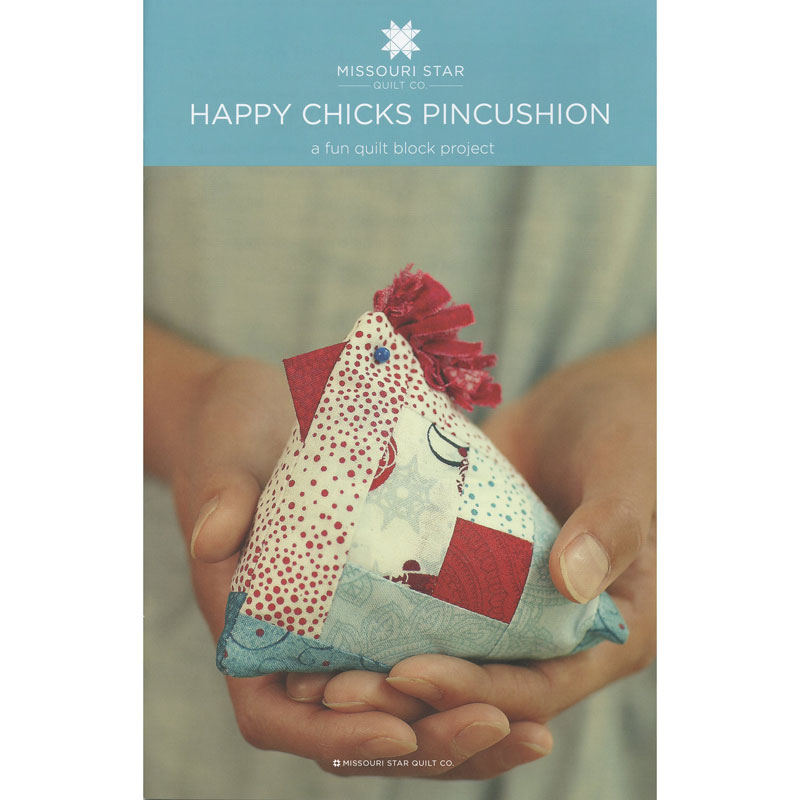
The Happy Chicks Pincushion pattern from Missouri Star Quilt Co.
Let’s face it, you can’t help but love the classic farmhouse sewing notions from generations past. Remember the little sewing tomato? We know you do! Pay homage to yesteryear with this scrappy quilt block chicken pincushion – the perfect combination of farmhouse chic and scrappy modern piecing! With the addition of a bag of crushed walnut shells, this simple project comes together in a flash and is a great addition to your sewing table.
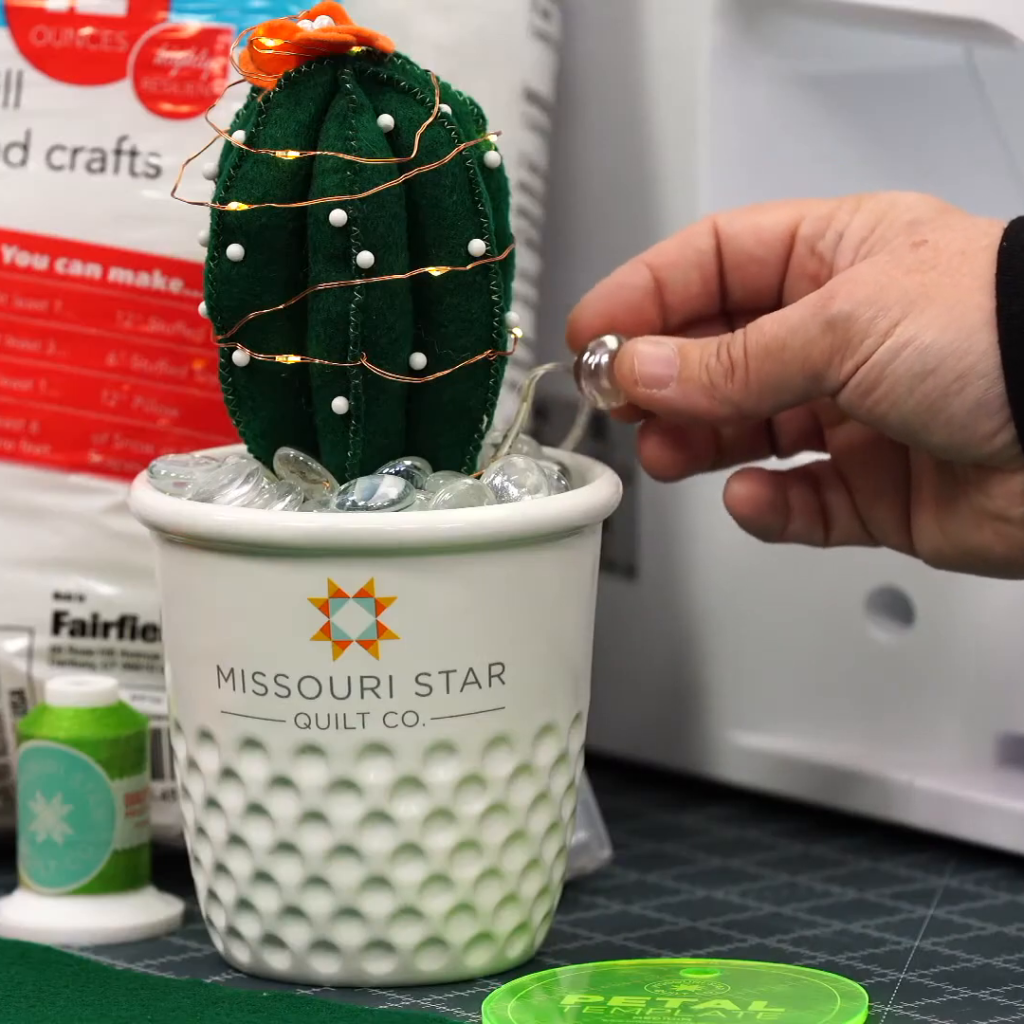
The Cactus Pincushion in a Missouri Star Thimble Container
We are absolutely in love with this cute cactus pincushions (and they look mighty fine planted in a Missouri Star Thimble Container too)! While this project might look slightly more advanced than the others, that couldn’t be father from the truth. Grab a little green felt and your favorite pot to plant this project in and you’ll be ready to store and sharpen your pins in no time!
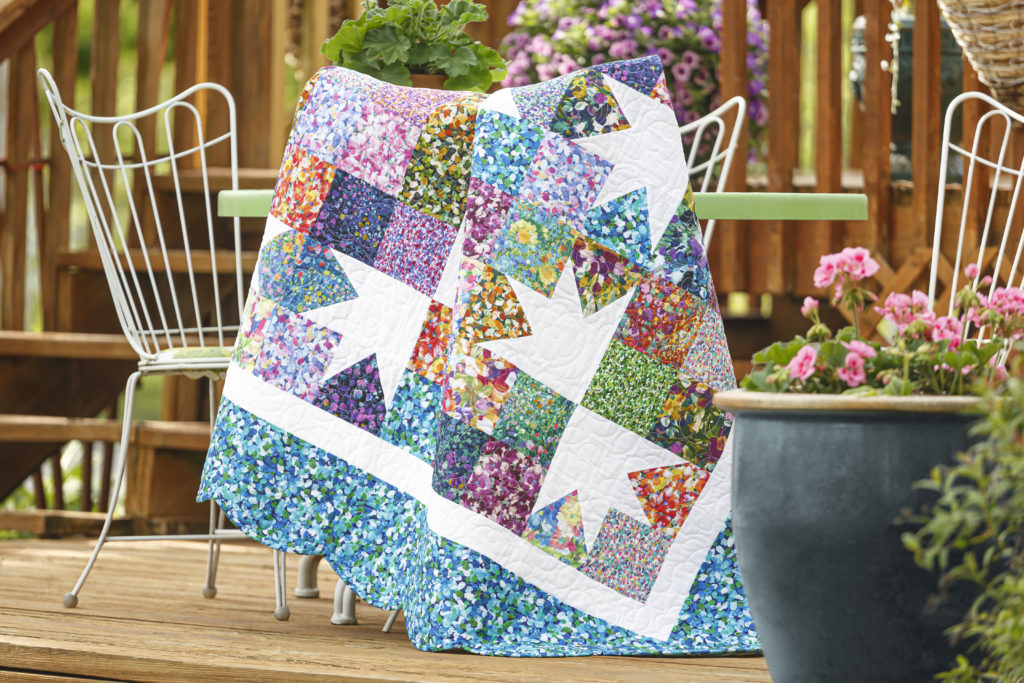
There’s a beautiful, old Goose Tracks quilt at the Smithsonian Museum in Washington, D.C.
It was made 150 years ago by Mrs. Ellen Parsons of Shelbyville, Tennessee. A hand-written note explains: “Mrs. Parsons planted and grew the cotton in her garden. She picked the cotton and spun it into thread. She wove the threads into cloth to make the lining for the quilt. She pieced and quilted it by hand.” Phew! That’s a lot of work!
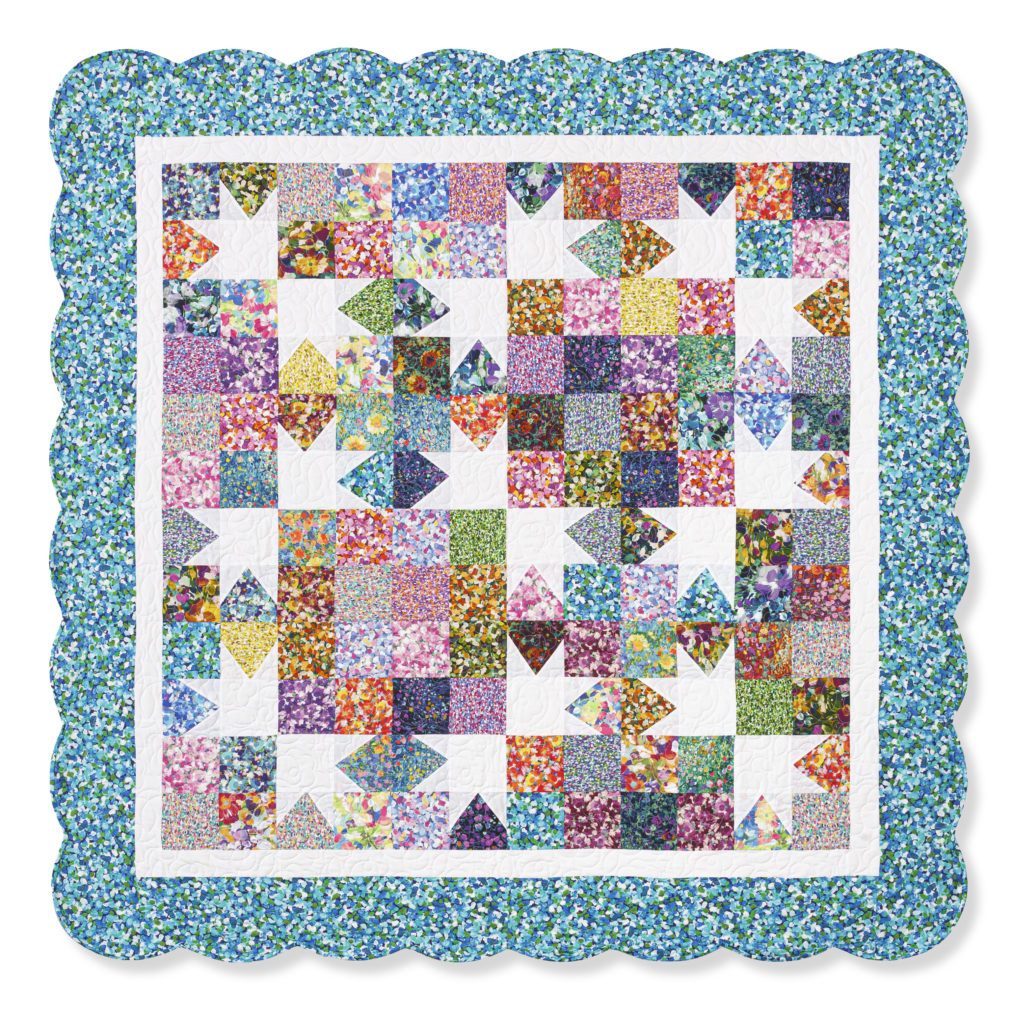
This week, Jenny is whipping up a quick and easy version of the Goose Tracks pattern using precut charm packs.
She didn’t spin her own home-grown cotton, but she DID add a darling scalloped border. (Don’t you worry! Jenny will walk you through every step of that fancy bias binding!)