Les Brown, an American motivational speaker, once said, “You don’t have to be great to get started, but you have to get started to be great.” So if your kids are bummed about back to school month, you’re a college student who’s dreading 10-page papers and tiring lectures, or if you’re a teacher not ready for vacation to end, then remember these words of wisdom to find your motivation!
It doesn’t matter if you’re a student, teacher, or parent… everyone can start the school year with confidence and style with creative projects to show off!
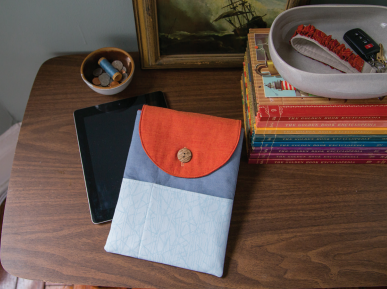
Make a custom case for your tablet that is quick, easy, and fitted to any device.
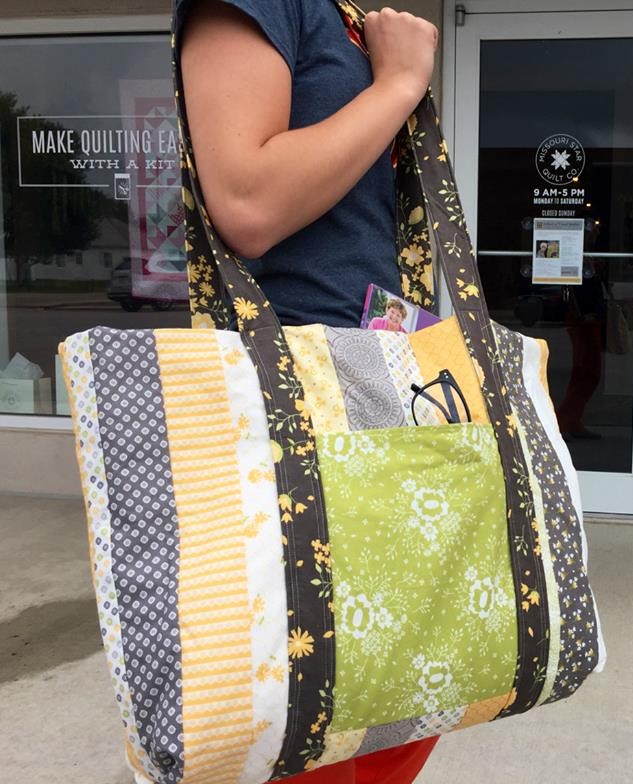
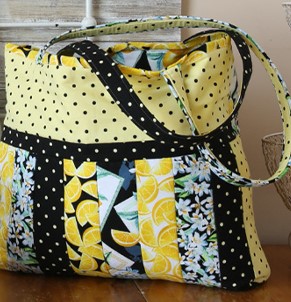
This adorable tote made from 2.5″ strips is great for all your back to school necessities, yoga class, or just simply picking up groceries! This bag holds it all!
Grab some stationary to make taking notes less boring and get started on a knowledge seeking adventure!
Education, creativity, and just being passionate about what you love is important at any age. So if you are wondering what you’ll be doing once the kids are back in class… take one yourself! Never stop learning with Missouri Star Academy!
What education journey are you taking this year? Let us know in the comments!
The final step of making a quilt may seem like the most intimidating, but have no fear! Adding binding can be a really enjoyable process when you know how much you need and how easy it is to make and stitch on your quilt.
Supplies needed:
Pencil
Paper
Calculator
Your finished quilted project
A measuring tape or template
Finally, choose a lovely fabric, bias, or precut for binding and load it into your Missouri Star Quilt Co. shopping cart!
Step 1: Find the perimeter of your quilt. Measure each of the four sides and add them together. Step 2: Add 20 inches to your total. Step 3: Choose your binding width. We recommend using 2 ½” wide strips. Step 4: Divide the total length of binding needed for your quilt by 40″. This gives you the number of width of fabric strips needed to create your binding. Step 5: Round up to the nearest whole number of strips. Multiply the number of strips by the width of binding you decided in step 3. That will give you the number of inches required to cut the necessary number of binding strips for your quilt. Step 6: Divide the number determined in step 5 by 36″ to calculate the yardage. Round this number up to the next 1/4 yard increment and you’ll have your total yardage number!
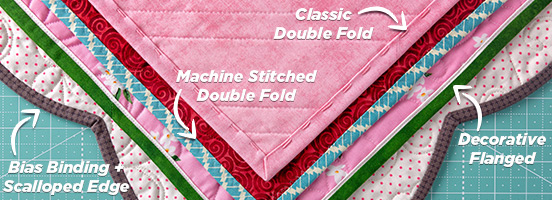
Tips and Tricks for Binding:
Watch our machine binding tutorial right HERE or buy our in-depth class “Create Better Bindings” with Natalie Earnheart.
Precut strips work great for binding as they are already 2 ½” wide.
Sew strips together end-to-end on a 45 degree angle into one long strip using diagonal seams. Press seams open to reduce bulk.
Fold strips in half lengthwise with wrong sides together and press.
The entire length of your binding should be equal to the perimeter of the quilt plus 15 to 20 inches.
Using a Binding Tool makes the process even easier!
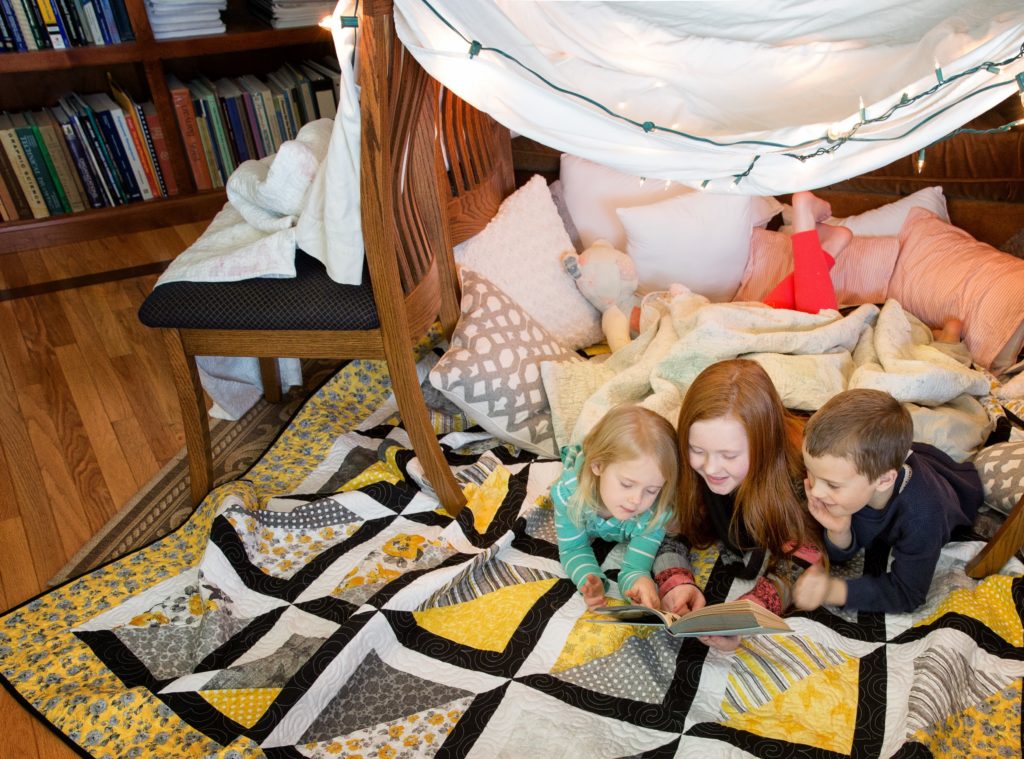
Example Quilt: (Quilt length + quilt width) x 2 = perimeter of quilt (66″ + 58″) x 2 = 248″ This is the total perimeter of your quilt Add 20″ to that number = 268″ needed of total binding length Take the total inches and divide by 40″ to get the number of strips you need 268″ divided by 40″ = 6.7 Round up. You’ll need 7 strips of fabric for your binding. Take the number of strips you need and multiply by your binding width. In this case, it’s 2 ½”. 7 x 2 1/2″ = 17 ½” Divide the number of inches needed by 36″. 17 ½” divided by 36″ = .48 Round up to the nearest ¼ yard and you get ½ yard.
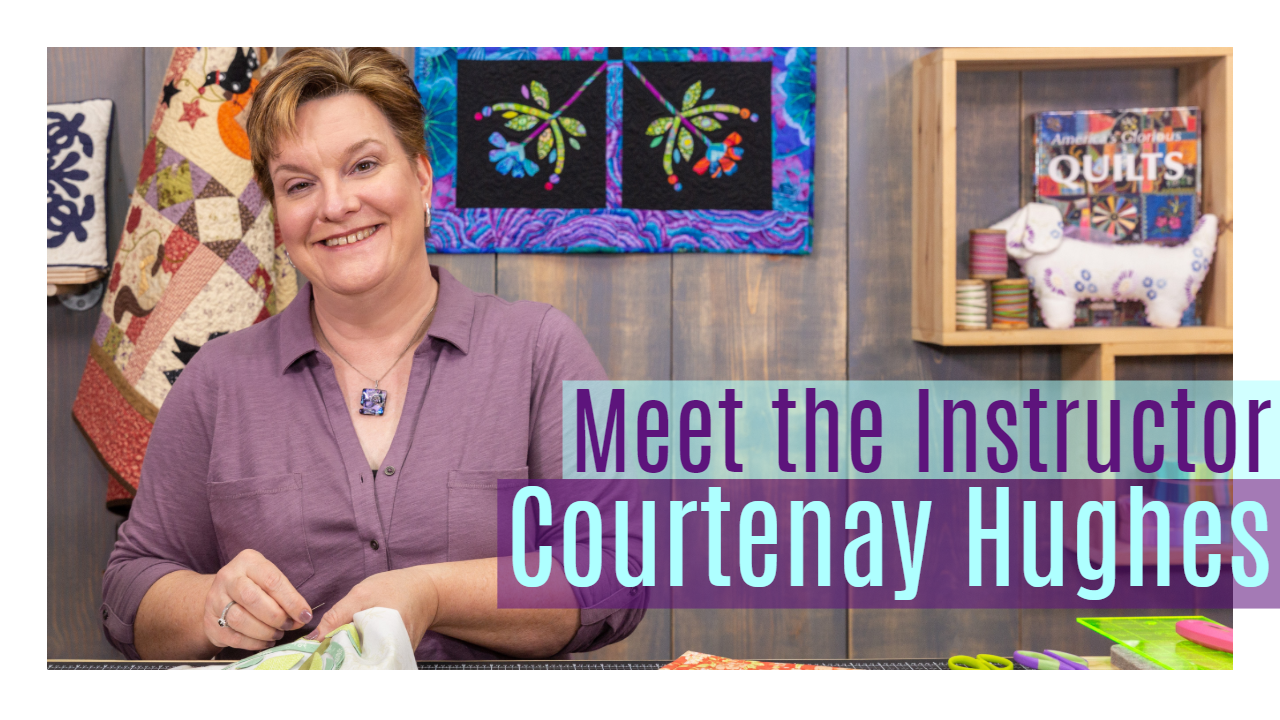
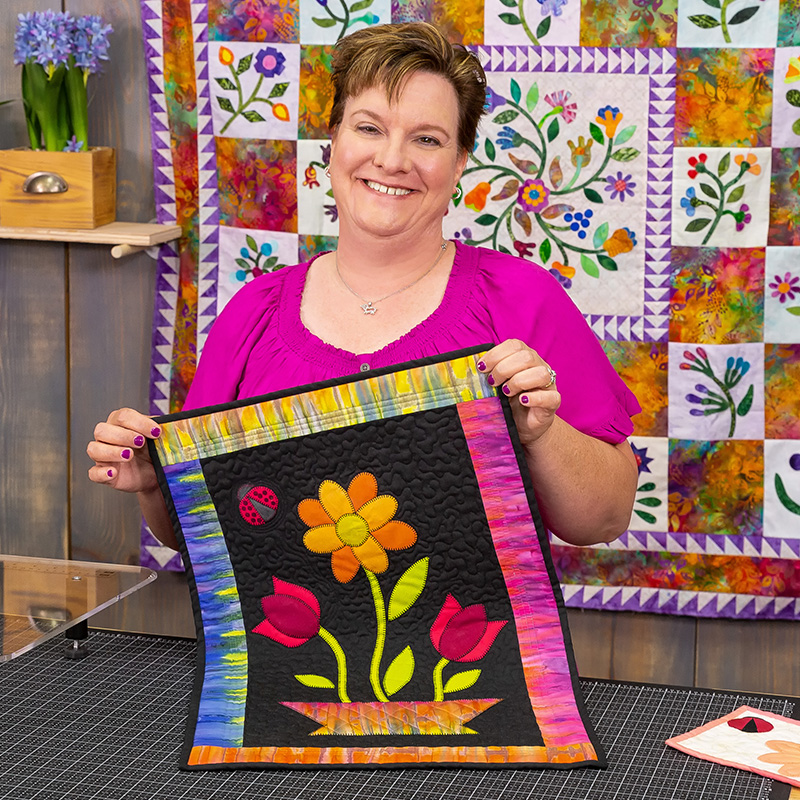
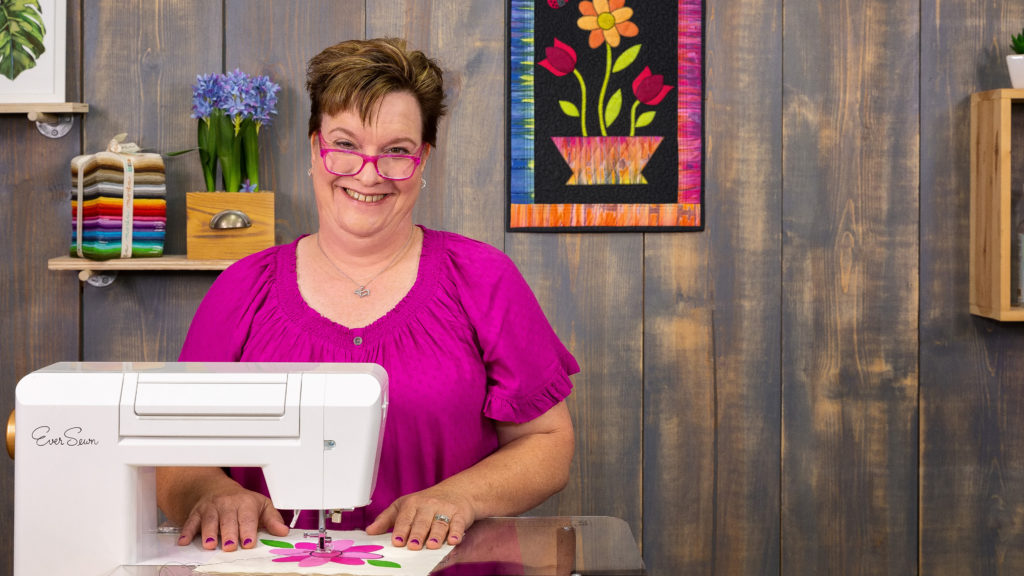
Courtenay Hughes is one of our talented instructors here at Missouri Star. As part of our education team, Courtenay teaches quilting, embroidery, and appliqué classes through Missouri Star Academy. This includes our online courses, in-town classes, and some of our free tutorials!
“I want to say I LOVE her teaching style! She is so funny, and I felt like I was spending an afternoon with a good friend. I really enjoyed this video.”
– Customer Review
Courtenay’s Creations
This quilting diva has been a wonderful component to our education team and you can see why! Her gorgeous projects continue to inspire all of us makers!
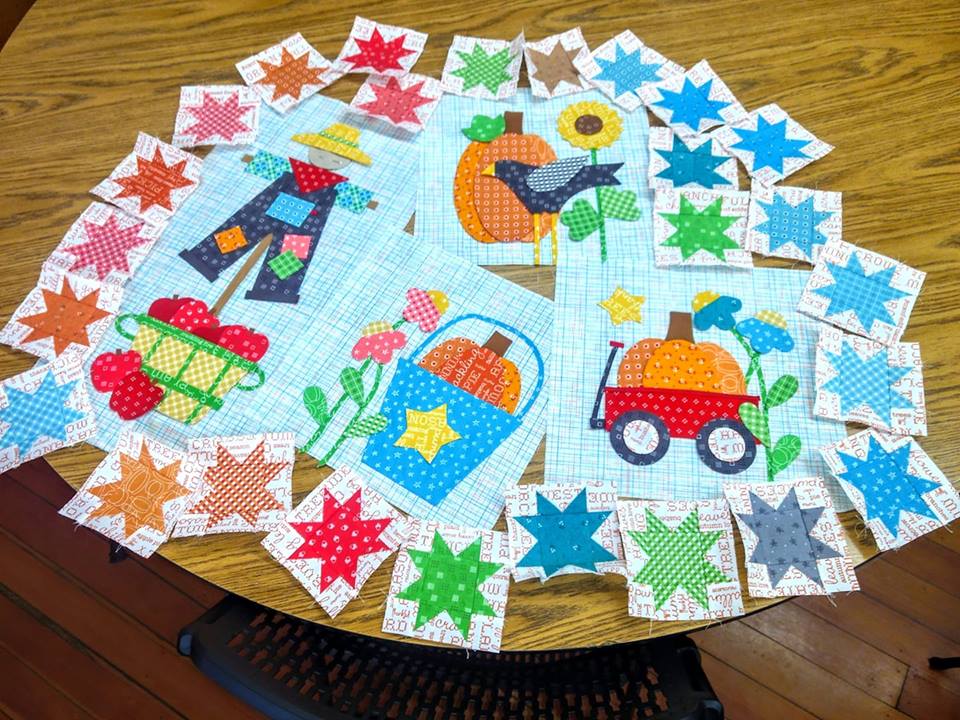
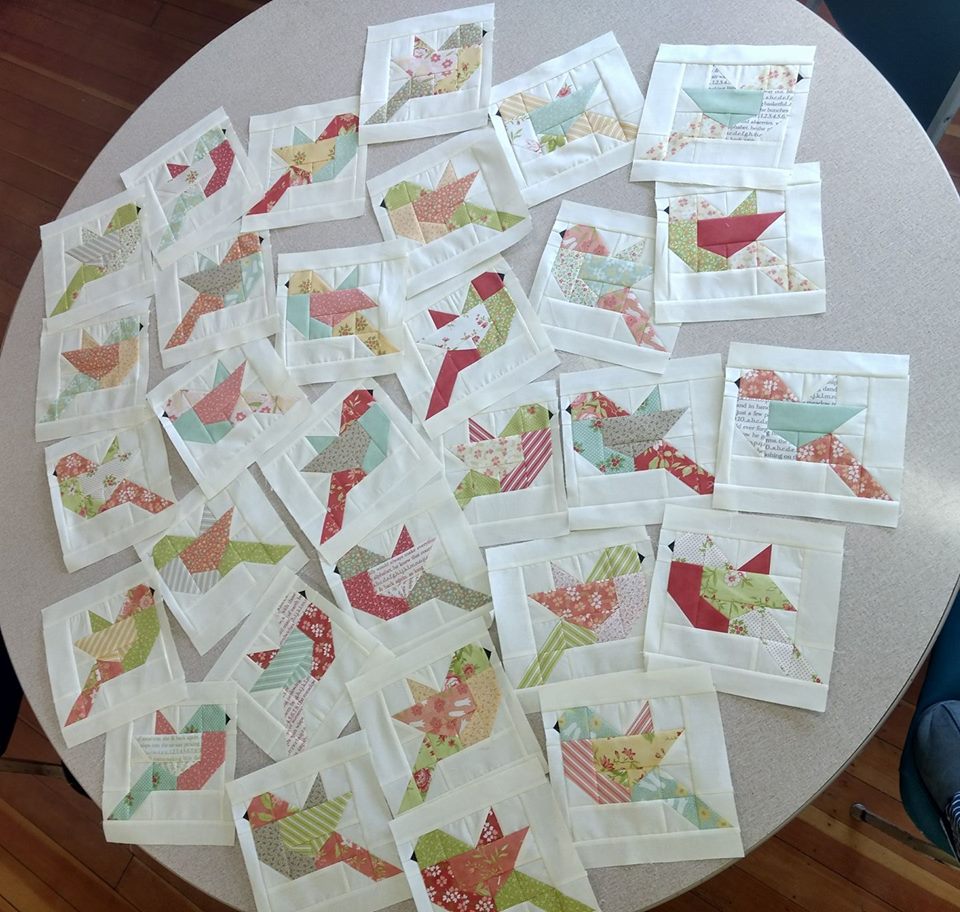
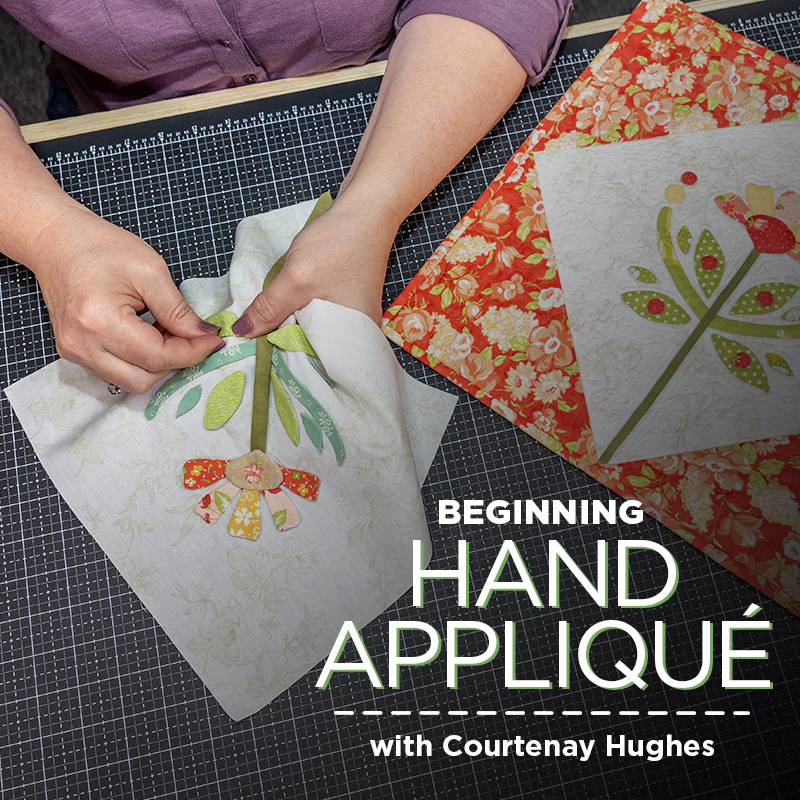
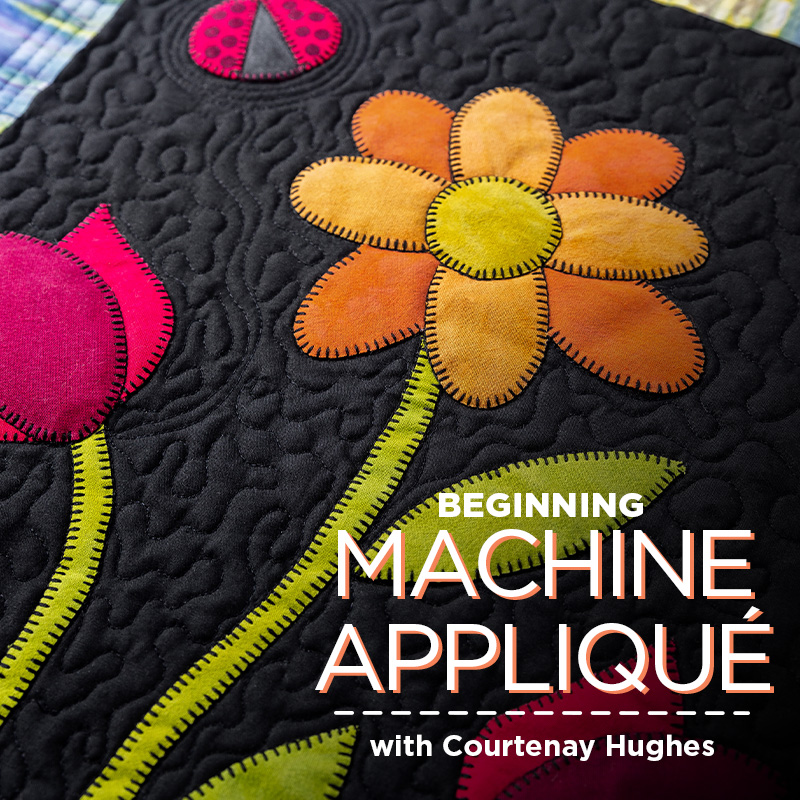
Now, let’s talk about appliqué, Courtenay’s area of expertise! If you’ve always wanted to try it out, but imagined it might be intimidating, we’ve got the tools, techniques, and tips to change your mind. Appliqué is a lot easier than it looks – and it looks pretty spectacular personalizing and decorating your quilt!
We talked to Courtenay about machine appliqué designs and tips…
Q: Courtenay, how long have you been sewing machine appliqué? A: I have been quilting for over 25 years. I’ve had about 20 odd years of practice at machine appliqué. And I am really looking forward to sharing some of that with you
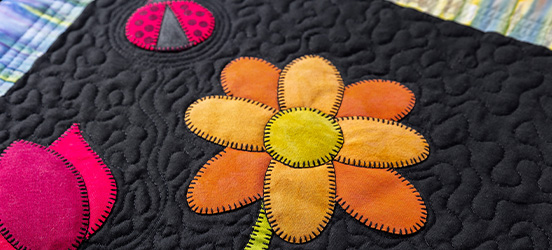
Q: What’s your favorite part of teaching appliqué for beginners? A: My favorite part of teaching is when students who aren’t sure they can complete their projects get to the point where they realize that, yes, they can make them—and they will be beautiful! Whether that’s how to machine appliqué small pieces, how to hand appliqué in the car on road trips, or how to let loose and try something completely new, like a free-motion zig-zag “heartbeat” stitch that looks complicated but is actually very freeing, I love seeing students succeed!
Q: What shapes can you make with machine appliqué? A: Anything you can imagine – and any pattern in your library, really. I like to show you tips for leaves, stems, circles, stars, hearts, petals, and working in layers. While a lot of my patterns are flowers or animals – ask me about placing bunny ears – the sky is the limit. You can decorate any quilt with appliqué, in blocks, borders, even your quilt label.
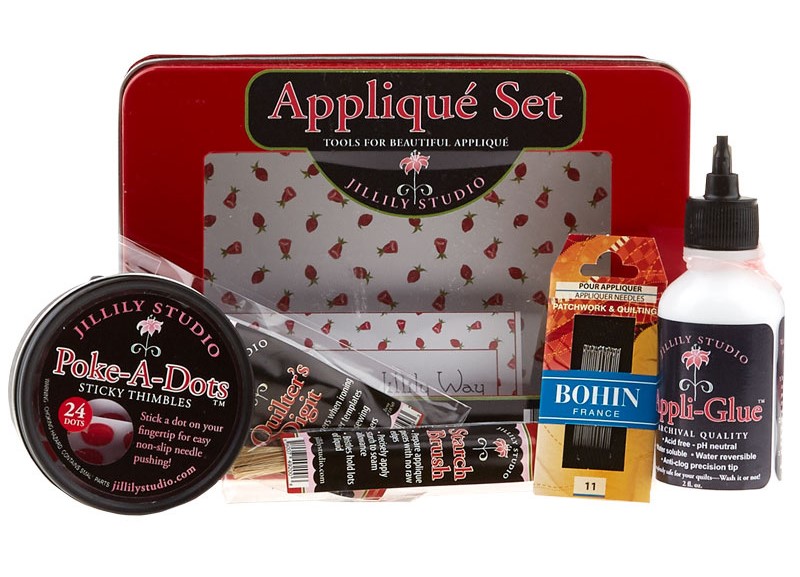
Q: What are some tools you recommend for appliqué? A: This depends a little bit on which method you’re using, but some of the applique essentials are:
For Machine Appliqué:
Fusible Web – Use this to temporarily glue fabric pieces in place while machine stitching.
Appliqué Pressing Sheet – Place over the project diagram to use as a guide while layering fabric shapes.
Marking Pen – Use a fine sharpie or marking pen to trace designs onto projects.
Scissors– A good pair of scissors come in handy for cutting fusible and fabric pieces.
Machine Needles – A sharp needle that is great for stitching through layers of applique pieces.
50wt Thread – A strong thread that blends with fabric shapes. Or black thread for a “folk art” look.
Self-Threading Needles – An easy way to bury threads after stitching pieces to background.
Iron and Iron Cleaner– An iron for fusing paper shapes to fabric, and iron cleaner.
Embroidery Hoop – (optional) These come in handy when stitching pieces in place on background, especially when using the free-motion zig-zag “heartbeat” stitch.
Hand Needles – A smaller point for hand stitching, but also a bit enough needle to prevent hand cramping.
MiniIron – A tiny iron will give more control over tiny fabric pieces.
Appliqué Pins – These come in handy when fitting several pieces into place.
Fusible Web(optional) – Melts to adhere the fabric pieces together.
We think it’s time to give appliqué a try!
We currently have two classes for beginners at Missouri Star Academy. You’ll learn multiple methods, troubleshooting tricks, how to machine appliqué a quilt or how to hand appliqué a quilt. Each class also comes with a FREE quilt pattern so you can show off your newly mastered skills! Try appliqué today!
Don’t forget to check in on our Education Center’s class schedule to see what class Courtenay will be teaching next!
If you’ve taken a class by Courtenay Hughes, show her what you made in the comments below ⬇️
Once you’ve pieced your beautiful quilt top, it’s time to choose your backing! There are so many fabrics out there and using 108″ wide backing does make things easier, but we will help you know how much fabric you need when using standard 42″ wide fabric.
Here are some items you’ll be needing:
Pencil
Paper
Calculator
Your finished quilt top
A measuring tape or template
Step 1: Measure the length and width of your quilt top.
Step 2: Add an extra 8 inches to both the length and width of your quilt if it’s going to be machine quilted, that’s 4 inches on each side and 4 on the top and bottom.
Step 3: Take your measurements, add them both together, and divide it by 36. This is the amount of yardage you will need.
If your quilt is less than the backing width, congratulations! You can simply cut your backing to the same length you figured in Step 2. But, if your quilt is wider than your fabric, you’ll need to figure out how many fabric widths you’ll need to piece together and then multiply that number by the quilt backing length from Step 2. That’s the number of inches of fabric you need to buy.
If your quilt is more than about 42 inches wide, which is the typical width of a yard of fabric, you will need to keep in mind that you will have a seam in the backing, unless you use 108” inch wide backing.
Step 4: Cut the fabric to your backing length and piece together with 1/2″ seam allowances.
Now you are ready to quilt!
Wide fabrics make backing a quilt seamless. Visit our Backing & Trims store to find your next quilt’s back!
Tips and Tricks for Backing:
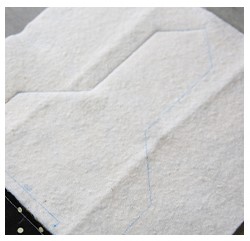
Measure your quilt top vertically and horizontally. Add 8 inches to both measurements to make sure you have an extra 4 inches all the way around to make allowance for the fabric that is taken up in the quilting process as well as having adequate fabric for the quilting frame.
Trim off all selvages and use a 1/2″ seam allowance when piecing the backing. Sew the pieces together along the longest edge. Press the seam allowance open to decrease bulk.
Use horizontal seams for smaller quilts (under 60″ wide) and vertical seams for larger quilts.
Don’t hesitate to cut a length of fabric in half along the fold line if it means saving fabric and makes the quilt easier to handle. Note: large quilts might require 3 lengths.
Choose a backing layout that best suits your quilt. Think about the direction of the pattern and pattern matching.
Example Quilt:
Once borders are added, the finished quilt top dimension is 58″ x 66″ Take quilt top width + 8″ = backing width 58″ + 8″ = 66″ Take quilt top length + 8″ = backing length 66″ + 8″ = 74″ Determine the number of Widths of Fabric (WOFs) you need for your backing by dividing your width measurement by 40″ 66″ divided by 40″ = 1.65 Round up to 2. You need 2 WOFs to make your backing. Take your backing length measurement and multiply it by the number of WOFs you need. 74″ x 2 = 148″ This is how many inches of fabric you need. Now, divide that number by 36″ to get how much yardage you need. 148 divided by 36″ = 4.1 Round up to the nearest ¼ yard and you get 4 ¼ yards.
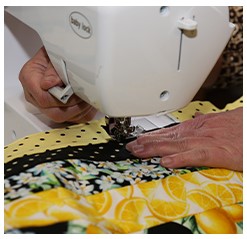
“Quilt as you go” is a fun technique in which you piece and quilt all at once so by the time you are finished with your top, all you have to do is bind, and voila… your done! It’s as easy as 1, 2, 3.
Quilt as you go gives you way to focus on each piece individually and not worry about the entirety of a project. These are perfect for the holidays when you may have to come up with quick gift ideas!
Watch Jenny in this tutorial as she shows you how to quilt as you go with any block! (And check out this throwback tutorial for even more helpful quilt as you go tips!)
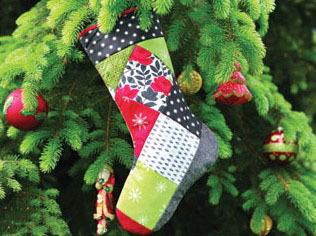
Coming up with the right gift for a family, friend, or workplace gift exchange can be frustrating. A homemade stocking is a good way to give something fun, from the heart, and it’s super quick and easy!
Don’t forget to fill it up with sweet goodies and everyone will be wishing for a Secret Santa like you!