Yes!!! It’s an adorable coin quilt made out of my favorite Nouveau charm packs…It’s almost done!
and….Zippity Doo Dah in diamonds! It is going to be soo cute! I can hardly wait !Keep those fingers crossed that I will have time this weekend to get them done!!! 🙂 Have a lovely day!
A giant THANK YOU to everyone who participated by letting us know your most intimidating quilt pattern. We had some great posts, and some gorgeous pictures. (Seriously! I was impressed ladies!)
If you don’t know what the heck we’re talking about (you’re not alone,) let us catch you up! Each week we have a giveaway for anyone who responds to a question we ask on the community forum. All you have to do is be part of the discussion and you’re automatically entered to win. Add a pic to your post and you double your chances!
…a tissue holder for your purse! These are so cute and much easier to make than you think!
What you’ll need:
1) six strips of fabric from your favorite honey bun
2)a coordinating piece of fabric for the lining that measures 9″ x 6″
First choose six of your favorite strips from your favorite honey bun. I am still using Fresh by Deb Strain. (Just so you know, I will be making all of my projects out of ONE honey bun!)
Line them up until you like the order, then cut them down to 8″.
Next, sew your strips together. Press your seams to one side. Your six strips should now make a block that measures 7 1/4″ x 6″.
Then measure and cut your lining fabric to 9″ x 6″
Now you will line up your outer(strips)fabric with your liner fabric RIGHT sides together and sew a 1/4″ seam on each of the 6″ sides. It will look a little funny as the lining is larger than your outer fabric. Don’t worry you are doing just fine. Okay, now flip your fabric right side out and press making sure to center the outer fabric…It will look like this:
See how the lining makes a cool little accent? (love tricks like this)
okay with your lining as the outside turn the sides toward the middle. (Mine measures approx. 1 3/4″ on each side of the center line.) PIN! This one can be slippery!
Stitch the side seams closed. You may want to serge them or zig zag to prevent fraying.
Then you pop it right side out, pushing out those corners, and you are DONE!!! Is that not the cutest tissue holder that you’ve ever seen?
Yes indeed, it is that simple…Easily done in under an hour! This one would make a great gift for just about anyone on your list, as most of us will eventually need a Kleenex! Fill er up and toss it into your purse! Your ready for whatever comes your way!(please excuse the horrific lighting…I just wanted to show it filled with lovely Kleenex!) Oh, and check back in a few days to see what I’ve come up with next!
“…You know that I LOVE You! I Can’t Help Myself, I love you and nobody else!…”
Oh yeah!Honey Buns are great! They are the little sister to the Jelly Roll…a sweet little package of one and a half inch strips. All from one line. All coordinated! Endless possibilities!
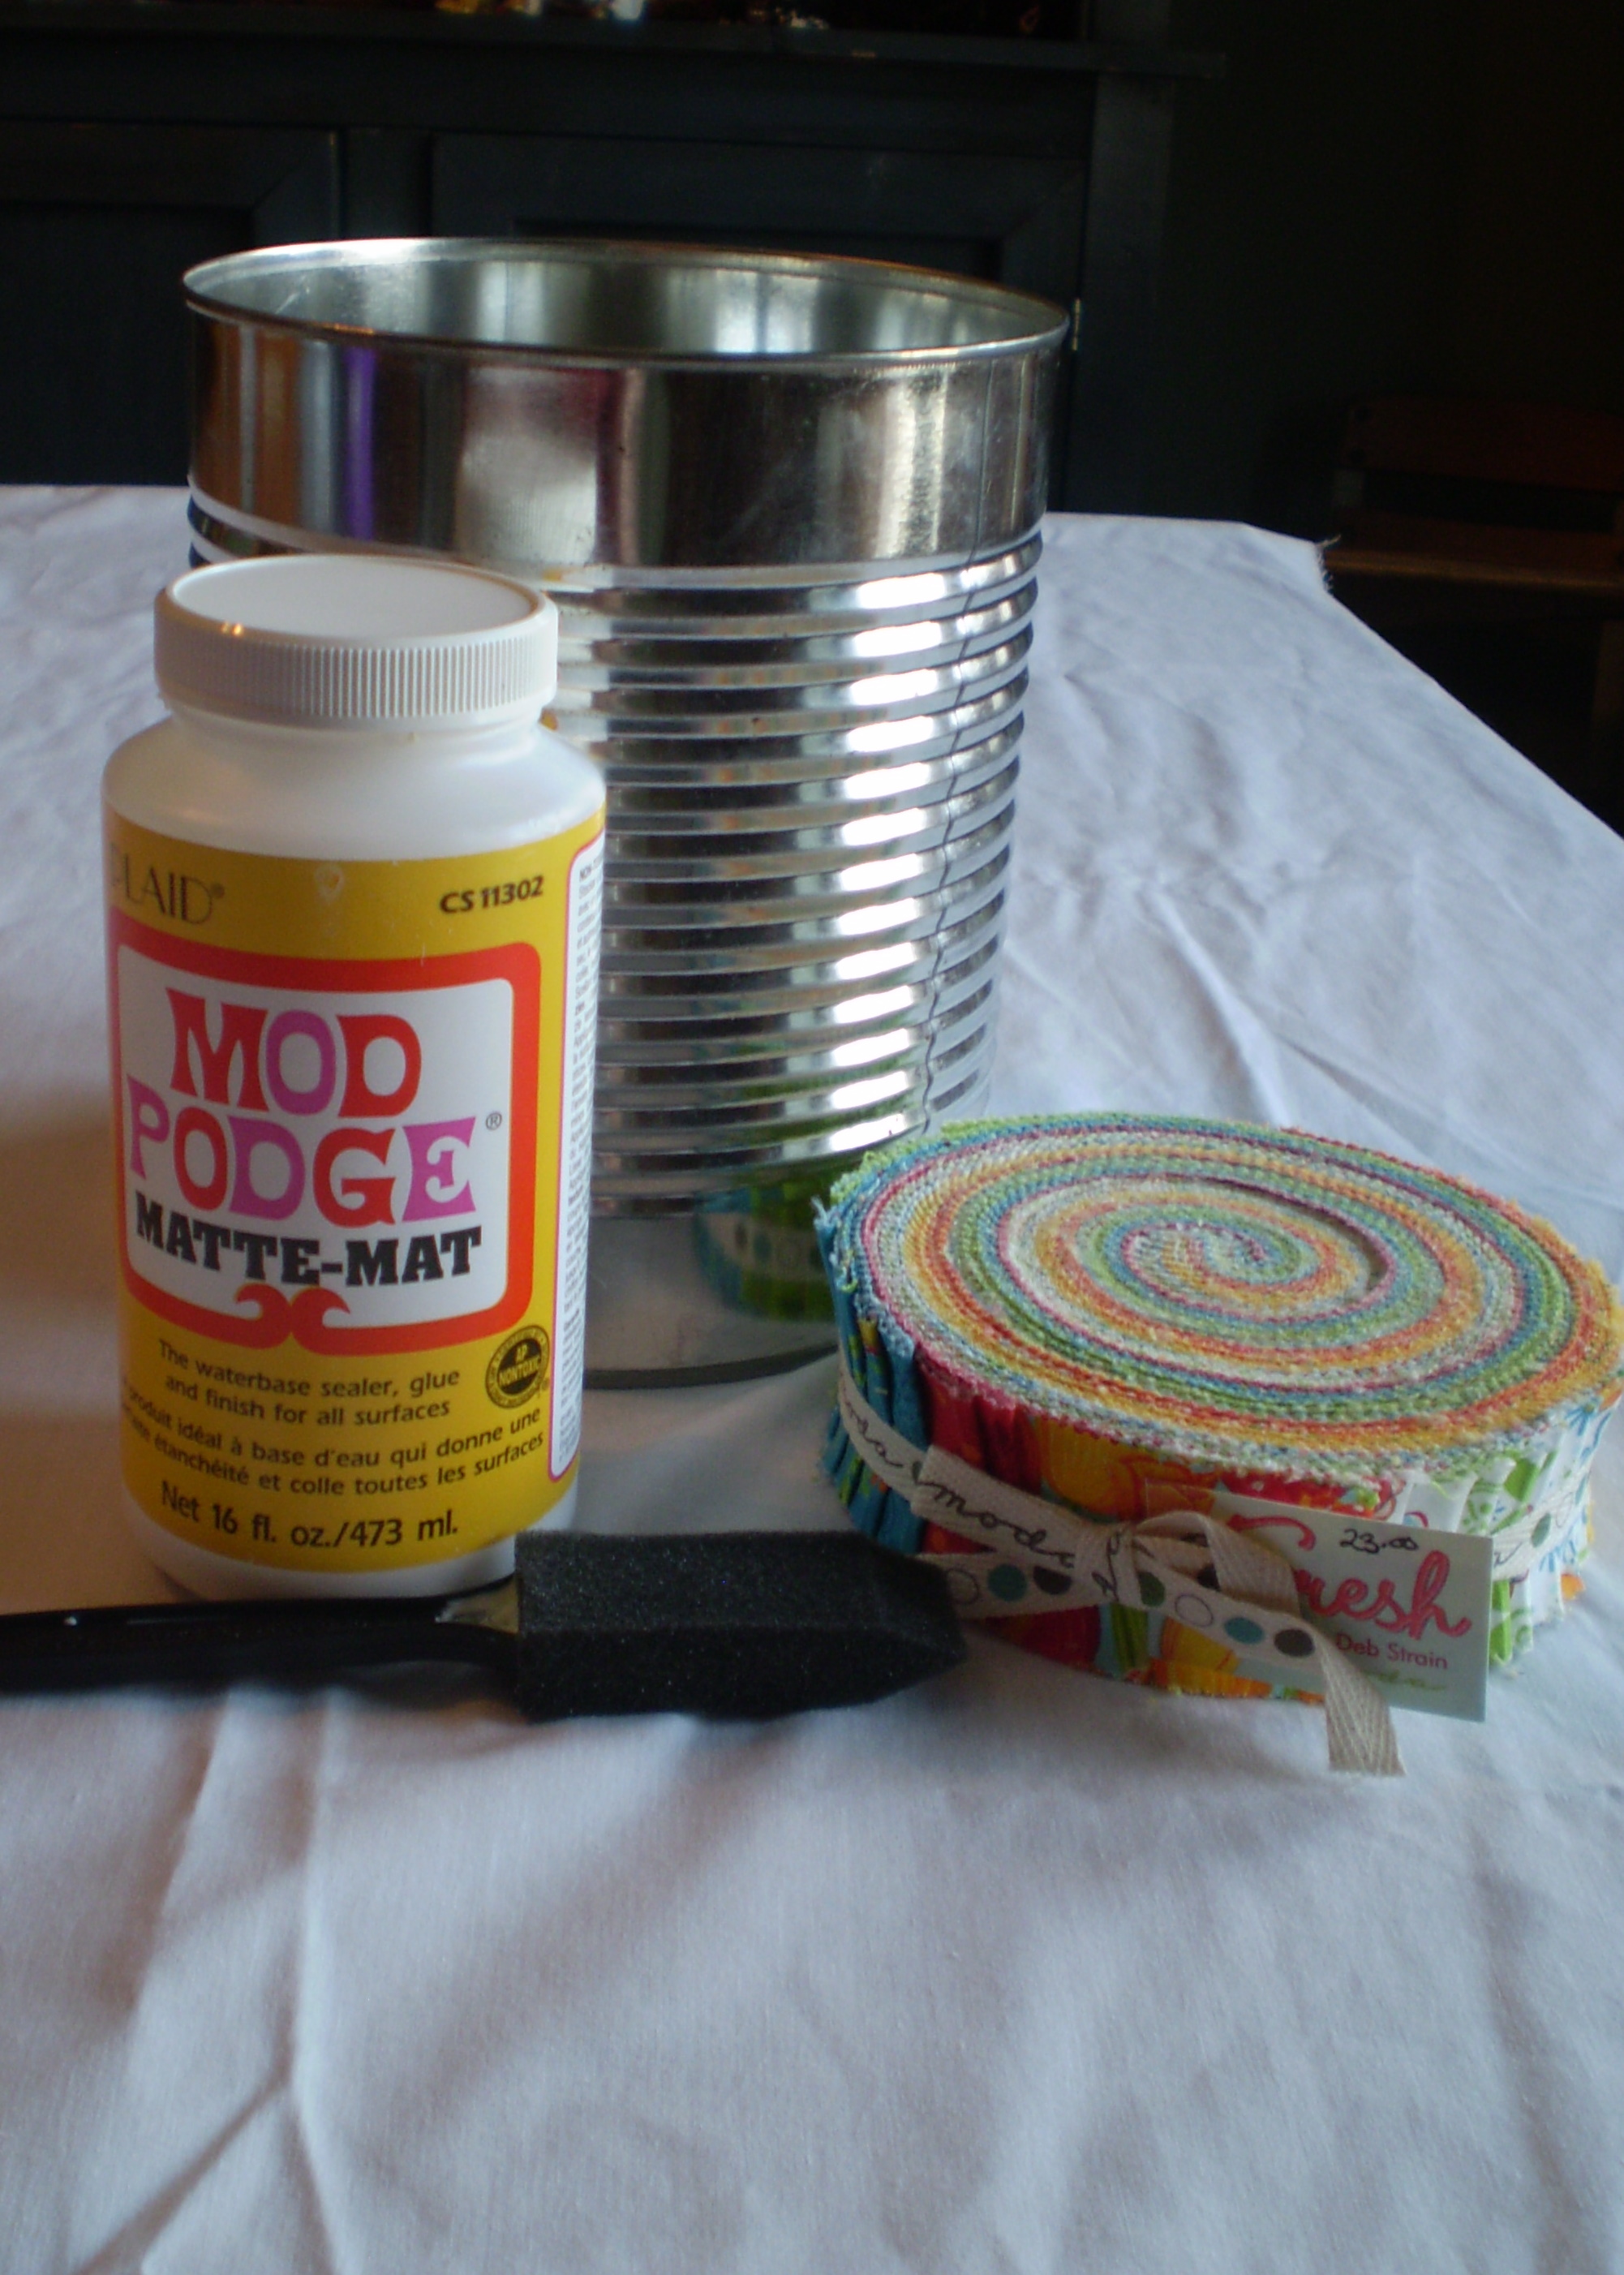
Today I have two fun projects for you…first the canister. You all know how much I LOVE to recycle so here is another Green project! Here is what you’ll need:
Materials
a can…any size will do. I am using a #10 can for a canister, but I think smaller cans would be adorable too. Perfect project for kids and great gifts for teachers!
First, make sure that your can is clean. Next, I took a pair of pliers and just squeezed around the lip of the can to make sure there are no sharp edges left.
Unwrap a smileTime to get dirtyStarting outStart WrappingOh Podge
Then comes the fun part…open up that jelly roll! I know its so hard to unwrap such a pretty package…but, you can do it! Choose six or seven of your favorites and line them up in an order that you LOVE! Then just start slathering on the mod podge…I started at the top of my can and folded the fabric over the edge to make a nice finished look.Take the strip of fabric and cut it where it overlaps itself. Take your time and try to line up your seam. Be sure to seal it with lots more mod podge.
Then you will want to continue coating your can with mod podge and lining up your strips until you reach the bottom of your can. I lined my final strip up with the bottom edge of the can and then added a final coating of mod podge to the entire thing.
This will make a nice sealed finish. If you want a smooth feel or a shiny look, just spray the can with a craft varnish. It will dry clear and looks beautiful!
Looking goodFinished
And there you have it! a lovely canister! Use these for storing spoons, scraps, buttons, toys, pencils, they would make gorgeous planters for the front porch, or a lovely herb garden…like I said before…Endless Possibilities! So very GREEN!
Isn’t it just the cutest little thing…oh, and do you see the little kleenex holder in the picture…That little honey of a project is coming right up! So, check back soon, your next tutorial is on its way! and believe me, with one honey bun…you can make a BUNCH of projects!!! Love it!
Yup, It’s kind of a theme around here. We like table runners! Mostly because they are easy-peasy and go together in a snap. As an added bonus it makes your table cute and festive!
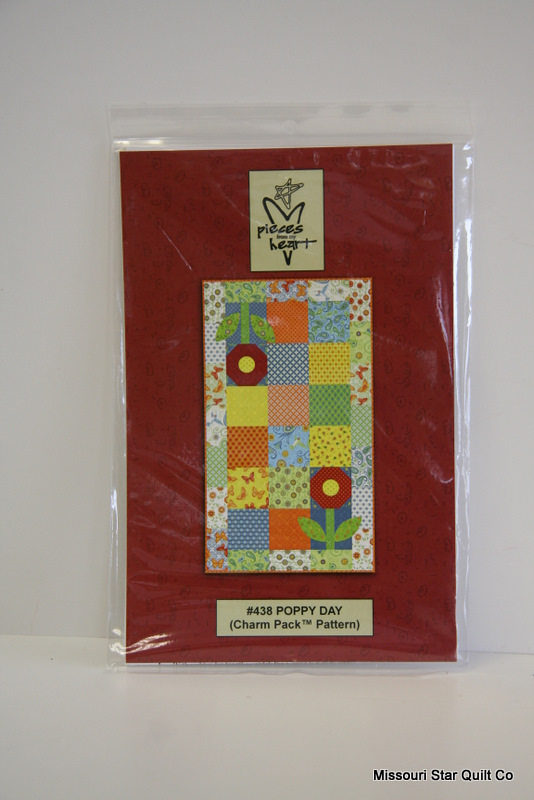
So here you have the newest table runner we have mastered. It is called Poppy Day, by Pieces of my Heart. (gotta love that Sandy Gervais!!) We used the Urban Chiks’ Sweet charm pack. I think it is adorable!! All that’s left to do is applique the flower middles on and quilt it!! WooHoo.
Don’t you worry…..I will show you the finished product!
We do have so much going on right now in the shop. I can’t wait to show you all that we have going!! I will hopefully get another [works in progress] post up later today!! Hope you are all having a fab Tuesday!

 Yes!!! It’s an adorable coin quilt made out of my favorite Nouveau charm packs…It’s almost done!
 Keep those fingers crossed that I will have time this weekend to get them done!!! 🙂 Have a lovely day!

 Next, sew your strips together. Press your seams to one side. Your six strips should now make a block that measures 7 1/4″ x 6″.
 Okay, now flip your fabric right side out and press making sure to center the outer fabric…It will look like this:

 Is that not the cutest tissue holder that you’ve ever seen?
 (please excuse the horrific lighting…I just wanted to show it filled with lovely Kleenex!) Oh, and check back in a few days to see what I’ve come up with next!