How To Figure Yardage For Quilt Binding

How To Figure Yardage for Binding

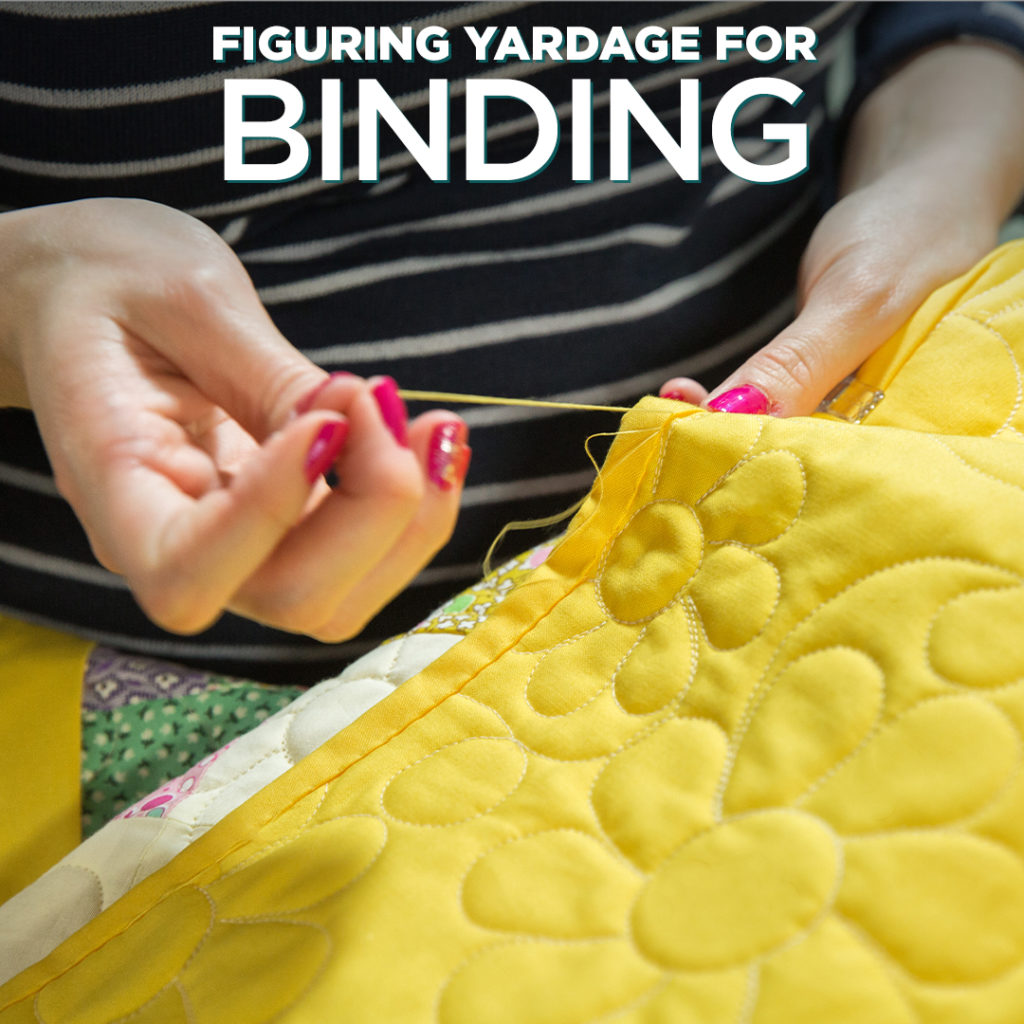
The final step of making a quilt may seem like the most intimidating, but have no fear! Adding binding can be a really enjoyable process when you know how much you need and how easy it is to make and stitch on your quilt.

How to Figure Yardage for Quilt Binding

Supplies needed:

  • Pencil
  • Paper
  • Calculator
  • Your finished quilted project 
  • A measuring tape or template

Finally, choose a lovely fabric, bias, or precut for binding and load it into your Missouri Star Quilt Co. shopping cart!

Step 1: Find the perimeter of your quilt. Measure each of the four sides and add them together.
Step 2: Add 20 inches to your total.
Step 3: Choose your binding width. We recommend using 2 ½” wide strips.
Step 4: Divide the total length of binding needed for your quilt by 40″. This gives you the number of width of fabric strips needed to create your binding.
Step 5: Round up to the nearest whole number of strips. Multiply the number of strips by the width of binding you decided in step 3. That will give you the number of inches required to cut the necessary number of binding strips for your quilt.
Step 6: Divide the number determined in step 5 by 36″ to calculate the yardage. Round this number up to the next 1/4 yard increment and you’ll have your total yardage number!

Tips and Tricks for Binding:
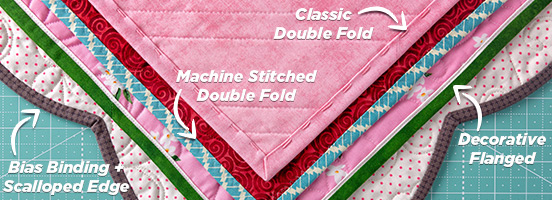
How to Figure Yardage for Quilt Binding
  • Precut strips work great for binding as they are already 2 ½” wide.
  • Sew strips together end-to-end on a 45 degree angle into one long strip using diagonal seams. Press seams open to reduce bulk.
  • Fold strips in half lengthwise with wrong sides together and press.
  • The entire length of your binding should be equal to the perimeter of the quilt plus 15 to 20 inches.
  • Using a Binding Tool makes the process even easier!

Example Quilt:
(Quilt length + quilt width) x 2 = perimeter of quilt
(66″ + 58″) x 2 = 248″ This is the total perimeter of your quilt
Add 20″ to that number = 268″ needed of total binding length
Take the total inches and divide by 40″ to get the number of strips you need
268″ divided by 40″ = 6.7
Round up. You’ll need 7 strips of fabric for your binding.
Take the number of strips you need and multiply by your binding width. In this case, it’s 2 ½”.
7 x 2 1/2″ = 17 ½”
Divide the number of inches needed by 36″.
17 ½” divided by 36″ = .48
Round up to the nearest ¼ yard and you get ½ yard.

How To Figure Yardage For Quilt Backing

How to Figure Yardage For Backing

Once you’ve pieced your beautiful quilt top, it’s time to choose your backing! There are so many fabrics out there and using 108″ wide backing does make things easier, but we will help you know how much fabric you need when using standard 42″ wide fabric.

Here are some items you’ll be needing:

  • Pencil
  • Paper
  • Calculator
  • Your finished quilt top
  • A measuring tape or template

Step 1: Measure the length and width of your quilt top.

Step 2: Add an extra 8 inches to both the length and width of your quilt if it’s going to be machine quilted, that’s 4 inches on each side and 4 on the top and bottom.

Step 3: Take your measurements, add them both together, and divide it by 36. This is the amount of yardage you will need.

  • If your quilt is less than the backing width, congratulations! You can simply cut your backing to the same length you figured in Step 2. But, if your quilt is wider than your fabric, you’ll need to figure out how many fabric widths you’ll need to piece together and then multiply that number by the quilt backing length from Step 2. That’s the number of inches of fabric you need to buy.
  • If your quilt is more than about 42 inches wide, which is the typical width of a yard of fabric, you will need to keep in mind that you will have a seam in the backing, unless you use 108” inch wide backing.

Step 4: Cut the fabric to your backing length and piece together with 1/2″ seam allowances.

Now you are ready to quilt!

Wide fabrics make backing a quilt seamless. Visit our Backing & Trims store to find your next quilt’s back!

Tips and Tricks for Backing:

  • Measure your quilt top vertically and horizontally. Add 8 inches to both measurements to make sure you have an extra 4 inches all the way around to make allowance for the fabric that is taken up in the quilting process as well as having adequate fabric for the quilting frame.
  • Trim off all selvages and use a 1/2″ seam allowance when piecing the backing. Sew the pieces together along the longest edge. Press the seam allowance open to decrease bulk.
  • Use horizontal seams for smaller quilts (under 60″ wide) and vertical seams for larger quilts.
  • Don’t hesitate to cut a length of fabric in half along the fold line if it means saving fabric and makes the quilt easier to handle. Note: large quilts might require 3 lengths.
  • Choose a backing layout that best suits your quilt. Think about the direction of the pattern and pattern matching.

Example Quilt:

Once borders are added, the finished quilt top dimension is 58″ x 66″
Take quilt top width + 8″ = backing width
58″ + 8″ = 66″
Take quilt top length + 8″ = backing length
66″ + 8″ = 74″
Determine the number of Widths of Fabric (WOFs) you need for your backing by dividing your width measurement by 40″
66″ divided by 40″ = 1.65 
Round up to 2. You need 2 WOFs to make your backing.
Take your backing length measurement and multiply it by the number of WOFs you need.
74″ x 2 = 148″ This is how many inches of fabric you need.
Now, divide that number by 36″ to get how much yardage you need.
148 divided by 36″ = 4.1
Round up to the nearest ¼ yard and you get 4 ¼ yards.