Sorry about that last post…We got so excited about posting it that it went threw without the pictures! So here you go …I present….The Miracle ironing board!
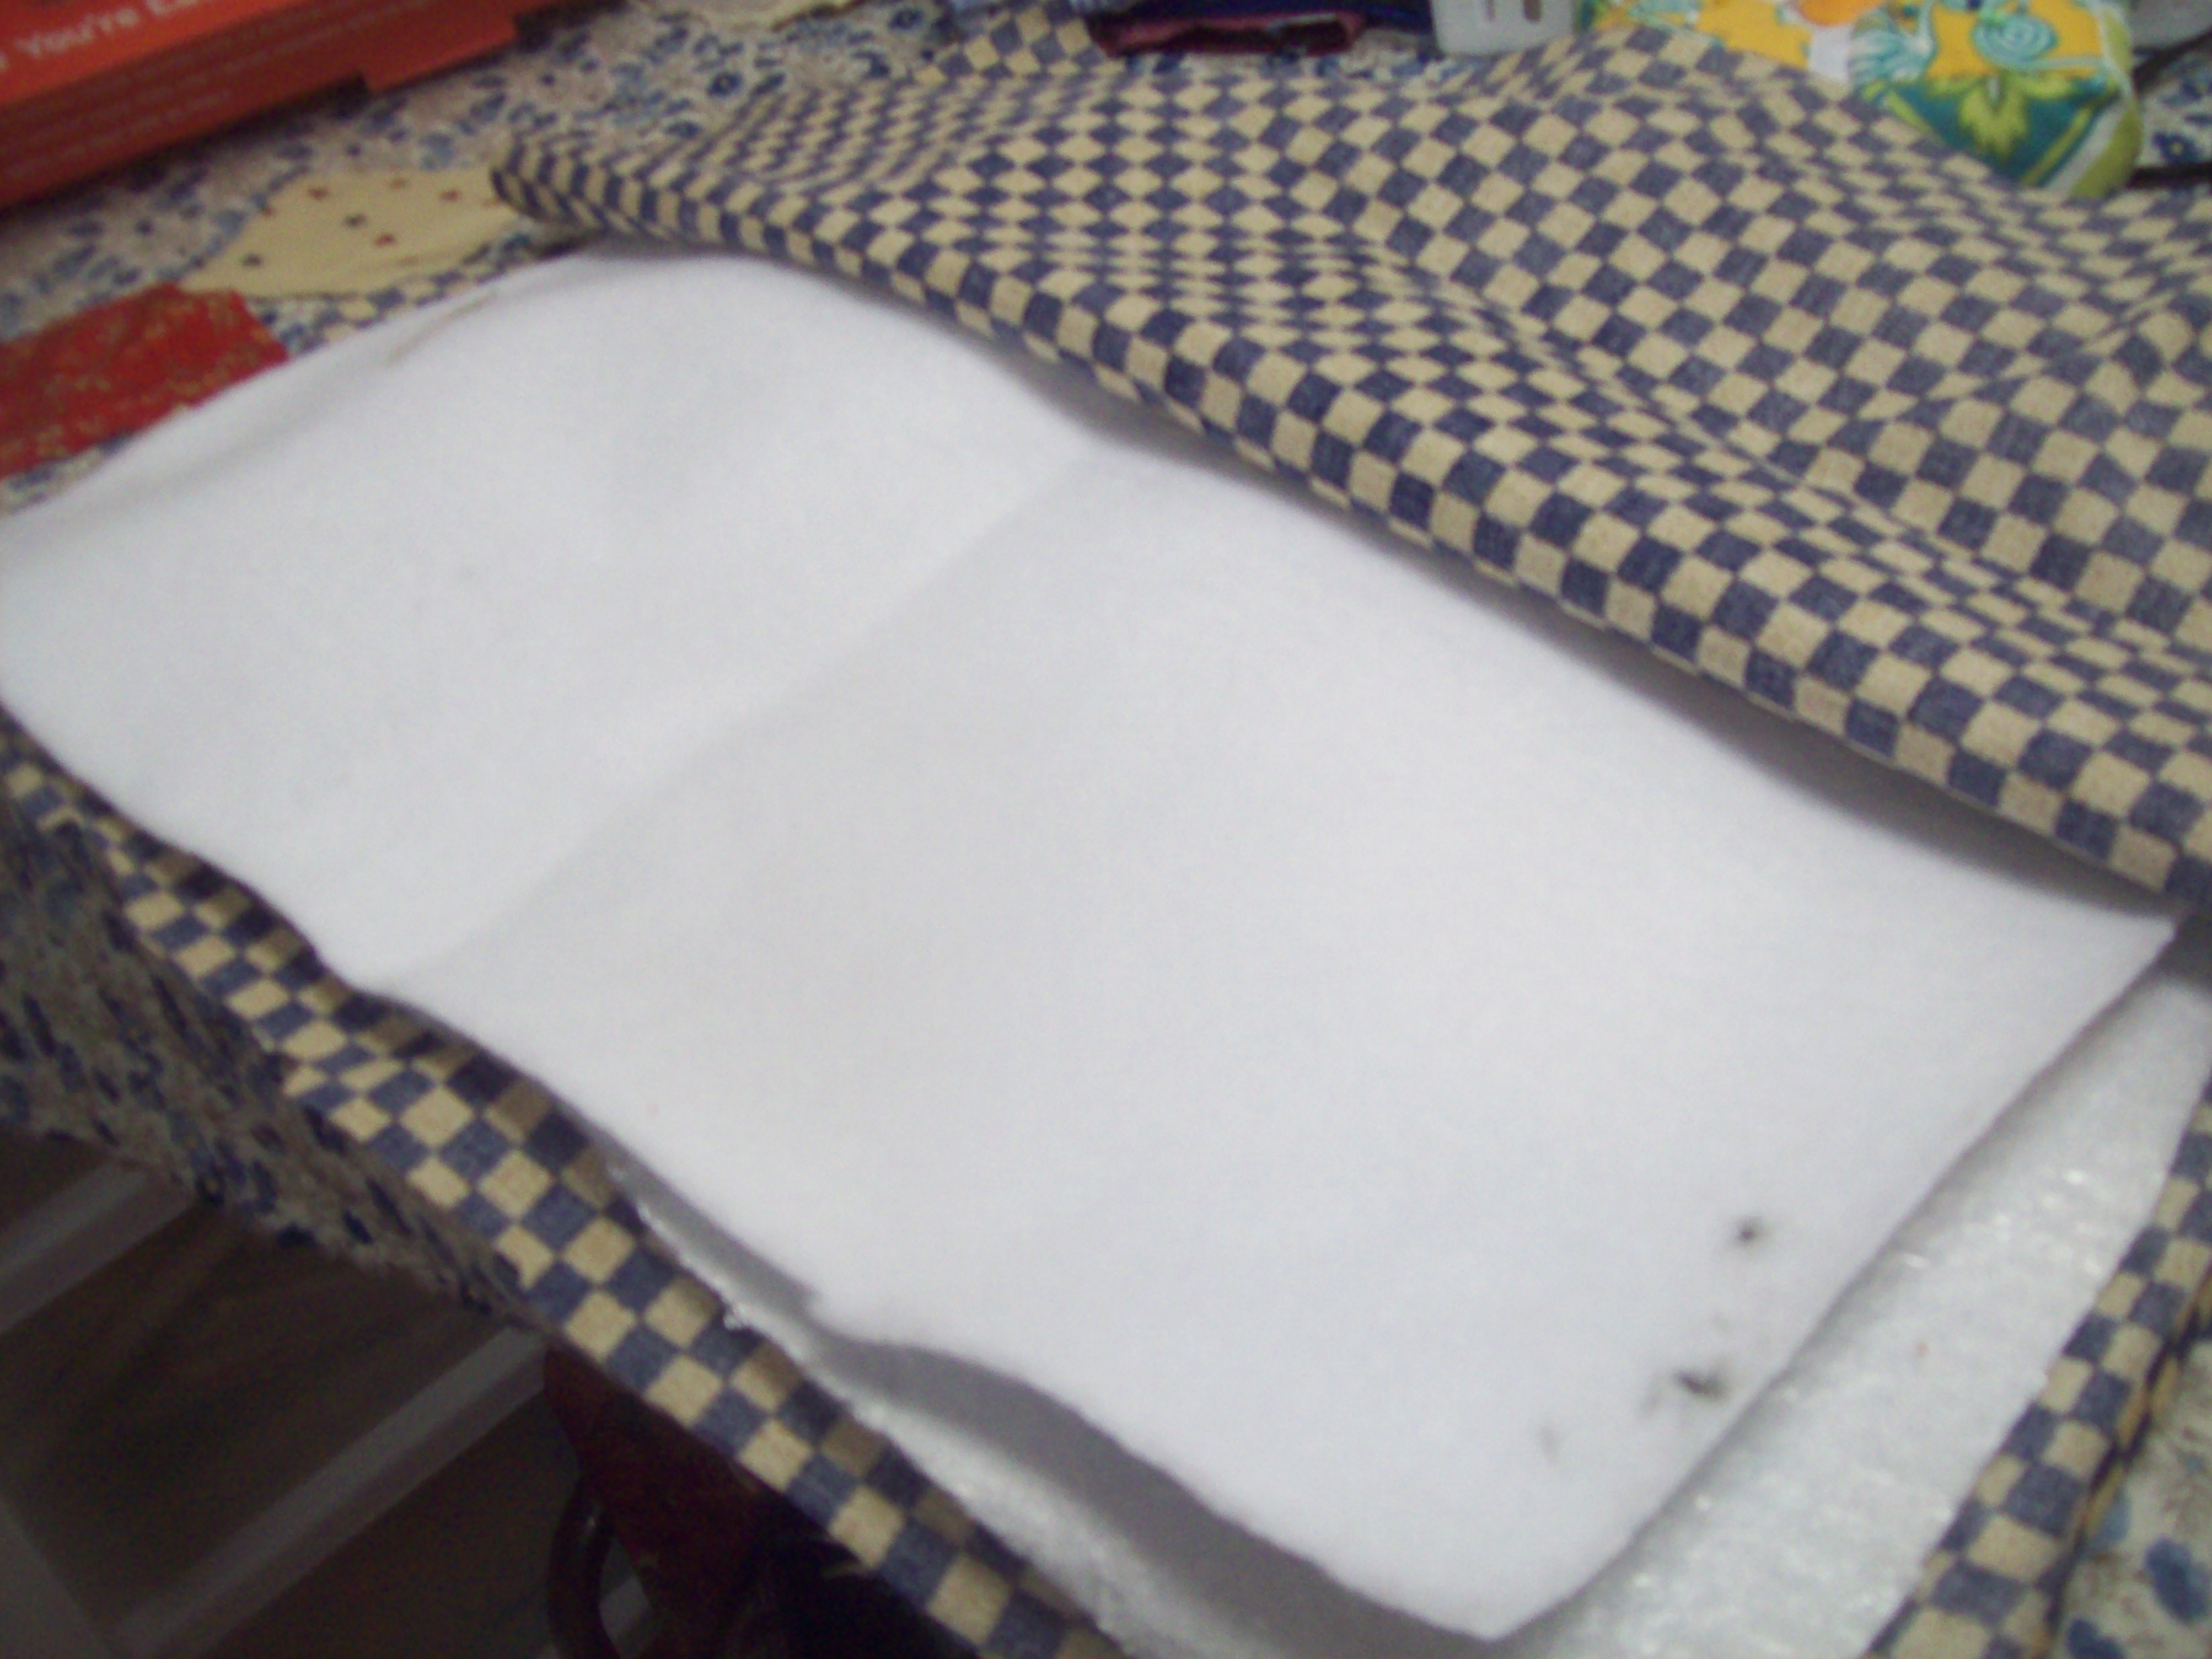
Our shop is getting busy enough and big enough that the girls think I should sew in the back. Natalie made this cute corner for me to sew in. Today I was working on a block and realized I didn’t have an ironing board. A light when on! In the shop we carry a batting called insul-brite. I could make what amounts to a giant pot holder to iron on so…I used 2 pieces of insul brite, and cut the top the size I wanted .
Fabric and Insul Brite
I then cut 2 pieces of fabric just a little larger that the insul brite. I put my fabric right sides together and sewed it up on 3 sides. I then turned the fabric right side out and slid in the insul brite.
Sliding in the insu-lbrite
I then top stiched all around the edge.
Top Stitching all around the top
I finished it by machine quilting the top.
Voila, I have a portable ironing board and a really big pot holder!
Apparently persistense pays off because DanielaK has been playing along with us since we started this weekly game!! So, congratulations and thanks for playing along! We’re excited for you and we’ll be sending your Hartfield Charm Pack soon!
We’d also like to give a nod to last week’s winner, shell.scraps!
A giant THANK YOU to everyone who participated by letting us know your most intimidating quilt pattern. We had some great posts, and some gorgeous pictures. (Seriously! I was impressed ladies!)
If you don’t know what the heck we’re talking about (you’re not alone,) let us catch you up! Each week we have a giveaway for anyone who responds to a question we ask on the community forum. All you have to do is be part of the discussion and you’re automatically entered to win. Add a pic to your post and you double your chances!
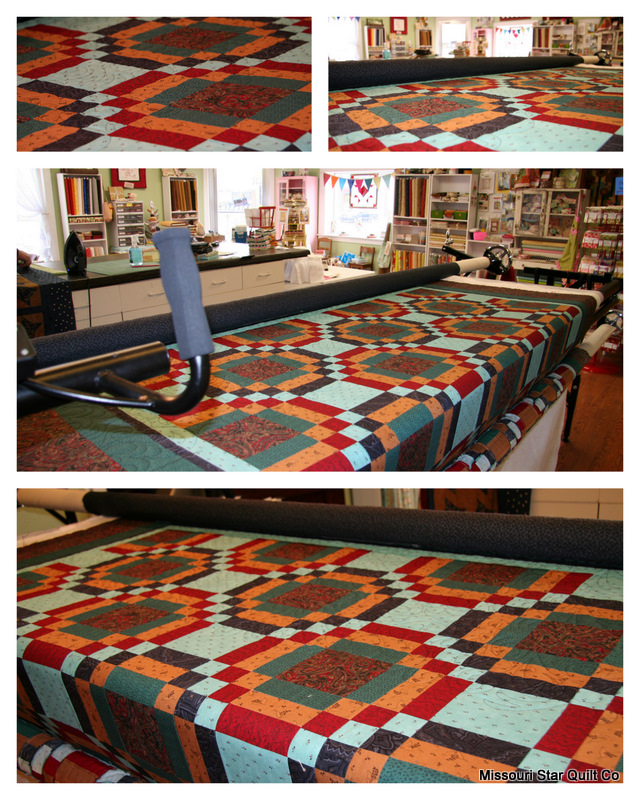
Our Gammil has been rockin’ out the quilts lately and I just thought you would like a little look-see at what was on it this very minute! We have been loving this one and its bright colors. Isn’t it amazing how that turquoise really makes the other fabric and colors pop!? I love it.
Honestly, one of my favorite things in the business of quilting is seeing what other people put together…..the color combinations, the different patterns. It is amazing how each quilt you make has it’s own personality, too!
So, here is your little sneak peak into the shop today. Have a fabulous Friday!! And if you are in town, we hope to see you tonight for the Friday Night Sew!! It’s gonna be a blast!
It is cold here. AGAIN. Yes, we have been teased by the 70 degree weather and then sucker punched by last weekends snowstorm. The very next day, the temperature was in the 50’s. It’s so cruel if you ask me. I am tired. Tired of being cold. Yesterday was lovely. Today, not so much!! 🙂
My kids had a blast playing in the snow for the last time this year, though……and that made it fun. So, today I will stay inside and sew…..drink a cup or 5 of hot chocolate (yes, i will try not to spill on my project) and remember that Spring/Summer will be here before we know it!
How’s the weather where you are? Do you like the cold? Do you get more of your projects done when it’s yucky outside? Or does the weather even matter to you!?!?! Let’s discuss.
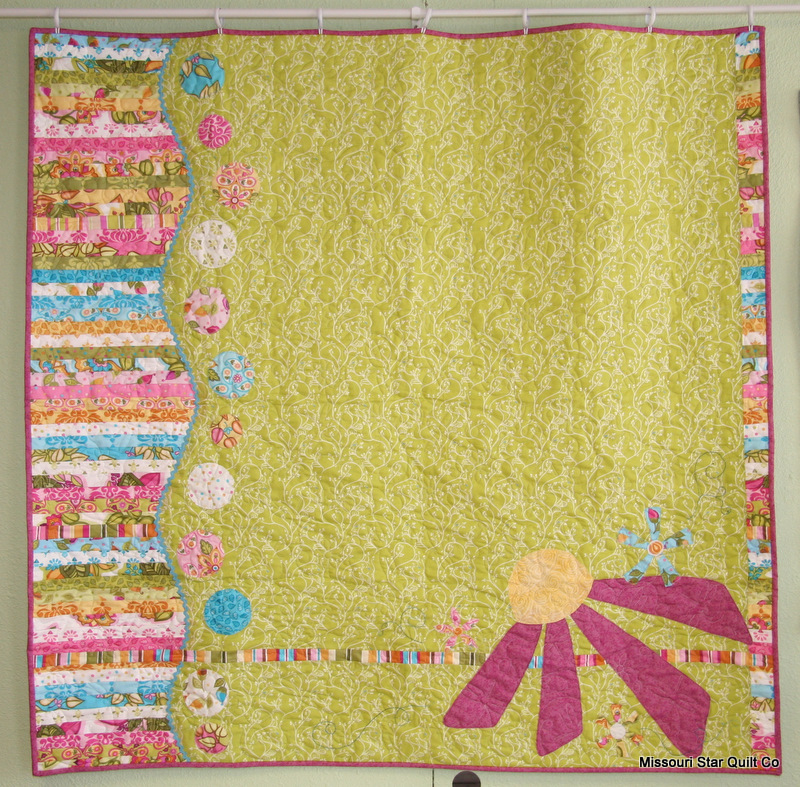
It’s so cute! It’s not big enough for a twin size bed but it’s going to be a fabulous playtime, picnic, & cuddle blanket!
It takes 1 honeybun, a partial charm pack and some background fabric (I think it’s around 1 3/4 yds… don’t quote me on that though 🙂 ) It calls for it to be mostly fat quarters on the pattern, and the strips are instructed to be cut to 2 1/2″ x 17″ but I had access to a honeybun in Soiree whose strips are precut at – 1 1/2″ so I decided that I would just double the amount of 17″ strips and it would be perfect! So off I went arranging strips… …and skipping most of the cutting section of the pattern. Woohoo! I love being able to skip a step! It did require most of the honey bun, with only a small section leftover.
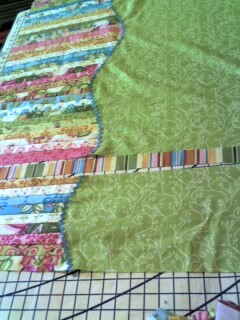
Camille of Thimble Blossoms singled out one section as tricky, the part of cutting and applying the wavy edge. After reading it over I thought “shoot, no problem” and started off. I ended up not cutting my applique seam ‘n’ sew material right, though not tragically. I cut on the lines I drew, instead of in-between them, so I had to draw an extra section of the wavy line. Then after applying it and securely stitching the edge down your supposed to trim the excess strip pieced material on the underside of the quilt. Here’s the picture I took while thinking I might tutorial this…
… If you’ll notice I had the fabric spread apart, lined up my scissors, and took the picture without a second thought. Until I was checking the picture and realized my scissors were in place to cut off the top of the quilt… oops!
I had to laugh at myself!
So, I reset my fabric and scissors, took the right picture and thanked my lucky stars that I had been trying to tutorial this because other wise I might have royally screwed up this quilt top!
It was a good reminder to go slow and pay attention! While this part is not incredibly tricky you do still want to pay attention 😉 The only real problem I had was that it calls for one strip to be pieced together to a length of around 60″ because it needs to go across the entire bottom of the quilt.
As shown here.
Since I was using a honeybun you know that they traditionally only have one strip of each fabric… hmm… so, I had to find two strips that were similar enough that when pieced together it wasn’t that noticeable that the two fabrics were different… Thankfully the multi colored stripes were perfect and I just had to line up the seam under one of the applique petals (which was not hard because really you can put the flower wherever you want!) and voila! I had an approximately 88″ long strip which I then trimmed 17″ off of. Then I added the 17″ piece to the tall section of 17″ strips for the side of the quilt and was left with a piece approximately 70″ long. Still, plenty long enough to stretch across the bottom of the quilt to give it that fun pieced look!
Everything else was pretty simple.
The pattern was well explained and the applique was mostly simple large shapes that were easy to work with (This was my first applique project on my own so I appreciated the large shapes 🙂 ).
I did a straight stitch, free motion, faux applique technique on the polka dots and flowers. It worked out pretty well, though needle turned would also be beautiful!
I think the biggest thing to remember when making this pattern is that it is not a bed size quilt. It could easily be made into one with a little measuring and planning ahead. As it stands, it will make a fun, happy quilt that any little girl would love to cuddle up and play in!
I would definitely recommend this pattern!
I would place the level of this pattern at beginner to intermediate.
It’s the perfect pattern for the beginner looking to explore the world of applique, without too much stress!


 Apparently persistense pays off because DanielaK has been playing along with us since we started this weekly game!! So, congratulations and thanks for playing along! We’re excited for you and we’ll be sending your