Okay, so the truth is out. I LOVE the disappearing nine patch. I have been raving about it like a crazy woman in the shop.
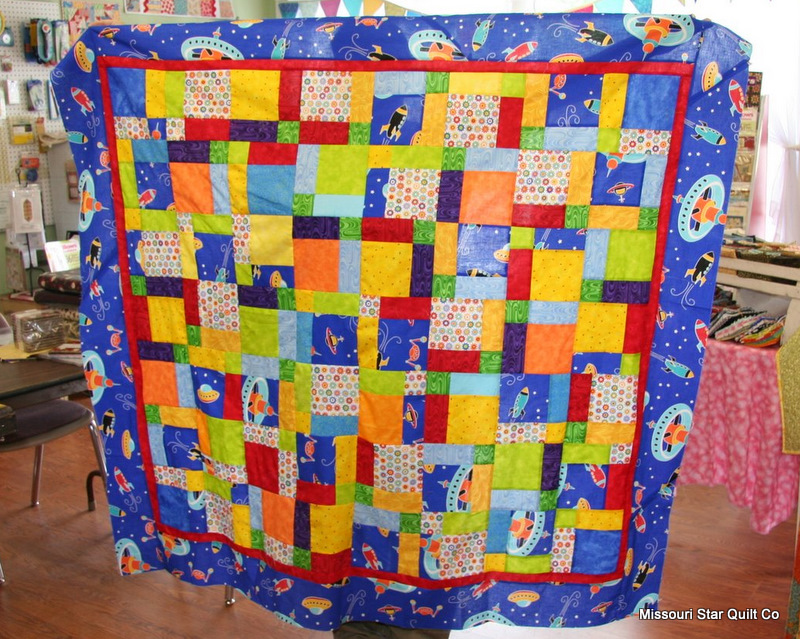
Seriously, is this not the BEST boy quilt you’ve seen in a while!?!?
Another thing that I just adore is when someone I have talked to about it, brings back something she’s made and shows off her quilt top! Those things combined equals the best.day.ever!! 😉 This amazing lady (who chose to conceal her identity 🙂 ) has already made two of these quilts. (yes, I said two..and I think she’s planning on a few more!) Her first was with the Soiree charm pack (Lila Tueller) and it was so darling! Well, I just about had a fit when she brought this quilt in…..using our new Micheal Miller fabric and some bright Moda fat quarters! I love how BOY it is….and how bright and fun it is! Thanks Mystery Lady for stopping by to give me my very own show and tell!!
Me and the disappearing nine patch = Best Friends
So, thanks again for stopping by to say hi and don’t forget to sign up for our giveaway…..and join us in the forums!!
It’s so cute! It’s not big enough for a twin size bed but it’s going to be a fabulous playtime, picnic, & cuddle blanket!
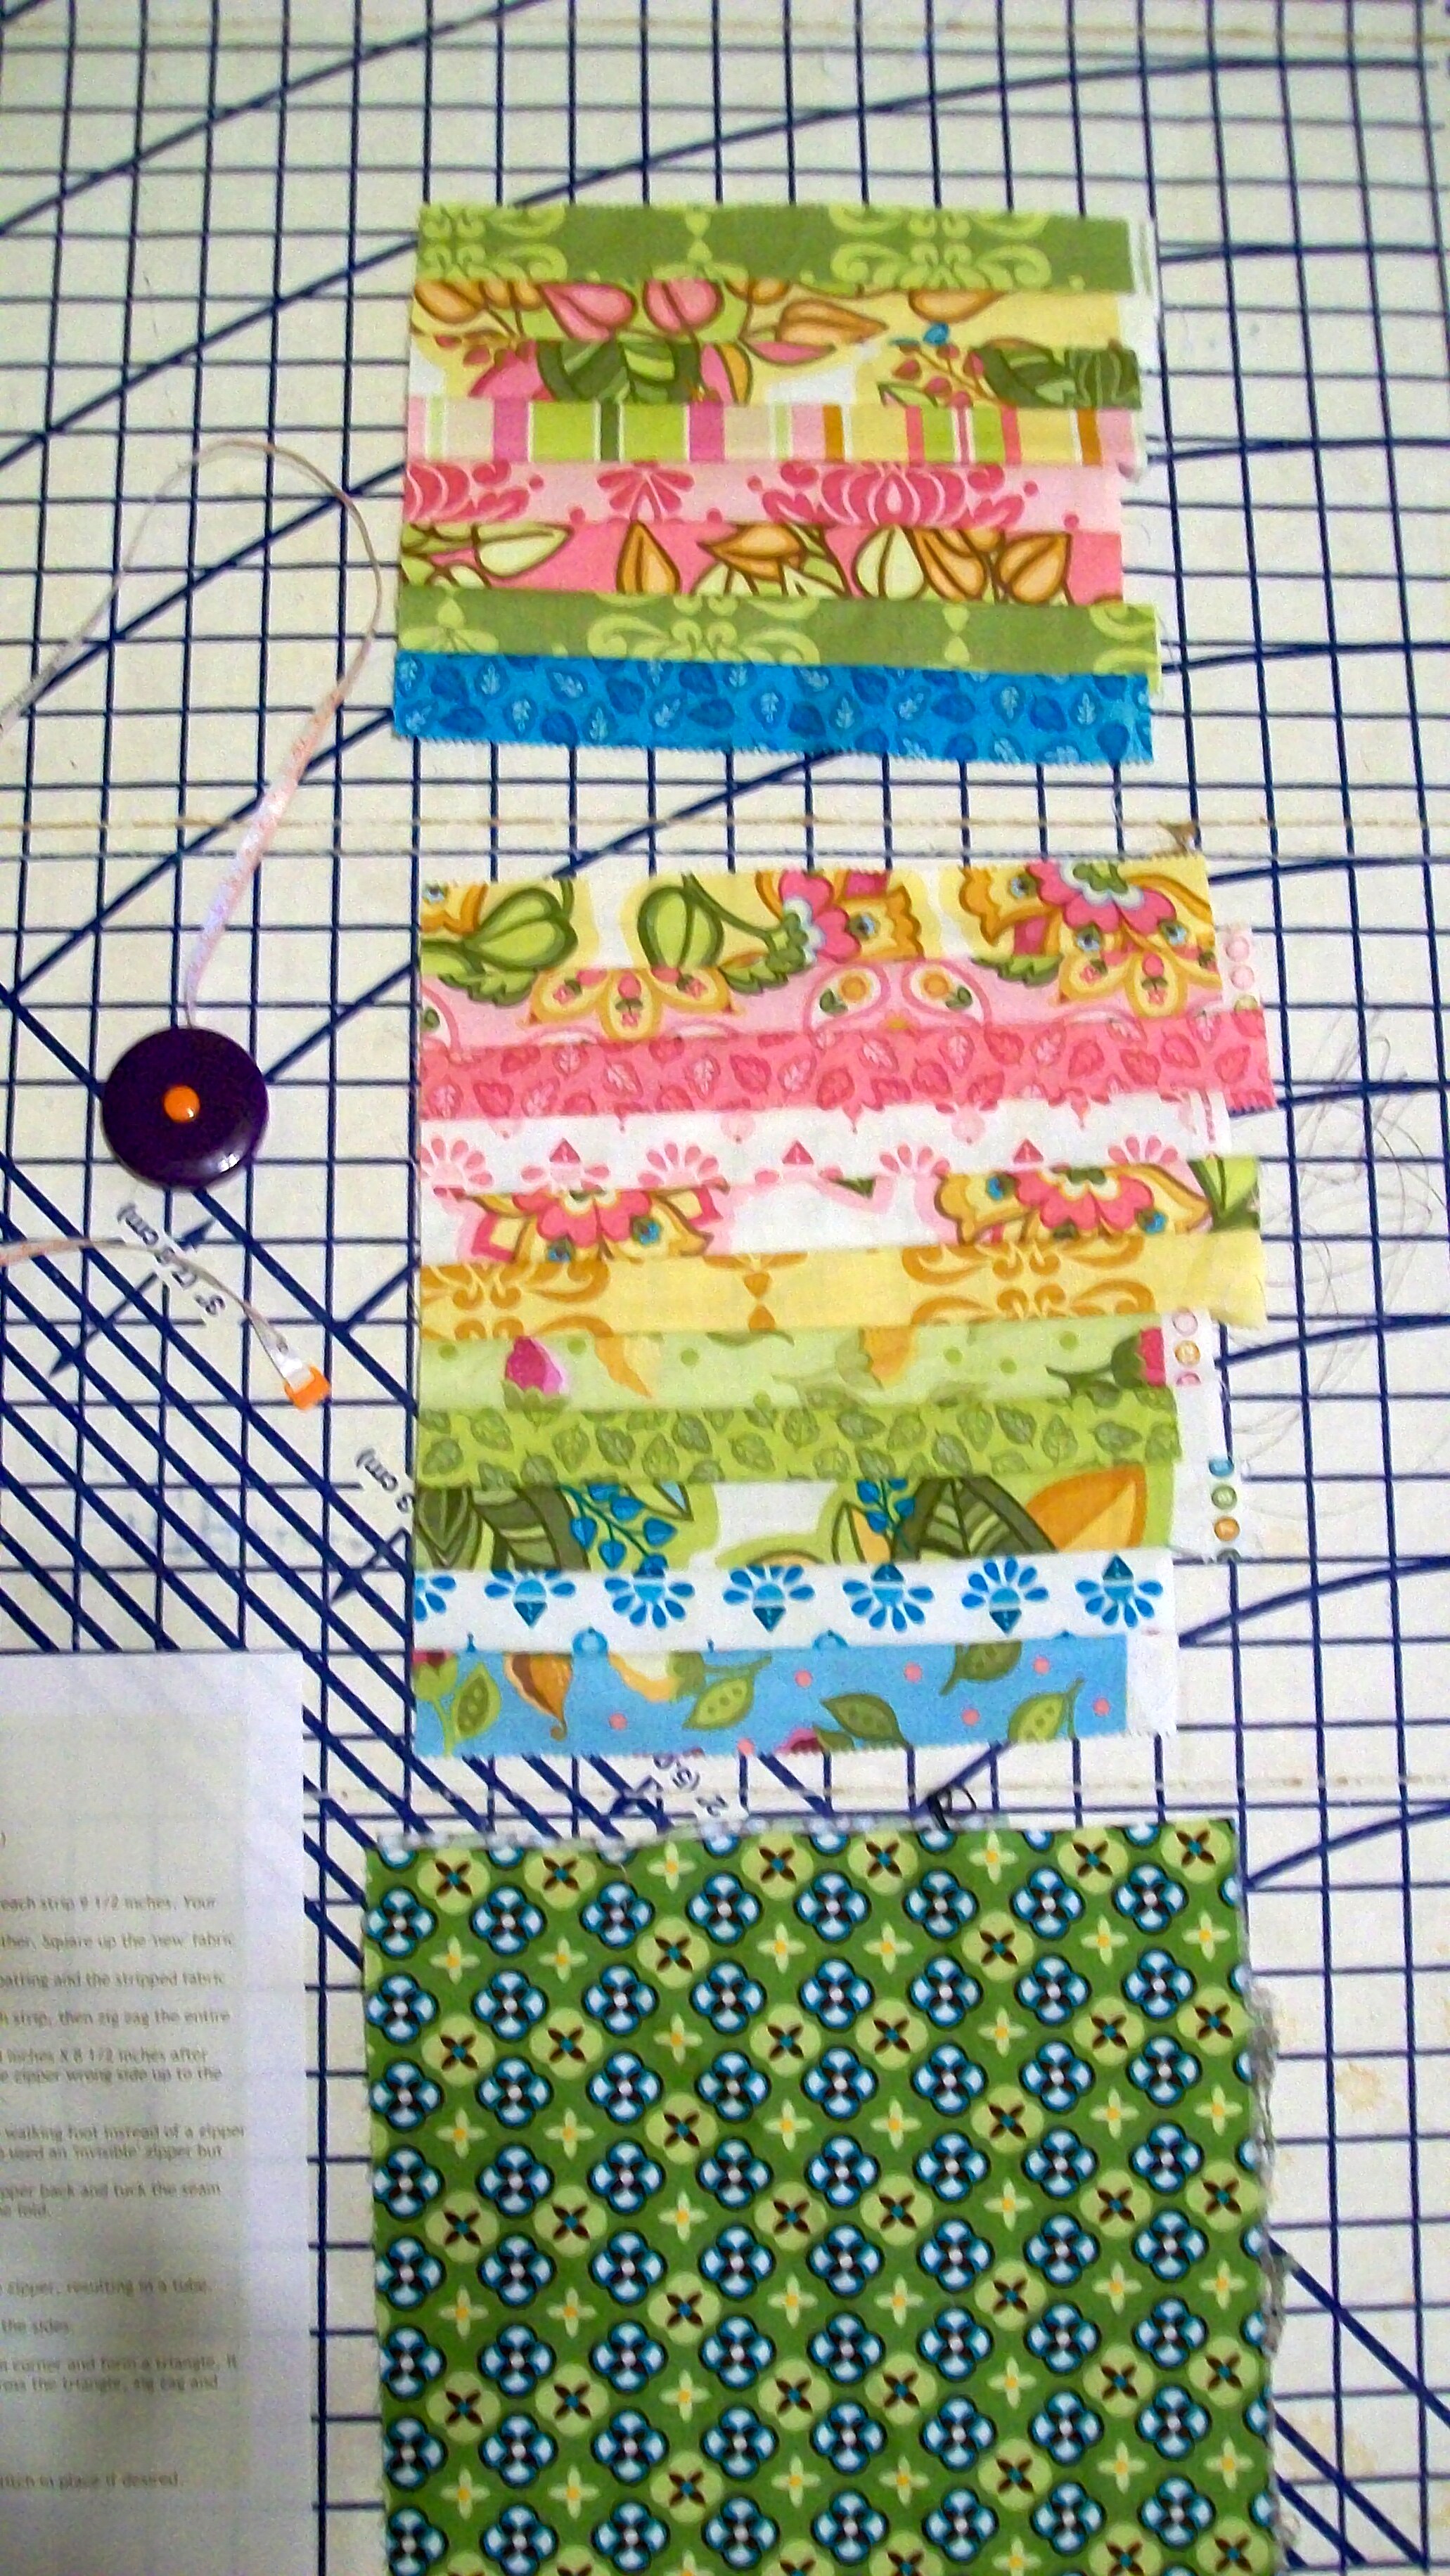
It takes 1 honeybun, a partial charm pack and some background fabric (I think it’s around 1 3/4 yds… don’t quote me on that though 🙂 ) It calls for it to be mostly fat quarters on the pattern, and the strips are instructed to be cut to 2 1/2″ x 17″ but I had access to a honeybun in Soiree whose strips are precut at – 1 1/2″ so I decided that I would just double the amount of 17″ strips and it would be perfect! So off I went arranging strips… …and skipping most of the cutting section of the pattern. Woohoo! I love being able to skip a step! It did require most of the honey bun, with only a small section leftover.
Camille of Thimble Blossoms singled out one section as tricky, the part of cutting and applying the wavy edge. After reading it over I thought “shoot, no problem” and started off. I ended up not cutting my applique seam ‘n’ sew material right, though not tragically. I cut on the lines I drew, instead of in-between them, so I had to draw an extra section of the wavy line. Then after applying it and securely stitching the edge down your supposed to trim the excess strip pieced material on the underside of the quilt. Here’s the picture I took while thinking I might tutorial this…
… If you’ll notice I had the fabric spread apart, lined up my scissors, and took the picture without a second thought. Until I was checking the picture and realized my scissors were in place to cut off the top of the quilt… oops!
I had to laugh at myself!
So, I reset my fabric and scissors, took the right picture and thanked my lucky stars that I had been trying to tutorial this because other wise I might have royally screwed up this quilt top!
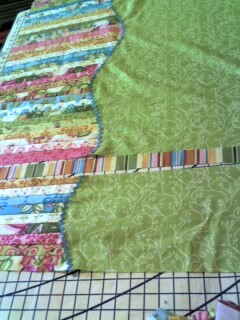
It was a good reminder to go slow and pay attention! While this part is not incredibly tricky you do still want to pay attention 😉 The only real problem I had was that it calls for one strip to be pieced together to a length of around 60″ because it needs to go across the entire bottom of the quilt.
As shown here.
Since I was using a honeybun you know that they traditionally only have one strip of each fabric… hmm… so, I had to find two strips that were similar enough that when pieced together it wasn’t that noticeable that the two fabrics were different… Thankfully the multi colored stripes were perfect and I just had to line up the seam under one of the applique petals (which was not hard because really you can put the flower wherever you want!) and voila! I had an approximately 88″ long strip which I then trimmed 17″ off of. Then I added the 17″ piece to the tall section of 17″ strips for the side of the quilt and was left with a piece approximately 70″ long. Still, plenty long enough to stretch across the bottom of the quilt to give it that fun pieced look!
Everything else was pretty simple.
The pattern was well explained and the applique was mostly simple large shapes that were easy to work with (This was my first applique project on my own so I appreciated the large shapes 🙂 ).
I did a straight stitch, free motion, faux applique technique on the polka dots and flowers. It worked out pretty well, though needle turned would also be beautiful!
I think the biggest thing to remember when making this pattern is that it is not a bed size quilt. It could easily be made into one with a little measuring and planning ahead. As it stands, it will make a fun, happy quilt that any little girl would love to cuddle up and play in!
I would definitely recommend this pattern!
I would place the level of this pattern at beginner to intermediate.
It’s the perfect pattern for the beginner looking to explore the world of applique, without too much stress!
After my fun time sewing honey bun strips together for the “bloom” quilt I wasn’t about to throw them away! I decided that the “lil zipper bag” featured on Moda Bake Shop earlier this month would be the perfect sewing project for my young sewing daughter 🙂 Ally was more than excited!
This is most of what we started with…
(This project would also go well with Natalie’s series of honey bun projects it only requires 9 -9 1/2″ long strips from your honey bun!)
This is Ally learning one of the most important skills of any seamstress…The art of the seam ripper!
This is Ally quilting the bags outer fabric layers… I’m so proud of her!
I helped with the zipper…
and the lining…
But otherwise it was pretty much all her! ( I spurred a few helps and ideas 🙂 ) But here’s the finished product!
Spring is in the air and with a little help from Moda you’ll be able to squash those winter blues and bring in some sunshine.
Let me just give you a little snippet of awesomeness. Check this out!
Lila Tueller‘s new line Soiree is love in a cake layer. Seriously, I could die. Check it out here!
We are in love here, as is evident from our Quilters Daily Deal Anything with a French name gets us all twitterpated. 🙂


 The art of the seam ripper!