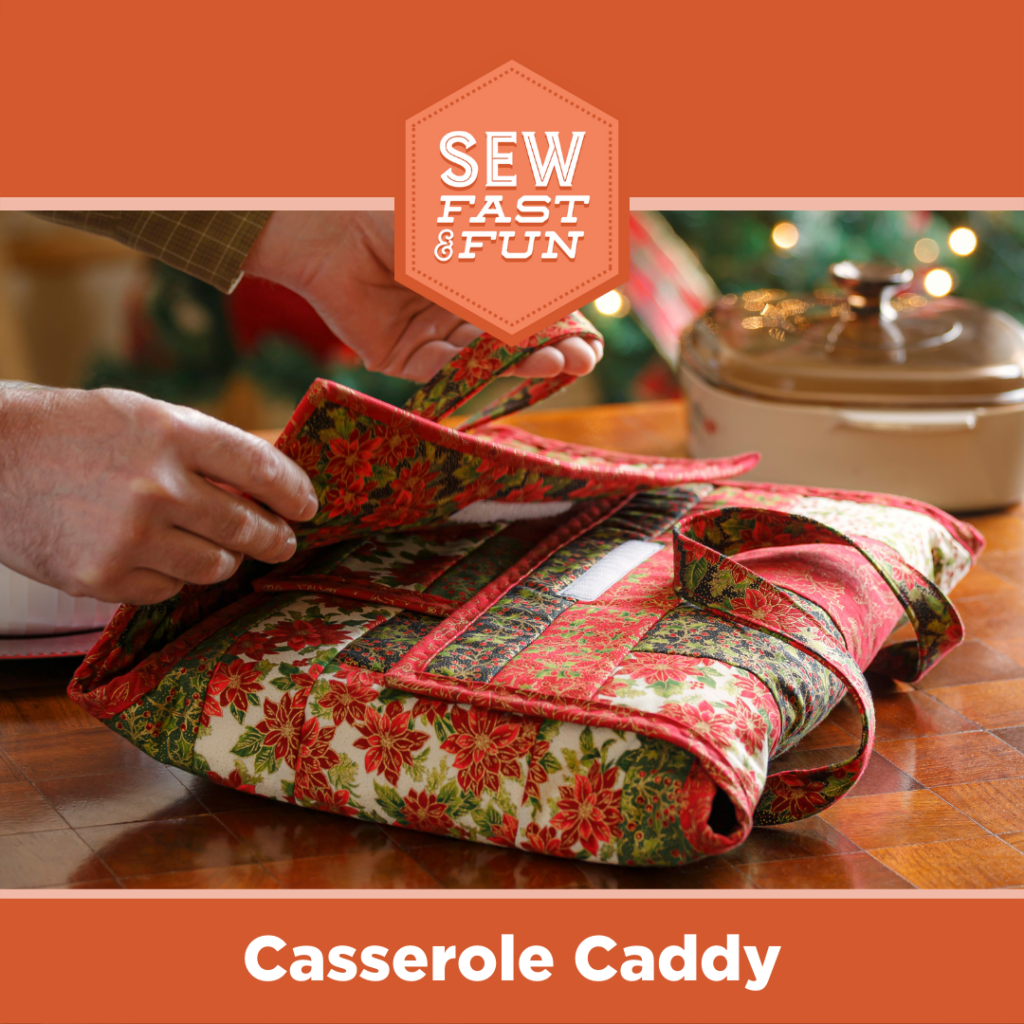
The holidays are coming and it’s time to show off your new found sewing skills at all your family gatherings! If you’re anything like us, your Christmas list is filled with handmade holiday projects that you may or may not have started (don’t panic just yet, there’s still plenty of time). Instead of trying to squeeze in a quilt for each and every person close to you, consider a small yet functional project like the Casserole Caddy that will not only be a beautiful handmade gift, but a handy accessory that will be used for years to come!
This quilt as you go project comes together before you know it using no more than just a little scrap yardage and some products which you most likely already have in your sewing room. Need it before the holidays? No worries! Pick up The Casserole Caddy Quilt as you Go Kit by June Tailor Company to make this project easy to finish in a hurry, too!
Not your style? We’ve got you covered there as well! Flex your creativity and create this gorgeous kitchen accessory with some circle magic! Get the full pattern and instructions to stitch up a Circle Magic Casserole Cozy that’s just as darling and creative as the original Casserole Caddy! This is a great project to practice your circular quilting (we promise it’s not that difficult)! Be sure to check out Courtenay’s full tutorial on the Casserole Caddy below for even more guided instruction to help make your holidays handmade!
Make this season a Handmade Holiday with Missouri Star Quilt Co.
No gift is more meaningful than a handmade creation from the heart. When we take the time to create for those near and dear to us, we sew little bits of love into the fabric with every stitch and create a gift that will last a lifetime. July is the perfect time to start stitching up your Handmade Holiday gifts!
If you’re needing a little inspiration for this holiday season (maybe you haven’t even started to think about gifts yet!), check out a few of our favorite Handmade Holiday projects and create something this year for those closest to you (or for yourself)!
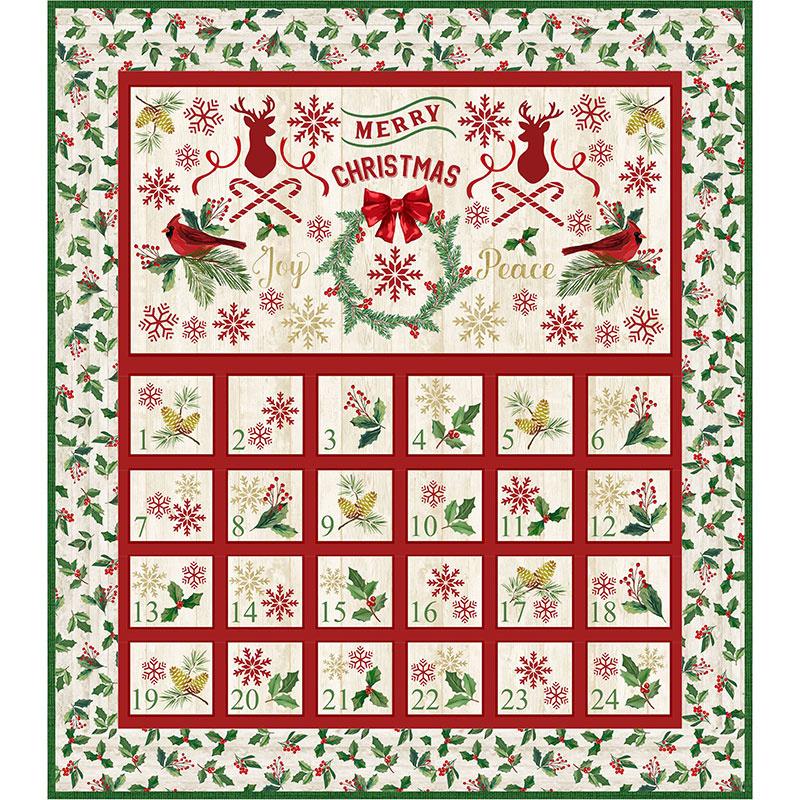
The Comfort and Joy Advent Calendar Kit by Osie Liebowitz for Timeless Treasures.
Kits are a quilter’s best gift-giving friend! They not only come together quickly and easily, but they look just fantastic when complete (Plus you get everything you need in one handy kit). Make it Classic this holiday season with a traditional holiday advent calendar to countdown the days until Christmas begins – this gift will be at the center of your holiday decorations throughout the entire month of December.
Whether you enjoy the traditional holiday elements of the Comfort and Joy Advent Calendar Kit or the classic Dr. Seuss Grinchmas Tree Countdown Kit, this project is not only something you can share as a gift, but as a craft activity with beginning makers. These advent kits are a great place to give the gift of sewing to the little ones in your life.
The Winter Star Quilt from Missouri Star Quilt Co.
Imagine giving the gift of warmth and comfort – it’s all possible with the Winter Star quilt! Nothing is better than a handmade quilt, so give a gift that will quite literally wrap your loved ones in warmth this Handmade Holiday by stitching up this cozy creation that captures the beautiful ambiance of the winter season.
The Casserole Carrier from Missouri Star Quilt Co.
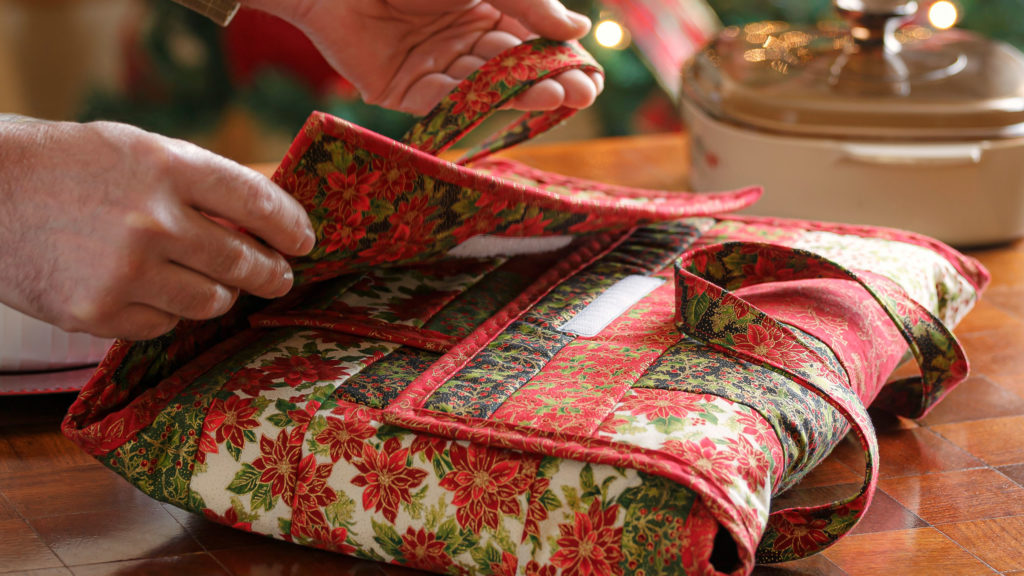
Whether you’re arriving to your company’s holiday party or dinner with your family, deliver your hot dish with a flair of elegance with a handmade Casserole Caddy. This easy to create and even easier to use carrier not only helps insulate your casserole and keeps it warm, but also adds a sense of wonder and holiday spirit to wherever it goes!
Make it Elegant with enchanting fabrics featuring traditional red and green with touches of gold as well as wintry white and blue with silver accents. We suggest picking up a selection of yardage from the Holiday Flourish collection by Studio RK for Robert Kaufman – these festive fabrics will add a touch of beauty and elegance to your project!
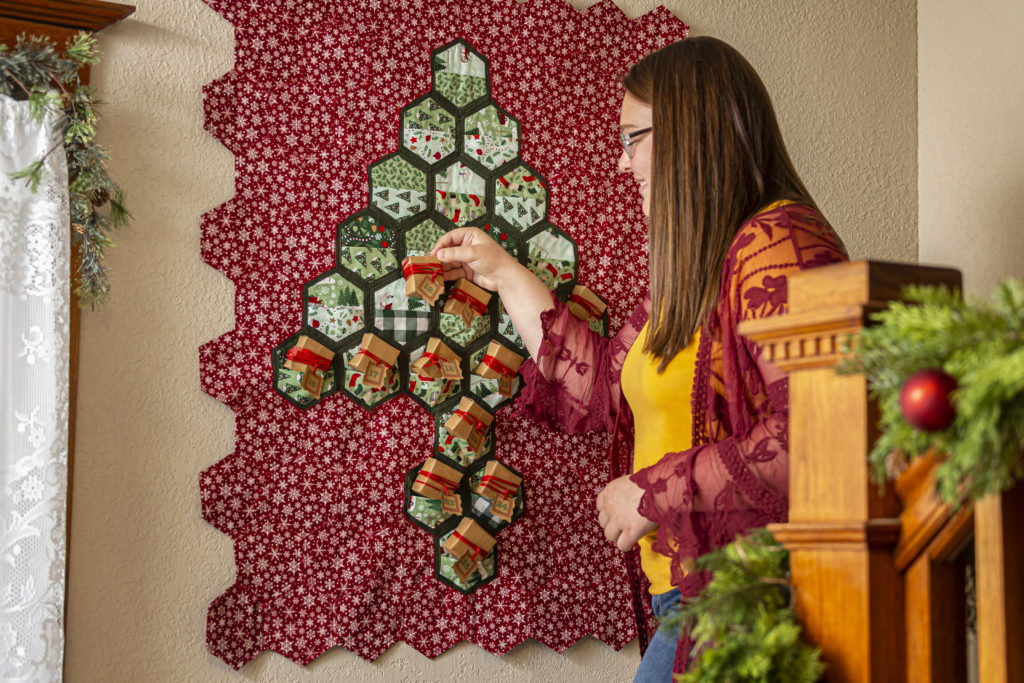
The Quilt As You Go Holiday Hexis Advent Calendar from BLOCK Volume 7 Issue 4.
We just love Quilt As You Go projects! These fun and festive holiday hexis come together in a flash no matter where you’re making – seriously, these are PERFECT travel projects. Take your hexis and add a little background fabric and a pocket and you’re on your way to having a beautiful piece of holiday decor that will deck your halls with fun.
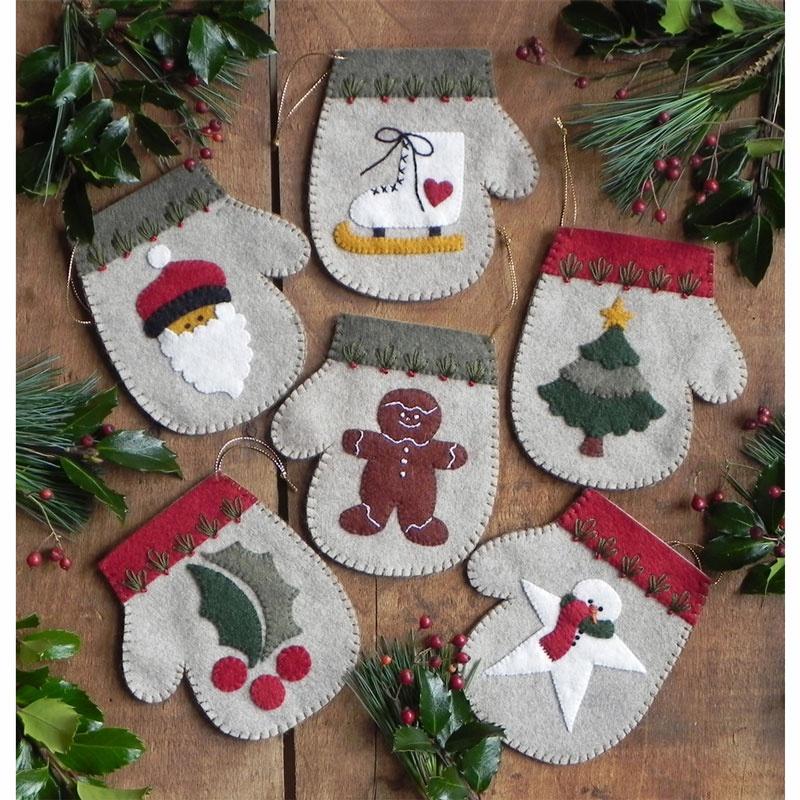
The Warm Hands Ornaments Kit by Rachel Pellman for Rachel’s of Greenfield.
Why settle for the same old Christmas ornaments this year when you can add a modern maker’s flair to your holiday tree with an easy Fabric Ornaments Kit? Not only will your tree stand out as a unique and creative addition to your Handmade Holiday, but this adorable applique ornaments will become a keepsake for years to come!
Make it Modern by picking up a complete project kit such as The Warm Hands Ornaments Kit or the Merry Mugs Ornament Kit. Whatever your preference, these cute little ornaments are SEW simple to create that you can safely share this project with anyone – or stitch up a few to share amongst your friends and add a bit of homemade to their holidays.
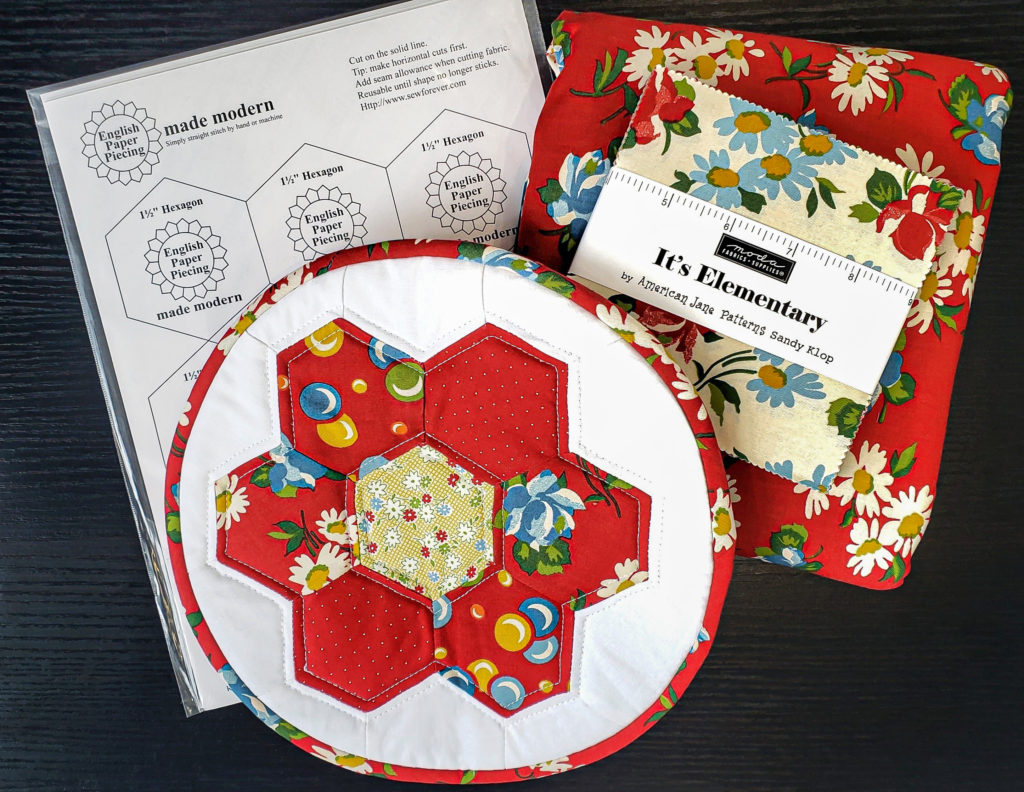
The English Paper Piecing Made Modern Stickers Pot Holder from Missouri Star Quilt Co.
Baking and the holidays go hand in hand – nothing is better than the sweet smell of warm baked goods lingering through your holiday home. If you’re looking to try your hand at English Paper Piecing then this project is the one for you! This simple pot holder will not only give you an introduction to the art of English Paper Piecing, but create an adorable kitchen accessory to better bake your holiday goodies.
Happy Holidays my quilting divas!! Have I got a project for you!! It’s a no sew and great for keeping those grandkids busy! I’m calling them Christmas stars, but you could make them for all seasons or holidays. You can also light them up with Christmas lights or with some ric rac or fishing line make them into ornaments. They are so versatile!
Materials:
All you’ll need is a:
1. Charm pack – or if your using scraps a perfect square (5×5, 4×4, whatever size you want)
2. Scissors
3. Iron
4. Fusible interfacing – I used heavy Pellon, you’ll need 3/4 yard
5. Glue gun and glue sticks
Step 1:
Place the interfacing shiny side up and iron the entire charm pack down. It works best if you use a little steam.
Once they’re all ironed on, cut them apart. Get right next to the pinking.
Step 2:
Grab one square and fold it diagonally with print side up. Set the fold with iron, remember to use steam. Repeat in the opposite direction.
You should now have two folds creating a X shape.
*It helps if you can let the fold cool each time before doing the next.
Step 3:
Fold the charm with the print together and press it in half. Set the fold and repeat the other direction. You should now have a cross.
*It helps if you can let the fold cool each time before doing the next.
Step 4:
On the perpendicular folds, the ones that make a cross, cut less than half way. Do not cut the diagonals!
Step 5:
Fold each corner over to the diagonal fold and set with the iron. Repeat for all four sides.
Step 6:
This is what it should look from the back, upper left, and front, lower right.
Step 7:
Time to plug in the glue gun!
Place a thin-ish line of glue ( look at the bright green line for guidance) on one triangle and fold the other half over of to the crease and press together. Repeat for all four sides.
Tip 1: Fold the point first before adding glue, this way you know which way it wants to fold (it make the points neater)
Tip 2: When your pressing, use a lobster pinch. Insert you pointer finger in the point and pinch with you thumb.
Here’s what you star should look like now.
Step 8:
Once you have two made, put a dot of glue where the stars overlap. You should have four small dots (one for every point of one star).
If you making them into ornaments this is where you want to insert the ric rac, before you connect them.
Light it up!!
The best part about these is if they squished just pull on the points and it will pop back!